
Introduction
This manual provides detailed instructions for the installation, operation, and maintenance of your LETSCEE HMC1 3-Lens Hybrid Zoom Solar Powered Wireless Outdoor Security Camera. Please read this guide thoroughly before use to ensure proper functionality and safety.
What's in the Box
Verify that all components are present in your package:
- 1 x LETSCEE HMC1 Security Camera
- 1 x Solar Panel
- 1 x Camera Mounting Bracket
- 1 x Solar Panel Mounting Bracket
- 1 x USB Charging Cable
- 1 x Mounting Screw Bag
- 1 x User Manual
Product Overview
The LETSCEE HMC1 features a unique 3-lens system providing extensive coverage and advanced functionalities for outdoor security.
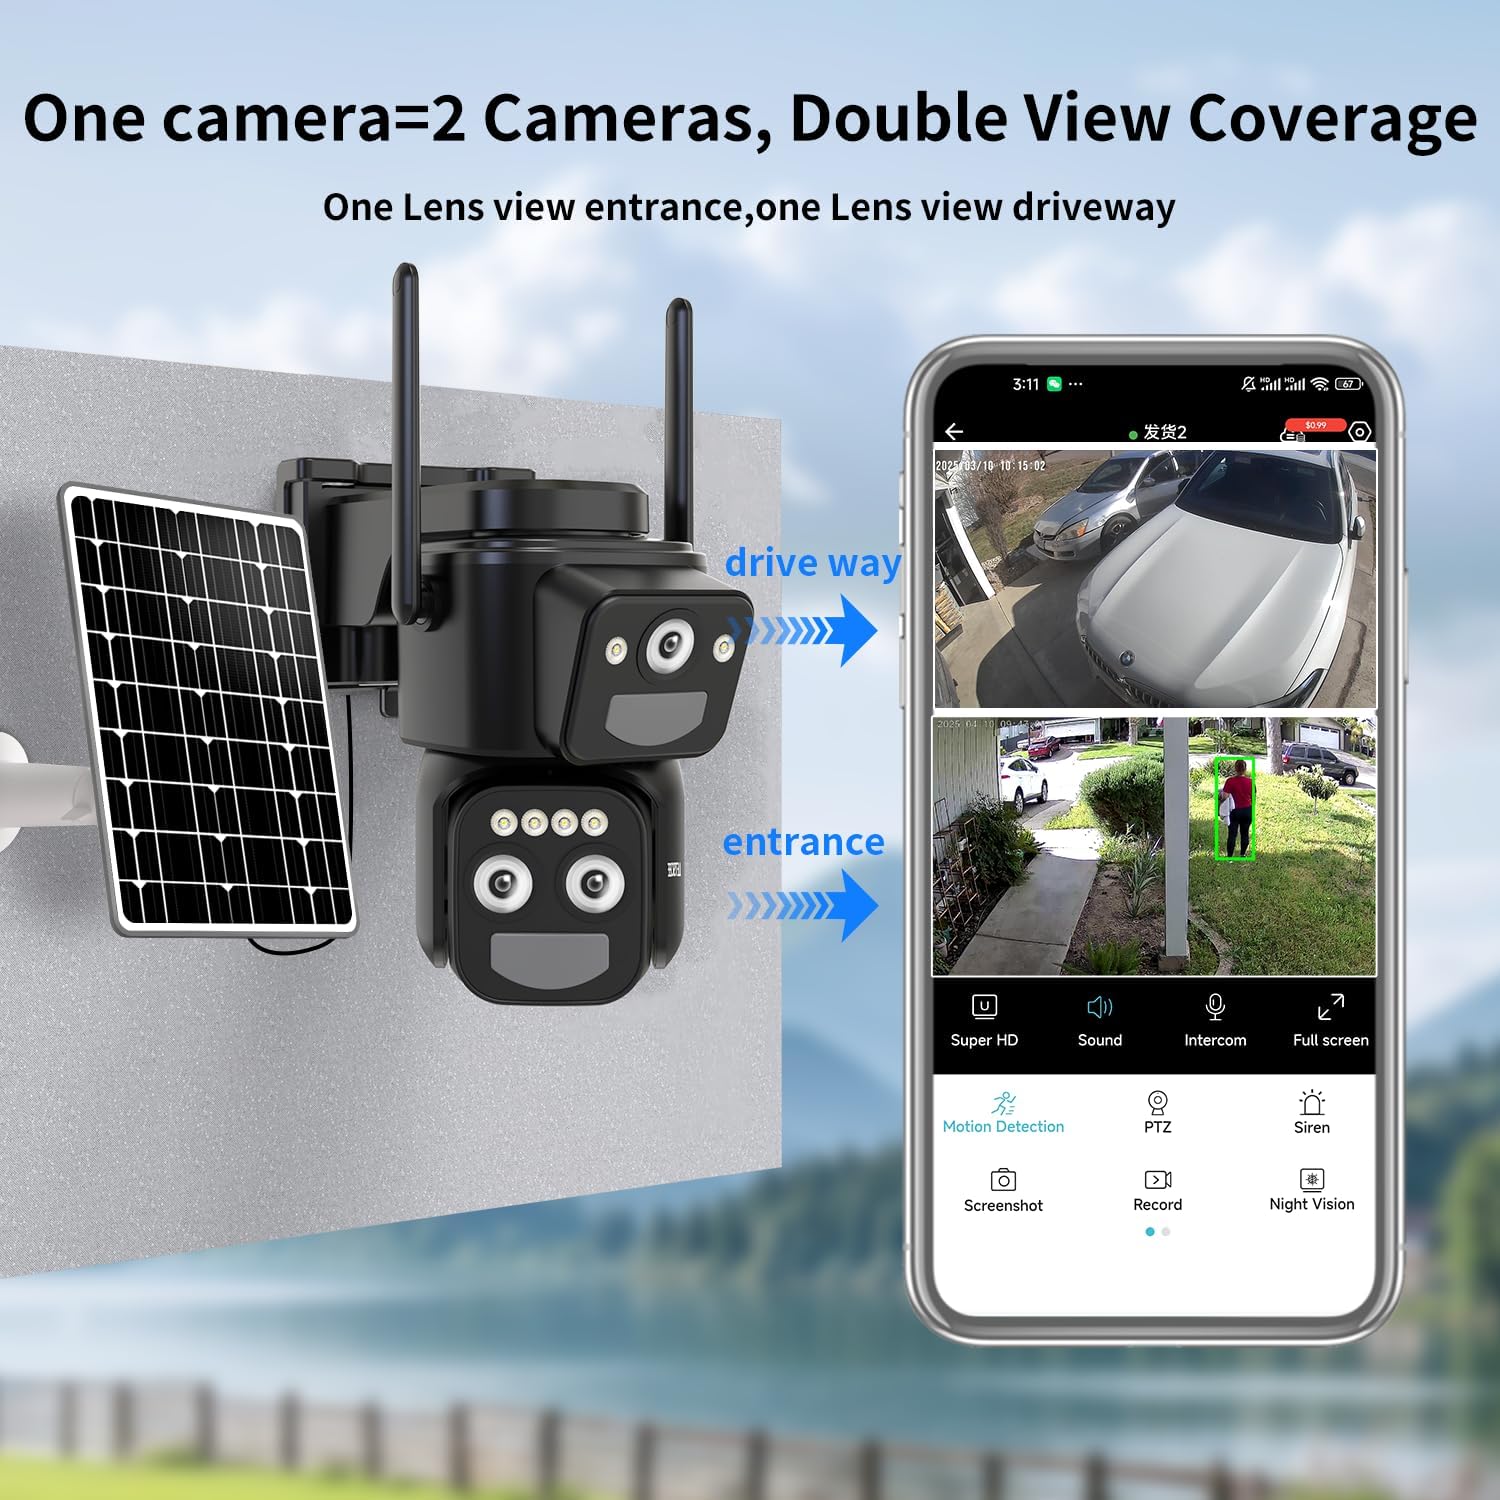
- 3-Lens System: Functions as two cameras, offering 360° coverage with two lenses viewing different angles. Each lens provides 3MP/2K resolution for sharp images.
- Dual PIR Motion Sensors: Enhanced motion detection from two sides.
- PTZ & 10x Hybrid Zoom: Pan 355° horizontally and tilt 90° vertically. Achieve clear views up to 80ft away with 10x hybrid zoom.
- Colorful Night Vision: Equipped with 8 LEDs, providing full-color night vision. White light automatically activates upon motion detection.
- Two-Way Audio: Built-in speaker and microphone for real-time communication.
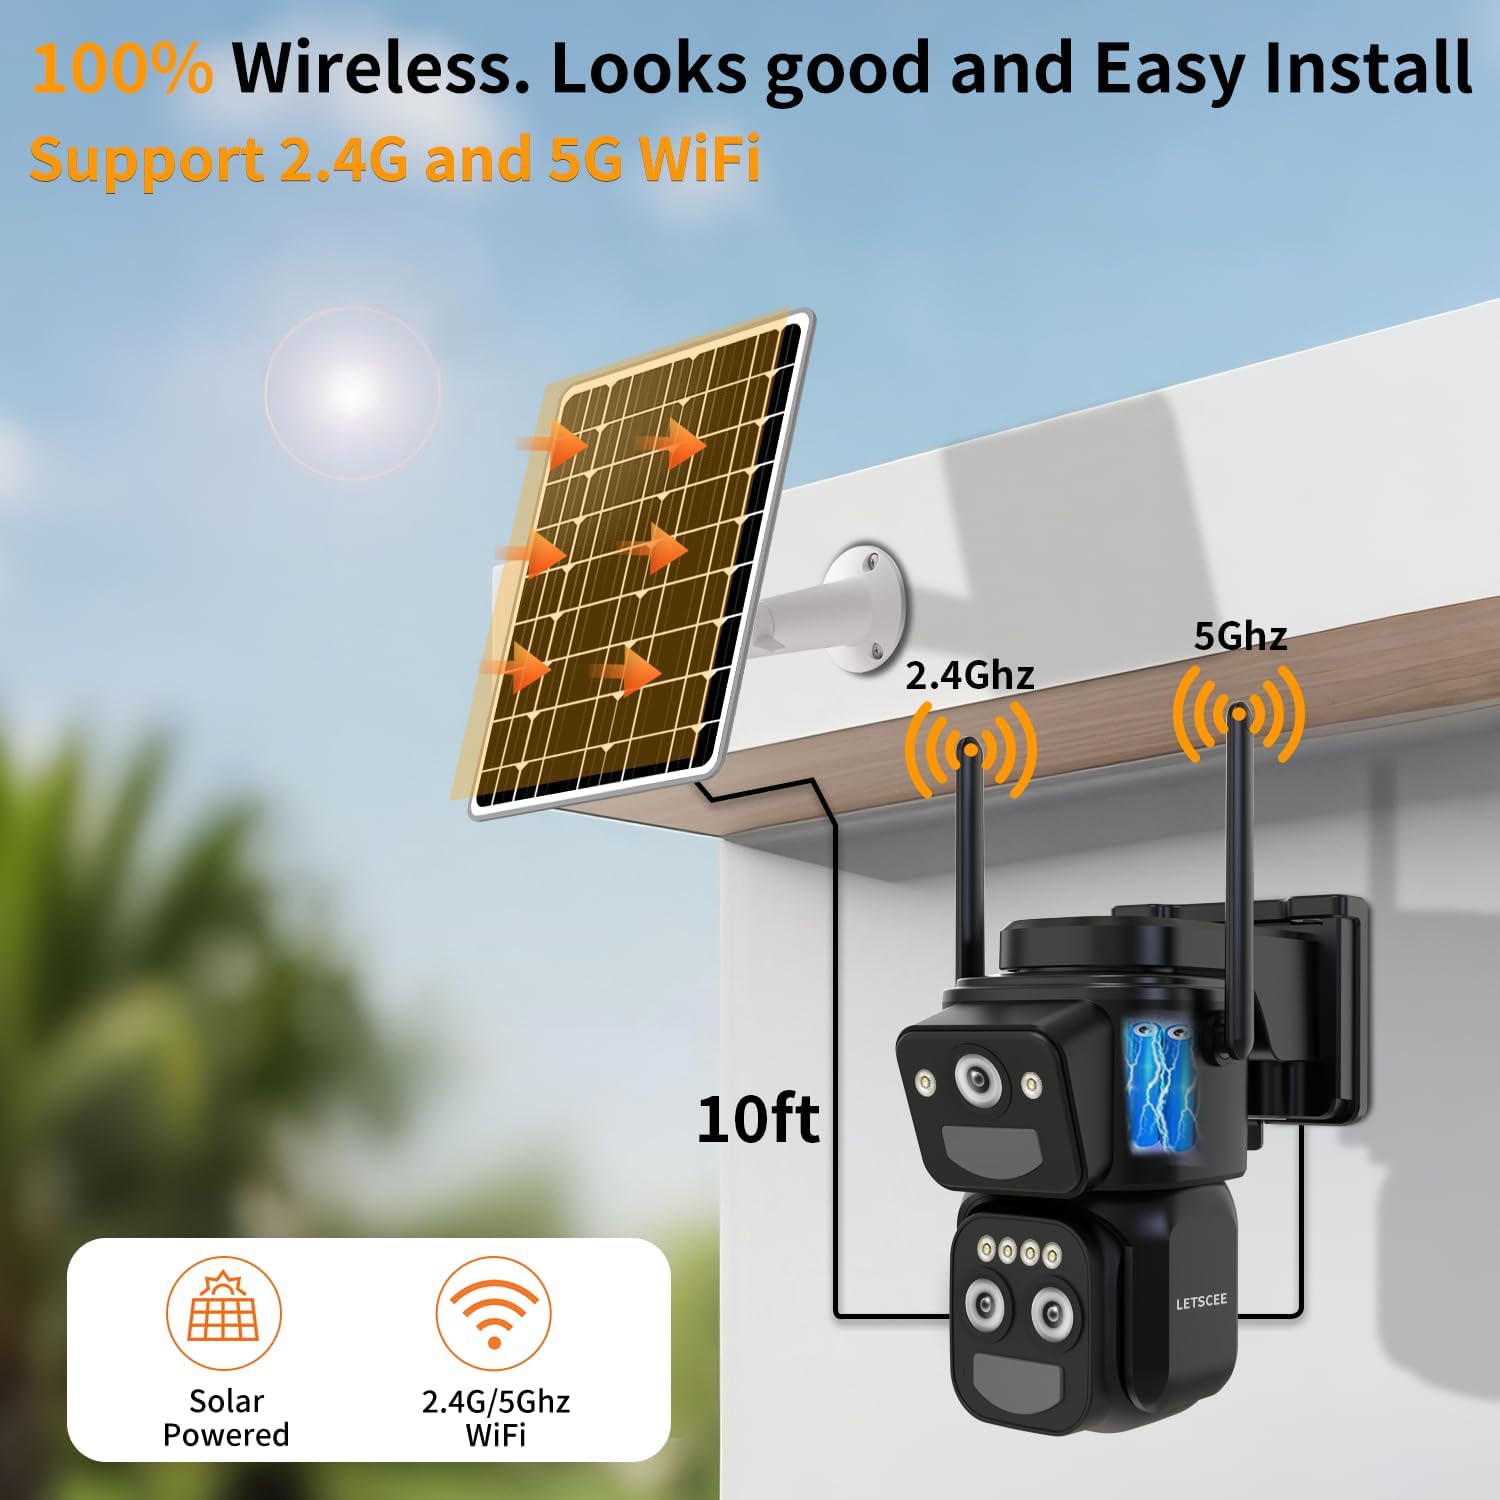
- Solar Powered: Integrated solar panel recharges the built-in battery, ensuring continuous operation.
- IP-65 Weatherproof: Designed to withstand various outdoor weather conditions.

Setup & Installation
1. Charging the Camera
Before initial use, fully charge the camera using the provided USB charging cable. The indicator light will change from red to green when fully charged. This process typically takes 8-13 hours.
2. App Installation & Account Setup
Download the O-KAM Pro app from your mobile device's app store (Google Play or Apple App Store). Follow the in-app instructions to register an account and log in.
3. Mounting the Camera
Choose a suitable location for your camera, ensuring it has a clear view of the area you wish to monitor and is within range of your 2.4Ghz Wi-Fi network (5Ghz Wi-Fi is not supported). Use the provided mounting bracket and screws to securely attach the camera to a wall or other surface.
4. Mounting the Solar Panel
Mount the solar panel in a location that receives ample direct sunlight throughout the day. Connect the solar panel's cable to the camera's charging port. This will ensure continuous power to your camera's built-in rechargeable battery.
5. Connecting to Wi-Fi
Turn on your mobile phone's Bluetooth and GPS. Power on the camera. Open the O-KAM Pro app, tap 'Add a new device', and select the wireless camera. Follow the prompts to connect the camera to your home's 2.4Ghz Wi-Fi network. You may need to scan a QR code displayed on your phone with the camera lens.
Operating Instructions
1. Live View & PTZ Control
Once connected, access the live feed from your camera via the O-KAM Pro app. Use the app's controls to pan (355°), tilt (90°), and utilize the 10x hybrid zoom to adjust your viewing angle and focus.

2. Motion Detection & Alerts
The camera features dual PIR motion sensors for accurate detection. Configure motion detection settings in the app to receive instant alerts on your phone. You can set up:
- DIY Voice Alerts: Record custom voice messages to play automatically when motion is detected (e.g.,
Ask a question about this manual
Ask about setup, troubleshooting, compatibility, parts, safety, or missing instructions. Manuals+ will review the question and use this page’s manual context to help answer it.