1. Introduction
This manual provides comprehensive instructions for the installation, operation, and maintenance of your Lyngins 56-60" W x 62" H Double Sliding Semi-Frameless Bathtub Shower Door. Please read all instructions carefully before beginning installation and retain this manual for future reference.
The Lyngins double sliding shower door is designed to enhance your bathroom with its modern chrome finish and practical features. It fits standard 56-60" W x 62" H bathtub openings, offering a space-saving solution with durable materials and enhanced safety features.
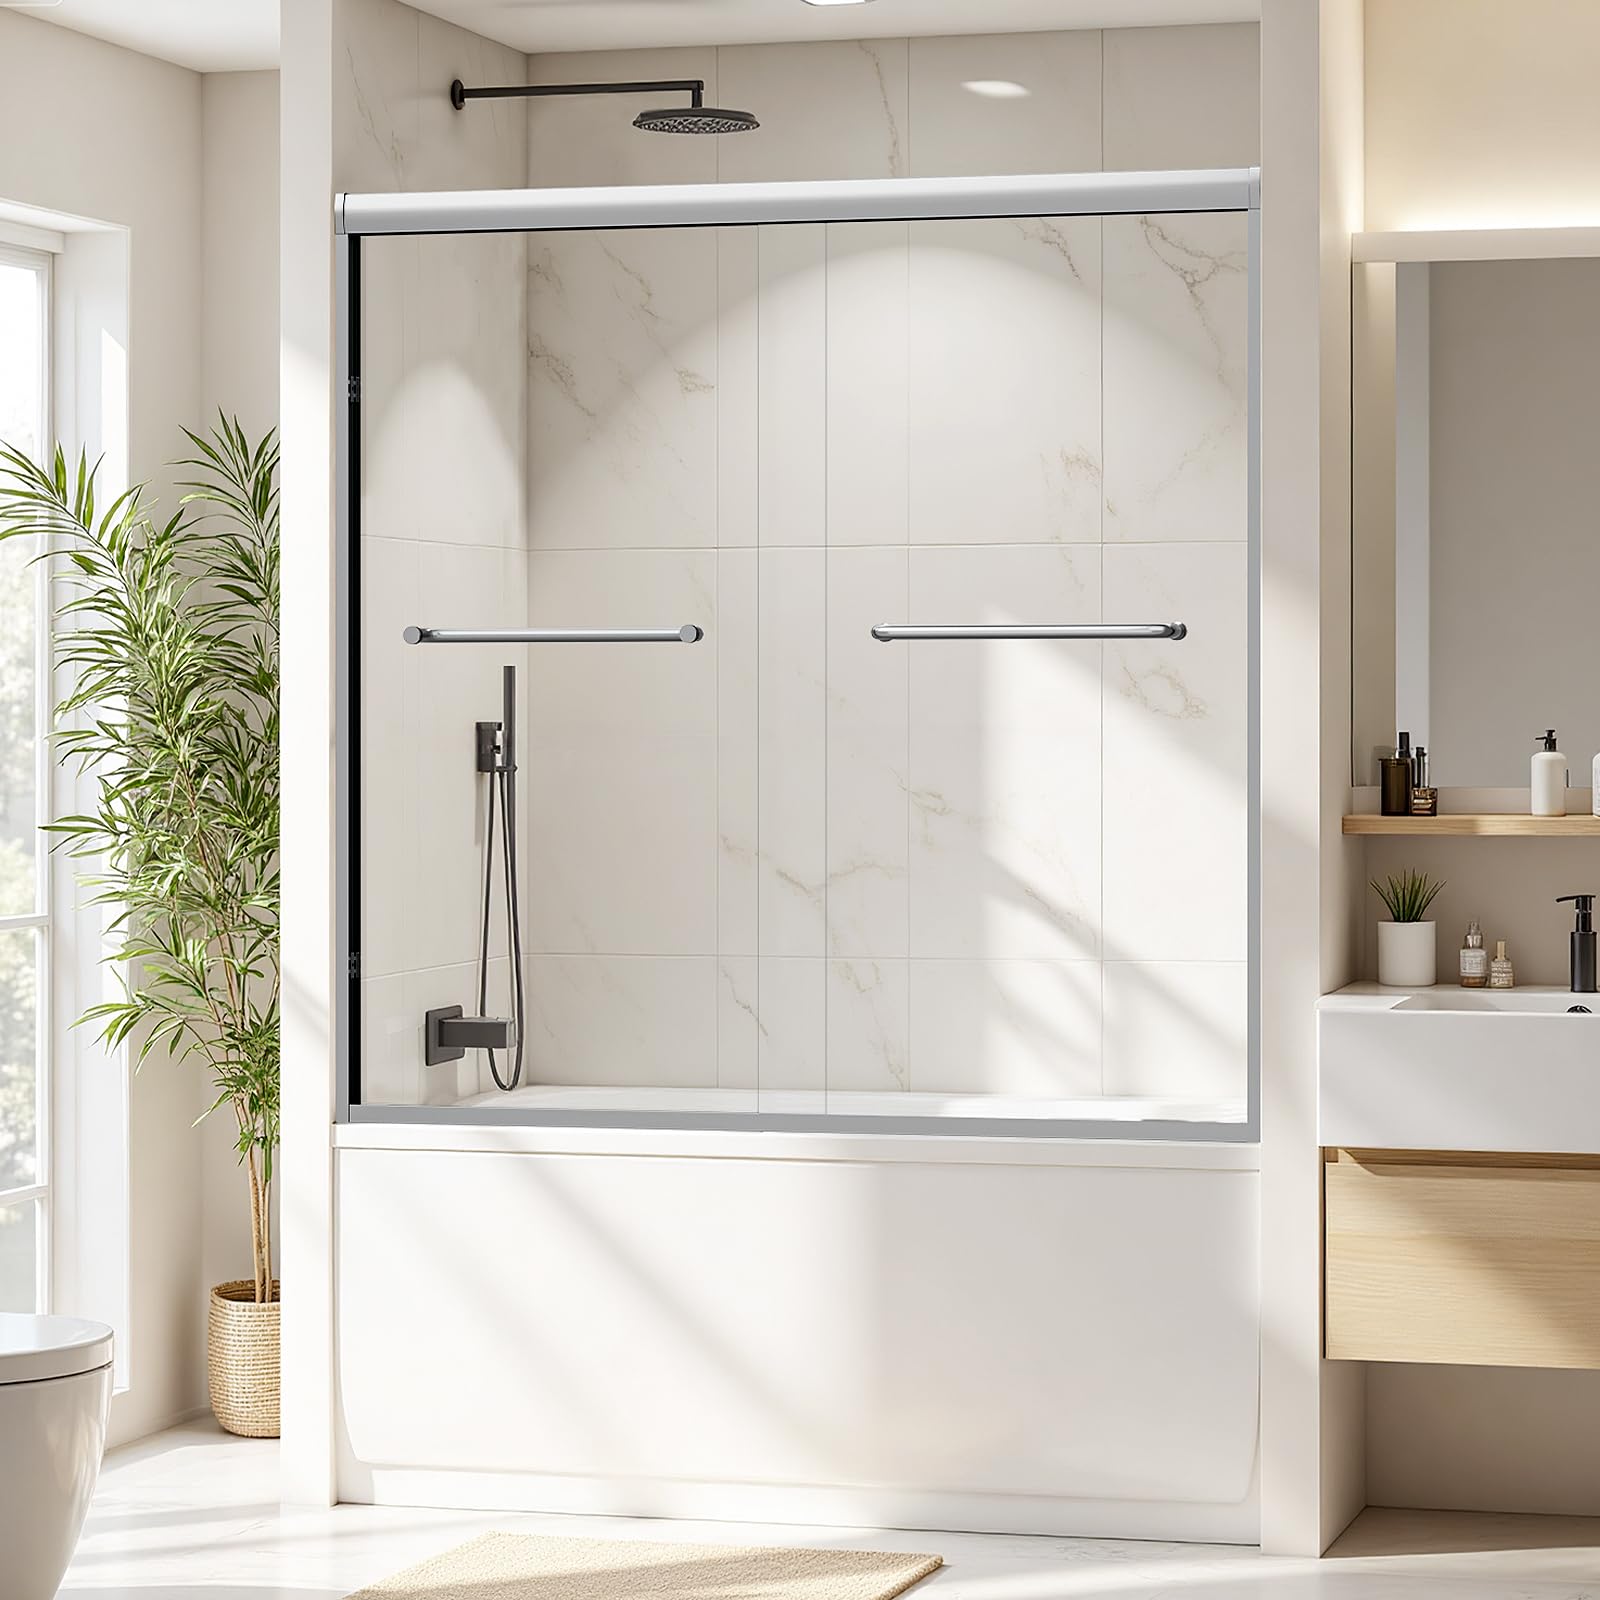
Figure 1.1: Lyngins Double Sliding Semi-Frameless Bathtub Shower Door in a bathroom setting.
2. Product Specifications
Refer to the following specifications to ensure compatibility and proper installation.
| Feature | Detail |
|---|---|
| Brand | Lyngins |
| Model Number | XTSZ-LYM-00102-MY-8-6062-SL |
| Dimensions (W x H) | 56-60" W x 62" H (Adjustable width) |
| Glass Thickness | 5/16" (8mm) Tempered Glass |
| Glass Type | SGCC Certified Tempered Glass with Anti-Explode Film |
| Finish | Chrome |
| Handle Material | #304 Stainless Steel (25.67" length) |
| Frame Material | Aluminum (Top Track) |
| Door Type | Double Sliding, Semi-Frameless |
| Assembly Required | Yes |
| Item Weight | 127.7 pounds |
| UPC | 727598207627 |
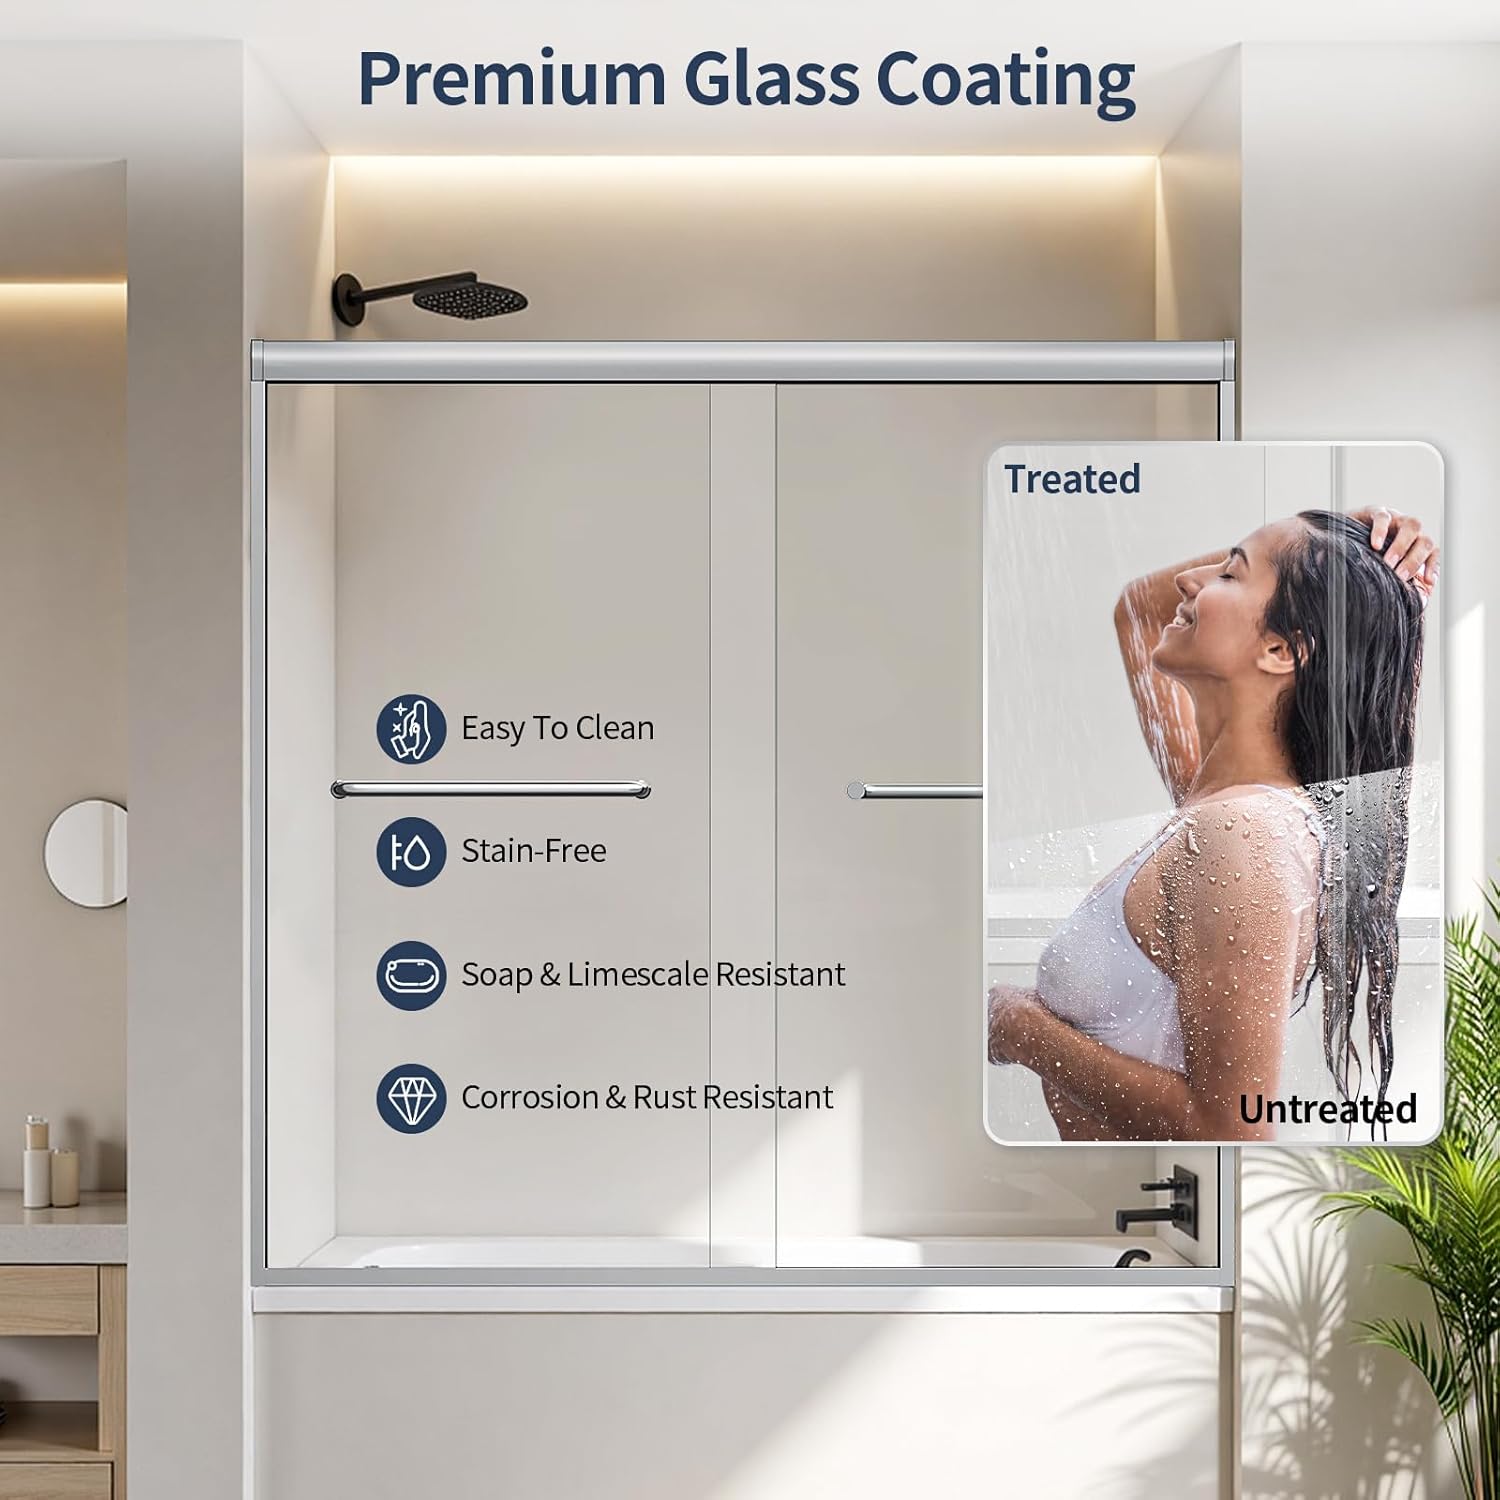
Figure 2.1: Product Dimensions. A: 62 in (threshold to top of shower door), B: 56-60 in (Min/Max width), C: 23½-27½ in (Walk-Through width), D: 58½ in (threshold to bottom of top track).
3. Safety Information
Your safety is paramount. This shower door incorporates features designed to minimize risks during use.
- Tempered Glass: The 5/16" (8mm) tempered glass is five times stronger than standard glass, providing enhanced resistance to impacts and temperature fluctuations.
- Anti-Explode Film: In the rare event of breakage, a built-in anti-explode film helps hold glass fragments together, reducing the risk of sharp shards.
- Secure Installation: Proper installation according to this manual is crucial for the safe operation and stability of the shower door. Ensure all components are securely fastened.
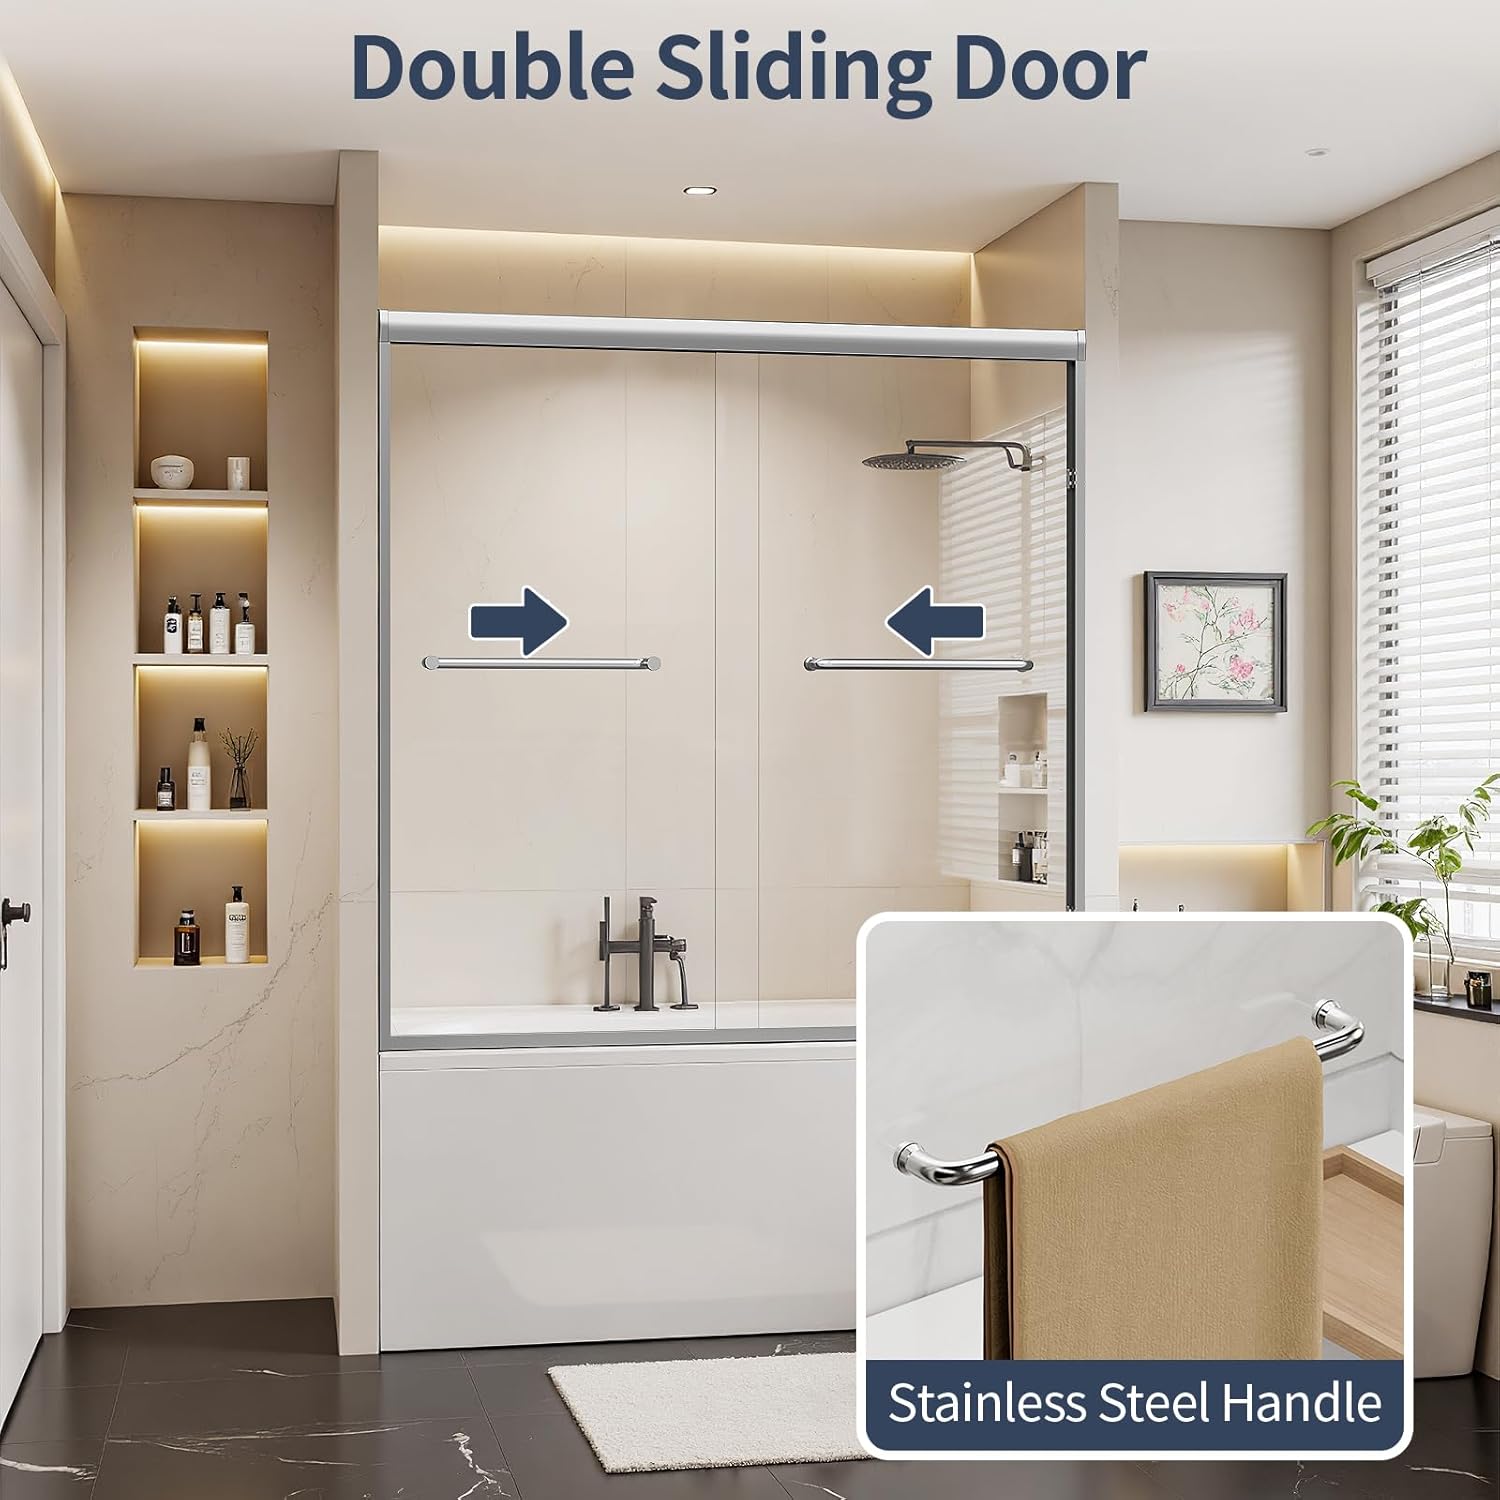
Figure 3.1: Safety Tempered Glass, 5/16" (8mm) thick with R3 safe corners.
4. Setup and Installation
Installation of the Lyngins shower door is designed to be straightforward. Basic tools are required, and it is recommended that two people perform the installation for safety and ease.
4.1 Required Tools
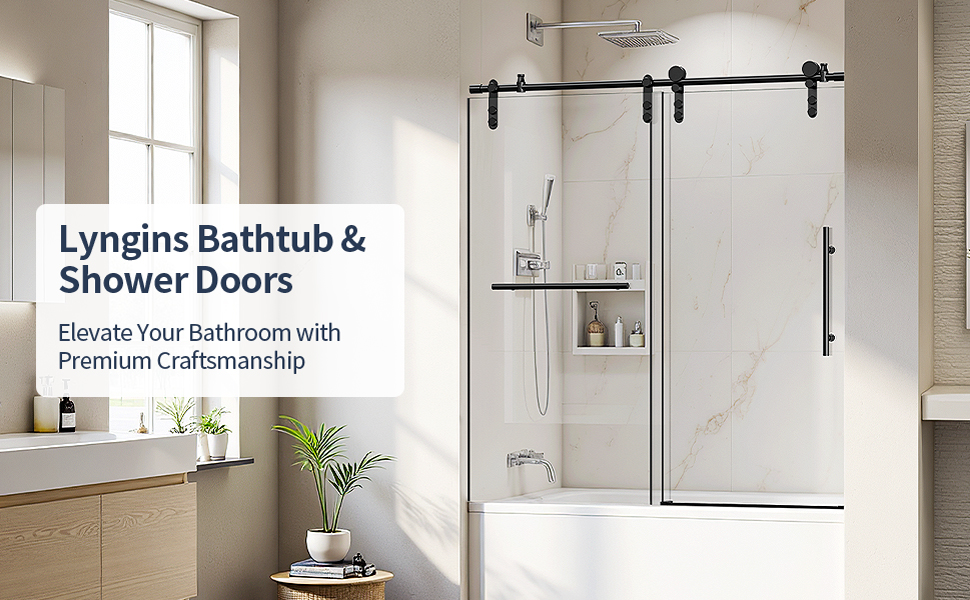
Figure 4.1: Tools required for installation. Note: Installation requires 2 people.
- Knife
- Hack Saw
- Drill (6mm, 8mm, 5/16" bits)
- Caulk Gun
- Screwdriver
- Level
- Tape Measure
- Pencil
- Allen Key
- Adjustment Wrench
4.2 Reversible Installation
The shower door is designed for reversible installation, allowing you to choose between left-side or right-side opening configurations to best suit your bathroom layout.

Figure 4.2: Reversible Installation options: Left Side Opening and Right Side Opening.
Detailed, step-by-step instructions with diagrams are included in the separate installation manual provided with your shower door. Follow these instructions carefully for a secure and leak-proof setup.
5. Operating Instructions
The Lyngins Double Sliding Shower Door features a smooth and quiet operation for daily use.
5.1 Double Sliding Mechanism
Both glass panels are designed to slide smoothly along the top track, allowing access from either the left or right side of the bathtub. Gently push or pull the stainless steel handles to open and close the doors.

Figure 5.1: Double Sliding Door operation with stainless steel handles.
5.2 Smooth Movement
The door panels are equipped with rollers that ensure a quiet and effortless glide. Avoid forcing the doors, as this can cause unnecessary wear on the rollers and track.
6. Maintenance and Cleaning
Regular cleaning and maintenance will preserve the appearance and functionality of your shower door.
6.1 Glass Cleaning
The glass features a premium coating designed for easy cleaning and resistance to stains, soap scum, limescale, corrosion, and rust. Use a soft cloth and a non-abrasive glass cleaner. Avoid harsh chemicals or abrasive pads that could damage the coating.

Figure 6.1: Benefits of Premium Glass Coating for easy maintenance.
6.2 Frame and Hardware Care
The chrome finish and stainless steel handle are designed to resist rust and fading. Clean with a soft, damp cloth and mild soap. Dry thoroughly to prevent water spots. Avoid abrasive cleaners or scouring pads.
6.3 Leak-Proof Design
The shower door features water-tight seals and a bottom seal to channel water back into the tub, preventing leaks and keeping your bathroom floor dry. Regularly inspect seals for any signs of wear or damage and replace if necessary.

Figure 6.2: Water & Denoise Resistant Design, highlighting smooth rail and anti-crash angle for leak prevention and quiet operation.
7. Troubleshooting
This section addresses common concerns you might encounter with your shower door.
- Doors do not slide smoothly: Check the top track for any obstructions or debris. Ensure rollers are clean and free from buildup. A small amount of silicone lubricant can be applied to the track if needed.
- Water leakage: Verify that all seals are properly seated and intact. Ensure the bottom seal is correctly positioned to direct water back into the tub. Re-caulk any areas around the frame if necessary, following the installation manual.
- Door alignment issues: Refer to the installation manual for instructions on adjusting the door panels to ensure proper alignment and smooth operation.
8. Warranty and Support
For warranty information or customer support, please contact Lyngins directly. Details regarding specific warranty coverage and terms can be obtained through their official customer service channels.
If you require assistance with installation, parts, or have any questions about your product, please reach out to customer support. Contact information is typically provided on the product packaging or the manufacturer's website.