1. Introduction
This manual provides essential information for the proper installation, operation, maintenance, and troubleshooting of your new compatible string trimmer head. Designed for various Craftsman string trimmer models, this replacement head ensures efficient and reliable performance for your lawn care needs. Please read this manual thoroughly before installation and use to ensure safe and effective operation.
2. Product Overview
The string trimmer head is a crucial component for cutting grass and weeds. This replacement unit is constructed from high-strength plastic and metal, designed for durability and ease of use.
2.1 Components
- Trimmer Head Casing: The main body that houses the internal mechanisms and cutting line.
- Spool: Holds the cutting line.
- Spring Mechanism: Facilitates line feeding.
- Cutting Line: The consumable part that performs the cutting action.

Figure 1: Top view of three compatible string trimmer heads, showing the line exits.
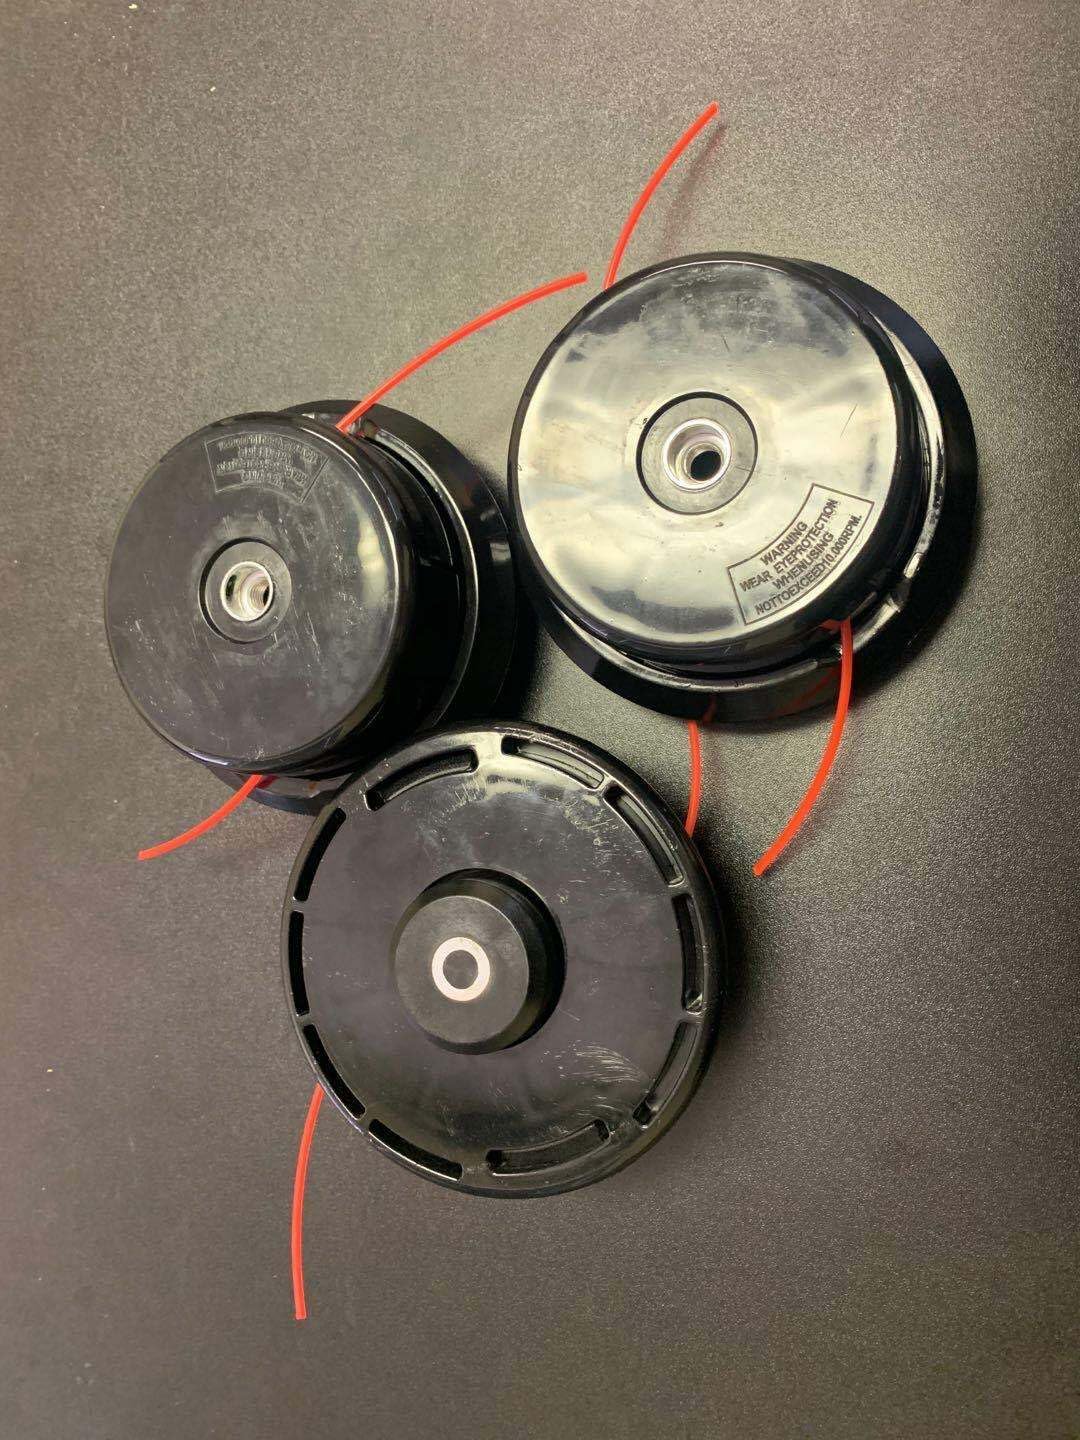
Figure 2: Bottom view of three compatible string trimmer heads, including safety warning labels.

Figure 3: An opened string trimmer head, illustrating the internal spring and spool mechanism.
3. Compatibility
This string trimmer head is compatible with the following Craftsman models:
- 316.711023
- 316.711370
- 316.711471
- 316.711470
- 316.711480
- 316.794400
- 316.711191
To verify compatibility, locate your trimmer's model number, typically found on a label on the motor housing or shaft. You can use the search function (Ctrl+F or Cmd+F) in your browser to quickly find your model number within this list.
4. Setup and Installation
4.1 Safety Precautions
- Always ensure the string trimmer is turned off and unplugged (for electric models) or the spark plug wire is disconnected (for gas models) before performing any installation or maintenance.
- Wear appropriate personal protective equipment (PPE), including safety glasses, gloves, and sturdy footwear.
- Refer to your original trimmer's instruction manual for specific safety guidelines.
4.2 Installation Steps
- Remove Old Trimmer Head: Depending on your trimmer model, this may involve unscrewing, unlatching, or using a tool to release the old head. Consult your trimmer's manual for precise instructions.
- Clean Shaft: Ensure the trimmer shaft and mounting area are free from debris, grass, or dirt.
- Align and Attach New Head: Align the new trimmer head with the shaft. Twist or push the head onto the shaft until it securely locks into place. Some models may require tightening a nut or bolt. Ensure it is firmly attached and does not wobble.
- Verify Installation: Gently tug on the installed head to confirm it is securely fastened before operating the trimmer.
5. Operating Instructions
Once the trimmer head is securely installed, you can operate your string trimmer as usual. This head is designed for efficient cutting of grass and light weeds.
- Starting the Trimmer: Follow the starting procedures outlined in your string trimmer's original manual.
- Cutting Technique: Use a sweeping motion to cut grass. Avoid hitting hard surfaces like concrete, rocks, or fences, as this can damage the cutting line and the trimmer head.
- Line Feeding: This trimmer head typically uses a bump-feed mechanism. To advance the cutting line, lightly tap the trimmer head on the ground while the trimmer is running at full speed.
6. Maintenance
6.1 Cleaning
After each use, ensure the trimmer is off and cool. Clean the trimmer head to remove grass clippings, dirt, and debris. A stiff brush or cloth can be used. Avoid using harsh chemicals that could damage the plastic components.
6.2 Line Replacement
When the cutting line becomes too short or breaks, it needs to be replaced. The specific method for reloading the line may vary slightly, but generally involves:
- Turn off and unplug the trimmer.
- Remove the Trimmer Head Cap: This usually involves pressing tabs or unscrewing the cap. Refer to Figure 3 for an example of an opened head.
- Remove Old Spool/Line: Take out the old spool or any remaining line.
- Install New Line: Follow the winding instructions for your specific spool type. Ensure the line is wound tightly and evenly. Many spools have arrows indicating the winding direction.
- Reassemble: Place the spool back into the head, ensuring the spring is correctly positioned, and reattach the cap securely.
6.3 Inspection
Regularly inspect the trimmer head for signs of wear, cracks, or damage. Replace the head if it shows significant wear or damage to prevent potential hazards or reduced performance.
7. Troubleshooting
- Line Not Feeding:
- Check if the line is tangled or improperly wound on the spool.
- Ensure the spring mechanism is intact and not jammed (refer to Figure 3).
- Verify that the line diameter is correct for the trimmer head.
- Poor Cutting Performance:
- Replace old or brittle cutting line with fresh line.
- Ensure the trimmer is operating at full RPM.
- Check for debris buildup around the head.
- Trimmer Head Wobbles:
- Re-check installation to ensure the head is securely fastened to the trimmer shaft.
- Inspect the shaft and head for any damage or wear that might prevent a tight fit.
8. Specifications
| Attribute | Value |
|---|---|
| Product Dimensions | 4.5 x 4.5 x 3.2 inches |
| Weight | 0.7 pounds |
| Material | High-strength plastic and metal |
| Compatible Models | Craftsman 316.711023, 316.711370, 316.711471, 316.711470, 316.711480, 316.794400, 316.711191 |
9. Support and Contact Information
For further assistance with product compatibility or replacement part inquiries, please refer to the following guidelines:
- Check Appliance Service Manual: Consult your appliance's service manual to find the correct part number for your needed replacement.
- Locate Model Number: Find the model number on your appliance's information plate. Use this to get the exact replacement part number from the manufacturer.
- Contact Manufacturer: Contact the manufacturer to ensure your part number is up to date and still available, or if it has been replaced by a new version.

Figure 4: Guide for finding appliance part numbers and contacting support.
For general inquiries or if you require additional support, you may contact the seller, Van Thinh Appliance Hub, through the platform where the purchase was made.