Introduction
The Ortovox Free Rider 22L backpack is engineered for freeriding, ski touring, and backcountry sports, providing secure and agile gear transport. This manual offers essential information for the proper setup, operation, and maintenance of your backpack, ensuring optimal performance and longevity.
Product Overview
The Free Rider 22L is a compact and versatile backpack designed to sit close to the body, offering stability during dynamic movements. Key features include a 22-liter volume, durable 400D recycled nylon construction, the flexible CLASP FLEX BELT, and compatibility with a hydration system. It also features dedicated compartments for avalanche safety gear and various attachment options for skis, snowboards, and other tools.
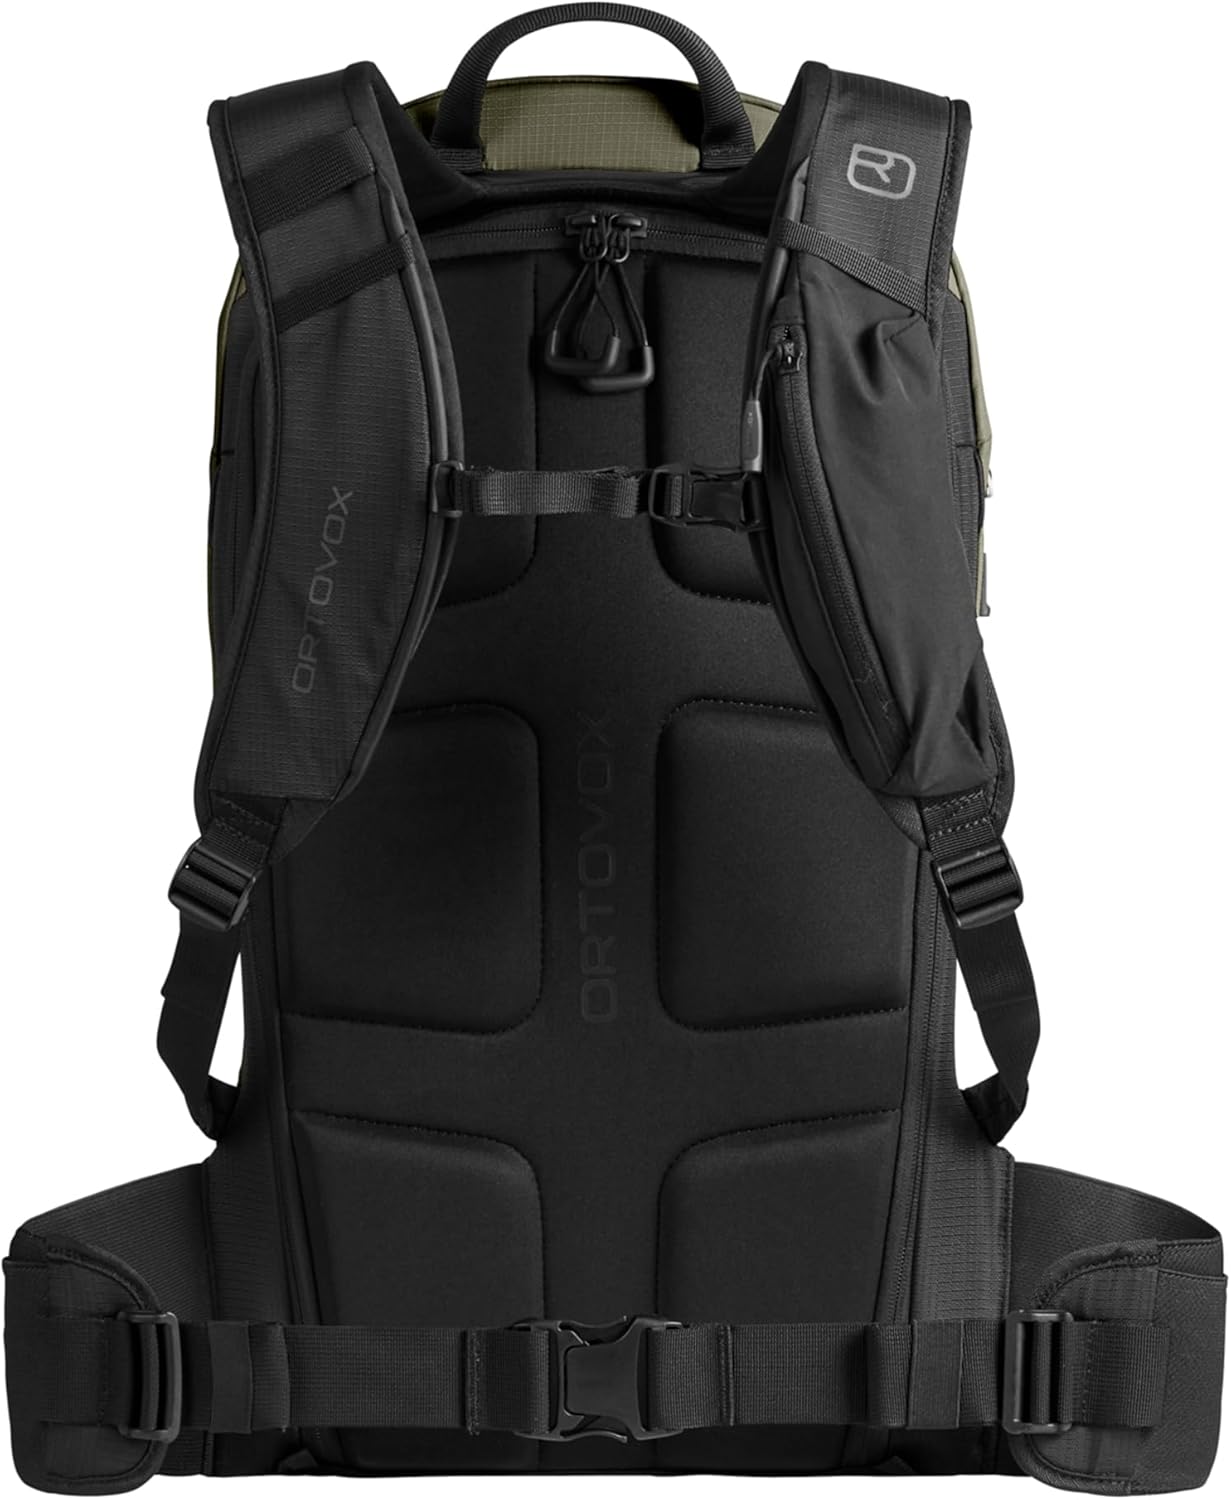
Figure 1: Front view of the Ortovox Free Rider 22L Backpack, highlighting its sleek design and attachment points.
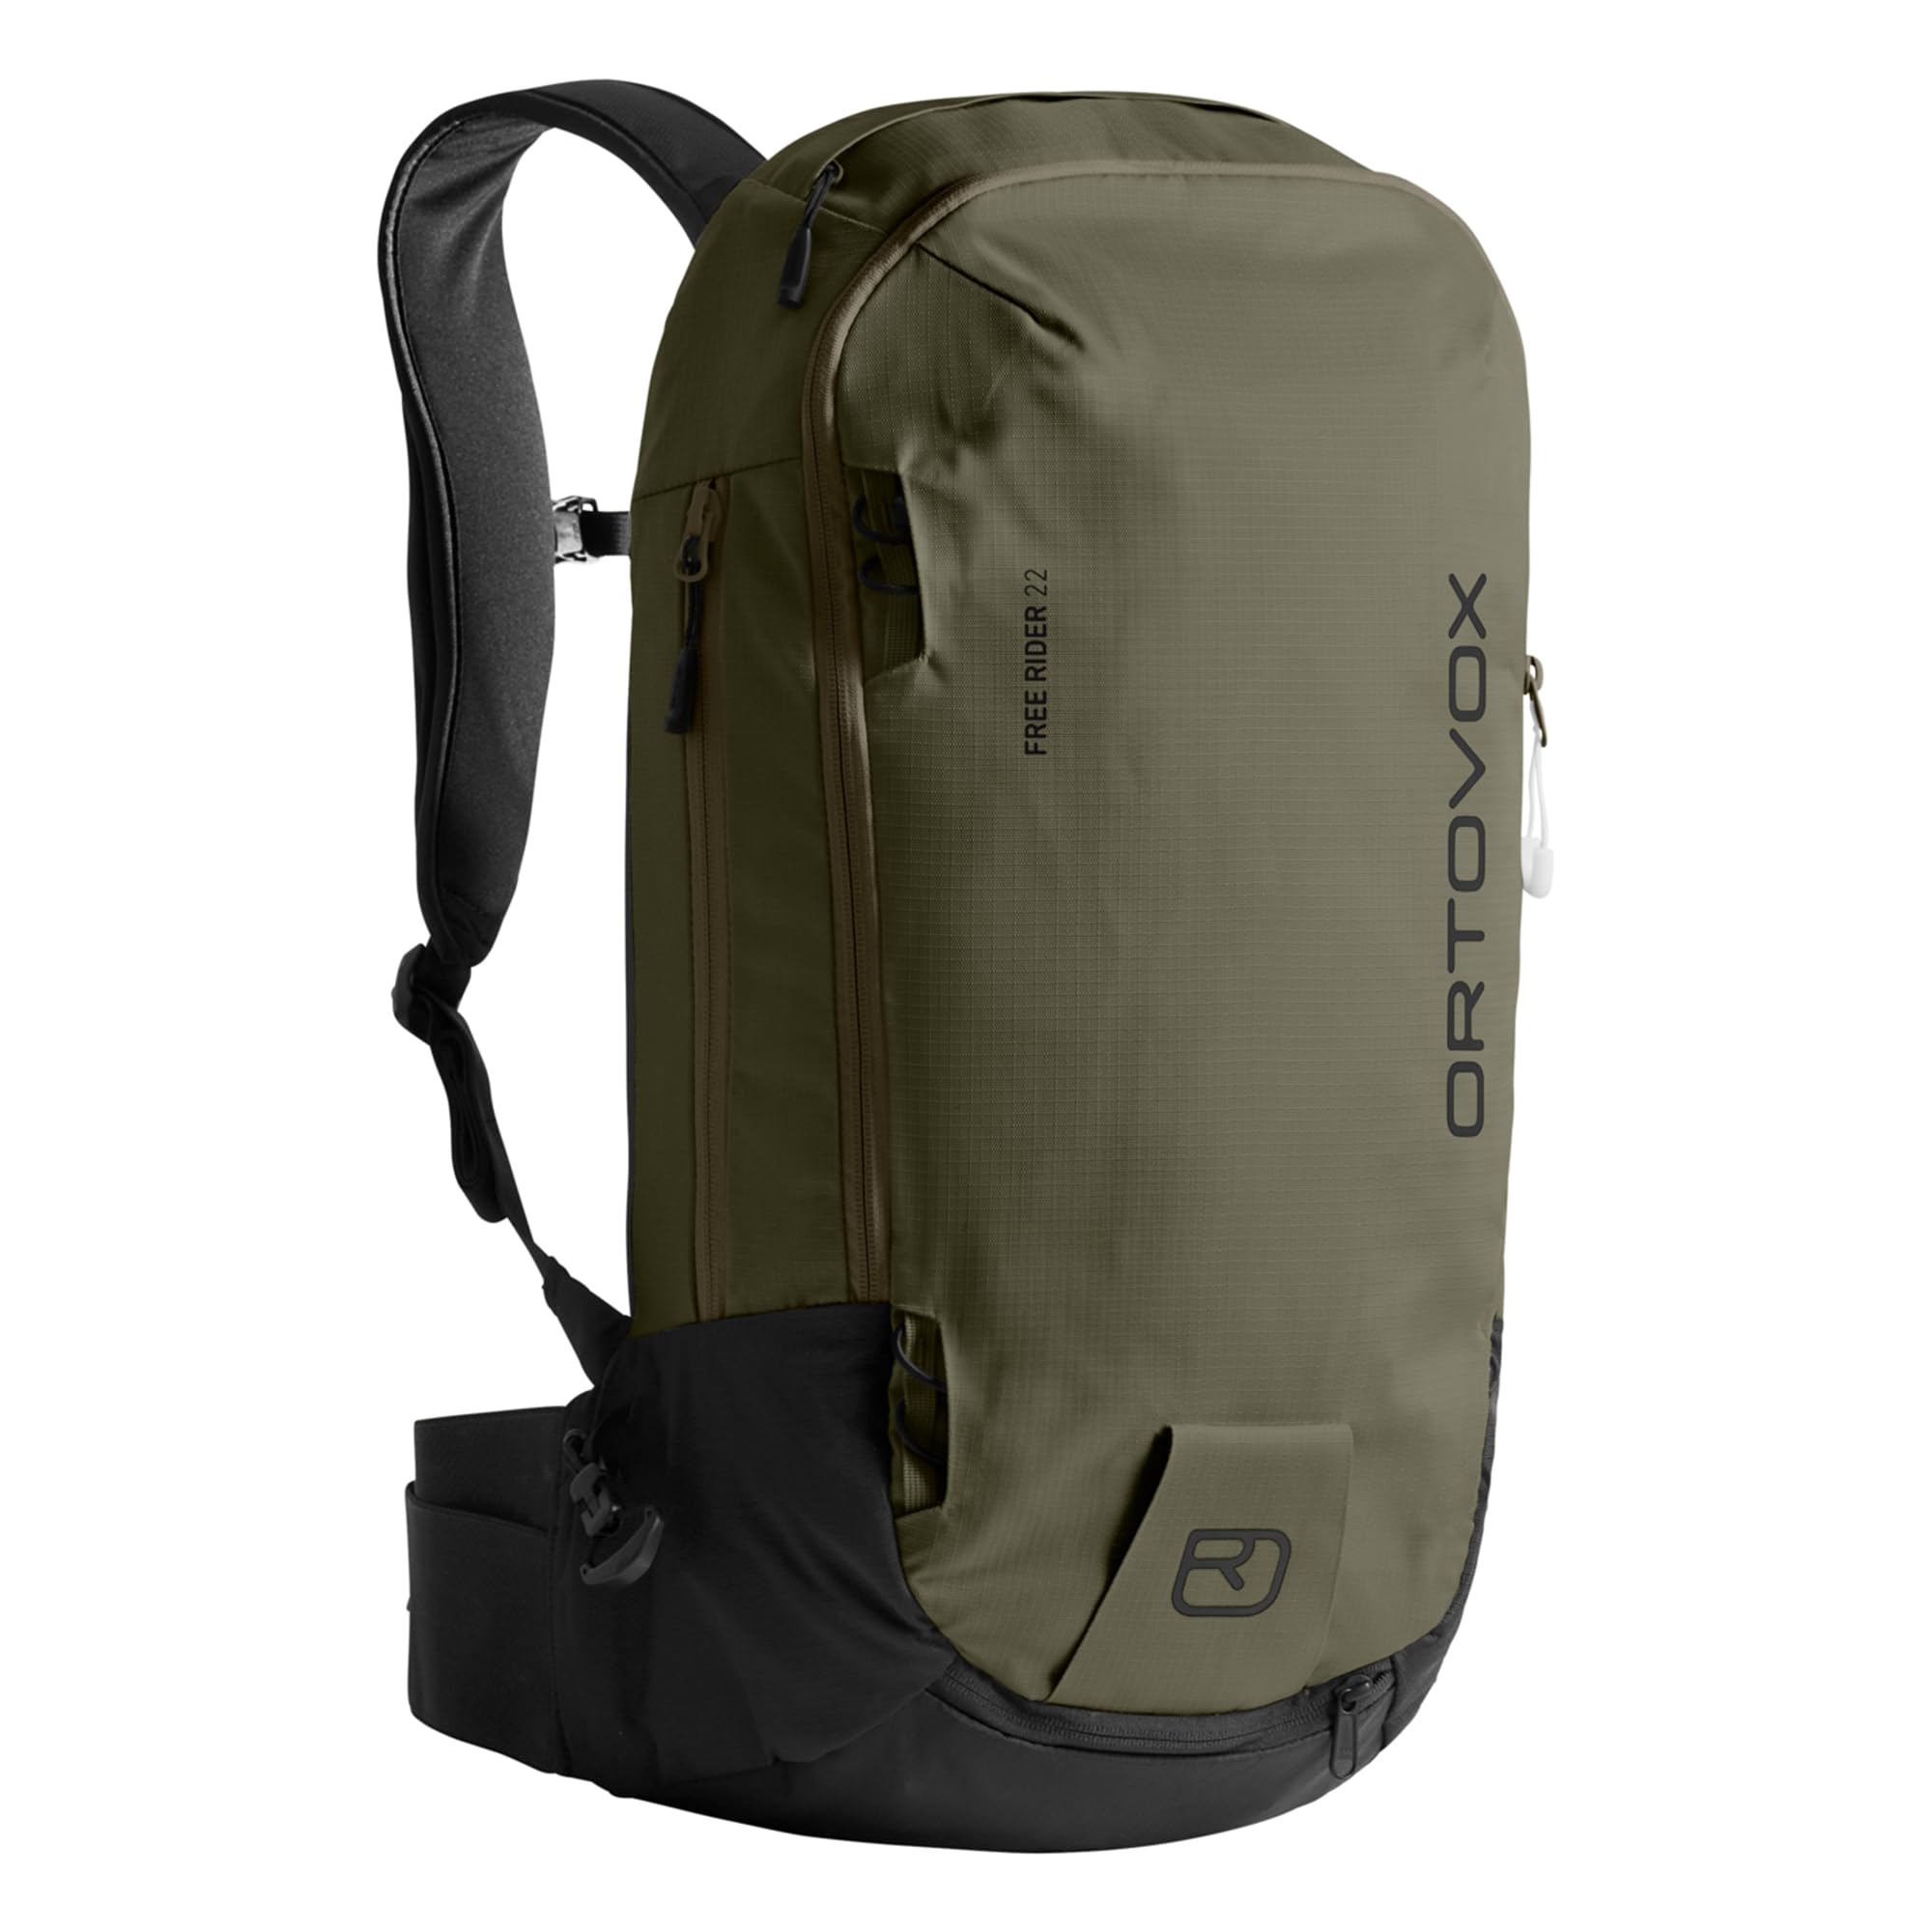
Figure 2: Rear view of the Ortovox Free Rider 22L Backpack, showing the padded back panel, shoulder straps, and hip belt.
Setup and Adjustment
Proper adjustment of your Free Rider 22L backpack is crucial for comfort and stability, especially during dynamic activities. Follow these steps to ensure an optimal fit:
- Load the Backpack: Before adjusting, load the backpack with typical gear you would carry. Place heavier items closer to your back and centered.
- Loosen All Straps: Fully loosen the shoulder straps, sternum strap, and hip belt (CLASP FLEX BELT).
- Position the Hip Belt: Place the hip belt so that the top edge rests on your iliac crest (hip bone). Fasten the CLASP FLEX BELT securely. This belt is designed to be flexible and move with your body.
- Tighten Shoulder Straps: Pull the shoulder strap adjusters downwards to tighten until the pack sits comfortably against your back. The straps should contour over your shoulders without creating gaps or digging in.
- Adjust Sternum Strap: Fasten the sternum strap across your chest and adjust its height and tension. It should be snug enough to pull the shoulder straps inward, but not so tight that it restricts breathing.
- Hydration System Integration: The backpack features an internal sleeve for a hydration bladder. Insert your bladder into this sleeve and route the drinking tube through the designated port on the shoulder strap. Secure the tube to prevent it from dangling.
- CLASP Spine Protector (Optional): The Free Rider 22L is compatible with the Ortovox CLASP Spine Protector. If using, ensure it is correctly inserted and secured according to its specific instructions for certified impact protection.
Operation and Gear Carry
The Free Rider 22L offers various options for organizing and carrying your equipment:
- Main Compartment: Use the main compartment for clothing, food, and other bulkier items. Pack efficiently to maintain the pack's low profile and stability.
- Avalanche Safety Compartment: A dedicated, easily accessible compartment is provided for your avalanche transceiver, shovel, and probe. Always store these items here for quick retrieval in an emergency.
- Ski Carry System: The backpack supports diagonal ski carry. Attach your skis securely using the integrated straps. Ensure skis are balanced and do not obstruct movement.
- Snowboard Carry System: For snowboarders, the pack offers a secure attachment system. Position your snowboard centrally and tighten all straps to prevent shifting.
- Ice Axe/Pole Attachment: Loops and straps are available for carrying ice axes or trekking poles. Secure these tools to prevent them from snagging or falling.
- Side Compression Straps: Utilize the side compression straps to cinch down the load, reducing pack volume and preventing contents from shifting during activity.
Maintenance and Care
Proper care will extend the life of your Ortovox Free Rider 22L backpack:
- Cleaning: Hand wash the backpack with lukewarm water and a mild, non-detergent soap. Do not use harsh chemicals or bleach. Rinse thoroughly to remove all soap residue.
- Drying: Air dry the backpack completely in a well-ventilated area, away from direct sunlight or heat sources. Ensure all compartments are open to facilitate drying. Do not tumble dry.
- Storage: Store the clean, dry backpack in a cool, dry place, away from direct sunlight. Avoid storing it in compressed states for extended periods.
- Inspection: Regularly inspect all buckles, zippers, straps, and seams for signs of wear, damage, or loose stitching. Address minor issues promptly to prevent further damage.
Troubleshooting
Here are solutions to common issues you might encounter:
- Uncomfortable Fit: If the backpack feels uncomfortable or causes pressure points, re-evaluate your adjustments. Ensure the hip belt is correctly positioned on your hips and shoulder straps are not too tight or too loose. Distribute the load evenly.
- Unstable Load: If the pack feels unstable during movement, ensure all internal contents are packed tightly and heavier items are close to your back. Utilize the side compression straps to secure the load and reduce internal shifting.
- Difficulty Accessing Gear: Practice packing and accessing essential gear (especially avalanche safety tools) in a non-emergency situation. Ensure zippers are not obstructed and compartments are organized logically.
- Zipper Malfunction: If a zipper is stiff, try lubricating it with a silicone-based spray. If teeth are misaligned, gently work them back into place. Avoid forcing stuck zippers.
Specifications
| Feature | Detail |
|---|---|
| Product Dimensions | 23 x 15 x 5 inches |
| Item Weight | 2.7 pounds |
| Volume | 22 Liters (1343 cubic inches) |
| Material | 400D Recycled Nylon |
| Waist Belt | CLASP FLEX BELT |
| Hydration Compatible | Internal sleeve |
| Model Number | 468106270122 |
| Department | Mens |
| Age Range Description | Adult |
Safety Information
When engaging in freeriding, ski touring, and backcountry sports, safety is paramount. This backpack is a tool to assist you, but it does not replace proper training and awareness:
- Avalanche Awareness: Always carry essential avalanche safety gear (transceiver, shovel, probe) and know how to use them. Participate in avalanche safety courses and check local avalanche forecasts before heading into the backcountry.
- Route Planning: Plan your route carefully, considering terrain, weather, and snow conditions. Inform others of your plans.
- Emergency Preparedness: Carry a first-aid kit, navigation tools, and emergency communication devices.
- Physical Fitness: Ensure you are physically prepared for the demands of backcountry activities.
Warranty and Support
Ortovox products are manufactured to high standards and come with a manufacturer's warranty against defects in materials and workmanship. For specific warranty details, product support, or to register your product, please visit the official Ortovox website or contact their customer service directly.
For further assistance, please refer to the contact information provided on the Ortovox official website: www.ortovox.com