Important Safety Information
WARNING: Read all instructions carefully before assembly and use of the tricycle. Failure to follow these instructions may result in serious injury.
- Adult assembly required.
- Always supervise children when using the tricycle.
- Ensure all fasteners are securely tightened before each use.
- Do not use near stairs, hills, roads, or swimming pools.
- Wear appropriate safety gear, including a helmet.
Product Overview
The Milly Mally Zippy Tricycle is designed for young children, offering a stable and enjoyable riding experience. It features a durable frame and comfortable seating.
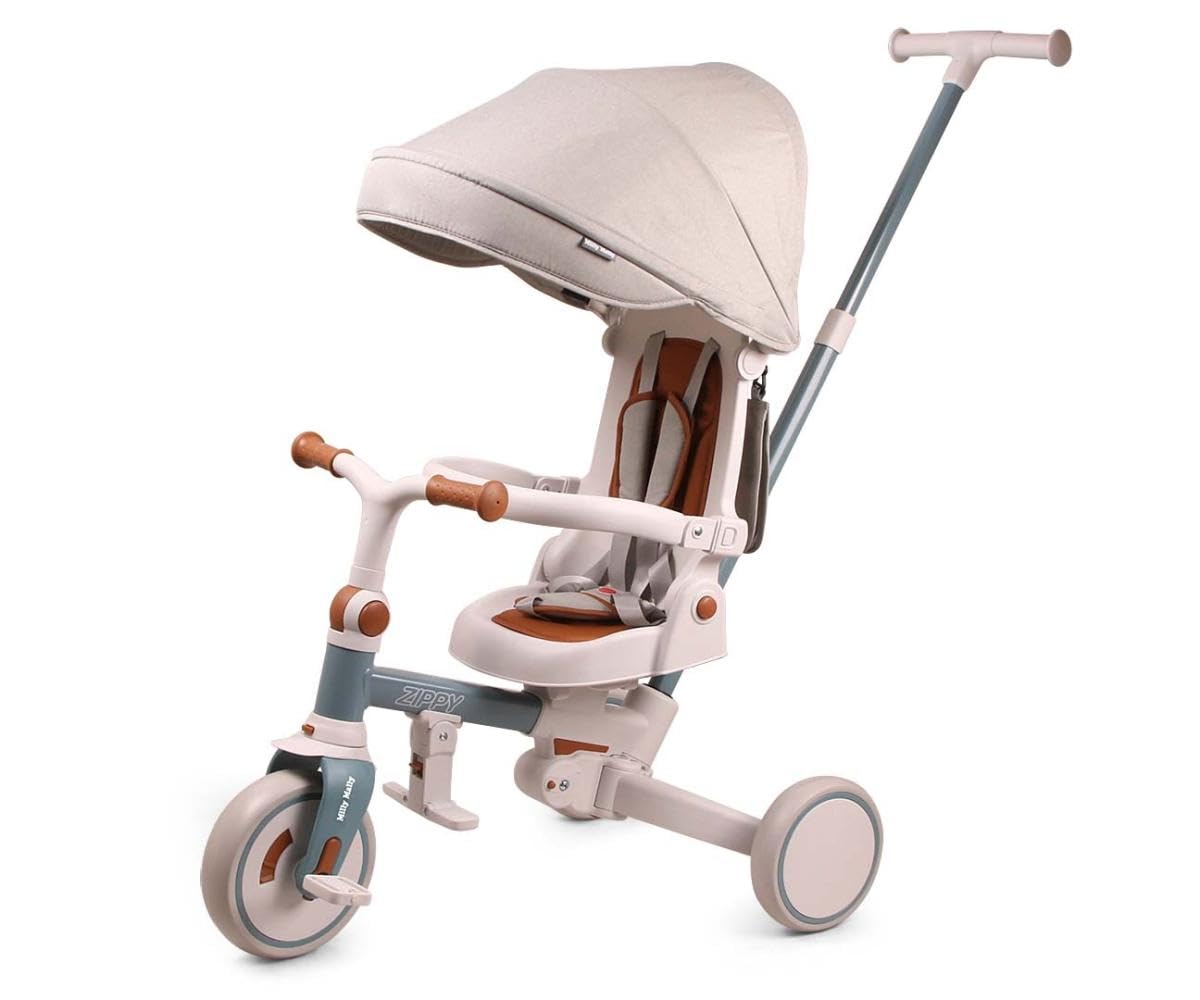
Image: Milly Mally Zippy Tricycle. This image shows the tricycle from a side angle, highlighting its blue color, wheels, seat, and handlebars.
Package Contents
Please check the package carefully to ensure all parts are present before beginning assembly. If any parts are missing or damaged, contact customer support.
- Tricycle Frame (Main Body)
- Front Wheel Assembly
- Rear Wheels (x2)
- Handlebar
- Seat
- Push Handle (if applicable)
- Footrests (if applicable)
- Hardware Pack (screws, nuts, washers)
- Instruction Manual (this document)
Assembly Instructions
Follow these steps carefully for proper assembly. Adult supervision is required.
Step 1: Attach Rear Wheels
Insert the rear wheels onto the axle at the back of the tricycle frame. Ensure they click into place or are secured with the provided fasteners. Repeat for both wheels.

Image: Rear Wheel Attachment. This diagram illustrates the process of sliding a rear wheel onto the tricycle's axle until it is securely fastened.
Step 2: Install Front Wheel and Fork
Slide the front wheel assembly (including the fork) into the opening at the front of the tricycle frame. Secure it using the locking mechanism or bolt provided, ensuring the wheel can rotate freely.

Image: Front Wheel Installation. This image depicts the front wheel and fork being inserted into the main frame, ready for securing.
Step 3: Attach Handlebar
Insert the handlebar stem into the top of the front fork. Align the handlebar and tighten the securing bolt firmly with the appropriate tool.

Image: Handlebar Attachment. This illustration shows the handlebar being inserted into the steering column and secured.
Step 4: Install Seat
Place the seat onto the designated post on the tricycle frame. Adjust the height if adjustable, and secure it firmly with the provided knob or bolt.

Image: Seat Installation. This diagram demonstrates how to position and secure the seat onto the tricycle's frame.
Step 5: Final Checks
Before allowing a child to use the tricycle, double-check all bolts, nuts, and fasteners to ensure they are tight. Verify that the wheels spin freely and the handlebar turns smoothly. Ensure the seat is stable.
Operating Instructions
Ensure the child is comfortable and understands how to use the tricycle safely.
- Riding Position: Ensure the child can comfortably reach the pedals and handlebars. Adjust the seat if necessary.
- Steering: The child steers by turning the handlebars.
- Pedaling: Encourage the child to push the pedals forward to move the tricycle.
- Supervision: Always provide close adult supervision during use.
- Safe Environment: Use the tricycle on flat, clear surfaces, away from traffic, water, and hazards.
Maintenance and Care
- Cleaning: Wipe the tricycle with a damp cloth and mild soap. Do not use abrasive cleaners.
- Inspection: Regularly check all bolts, nuts, and fasteners for tightness. Tighten as needed.
- Wheels: Inspect wheels for wear and tear. Ensure they spin freely.
- Storage: Store the tricycle in a dry, cool place, away from direct sunlight and extreme temperatures.
- Lubrication: Periodically apply a small amount of lubricant to moving parts like wheel axles if they become stiff.
Troubleshooting
| Problem | Possible Cause | Solution |
|---|---|---|
| Tricycle does not move smoothly. | Loose wheels or stiff axles. | Check wheel attachment and tighten if loose. Lubricate axles if necessary. |
| Handlebar is wobbly. | Handlebar securing bolt is loose. | Tighten the handlebar securing bolt firmly. |
| Squeaking noises during use. | Lack of lubrication on moving parts. | Apply a small amount of lubricant to axles and pivot points. |
Specifications
- Brand: Milly Mally
- Model: Zippy
- ASIN: B0FMGT4DCT
- Manufacturer: Milly Mally
- Product Type: Children's Tricycle
- Amazon Best Sellers Rank:
- #275,506 in Toys & Games
- #456 in Tricycles
Warranty Information
Milly Mally products are covered by a manufacturer's warranty against defects in materials and workmanship. For specific warranty terms and conditions, please refer to the warranty card included with your product or visit the official Milly Mally website. Keep your proof of purchase for warranty claims.
Customer Support
If you have any questions, require assistance with assembly, or need to report a missing/damaged part, please contact Milly Mally customer support:
- Website: Visit Milly Mally Store on Amazon
- Email: Consult official website for contact email.
- Phone: Consult official website for contact phone number.
Please have your product model (Zippy) and ASIN (B0FMGT4DCT) ready when contacting support.