1. Introduction
This manual provides essential instructions for the safe and efficient operation of your ZYNCUE Mini Digital Camera. Please read this manual thoroughly before using the device and retain it for future reference. This compact camera is designed for capturing high-resolution photos and videos, featuring a 12MP sensor and 1080P video recording capabilities.
2. Safety Information
- Do not expose the camera to water or moisture.
- Avoid dropping the camera or subjecting it to strong impacts.
- Keep the camera away from extreme temperatures.
- Use only the specified charging cable and power adapter.
- Do not attempt to disassemble or repair the camera yourself. Contact customer support for assistance.
- Keep out of reach of children.
3. Product Overview
Familiarize yourself with the components of your ZYNCUE Mini Digital Camera.

Image 3.1: Multiple views of the ZYNCUE Mini Digital Camera, showing the front with lens and flash, top with control buttons, and side/bottom views revealing ports and design details.
Controls and Ports
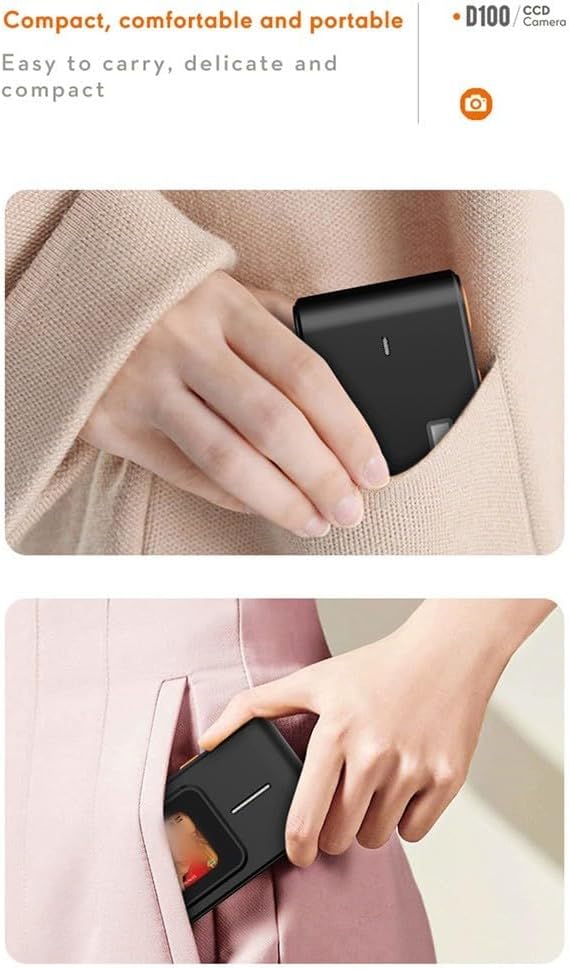
Image 3.2: Close-up of the camera's top panel, highlighting the three main control buttons: Filter switching, Power on/off, and Take photos/videos.
- Lens: Main camera lens for capturing images and videos.
- Flash: Provides illumination in low-light conditions.
- Display Screen: 1.45-inch IPS high-definition screen for navigation and reviewing content.
- Power Button: Turns the camera on or off.
- Mode/Filter Button: Switches between different modes or applies filters.
- Shutter/Record Button: Initiates photo capture or video recording.
- USB Type-C Port: For charging and data transfer.
- Microphone: Captures audio during video recording.
4. Setup
4.1 Charging the Battery
Before first use, fully charge the camera's internal 600 mAh battery.
- Connect the provided USB Type-C cable to the camera's USB port.
- Connect the other end of the cable to a compatible USB power adapter (DC 5V 1A) or a computer's USB port.
- The charging indicator will illuminate. Once charging is complete, the indicator may change color or turn off.
4.2 Inserting a Memory Card
A memory card (not included) is required to store photos and videos. The camera supports standard memory card types.
- Locate the memory card slot on the camera.
- Insert the memory card with the contacts facing the correct direction until it clicks into place.
- To remove, gently press the card until it springs out.
4.3 Powering On/Off
- To Power On: Press and hold the Power button (refer to Image 3.2) for a few seconds until the screen illuminates.
- To Power Off: Press and hold the Power button again until the screen turns off.
5. Operating Instructions
5.1 Taking Photos
The camera captures 12MP images at 4000 x 3000 pixels.

Image 5.1: The camera in use, demonstrating its ability to capture moments instantly with a single click.
- Ensure the camera is powered on.
- Frame your shot using the 1.45-inch IPS display.
- Press the Shutter/Record button (refer to Image 3.2) to take a photo.
- The camera features automatic exposure, white balance, and ISO settings for optimal image quality.
5.2 Recording Videos
Record Full HD 1080P videos at 30 frames per second.

Image 5.2: The camera's screen displaying the video recording interface, showing 1080P Ultra HD 30fps recording, exposure value (EV), and automatic white balance (AWB) settings.
- Ensure the camera is powered on.
- Press the Mode/Filter button to switch to video recording mode if necessary.
- Press the Shutter/Record button to start recording. A timer or indicator will appear on the screen.
- Press the Shutter/Record button again to stop recording.
- The camera supports loop recording in 15-minute segments.
5.3 Using Filters
The camera offers various filters to enhance your photos and videos.
- While in photo or video mode, press the Mode/Filter button (refer to Image 3.2) to cycle through available filters.
- Observe the changes on the IPS display.
5.4 Auto Focus
The camera features an auto-focus function to ensure clear and sharp images.
Image 5.3: The camera's screen showing the auto-focus function in action, with a focus box around the subject's face, ensuring precise focus.
- The camera automatically adjusts focus when composing your shot.
- Ensure the subject is within the camera's focus range for optimal results.
5.5 Transferring Files (OTG)
You can transfer photos and videos to a computer or compatible mobile device using the USB Type-C port.

Image 5.4: The camera connected via USB-C to a laptop and a smartphone, illustrating the OTG (On-The-Go) function for direct photo and video transfer.
- Connect the camera to your computer or OTG-compatible mobile device using the USB Type-C cable.
- The camera will appear as a removable storage device.
- Browse the camera's folders to access and transfer your files.
6. Maintenance
6.1 Cleaning
- Use a soft, dry cloth to clean the camera body.
- For the lens and screen, use a specialized lens cleaning cloth and solution to avoid scratches.
- Do not use harsh chemicals or abrasive cleaners.
6.2 Storage
- Store the camera in a cool, dry place away from direct sunlight.
- If storing for extended periods, ensure the battery is partially charged (around 50%) to prolong its lifespan.
7. Troubleshooting
If you encounter issues with your camera, refer to the following common problems and solutions:
| Problem | Possible Cause | Solution |
|---|---|---|
| Camera does not power on. | Low battery; faulty battery; power button issue. | Charge the battery fully. Ensure the power button is pressed correctly. |
| Cannot take photos/record videos. | No memory card; memory card full; memory card error. | Insert a memory card. Delete unnecessary files or replace the card. Format the card (this will erase all data). |
| Images are blurry. | Lens dirty; subject too close/far; camera shake. | Clean the lens. Ensure proper distance to subject. Hold the camera steady. |
| Computer does not recognize camera. | Faulty USB cable; incorrect connection; driver issue. | Try a different USB cable or port. Ensure the camera is powered on and connected correctly. |
8. Specifications
| Feature | Specification |
|---|---|
| Model Number | 61124015OL20899IT6DC |
| Dimensions | 8.5 x 3.6 x 2.5 cm (Product); 11 x 9 x 4 cm (Package) |
| Weight | 120 g |
| Color | Black |
| Image Resolution | 12 MP (4000 x 3000 pixels) |
| Video Resolution | 1080P (1920 x 1080 / 30 fps) |
| Video File Format | AVI |
| Photo File Format | JPG |
| Loop Recording | 15-minute segments |
| Display Screen | 1.45-inch IPS High-Definition |
| Battery | 600 mAh |
| Interface Type | USB Type-C |
| Operating Voltage | DC 5V 1A |
| Operating Temperature | -10 to 60 degrees Celsius |
| Automatic Features | Exposure, White Balance, ISO |
9. Warranty and Support
For warranty information or technical support, please refer to the documentation included with your purchase or contact ZYNCUE customer service. Keep your proof of purchase for warranty claims.