1. Product Overview
The Lian Li LANCOOL 217 INF is a mid-tower ATX computer case designed for optimal airflow and aesthetic appeal. It features an infinity mirror front panel, pre-installed ARGB fans, and flexible component support.
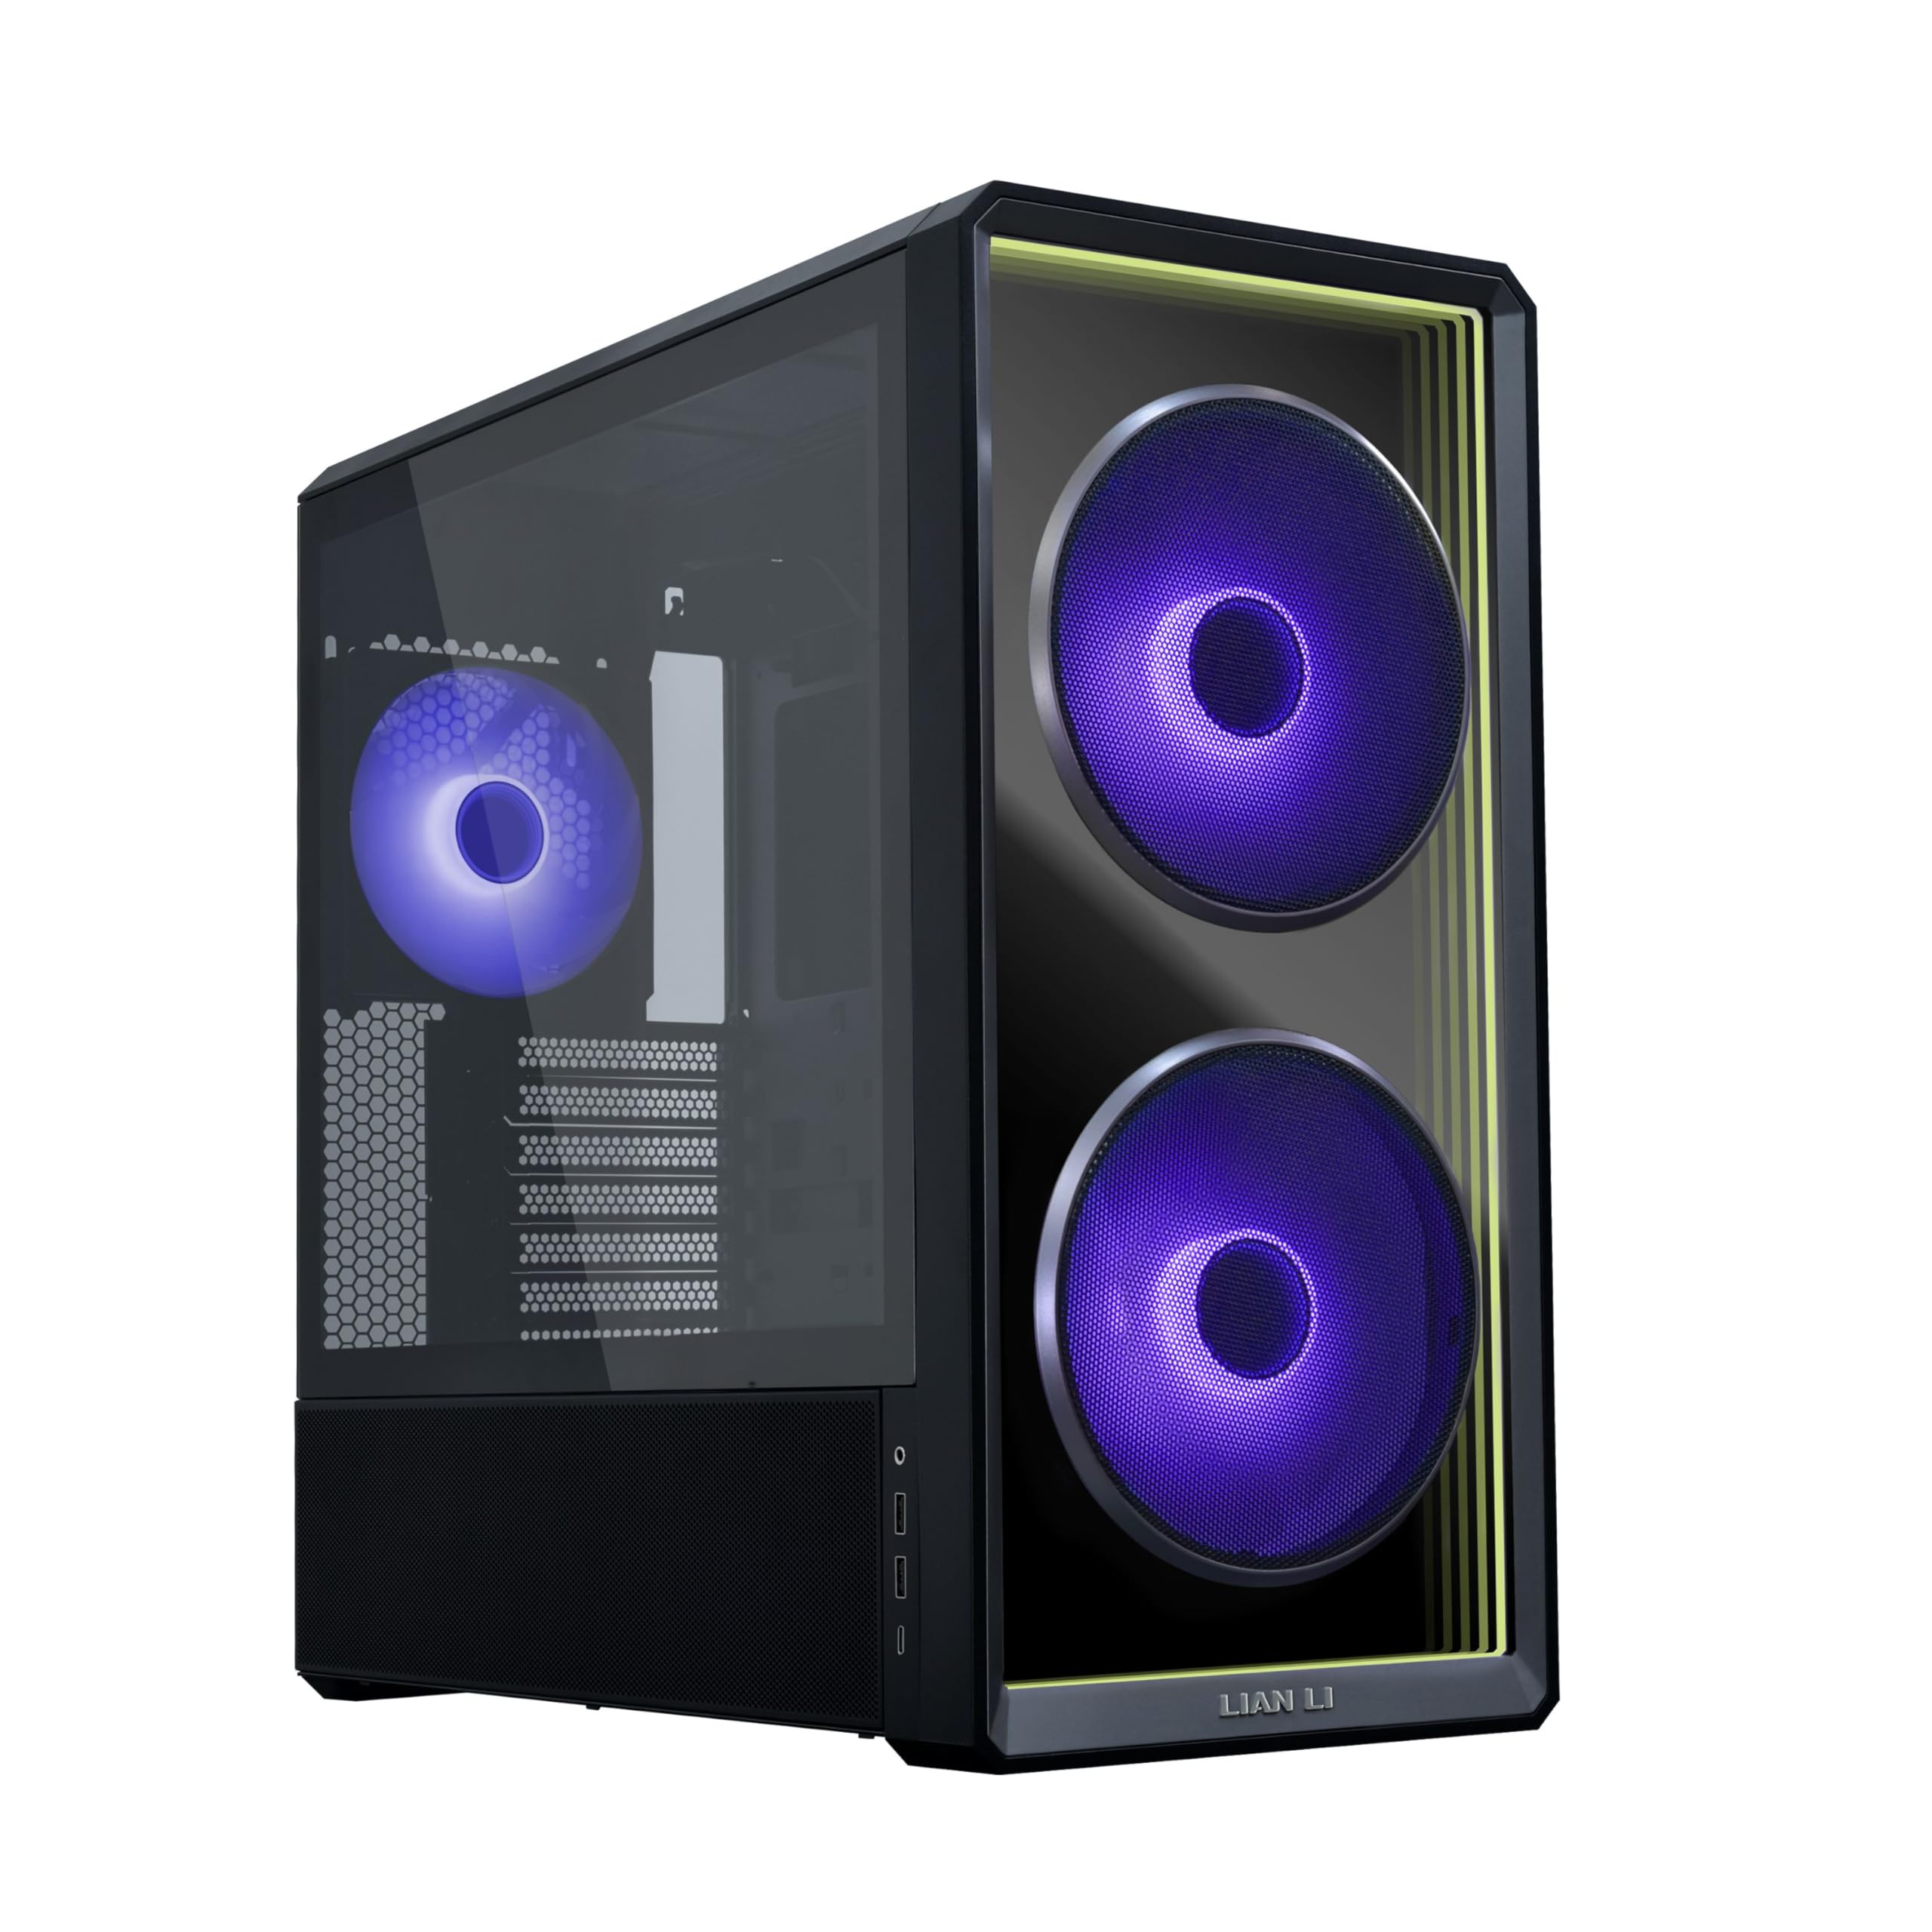
Figure 1: Lian Li LANCOOL 217 INF Computer Case, Black Infinity Mirror variant.
2. Package Contents
Verify that all components are present in the package:
- LANCOOL 217 INF Chassis
- 2 x 170mm ARGB Front Fans (pre-installed)
- 1 x 140mm ARGB Rear Fan (pre-installed)
- Accessory Box (screws, cable ties, user manual)
3. Setup and Installation
3.1 Preparing the Case
Before installing components, ensure the case is placed on a stable, flat surface. Remove the side panels by unscrewing the thumbscrews at the rear and gently pulling the panels off.
Video 1: Overview of the LANCOOL 217 INF PC Case configuration and features.
3.2 Motherboard Installation
The LANCOOL 217 INF supports various motherboard sizes including ATX, Micro-ATX, Mini-ITX, E-ATX (max width 280mm), and SSI-EEB (max width 330mm). For E-ATX motherboards, the right-side bracket may need to be flipped. For SSI-EEB, remove the shielding plate and rubber grommets on the right-side bracket.

Figure 2: Diagram illustrating supported motherboard sizes within the case.
The case also supports back-connect motherboards (ATX, Micro-ATX) by removing the HDD cage behind the motherboard tray.
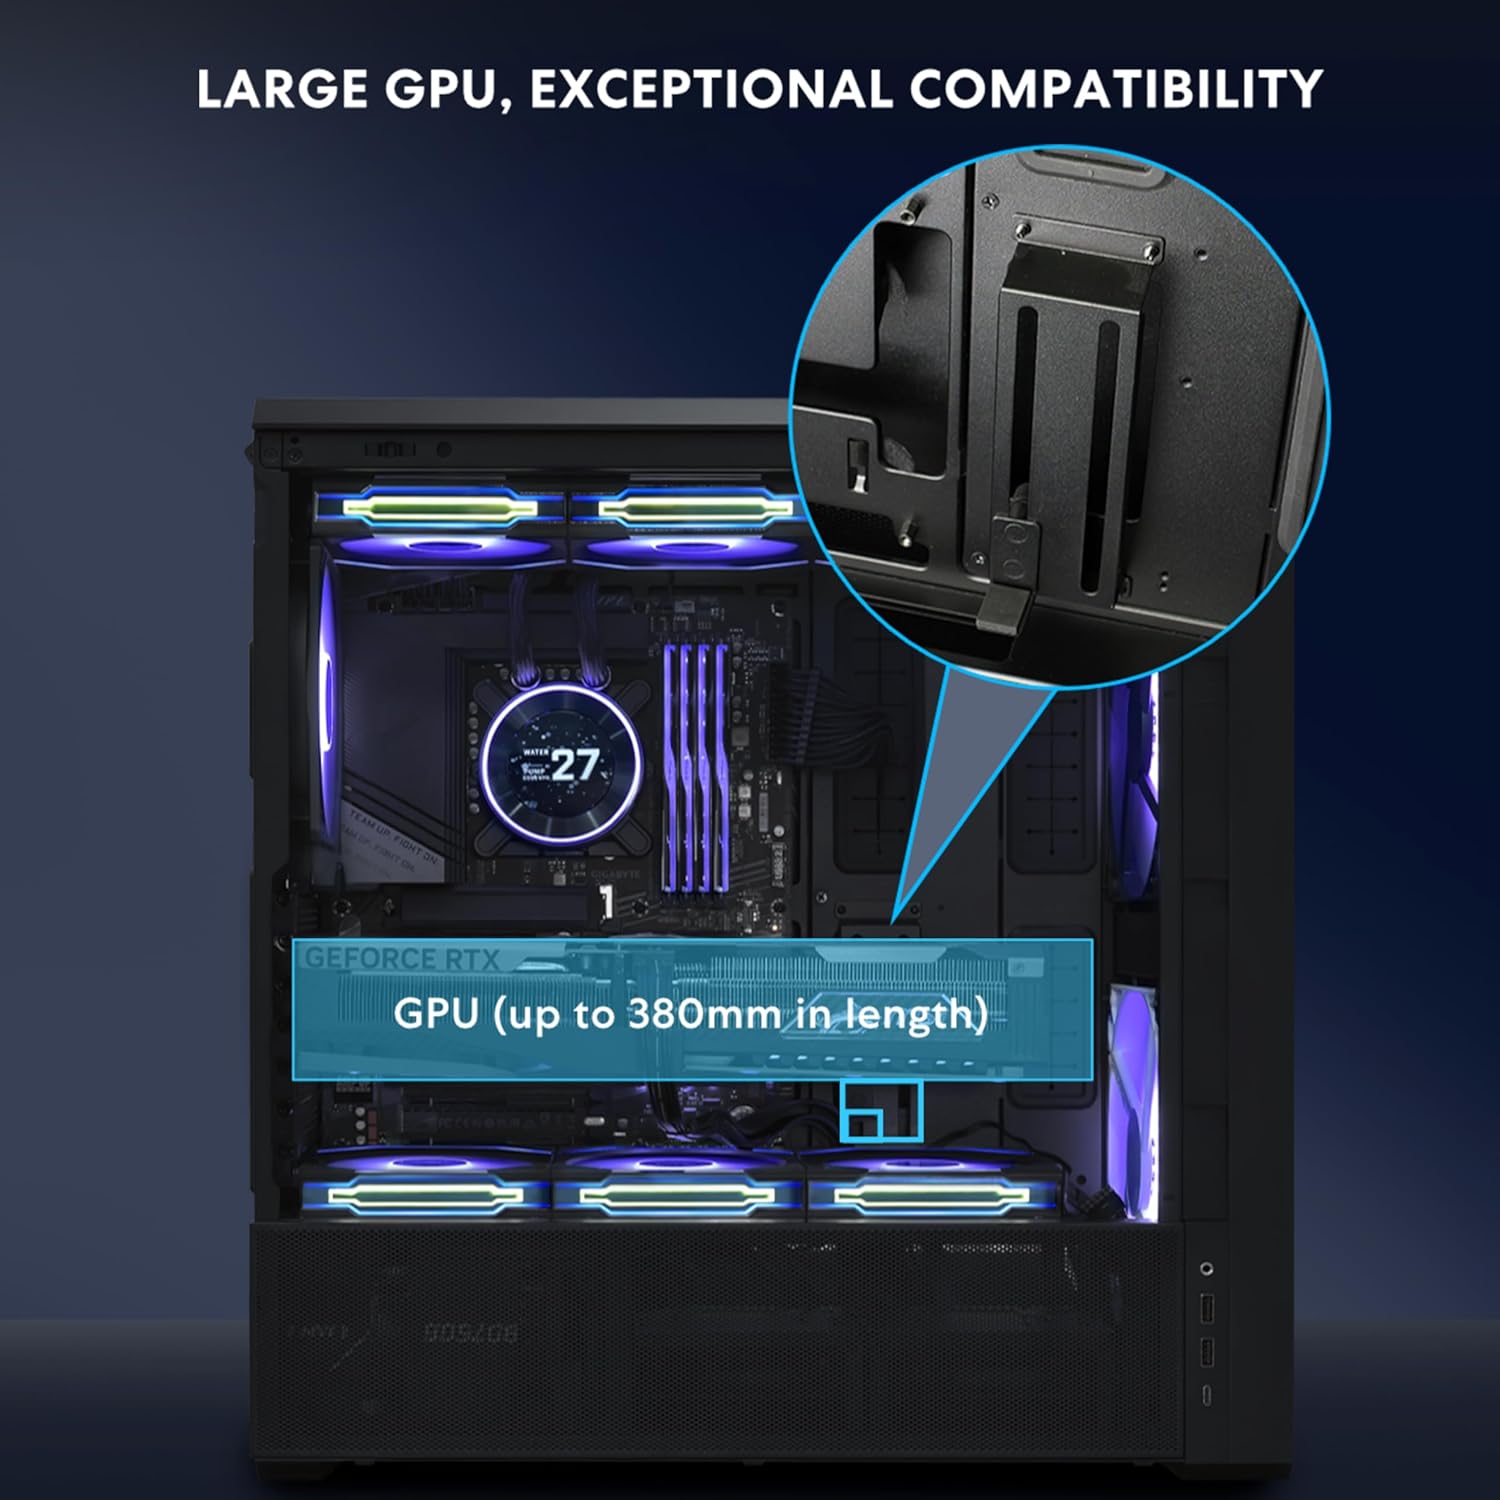
Figure 3: Internal view showing space for back-connect motherboards.
3.3 Power Supply Unit (PSU) Installation
The case offers two PSU mounting orientations:
- Standard Mode: PSU connectors face the front, supporting PSUs up to 220mm in length. This mode supports two HDD cages.
- Rotated Mode: PSU is turned 90 degrees with connectors facing the right side, supporting compact PSUs up to 180mm. This optimizes cable routing and allows for a bottom fan to cool the PSU. Note: This mode requires sacrificing one HDD bay.

Figure 4: Illustration of standard and rotated PSU mounting options.
3.4 Drive Installation
The case provides flexible storage options:
- Behind motherboard tray: 2 x 2.5" SSDs or 1 x 2.5" SSD (when using a rear-mounted Micro-ATX motherboard).
- HDD cage: 2 x 3.5" HDDs + 2 x 2.5" SSDs (or 2 x 3.5" HDDs or 2 x 2.5" SSDs).
- PSU shroud cover: 1 x 2.5" SSD.

Figure 5: Diagram showing available drive mounting locations.
3.5 GPU Installation
The LANCOOL 217 INF supports GPUs up to 380mm in length and includes an adjustable anti-sag bracket for secure installation.

Figure 6: Internal view highlighting GPU length support and anti-sag bracket.
The PCIe slot bracket can be rotated 90 degrees to support vertical GPU mounting. When rotating the bracket, it is recommended to remove the first and second PCIe slot covers to prevent interference with the motherboard.
3.6 Fan and Radiator Support
The case comes with two 170mm ARGB front fans and one 140mm ARGB rear fan pre-installed. Additional fan and radiator mounting options are available:
- Top: Up to 3 x 120mm or 2 x 140mm fans / 280mm or 360mm radiator (max thickness ≤85mm). The top radiator bracket is fully removable for easier installation.
- Bottom (under PSU shroud): 2 x 120mm fans.

Figure 7: Diagram detailing comprehensive fan and radiator mounting locations.
3.7 Relocatable I/O Module
The I/O module can be installed at the top or bottom of the case for convenient access. It includes an M1 button for front panel lighting control and an M2 button for ARGB fan lighting control.

Figure 8: Close-up of the I/O module with M1 and M2 buttons.
4. Operating Instructions
4.1 Lighting Control
The LANCOOL 217 INF offers multiple methods for controlling its ARGB lighting:
- I/O Buttons: Use the M1 button to control the front panel infinity mirror lighting and the M2 button to control the ARGB fan lighting. Long press M1 to switch between wireless and offline modes. Long press M2 to sync with motherboard lighting.
- Motherboard Software: Connect the ARGB cables to your motherboard's ARGB header and use the motherboard's synchronization software for lighting control.
- L-Connect 3 Software: For advanced customization of lighting effects and fan speeds, use the Lian Li L-Connect 3 software. A built-in wireless receiver in the rear hub allows seamless control through L-Connect 3 and L-Wireless technology. Note: The L-Wireless controller is sold separately. The built-in rear hub does not support external fan connections.

Figure 9: L-Connect 3 software interface for lighting and fan speed control.
4.2 Fan Speed Control
In default mode, both 170mm and 140mm fans run via PWM sync with the motherboard. In wireless mode, L-Connect 3 enables independent control of fan speed for a customized setup.
5. Maintenance
5.1 Dust Filter Cleaning
The front fans come with a removable metal mesh dust filter to prevent dust intake. This filter can be easily detached for quick cleaning. Regularly clean the dust filters to maintain optimal airflow and cooling performance.

Figure 10: View of the removable metal mesh dust filter for the front fans.
5.2 General Cleaning
Use a soft, dry cloth to clean the exterior surfaces of the case. Avoid touching the infinity mirror front panel directly with bare hands to prevent fingerprints. For stubborn smudges, use a microfiber cloth lightly dampened with a non-abrasive cleaner suitable for glass surfaces.
6. Troubleshooting
6.1 Fan Noise / Speed Control Issues
If the pre-installed fans are running at maximum speed and are noisy, check your motherboard's BIOS settings. The fans may be set to 'DC' mode by default. Change the fan control mode from 'DC' to 'PWM' in the BIOS to enable adjustable fan speeds via motherboard software or L-Connect 3.
6.2 PSU Extension Cord Length
When installing the PSU in the rotated (vertical) orientation, ensure the PSU extension cord is routed properly before installing the PSU. The provided extension cord may require careful routing around the sponge pads to reach the back panel. Attempting to connect the extension cord after the PSU is fully installed may result in insufficient length.
6.3 HDD Cage Interference
If installing two HDD cages in the standard PSU layout, ensure there is no interference with the power supply. If interference occurs, consider using the rotated PSU orientation or adjusting the HDD cage placement.
7. Specifications

Figure 11: Detailed specifications table for the LANCOOL 217 INF and LANCOOL 217 INFW models.
| Feature | Detail |
|---|---|
| Brand | Lian Li |
| Model Name | LAN217INFX |
| Case Type | Mid Tower |
| Color | LAN217INFX - Black |
| Material | Tempered Glass |
| Motherboard Compatibility | ATX, Micro-ATX, Mini-ITX, E-ATX, SSI-EEB |
| Dimensions (D x W x H) | 19.8"D x 9.37"W x 18.98"H |
| Item Weight | 10 Kilograms |
| Pre-installed Fans | 2 x 170mm ARGB Front, 1 x 140mm ARGB Rear |
| Cooling Method | Air |
| Power Supply Mounting Type | Bottom Mount (Standard/Rotated) |
| Internal Bays Quantity | 2 (HDD cage) |
| Total USB 3.0 Ports | 2 |
| Other Special Features | Built-In Fan, Dust Filter, LED Control Button, RGB Lighting |
8. Warranty and Support
This product comes with a 1 Year Warranty from the date of purchase. For warranty claims, technical support, or further inquiries, please contact Lian Li customer service through their official website or authorized distributors.
Please retain your proof of purchase for warranty validation.
9. Additional Resources
Video 2: Official product video for the Lian Li LANCOOL 217 INF computer case.
Video 3: Demonstration of the Lian Li 217 INF Infinity Computer Case with its side glass panel.