
1. Introduction
Thank you for choosing the Houdian Digital Refrigerator Thermometer Model A0909B. This device is designed to provide accurate temperature monitoring for refrigerators, freezers, and other environments. It features a clear LCD display, switchable Celsius/Fahrenheit units, a wide measurement range, and a maximum/minimum temperature alarm function to help maintain optimal conditions for your stored items.
Its waterproof design (IPX3) ensures durability in high-humidity environments, and its versatile mounting options (foldable hook and magnetic back) allow for flexible placement.


2. Safety Information
- Keep the device away from extreme temperatures outside its operating range to prevent damage.
- Do not immerse the device in water, despite its IPX3 rating, as this rating protects against splashing water, not submersion.
- Ensure batteries are inserted with correct polarity.
- Replace batteries promptly when the display becomes dim or unclear to ensure accurate readings.
- Keep batteries out of reach of children.
- Dispose of used batteries according to local regulations.
3. Package Contents
Upon unpacking, please ensure all items are present and in good condition:
- 1 x Houdian Digital Refrigerator Thermometer A0909B
- 1 x CR2032 Battery (pre-installed or included)
- 1 x Instruction Manual (this document)
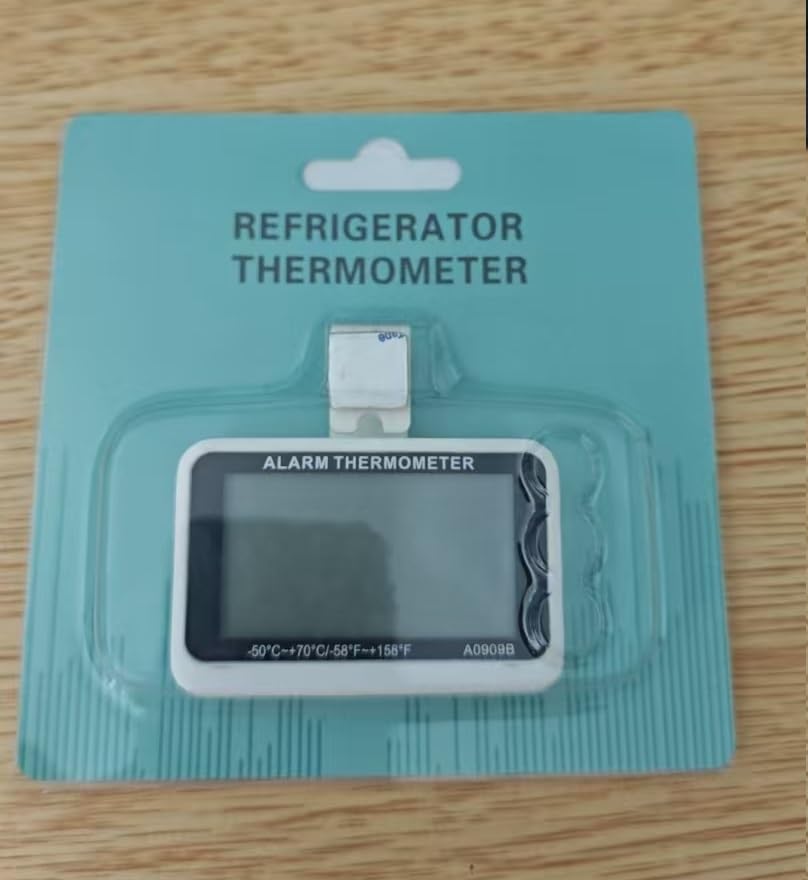
4. Product Overview
Familiarize yourself with the components and controls of your thermometer:


- LCD Display: Shows current temperature, MAX/MIN recorded temperatures, and alarm settings.
- SET Button: Used to enter and adjust alarm settings.
- UP (▲) Button: Increases values during setting, or clears MAX/MIN records (long press).
- DOWN (▼) Button: Decreases values during setting.
- °C/°F Button: Toggles between Celsius and Fahrenheit temperature units.
- Foldable Hook/Bracket: For hanging the thermometer or using it as a stand.
- Magnetic Back: For attaching to metallic surfaces.
- Battery Compartment: Houses the CR2032 battery.
5. Setup
5.1 Battery Installation
The thermometer typically comes with a CR2032 battery pre-installed. If not, or if you need to replace it:
- Locate the battery compartment on the back of the device.
- Open the battery compartment cover.
- Insert one CR2032 battery, ensuring the correct polarity (+ and - terminals match the markings inside the compartment).
- Close the battery compartment cover securely.
5.2 Placement
The thermometer offers multiple placement options:
- Hanging: Use the foldable hook to hang the thermometer from a shelf or rack inside your refrigerator or freezer.
- Magnetic Attachment: The strong magnetic back allows you to attach the thermometer directly to the metal door or wall of your refrigerator/freezer.
- Freestanding: Fold out the bracket to use the thermometer as a tabletop stand for room temperature monitoring.

6. Operating Instructions
6.1 Power On/Off
The thermometer powers on automatically once the battery is installed. There is no dedicated power button; it remains active to continuously monitor temperature.
6.2 Switching Temperature Units (°C/°F)
Press the °C/°F button on the back of the device to toggle between Celsius and Fahrenheit temperature displays.
6.3 Reading Current, Max, and Min Temperatures
The large numbers on the LCD display show the current temperature. The smaller numbers labeled "SET Hi" and "SET Lo" indicate the maximum and minimum temperatures recorded since the last reset or power cycle.

6.4 Setting Max/Min Temperature Alarms
To set the high and low temperature alarm thresholds:
- Press the SET button once. The "SET Hi" value will start flashing.
- Use the UP (▲) and DOWN (▼) buttons to adjust the desired maximum temperature alarm threshold.
- Press the SET button again. The "SET Lo" value will start flashing.
- Use the UP (▲) and DOWN (▼) buttons to adjust the desired minimum temperature alarm threshold.
- Press the SET button a third time to confirm the settings and exit the alarm setting mode.
When the temperature exceeds the "SET Hi" value or drops below the "SET Lo" value, the thermometer will emit an audible warning tone for approximately 15 seconds to alert you. The alarm will sound again if the temperature remains outside the set range after a period.
6.5 Clearing Max/Min Recorded Temperatures
To clear the recorded maximum and minimum temperature values (reset them to the current temperature), press and hold the UP (▲) button for a few seconds until the values reset.
7. Maintenance
7.1 Cleaning
Wipe the thermometer with a soft, damp cloth. Do not use abrasive cleaners or immerse the device in water.
7.2 Battery Replacement
When the LCD display becomes dim or unclear, it indicates that the battery power is low. Replace the CR2032 battery as described in Section 5.1.
8. Troubleshooting
| Problem | Possible Cause | Solution |
|---|---|---|
| Display is dim or blank. | Low or dead battery. | Replace the CR2032 battery (refer to Section 5.1). |
| Incorrect temperature reading. | Device placed in an area with inconsistent temperature or sensor obstruction. | Relocate the thermometer to a central area away from vents or direct cold/heat sources. Ensure the sensor area is clear. |
| Alarm does not sound when temperature is out of range. | Alarm thresholds not set correctly or alarm function is off. | Verify alarm settings (refer to Section 6.4). Ensure the temperature has been outside the range long enough to trigger the alarm. |
| Cannot switch between °C/°F. | Button malfunction or temporary software glitch. | Ensure you are pressing the correct button firmly. If issue persists, try removing and reinserting the battery to reset the device. |
9. Specifications
- Model Number: A0909B
- Temperature Measurement Range: -50°C to +70°C (-58°F to +158°F)
- Accuracy: ±1°C / ±1.8°F
- Resolution: 0.1°C (0.2°F)
- Power Source: 1 x CR2032 battery (included)
- Display Type: LCD
- Special Features: Temperature alert, wide measurement range, high precision, IPX3 waterproof design, magnetic back, foldable hook.
- Material: Plastic
- Dimensions: Approximately 9.1 cm (length)
- Package Dimensions: 17.5 x 7.9 x 2.1 cm; 40 g
- Country of Origin: China

10. Warranty Information
Houdian products are manufactured to high-quality standards. For specific warranty details, please refer to the warranty card included with your purchase or contact the retailer. This warranty typically covers defects in materials and workmanship under normal use.
11. Support
If you encounter any issues or have questions not covered in this manual, please contact your retailer or the manufacturer's customer support. Please have your product model number (A0909B) and purchase information ready when contacting support.