1. Introduction
Thank you for choosing the SAGUD inskam370 Digital Handheld Microscope. This portable device is designed for exploring the microscopic world with ease, featuring up to 500X magnification and a clear 2-inch IPS screen. It is suitable for users of all ages, from curious children to adult collectors, for examining insects, plants, coins, jewelry, and more. This manual provides essential information for proper setup, operation, and maintenance of your microscope.
2. Product Overview
Key Features:
- Portable Design: Lightweight and compact, ideal for on-the-go exploration.
- 2-Inch IPS Screen: Provides clear, real-time viewing of magnified images.
- 500X Magnification: Powerful magnification to observe intricate details.
- Adjustable LED Lights: Built-in 8 LED lights with 3 brightness modes for optimal illumination.
- Rechargeable Battery: Integrated 400mAh battery offers approximately 1.5 hours of continuous use.
- Photo & Video Recording: Capture images and videos directly on the device.
- PC Compatibility: Connects to Windows & MacOS systems for larger display and sharing.
- Expandable Storage: Built-in storage for up to 100 photos, expandable via Micro SD card (not included).
Package Contents:
- SAGUD inskam370 Digital Handheld Microscope
- USB Charging Cable
- Lanyard
- User Manual
3. Setup
- Charge the Device: Before first use, fully charge the microscope using the provided USB cable. Connect the cable to the microscope's charging port and a compatible USB power source (e.g., computer, wall adapter). The charging indicator will show status.
- Insert Micro SD Card (Optional): To save more photos and videos, insert a Micro SD card (up to 128GB, not included) into the designated slot. Ensure the card is inserted correctly.
- Attach Lanyard: Secure the included lanyard to the microscope for convenient carrying and to prevent accidental drops.
4. Operating Instructions
4.1 Power On/Off
- To Power On: Press and hold the Power button (usually marked with a power symbol) for a few seconds until the screen illuminates.
- To Power Off: Press and hold the Power button again until the screen turns off.
4.2 Magnification and Focus Adjustment
- Place the microscope directly over the object you wish to observe.
- Adjust the focus wheel (typically located on the side or bottom) until the image on the 2-inch IPS screen is clear and sharp.
- The microscope offers up to 500X magnification, allowing for detailed examination.

Image: The digital microscope demonstrating various magnification levels on a butterfly wing, from 100X to 500X.
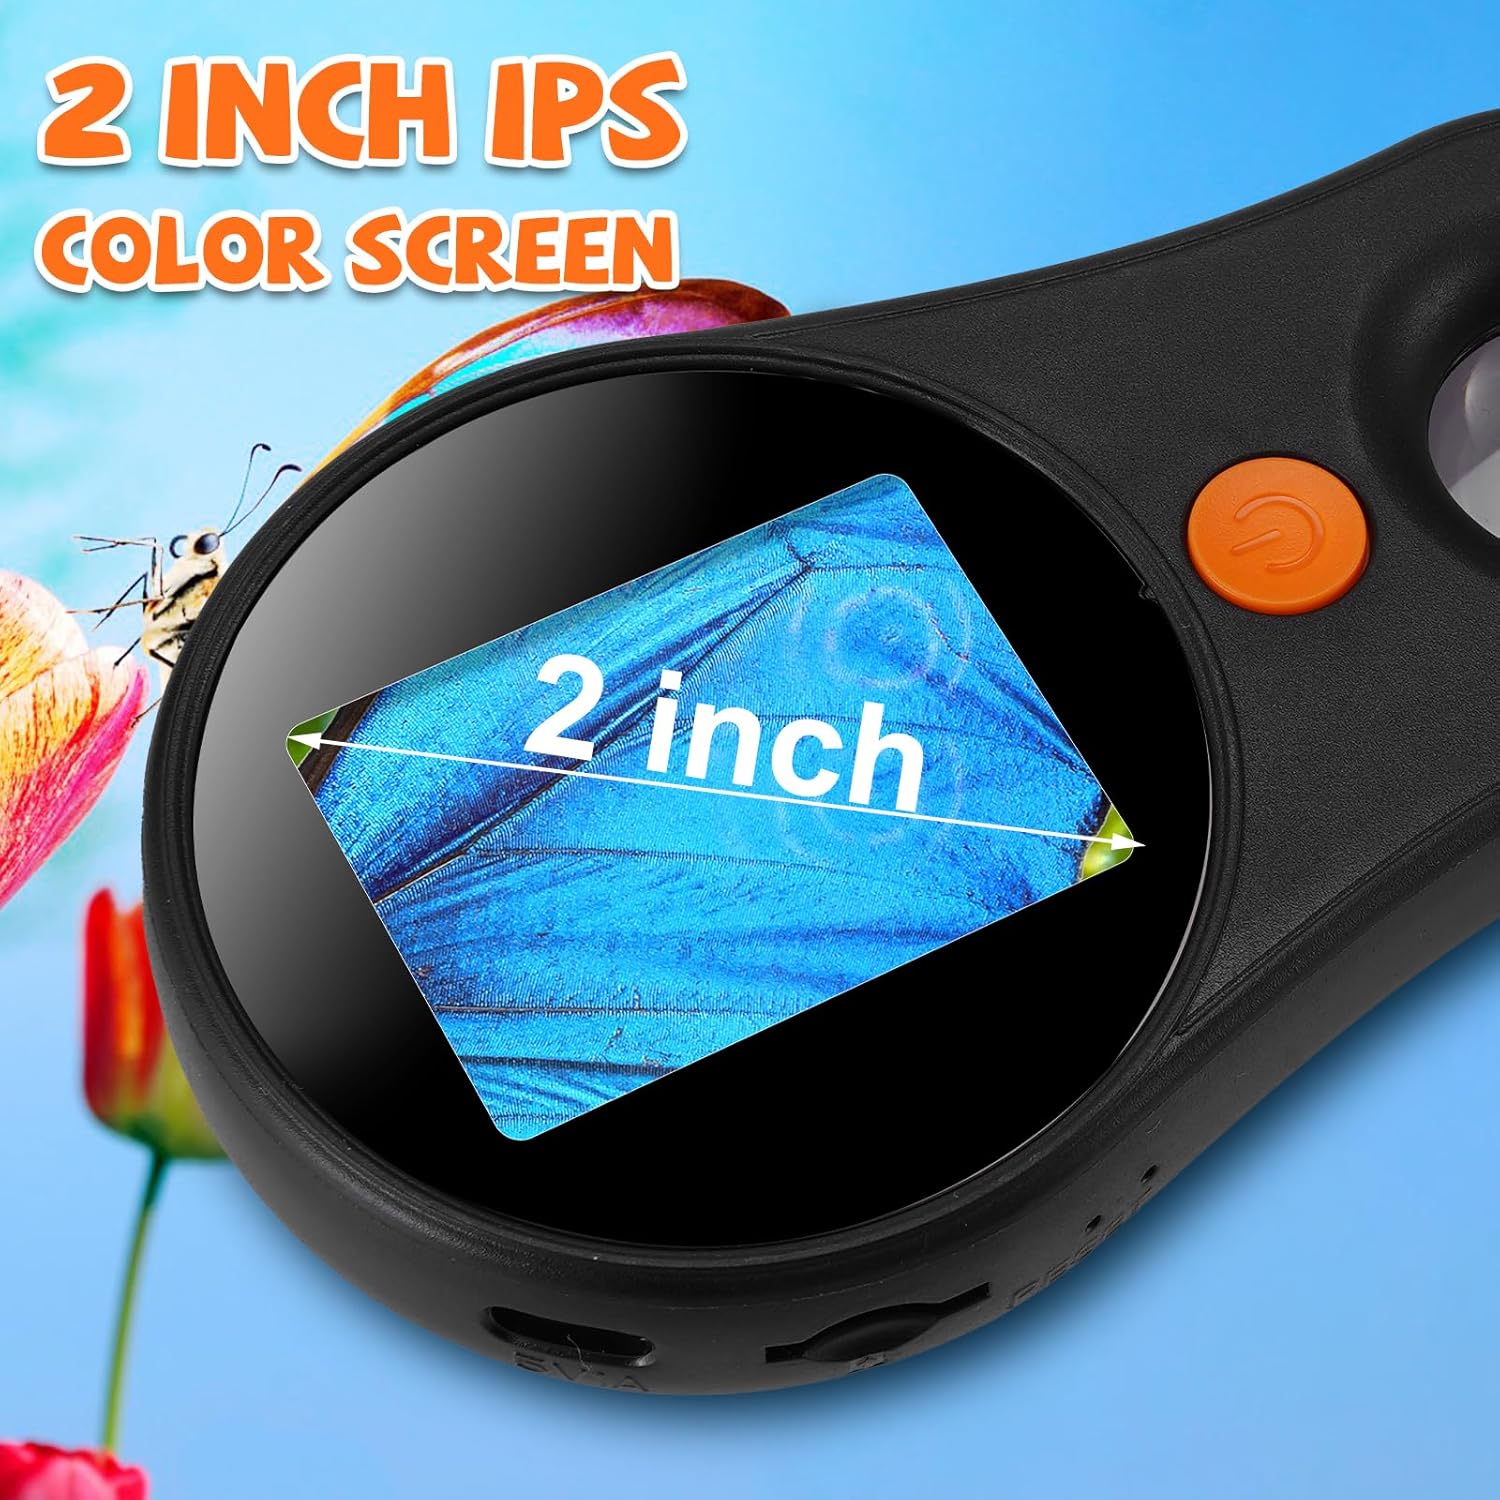
Image: A detailed view of the microscope's 2-inch IPS color screen, showing a magnified section of a butterfly wing.
4.3 LED Light Adjustment
- The microscope features 8 built-in LED lights.
- Use the dedicated light adjustment button (refer to device diagram for exact location) to cycle through 3 different brightness levels or turn the lights off.

Image: The microscope's adjustable 8 LED lights, demonstrating brightness levels from off to 100% on a ladybug specimen.
4.4 Taking Photos and Recording Videos
- Press the Photo/Video button (often marked with a camera or video icon) to capture still images or start/stop video recording.
- Captured media is saved to the internal memory or the inserted Micro SD card.
- The device can store up to 100 photos internally.
4.5 Connecting to a PC
- Connect the microscope to a Windows or MacOS computer using the USB cable.
- The device can function as a webcam, allowing you to view the magnified image on a larger screen and share live observations.

Image: The digital microscope connected to a laptop via USB, showing the magnified view of a leaf on the computer screen.
4.6 Using Specimen Slides
- If using prepared specimen slides, place them directly under the microscope lens.
- Adjust the focus and lighting as needed to get a clear view of the specimen.

Image: A user holding the digital microscope over a green leaf, with the magnified image visible on the microscope's screen and a connected laptop.
4.7 Official Product Video
Video: This video demonstrates the SAGUD Digital Handheld Microscope in use, showcasing its ability to magnify various objects like fabric, currency, skin, and jewelry. It highlights the device's screen and controls.
5. Maintenance
- Cleaning: Use a soft, dry cloth to clean the microscope body. For the lens and screen, use a specialized lens cleaning cloth and solution to avoid scratches.
- Storage: Store the microscope in a cool, dry place away from direct sunlight and extreme temperatures.
- Battery Care: To prolong battery life, avoid fully discharging the battery frequently. Charge the device regularly, even if not in use for extended periods.
6. Troubleshooting
- Device not turning on: Ensure the battery is charged. Connect to a power source and try again.
- Blurry image: Adjust the focus wheel carefully. Ensure the microscope lens is close enough to the object.
- Screen is too dark/bright: Adjust the LED light brightness using the dedicated button.
- Cannot save photos/videos: Check if a Micro SD card is inserted correctly and has sufficient free space. The internal memory might be full if no SD card is used.
- Cannot connect to PC: Ensure the USB cable is securely connected to both the microscope and the computer. Try a different USB port or cable.
7. Specifications
| Feature | Specification |
|---|---|
| Magnification Maximum | 500 x |
| Screen | 2.0-inch IPS |
| Light Source Type | LED (8 LEDs, 3 brightness modes) |
| Power Source | Battery Powered (1 Lithium Ion battery included) |
| Battery Capacity | 400mAh (approx. 1.5 hours runtime) |
| Material | Plastic |
| Item Weight | 5.3 ounces (0.15 Kilograms) |
| Package Dimensions | 6.69 x 5.12 x 3.15 inches |
| Model Number | inskam370 |
8. Warranty and Support
For any questions, technical support, or warranty inquiries regarding your SAGUD inskam370 Digital Handheld Microscope, please contact SAGUD customer service through the retailer's platform or the official SAGUD website. Please retain your proof of purchase for warranty claims.