1. Introduction
The RUIX GT820 CPU Air Cooler is engineered for high-performance computing, featuring an 8-heat pipe, dual-tower design capable of dissipating up to 240W TDP. It includes a 130mm PWM fan for efficient cooling and quiet operation. This manual provides essential information for proper installation, operation, and maintenance of your GT820 cooler.
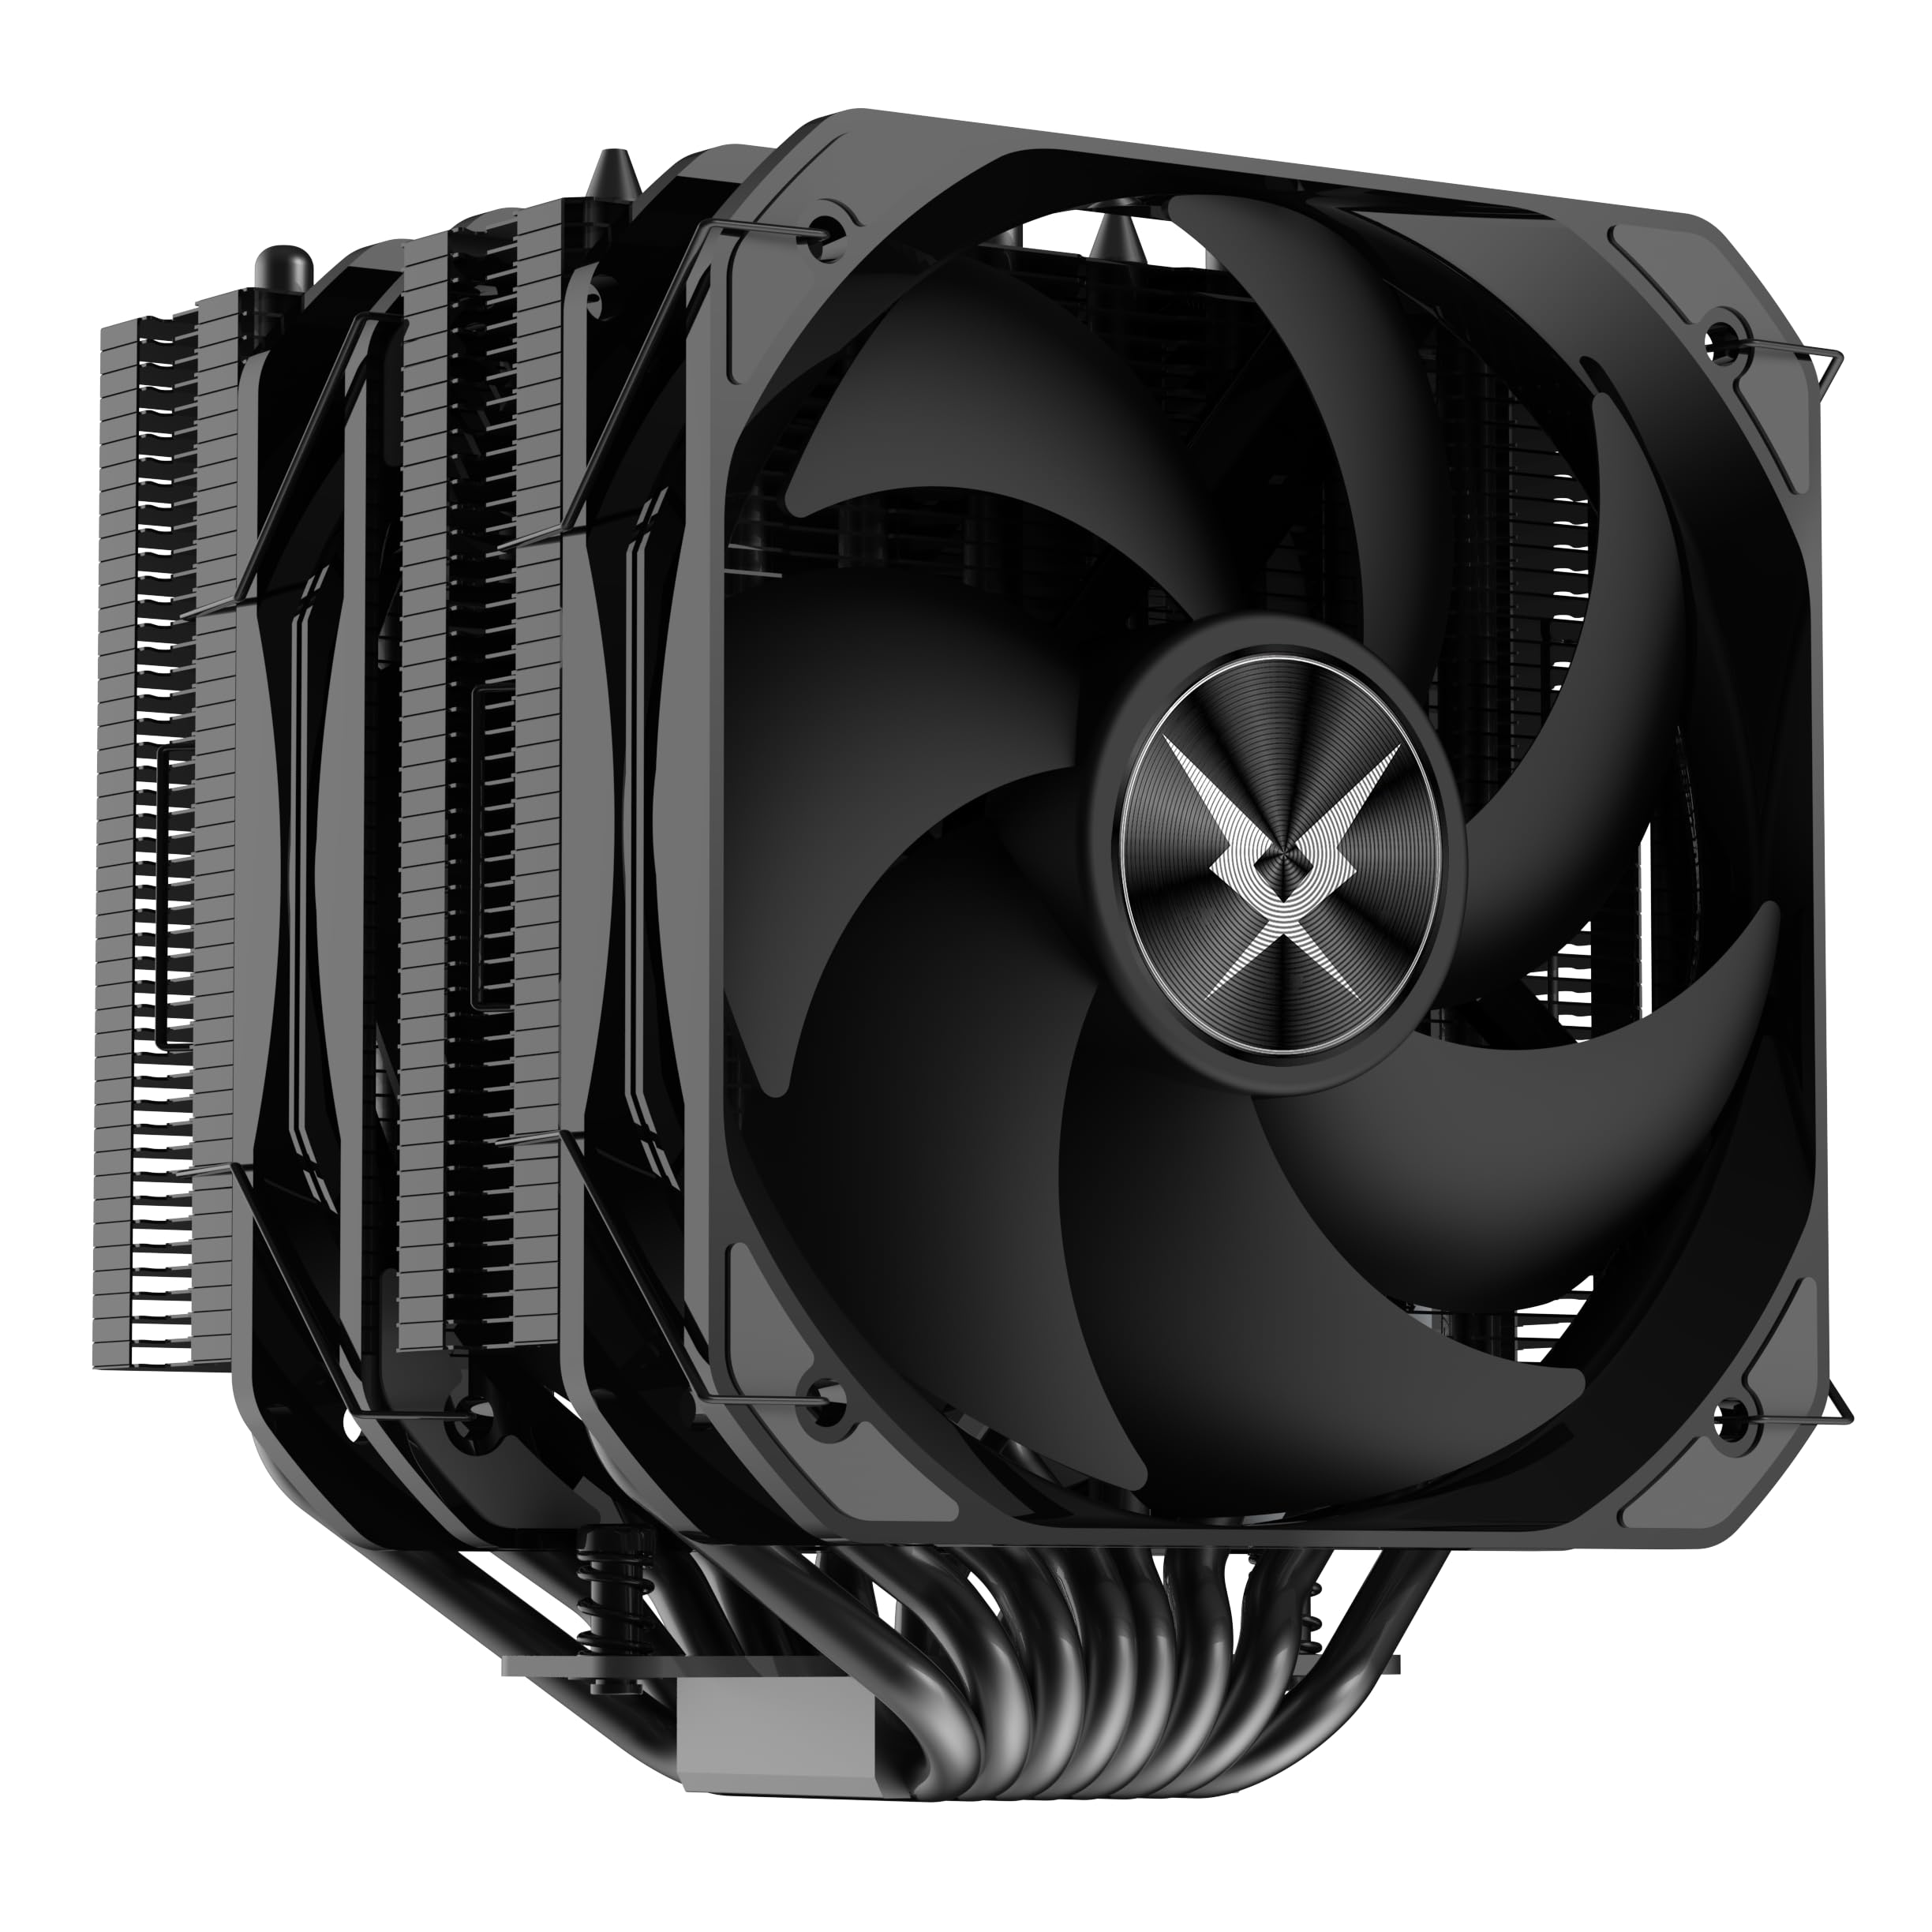
Image: The RUIX GT820 CPU Air Cooler, showcasing its dual-tower heatsink and 130mm fan.
2. Key Features
- Extreme Cooling Performance: 8 heat pipes with a dual-tower design provide a 240W TDP cooling capacity.
- 130mm High-Airflow PWM Fan: Delivers enhanced airflow and static pressure while maintaining quiet operation.
- Enhanced Thermal Design: Reinforced dual-tower heatsink ensures maximum contact and faster heat dissipation.
- Broad Compatibility: Supports AMD AM4/AM5 and Intel LGA 1700/1200/115X/2011/1851 sockets.
- Optimized for Enthusiasts: Suitable for overclocking, high-end gaming, and heavy rendering tasks.

Image: A summary of the RUIX GT820 CPU Cooler's key features, including 8 copper tubes, 130mm fan, 240W TDP, dual fans, Intel/AMD compatibility, 70.55CFM air volume, PWM speed regulation, and a completely blackened tower body.
3. Package Contents
Please verify that all components are present before beginning installation.
- RUIX GT820 CPU Air Cooler (Heatsink with pre-installed fans)
- Mounting hardware for Intel LGA 1851/1700/1200/115X sockets
- Mounting hardware for AMD AM4/AM5 sockets
- Thermal paste (small quantity)
- User Manual
4. Installation Guide
Before installation, ensure your system is powered off and unplugged. Refer to your motherboard manual for CPU socket and component clearance information. It is recommended to install the cooler with the motherboard removed from the PC case for easier access.
4.1 Prepare the CPU and Motherboard
- Clean the CPU surface thoroughly, removing any old thermal paste.
- Apply a small, pea-sized amount of thermal paste to the center of the CPU's integrated heat spreader (IHS).
4.2 Install Mounting Hardware
Select the appropriate backplate and standoffs for your CPU socket (Intel or AMD). Secure the backplate to the rear of the motherboard and attach the standoffs to the front side around the CPU socket.

Image: Illustration of Intel and AMD mounting fasteners. Intel fasteners support LGA 115X/1700/1851, while AMD fasteners support AM4/AM5.
4.3 Mount the Heatsink
- Carefully place the heatsink onto the CPU, aligning the mounting holes with the standoffs.
- Use the provided screws to secure the heatsink. Tighten screws in a diagonal pattern gradually until snug, ensuring even pressure. Avoid over-tightening.
- The GT820 features a partial pipe process design where the tower body leans to the left, avoiding interference with RAM slots. This allows for installation without disassembling the fans in most cases.

Image: Diagram illustrating the partial pipe process design, showing how the heatsink is offset to avoid blocking memory modules, allowing for easier fan installation.
4.4 Connect the Fan
- Connect the 4-pin PWM fan cable to the CPU_FAN header on your motherboard.
- Ensure the fan is oriented to draw air through the heatsink and exhaust it towards the rear or top of your PC case.
5. Operation
Once installed, the RUIX GT820 CPU Air Cooler operates automatically, with its PWM fan adjusting speed based on CPU temperature. For optimal performance:
- Monitor Temperatures: Use motherboard monitoring software to keep an eye on CPU temperatures, especially during heavy loads.
- BIOS/UEFI Settings: Adjust fan curves in your motherboard's BIOS/UEFI settings if you desire a different balance between cooling performance and noise levels.
- Case Airflow: Ensure good airflow within your PC case to maximize the cooler's efficiency.

Image: Close-up of the 130mm fan, highlighting its large air volume (70.55 CFM), wind pressure (1.86mm H2O), and low noise level (32.51 dB).
6. Maintenance
Regular maintenance helps ensure the longevity and optimal performance of your CPU cooler.
- Dust Removal: Periodically clean dust from the heatsink fins and fan blades using compressed air or a soft brush. Ensure the fan is held stationary during cleaning to prevent damage.
- Thermal Paste: Reapply thermal paste every 2-3 years, or if you remove the cooler for any reason.

Image: Detailed view of the 0.4mm thick, high-density heat dissipation fins, designed for efficient heat transfer.
7. Troubleshooting
| Problem | Possible Cause | Solution |
|---|---|---|
| High CPU Temperatures |
|
|
| Fan Not Spinning |
|
|
| Excessive Noise |
|
|
8. Specifications
| Model | GT820 |
| Product Dimensions | 6.18"L x 6.85"W x 7.4"H |
| Cooling Method | Air |
| TDP (Thermal Design Power) | 240 Watts |
| Heat Pipes | 8 Copper Heat Pipes (Direct Contact) |
| Fan Size | 130mm PWM Fan |
| Maximum Rotational Speed | 1800 RPM |
| Air Flow Capacity | 70.55 Cubic Feet Per Minute (CFM) |
| Noise Level | 32 Decibels (dB) |
| Power Connector Type | 4-Pin PWM |
| Material | Aluminum, Plastic |
| Compatible Sockets | AMD AM4/AM5, Intel LGA 1851/1700/1200/115X/2011 |
| Item Weight | 2.64 pounds |

Image: Diagram showing the eight copper heat pipes in direct contact with the CPU, illustrating efficient heat transfer away from the processor.
9. Warranty and Support
RUIX products are manufactured to high quality standards. For warranty information and technical support, please refer to the warranty card included with your product or visit the official RUIX website. Keep your proof of purchase for warranty claims.
For further assistance, you may contact RUIX customer service through their official channels.