1. Important Safety Information
Read this instruction manual carefully before using the Philips Sonicare Compact Flosser 1000. Keep it for future reference. This device is designed for personal oral hygiene and is not intended for any other purpose. Consult your dental professional before use if you have had oral surgery or gum disease.
- Do not immerse the charging base in water.
- Ensure the charging port is dry before connecting the USB cable.
- Do not use attachments or accessories not recommended by Philips Sonicare.
- Keep out of reach of children.
- Do not use if the device appears damaged.
2. Product Overview
The Philips Sonicare Compact Flosser 1000 is a portable water flosser designed for effective interdental cleaning. It features a collapsible reservoir and multiple flossing modes for personalized oral care.
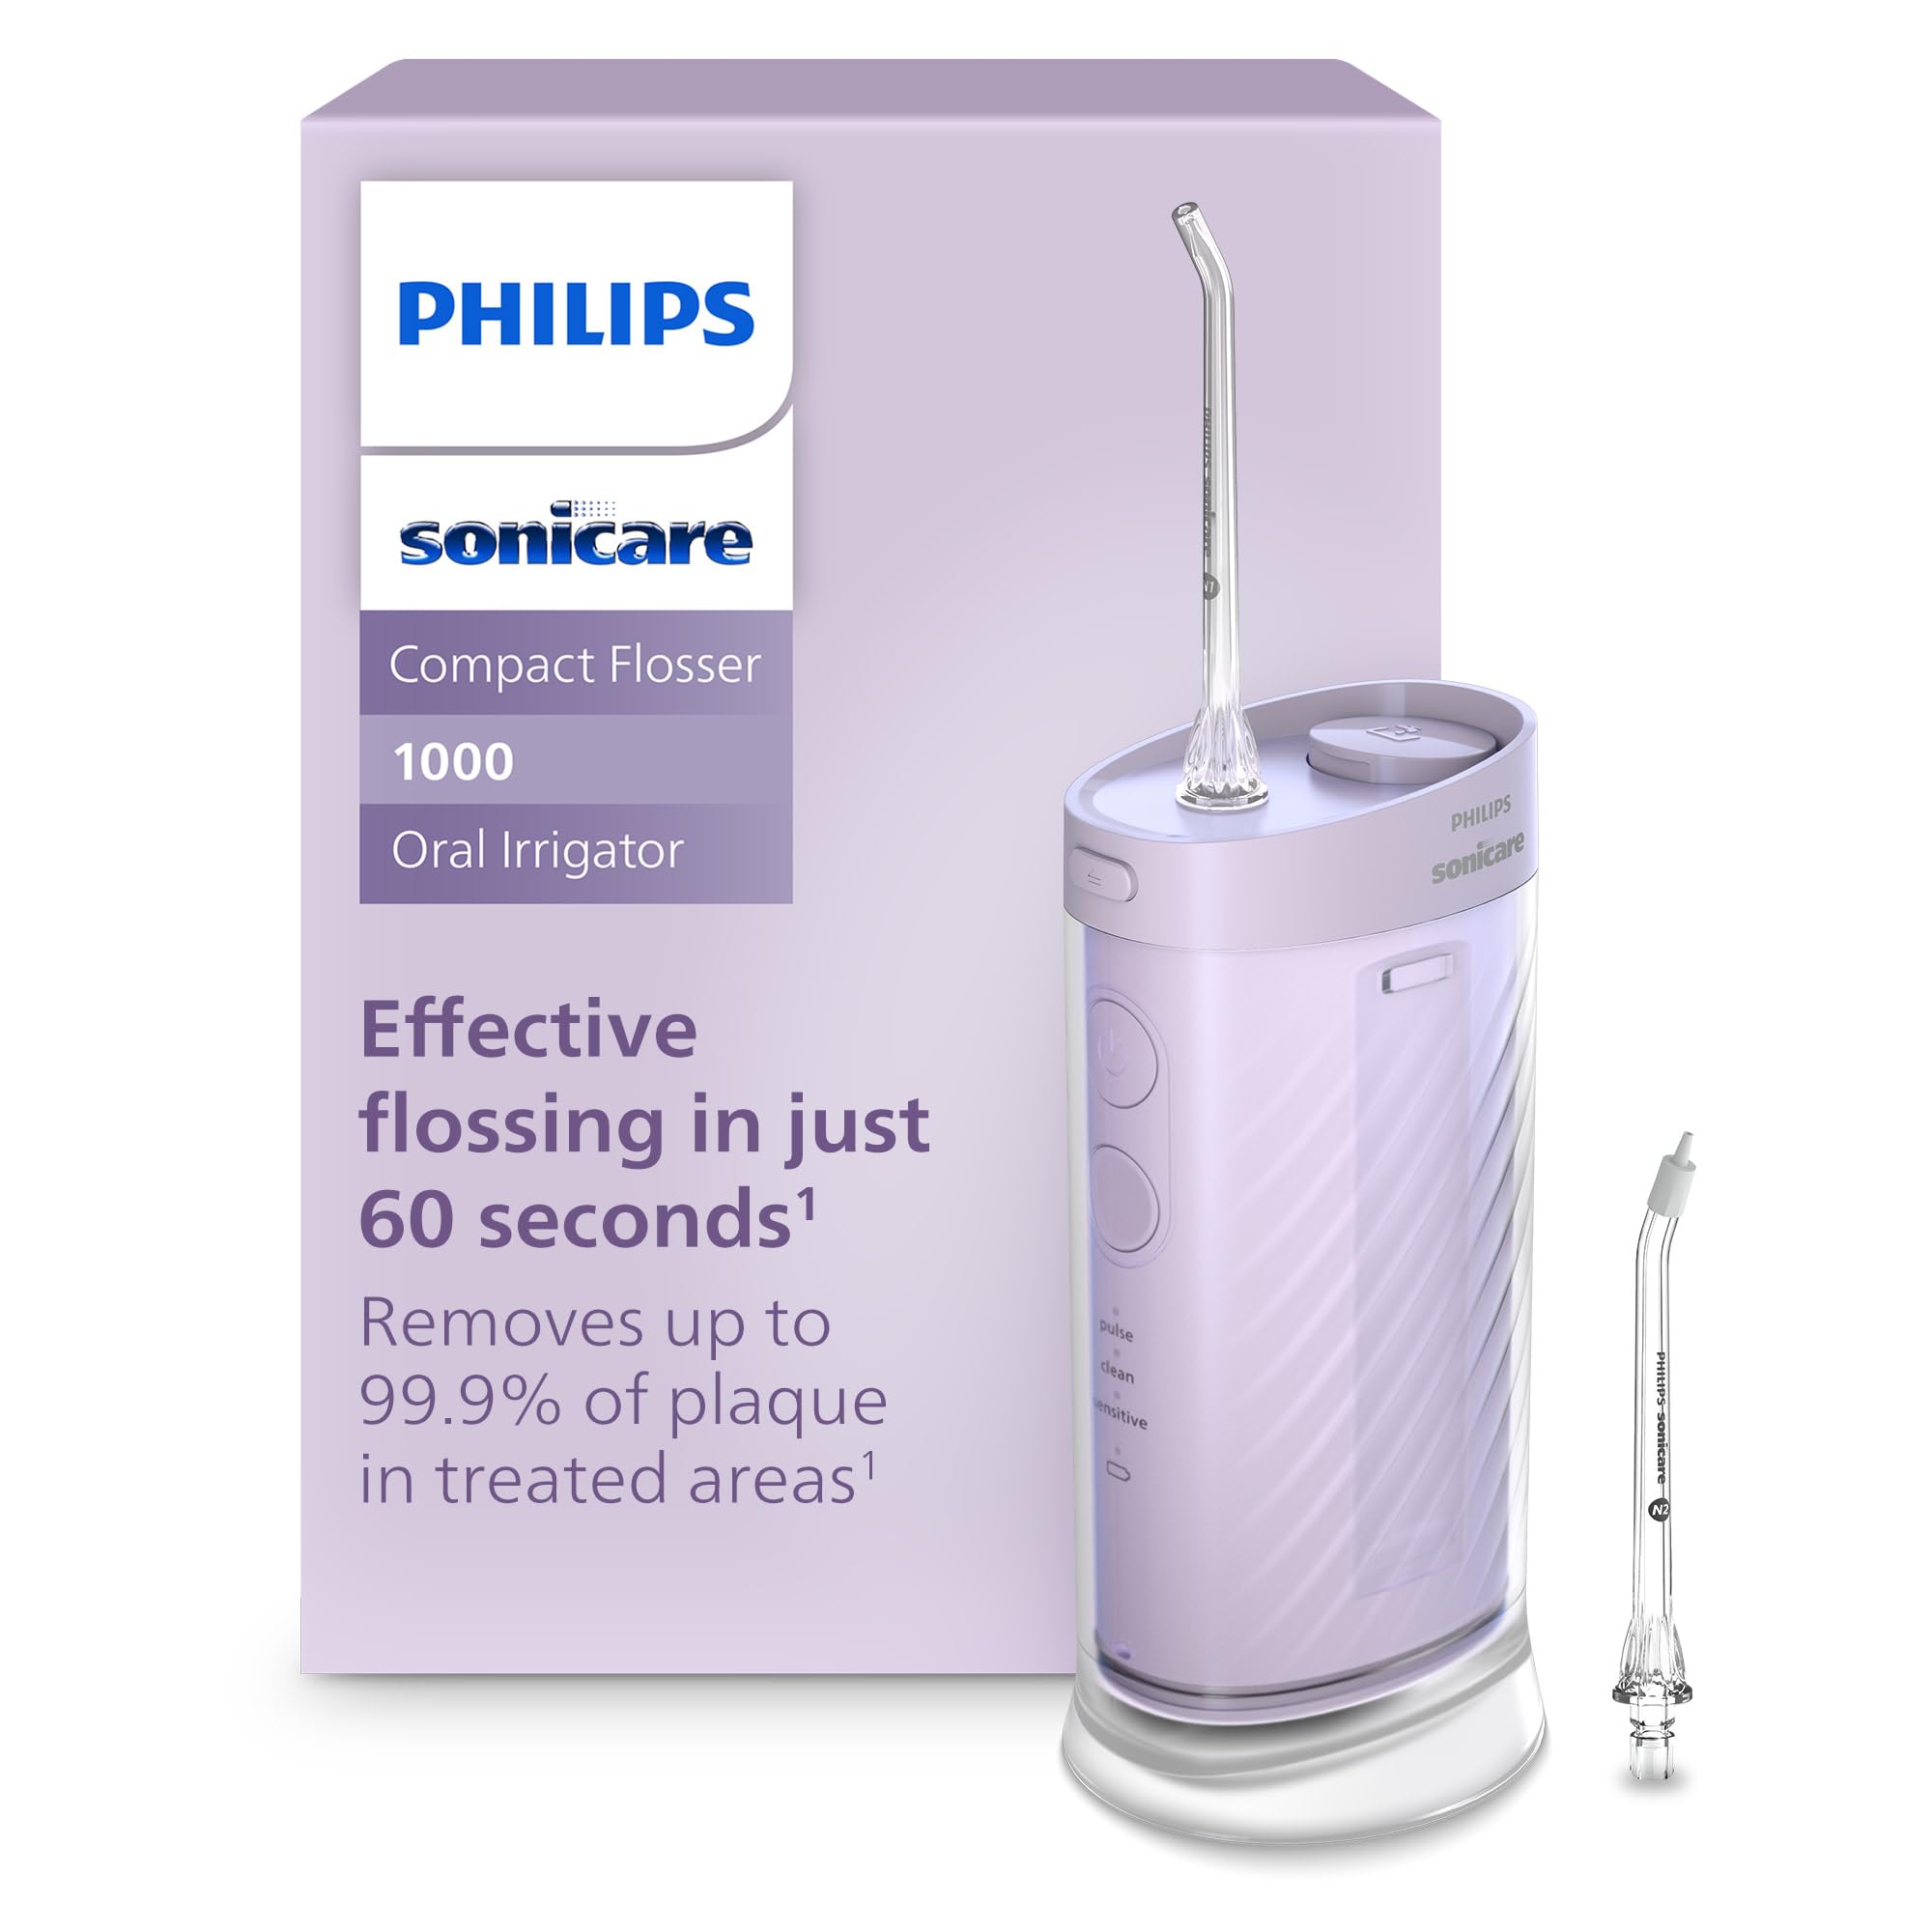
Image: The Philips Sonicare Compact Flosser 1000 in purple, showcasing its sleek, portable design.
Components:
- Main Unit with Control Panel
- Collapsible Water Reservoir
- Standard Nozzle (N1)
- Comfort Nozzle (N2) with soft tip
- USB Charging Cable (Power adapter not included)

Image: A detailed view of the two included nozzles: the standard nozzle for general cleaning and the comfort nozzle with a soft tip for sensitive gums.

Image: An illustration of the product contents, including the oral irrigator, two types of nozzles (N1 standard, N2 comfort), and a USB charging cable.
3. Setup
3.1 Initial Charging
Before first use, fully charge the device. Connect the USB charging cable to the flosser and a compatible USB power adapter (not included). The battery indicator light will show charging status.
3.2 Attaching the Nozzle
Select either the standard (N1) or comfort (N2) nozzle. Insert the nozzle into the opening on the top of the flosser until it clicks into place. To remove, press the nozzle release button and pull the nozzle out.
3.3 Filling the Reservoir
The flosser features a 6.8 fl oz (200ml) removable reservoir, sufficient for one complete 60-second cleaning cycle.
- Method 1 (Top Fill): Open the small cap on the top of the device and pour water directly into the reservoir.
- Method 2 (Detachable Reservoir): Detach the reservoir from the main unit, fill it with water, and then reattach it securely.

Image: A hand holding the flosser's removable reservoir as it is being filled with water from a faucet.

Image: A visual representation highlighting the three flossing modes, two easy filling methods, and the IPX7 water-resistant feature of the device.
4. Operating Instructions
4.1 Powering On and Mode Selection
Press the power button to turn the device on. Use the mode selection button to cycle through the three available flossing modes:
- Pulse: For a pulsating water stream.
- Clean: For continuous, powerful cleaning.
- Sensitive: For a gentler water stream, suitable for sensitive gums.
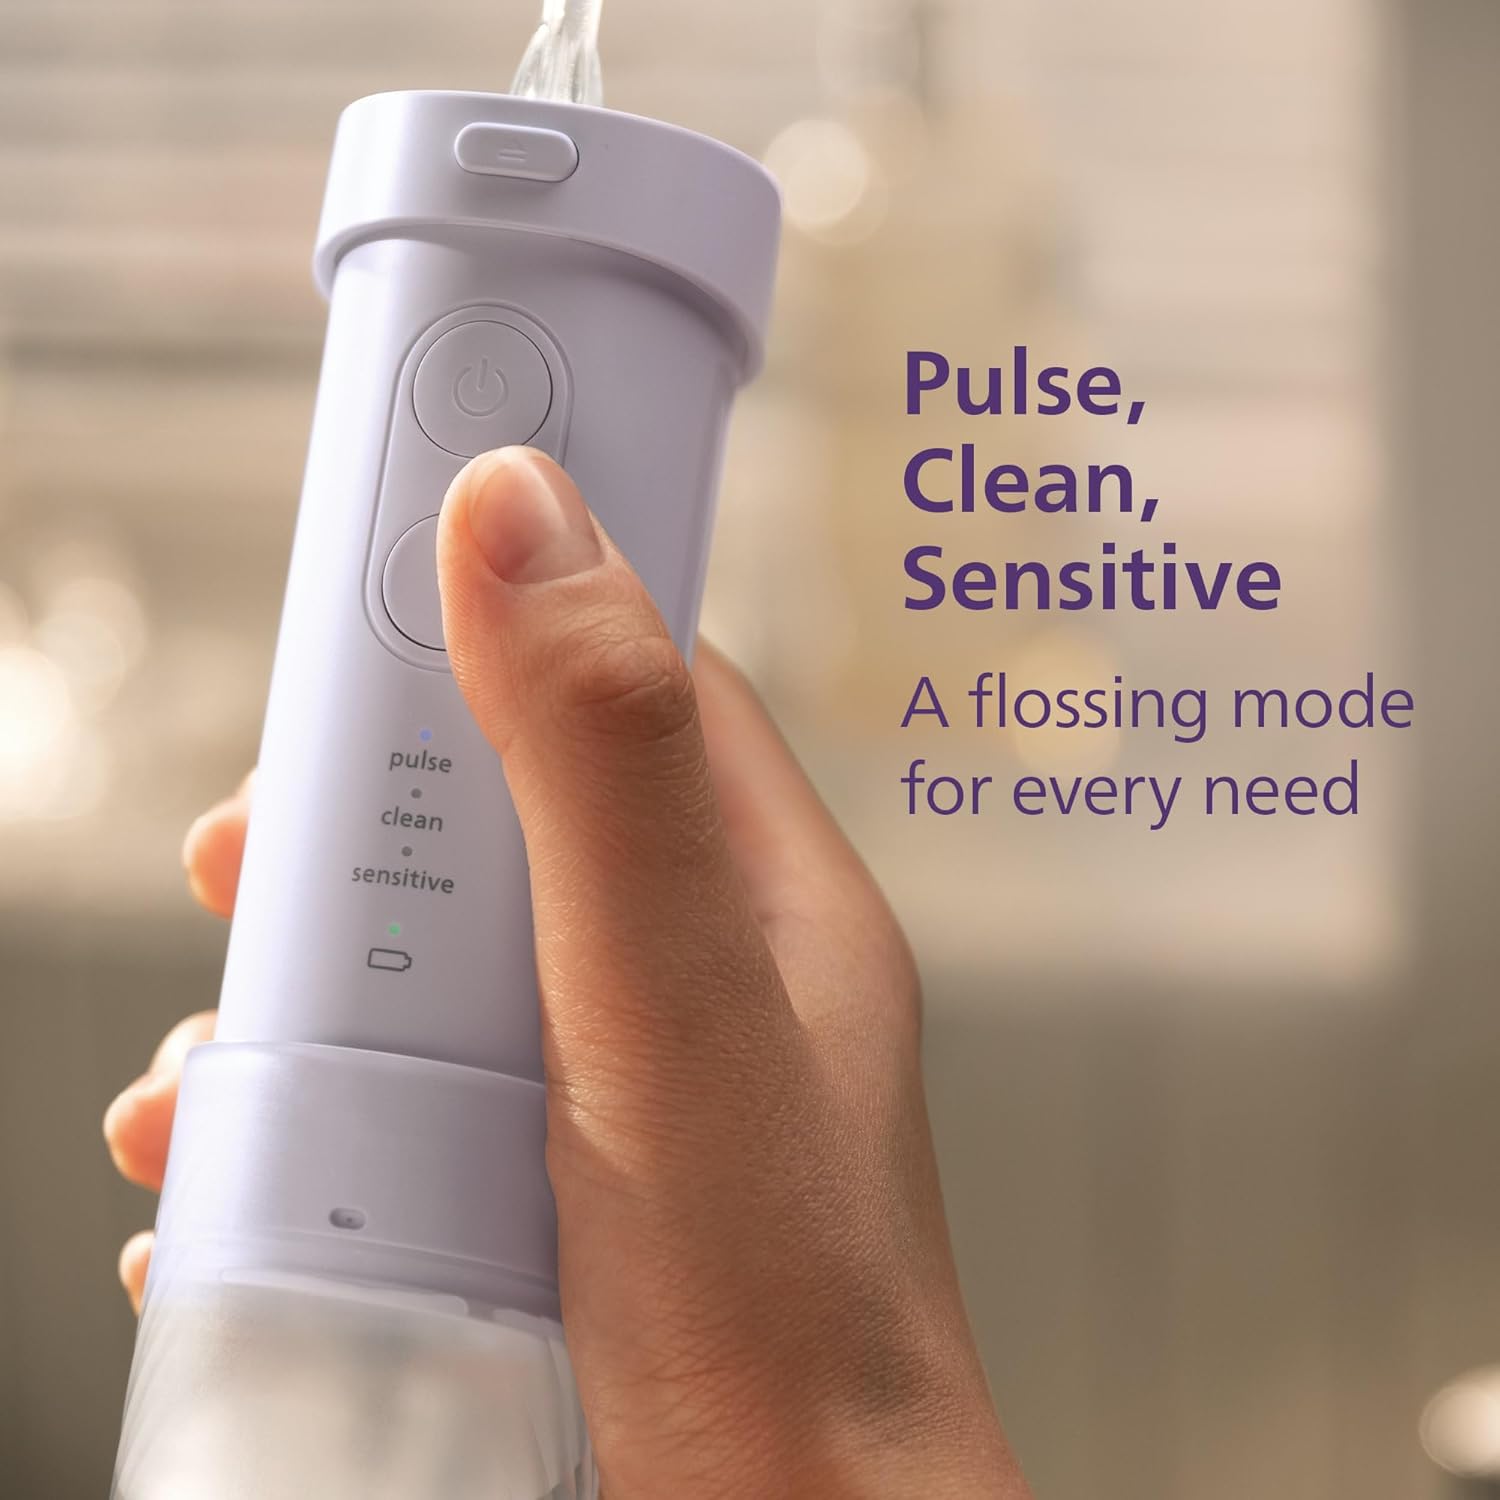
Image: A close-up of the flosser's control panel, showing the power button and the mode selection button with indicators for Pulse, Clean, and Sensitive modes.
4.2 Flossing Technique
For effective flossing in just 60 seconds, follow these steps:
- Lean over a sink and place the nozzle tip between your teeth and gums.
- Turn on the device and select your desired mode.
- Guide the 360° rotating tip along your gumline, pausing briefly between each tooth.
- The device includes a 15-second pacer to help you clean all four quadrants of your mouth thoroughly.

Image: A person demonstrating the use of the Philips Sonicare Compact Flosser 1000, highlighting its effectiveness in removing plaque in just 60 seconds.

Image: A man using the flosser, illustrating the 360-degree rotating tip and the 15-second pacer feature for comprehensive cleaning.
4.3 Portability
The compact design and collapsible reservoir make this flosser ideal for travel and on-the-go use. It easily fits into small bags.

Image: A person placing the Philips Sonicare Compact Flosser 1000 into a small handbag, demonstrating its compact design for travel.
5. Maintenance
5.1 Cleaning the Device
After each use, empty any remaining water from the reservoir. The device is IPX7 waterproof, allowing for easy rinsing under running water. Wipe the exterior with a soft, damp cloth.
5.2 Cleaning the Nozzles
Remove the nozzle and rinse it thoroughly under warm water. For deeper cleaning, you can soak the nozzle in a solution of 2 parts water and 1 part white vinegar for 5-10 minutes, then rinse well.
5.3 Storage
Store the flosser in a clean, dry place. Ensure the reservoir is empty and dry before storing for extended periods. The nozzle can be stored within the device for convenience.
6. Troubleshooting
- Device not turning on: Ensure the device is fully charged.
- Weak water stream: Check if the reservoir is sufficiently filled. Ensure the nozzle is securely attached and not clogged.
- Water leakage: Verify that the reservoir is correctly attached and the nozzle is properly inserted.
- Nozzle not rotating: Ensure the nozzle is clean and free from debris.
If problems persist, refer to the official Philips Sonicare support website or contact customer service.
7. Specifications
| Model Number | HX3333/23 |
| Waterproof Rating | IPX7 |
| Flossing Modes | 3 (Pulse, Clean, Sensitive) |
| Reservoir Capacity | 6.8 fl oz (200ml) |
| Dimensions (Package) | 7.13 x 5.2 x 3.5 inches |
| Weight (Package) | 11.52 ounces |
| UPC | 075020115713 |
8. Official Product Video
Video: An official Philips Sonicare video demonstrating the Compact Flosser 1000, showcasing its features and ease of use.
9. Warranty and Support
For warranty information, product registration, or further assistance, please visit the official Philips Sonicare website or contact their customer support. Keep your proof of purchase for warranty claims.
Online Support: www.philips.com/sonicare


