1. Introduction
Thank you for purchasing the XNANO HM109 Projector. This manual provides essential information for setting up, operating, and maintaining your projector. Please read this manual thoroughly before use to ensure proper operation and to maximize your viewing experience. The HM109 features built-in streaming apps, 4K/1080P HD video projection support, WiFi 6, Bluetooth 5.0, and integrated Hi-Fi stereo speakers, designed for both indoor and outdoor home theater environments.
2. Safety Information
Please observe the following safety precautions to prevent damage to the projector and ensure user safety:
- Do not block the ventilation openings. Ensure adequate airflow around the projector.
- Do not expose the projector to rain or moisture to prevent fire or electric shock.
- Avoid looking directly into the projector lens when the lamp is on.
- Place the projector on a stable, level surface.
- Use only the power adapter supplied with the projector.
- Unplug the projector during lightning storms or when unused for extended periods.
- Do not attempt to repair this product yourself. Refer all servicing to qualified personnel.
3. Package Contents
Verify that all items are present in your package:
- XNANO HM109 Projector
- Remote Control
- Power Adapter
- HDMI Cable
- User Manual (this document)
4. Product Overview
Familiarize yourself with the components of your XNANO HM109 Projector.
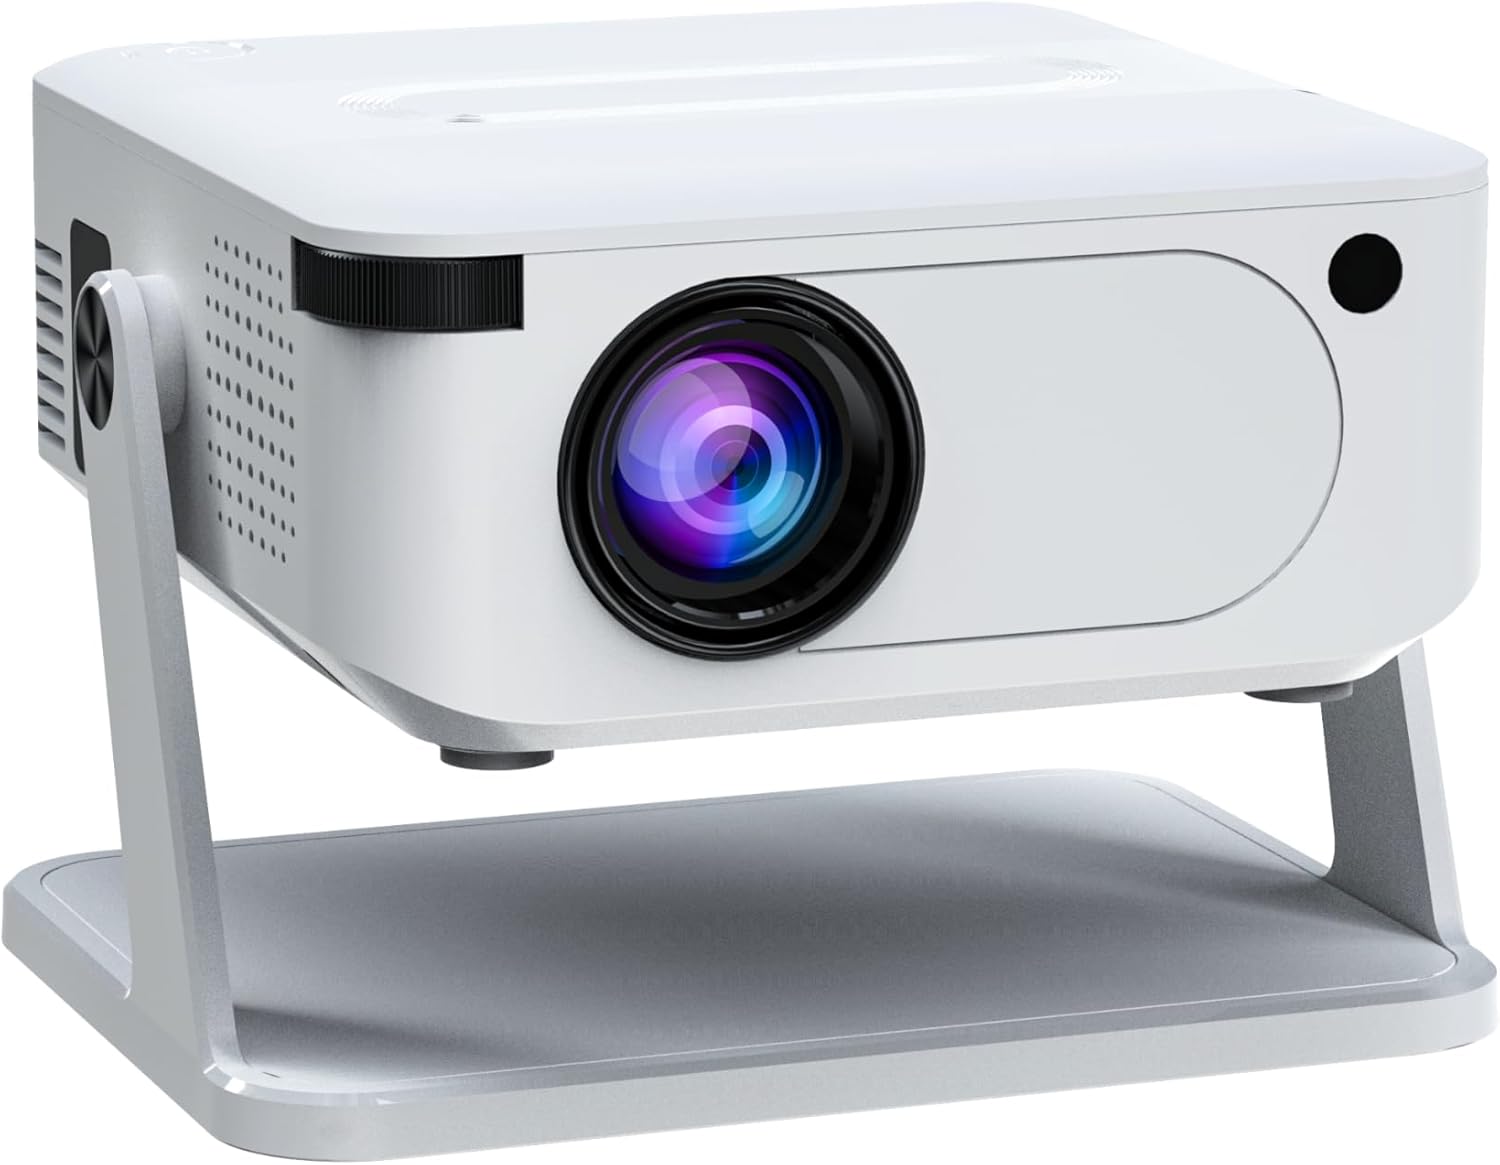
Figure 4.1: Angled front view of the XNANO HM109 Projector, showing the lens, focus ring, and integrated stand.
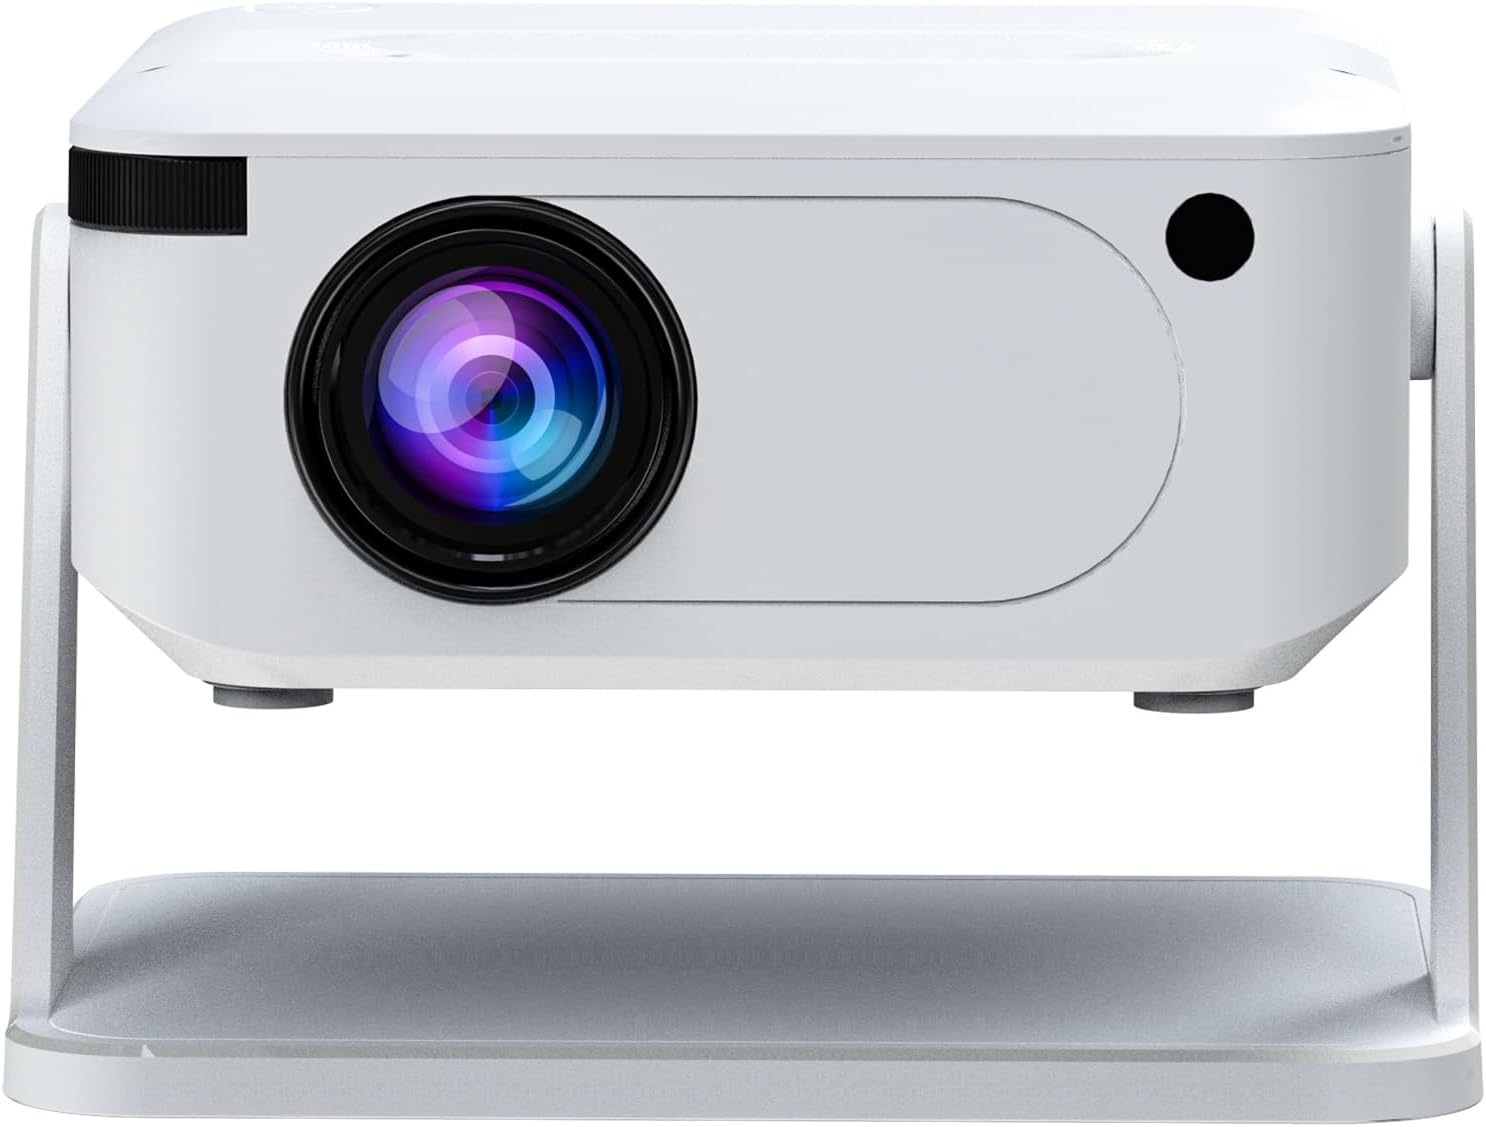
Figure 4.2: Front view of the XNANO HM109 Projector, highlighting the projection lens and infrared receiver.

Figure 4.3: Left side view of the XNANO HM109 Projector, showing the power input port and ventilation grilles.

Figure 4.4: Right side view of the XNANO HM109 Projector, detailing the HDMI, 3.5mm Audio Out, and USB ports.
Key Components:
- Projection Lens: Emits the image.
- Focus Ring: Adjusts image clarity.
- Power Input: Connects to the power adapter.
- HDMI Port: Connects to external video sources (e.g., laptop, game console).
- USB Port: Connects to USB storage devices for media playback.
- Audio Out (3.5mm): Connects to external speakers or headphones.
- Ventilation Grilles: For heat dissipation. Do not obstruct.
- Integrated Stand: Allows for angle adjustment.
5. Setup
- Placement: Place the projector on a stable, flat surface. Ensure the projection path is clear of obstructions. The integrated stand allows for minor angle adjustments.
- Power Connection: Connect the power adapter to the projector's power input port, then plug the adapter into a power outlet. The power indicator light will illuminate.
- Power On: Press the power button on the projector or the remote control to turn on the device.
- Focus Adjustment: Once the projector is on and displaying an image, rotate the focus ring near the lens until the image appears sharp and clear.
- Keystone Correction: If the projected image appears trapezoidal, use the keystone correction feature (usually found in the projector's settings menu) to adjust the image shape to a perfect rectangle.
6. Operating Instructions
6.1 Basic Operation
- Power On/Off: Press the power button on the projector or remote.
- Navigation: Use the arrow keys on the remote control to navigate through menus. Press 'OK' or 'Enter' to confirm selections.
- Volume Control: Use the volume buttons on the remote to adjust the audio output.
- Source Selection: Press the 'Source' button on the remote to select input sources (e.g., HDMI, USB, built-in apps).
6.2 Using Built-in Streaming Apps
The XNANO HM109 Projector comes with officially certified streaming apps pre-installed. Ensure the projector is connected to a stable internet connection via WiFi (see Section 7.1) to access these services. Navigate to the 'Apps' section from the main menu and select your desired streaming platform.
6.3 Media Playback via USB
Insert a USB flash drive into the USB port. The projector should automatically detect the device or prompt you to select the USB input source. Navigate through your files to play videos, view photos, or listen to music.
7. Connectivity
7.1 WiFi Connection (WiFi 6)
- Go to the 'Settings' menu on the projector.
- Select 'Network' or 'WiFi Settings'.
- Turn on WiFi and select your desired network from the list of available networks.
- Enter the WiFi password using the on-screen keyboard and confirm.
- Once connected, the projector will display a confirmation message.
7.2 Bluetooth Connection (Bluetooth 5.0)
Connect external Bluetooth speakers or headphones for enhanced audio.
- Go to the 'Settings' menu.
- Select 'Bluetooth Settings'.
- Turn on Bluetooth. The projector will start searching for nearby devices.
- Put your Bluetooth device (e.g., speaker, headphones) into pairing mode.
- Select your device from the list on the projector screen to pair.
7.3 Wired Connections
- HDMI: Connect an HDMI cable from your source device (e.g., laptop, Blu-ray player) to the HDMI port on the projector. Select 'HDMI' as the input source.
- USB: Insert a USB storage device into the USB port for media playback. Select 'USB' as the input source.
- Audio Out (3.5mm): Connect external wired speakers or headphones to this port for audio output.
8. Maintenance
- Lens Cleaning: Use a soft, lint-free cloth specifically designed for optical lenses to gently wipe the projector lens. Do not use abrasive cleaners.
- Dust Removal: Regularly clean the ventilation grilles with a soft brush or compressed air to prevent dust buildup, which can affect performance and lifespan.
- Storage: When not in use for extended periods, store the projector in a cool, dry place, away from direct sunlight and extreme temperatures.
- Power Off Properly: Always power off the projector using the designated power button and allow it to cool down before unplugging or moving.
9. Troubleshooting
| Problem | Possible Cause | Solution |
|---|---|---|
| No image displayed | Power not connected; Incorrect input source; Lens cap on. | Check power connection; Select correct input source (HDMI, USB); Remove lens cap. |
| Image is blurry | Focus not adjusted; Projector too close/far from screen. | Adjust the focus ring; Adjust projection distance. |
| Image is trapezoidal | Projector not perpendicular to screen. | Adjust keystone correction in settings. |
| No sound | Volume too low; Muted; External audio device not connected/selected. | Increase volume; Unmute; Check external audio connections/Bluetooth pairing. |
| WiFi connection issues | Incorrect password; Router too far; Network interference. | Re-enter password; Move projector closer to router; Check router settings. |
10. Specifications
| Brand: | XNANO |
| Model: | HM109 |
| Display Resolution: | 1280 x 720 (Supports 4K & 1080P HD Video Projection) |
| Connectivity Technology: | WiFi 6, Bluetooth 5.0, HDMI, USB, 3.5mm Audio Out |
| Special Features: | Built-in Streaming Apps, Hi-Fi Stereo Speakers, Low Noise |
| Recommended Uses: | Indoor/Outdoor Home Theater |
| Item Weight: | 1.65 pounds (approx. 0.75 kg) |
| Product Dimensions: | 10.16 x 5.43 x 5.75 inches (approx. 25.8 x 13.8 x 14.6 cm) |
11. Warranty and Support
For warranty information and technical support, please refer to the warranty card included with your product or visit the official XNANO website. You can also contact XNANO customer service through the contact details provided on their website for assistance with product inquiries, troubleshooting, or service requests.
XNANO Official Store: Visit the XNANO Store on Amazon