
Introduction
Thank you for choosing the oviouit Projection Alarm Clock. This manual provides detailed instructions for setting up, operating, and maintaining your new alarm clock. Please read this manual thoroughly before use to ensure proper function and to maximize your product experience.
Package Contents
- oviouit Projection Alarm Clock (Model U8-A)
- USB Charging Cable
- User Manual
- Button Cell Battery (pre-installed for backup)
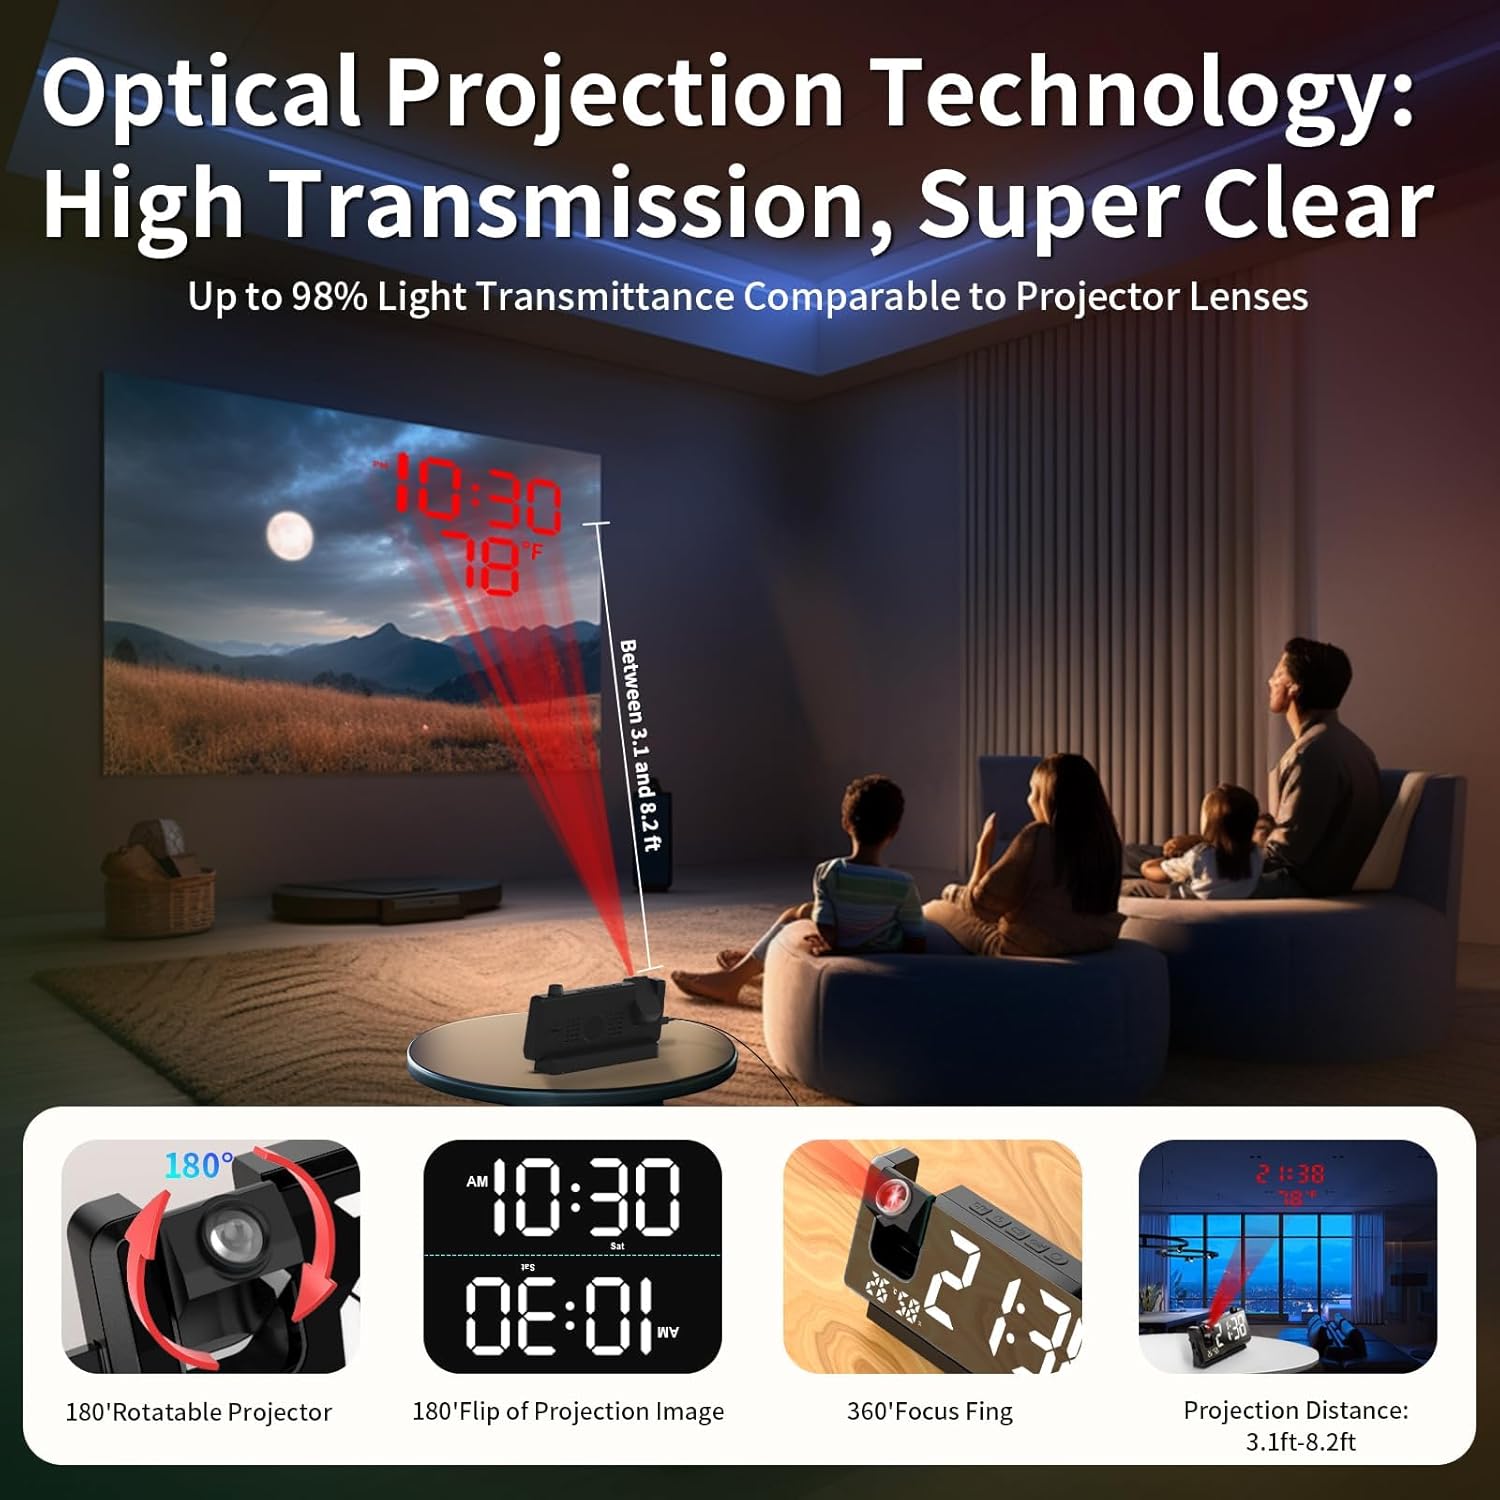
Image: The alarm clock, USB charging cable, and user manual included in the package. Note that a power adapter is not included.
Product Overview
Familiarize yourself with the various parts and controls of your oviouit Projection Alarm Clock.

Image: Detailed view of the clock's buttons and ports. The top panel features buttons for temperature unit, alarm settings, image flip, snooze, swap, and reset, along with a multi-function knob. The side includes DC 5V input, USB-A, and USB-C charging ports.
Control Buttons and Ports:
- °C/°F Button: Toggles between Celsius and Fahrenheit temperature display.
- Alarm Button: Enters alarm setting mode.
- IMG Button: Flips the projected image 180 degrees.
- Snooze Button: Activates snooze function when an alarm sounds.
- SWAP Button: Swaps between time and temperature/humidity display on the main screen.
- RESET Button: Resets the clock to factory defaults.
- Knob: Used for adjusting time, alarm, and display brightness. Rotate to change values, press to confirm.
- DC 5V Input: Main power connection port.
- USB-A & USB-C Charging Ports: For charging external devices.
Setup
1. Power Connection
- Connect the provided USB charging cable to the DC 5V input port on the back of the alarm clock.
- Plug the other end of the USB cable into a standard DC 5V/1A USB power adapter (not included).
- The clock display will light up, indicating it is powered on.
2. Battery Backup
The clock includes a pre-installed button cell battery to retain time and alarm settings during a power outage. No action is required for initial setup. If the battery needs replacement in the future, open the battery compartment on the bottom of the clock and replace it with a new button cell battery.

Image: The clock's battery backup ensures that time settings are preserved even when the main power is disconnected.
Operating Instructions
1. Time Setting
- Press and hold the Knob for 3 seconds to enter time setting mode. The hour digits will flash.
- Rotate the Knob to adjust the hour. Press the Knob to confirm and move to minute setting.
- Rotate the Knob to adjust the minute. Press the Knob to confirm and move to 12/24-hour format setting.
- Rotate the Knob to select either 12-hour or 24-hour format. Press the Knob to confirm and exit time setting.

Image: The clock supports both 12-hour (with AM/PM indicator) and 24-hour time formats.
2. Alarm Setting (Dual Alarms)
This clock features two independent alarms (Alarm 1 and Alarm 2).
- Press the Alarm Button once to set Alarm 1. The alarm icon and hour digits will flash.
- Rotate the Knob to adjust the hour. Press the Knob to confirm and move to minute setting.
- Rotate the Knob to adjust the minute. Press the Knob to confirm and move to alarm frequency setting.
- Rotate the Knob to select alarm frequency: everyday (1-7), weekday (1-5), or weekend (1-6). Press the Knob to confirm.
- Press the Alarm Button again to set Alarm 2, following the same steps.
- To turn an alarm ON/OFF, short press the Alarm Button until the corresponding alarm icon appears/disappears on the display.
3. Snooze Function
When an alarm sounds, press the Snooze Button to temporarily silence the alarm for 5 minutes. The alarm will sound again after 5 minutes. To turn off the alarm completely, press any other button.

Image: The clock supports dual alarms and a convenient 5-minute snooze function.
4. Projection Adjustment
The projector can rotate 180 degrees to display the time on your wall or ceiling. For optimal clarity, ensure the projection distance is between 1.6 and 9.8 feet (approximately 39 to 98 inches) and project onto a white, flat surface. The projection has a fixed focus and does not require manual adjustment.
- Adjust the angle of the projector lens to direct the time display to your desired surface.
- Press the IMG Button to flip the projected image 180 degrees if it appears upside down.

Image: The 180° rotatable projector displays clear time and temperature on your wall or ceiling.
Video: This video demonstrates the crystal-clear optical projection feature of the oviouit alarm clock, showing how time and temperature are projected onto a wall.
5. Display Brightness and Night Mode
The main LED display has 3 adjustable brightness levels. Rotate the Knob (short press, not held) to cycle through the brightness levels.
The clock also features a night mode that automatically dims the display during a set period and returns to normal brightness afterward. To activate/deactivate or adjust night mode settings, refer to the detailed instructions in the full user manual.
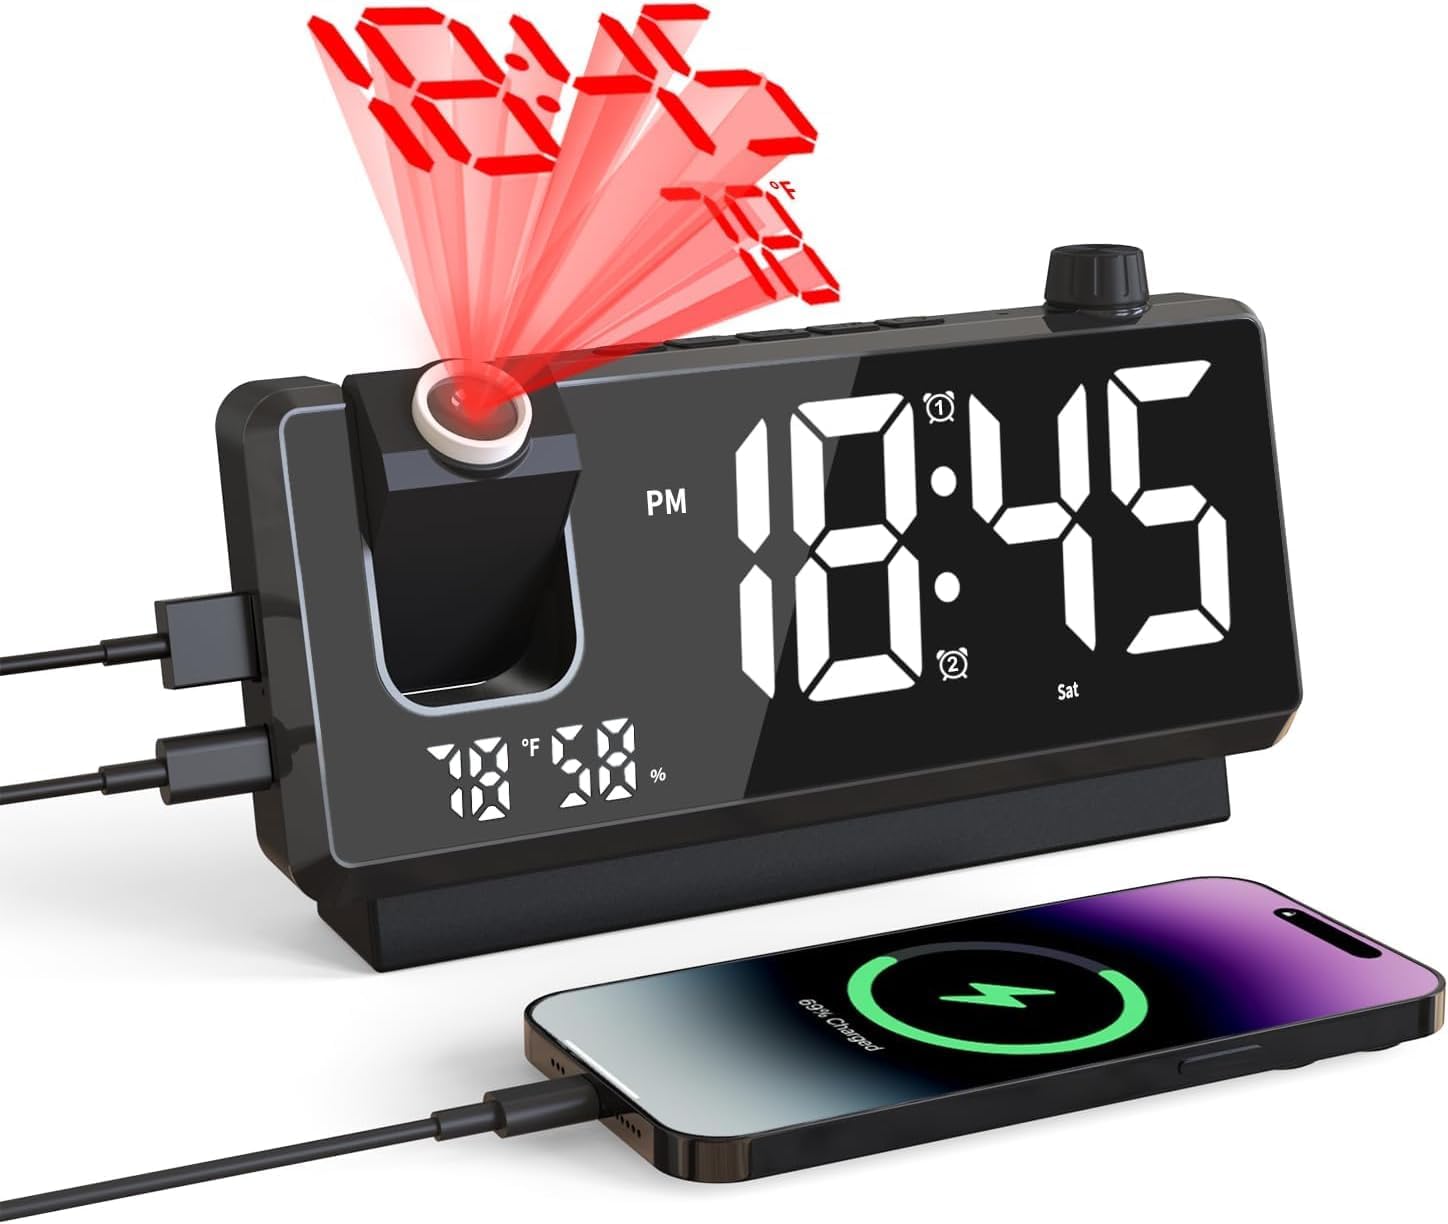
Image: The large LED display offers multiple brightness settings and a night mode for comfortable viewing.
6. USB Charging Ports
The clock is equipped with USB-A and USB-C ports (DC 5V/1A output) to charge your electronic devices such as smartphones, smartwatches, or wireless earbuds.

Image: The integrated USB charging port allows convenient charging of your devices.
7. Temperature Display
The clock displays the indoor temperature. Press the °C/°F Button to switch between Celsius and Fahrenheit units.
8. Mirror Function
The 7-inch acrylic display surface also functions as a mirror, providing added utility for daily use.

Image: The 7-inch LED display doubles as a convenient mirror.
Maintenance
Cleaning
To clean the clock, gently wipe the surface with a soft, dry cloth. Avoid using abrasive cleaners, solvents, or chemical sprays, as these may damage the finish or internal components.
Battery Replacement (Backup Battery)
If the clock loses its time settings after a power outage despite having a backup battery, the button cell battery may be depleted. To replace it:
- Unplug the main power adapter from the clock.
- Locate the battery compartment on the bottom of the clock.
- Open the compartment and carefully remove the old button cell battery.
- Insert a new button cell battery, ensuring correct polarity.
- Close the battery compartment and reconnect the main power.
Troubleshooting
| Problem | Possible Cause | Solution |
|---|---|---|
| Clock does not power on. | No power adapter connected or faulty connection. | Ensure the USB cable is securely connected to a working DC 5V/1A power adapter and a power outlet. |
| Projection is blurry or unclear. | Incorrect projection distance or surface. | Adjust the clock's distance from the projection surface (optimal 1.6-9.8 feet). Ensure the surface is flat and light-colored. |
| Time settings are lost after power disconnection. | Backup battery is depleted or not installed correctly. | Replace the button cell backup battery. Ensure it is inserted with correct polarity. |
| Alarm does not sound. | Alarm is not activated or set incorrectly. | Verify that the alarm is turned ON (alarm icon visible) and the alarm time is set correctly. |
| Display is too bright or too dim. | Brightness level needs adjustment or night mode is active. | Rotate the Knob to adjust display brightness. Check if night mode is enabled and adjust its settings if necessary. |
Specifications
- Brand: oviouit
- Model: U8-A
- Color: Black
- Display Type: Digital LED with Mirror Face
- Product Dimensions: 7.3"W x 3.5"H
- Screen Size: 7 inches
- Item Weight: 8.32 ounces
- Power Source: Corded Electric (DC 5V/1A adapter required, not included)
- Battery Backup: 1 Nonstandard Battery (button cell, included)
- Material: Acrylonitrile Butadiene Styrene (ABS)
- Special Features: 180° Projection, Dual Alarms, 5-Minute Snooze, 3-Level Dimmer, Night Mode, USB-A & USB-C Charging Ports, Temperature Display (°C/°F), Mirror Function.
- Connectivity Technology: USB
Warranty and Support
Your oviouit Projection Alarm Clock is covered by an 18-month warranty and a 30-day money-back guarantee. We are committed to providing excellent customer service.
If you encounter any issues or have questions, please contact oviouit customer service directly through Amazon. Our 24-hour customer service team is ready to assist you and ensure your complete satisfaction.
Please note that we cannot contact you through product reviews. For direct assistance, reach out to us via the Amazon platform.