This manual provides essential information for the safe and effective operation of your ACMER S1 6000mW Laser Engraver. Please read it thoroughly before initial use and keep it for future reference.
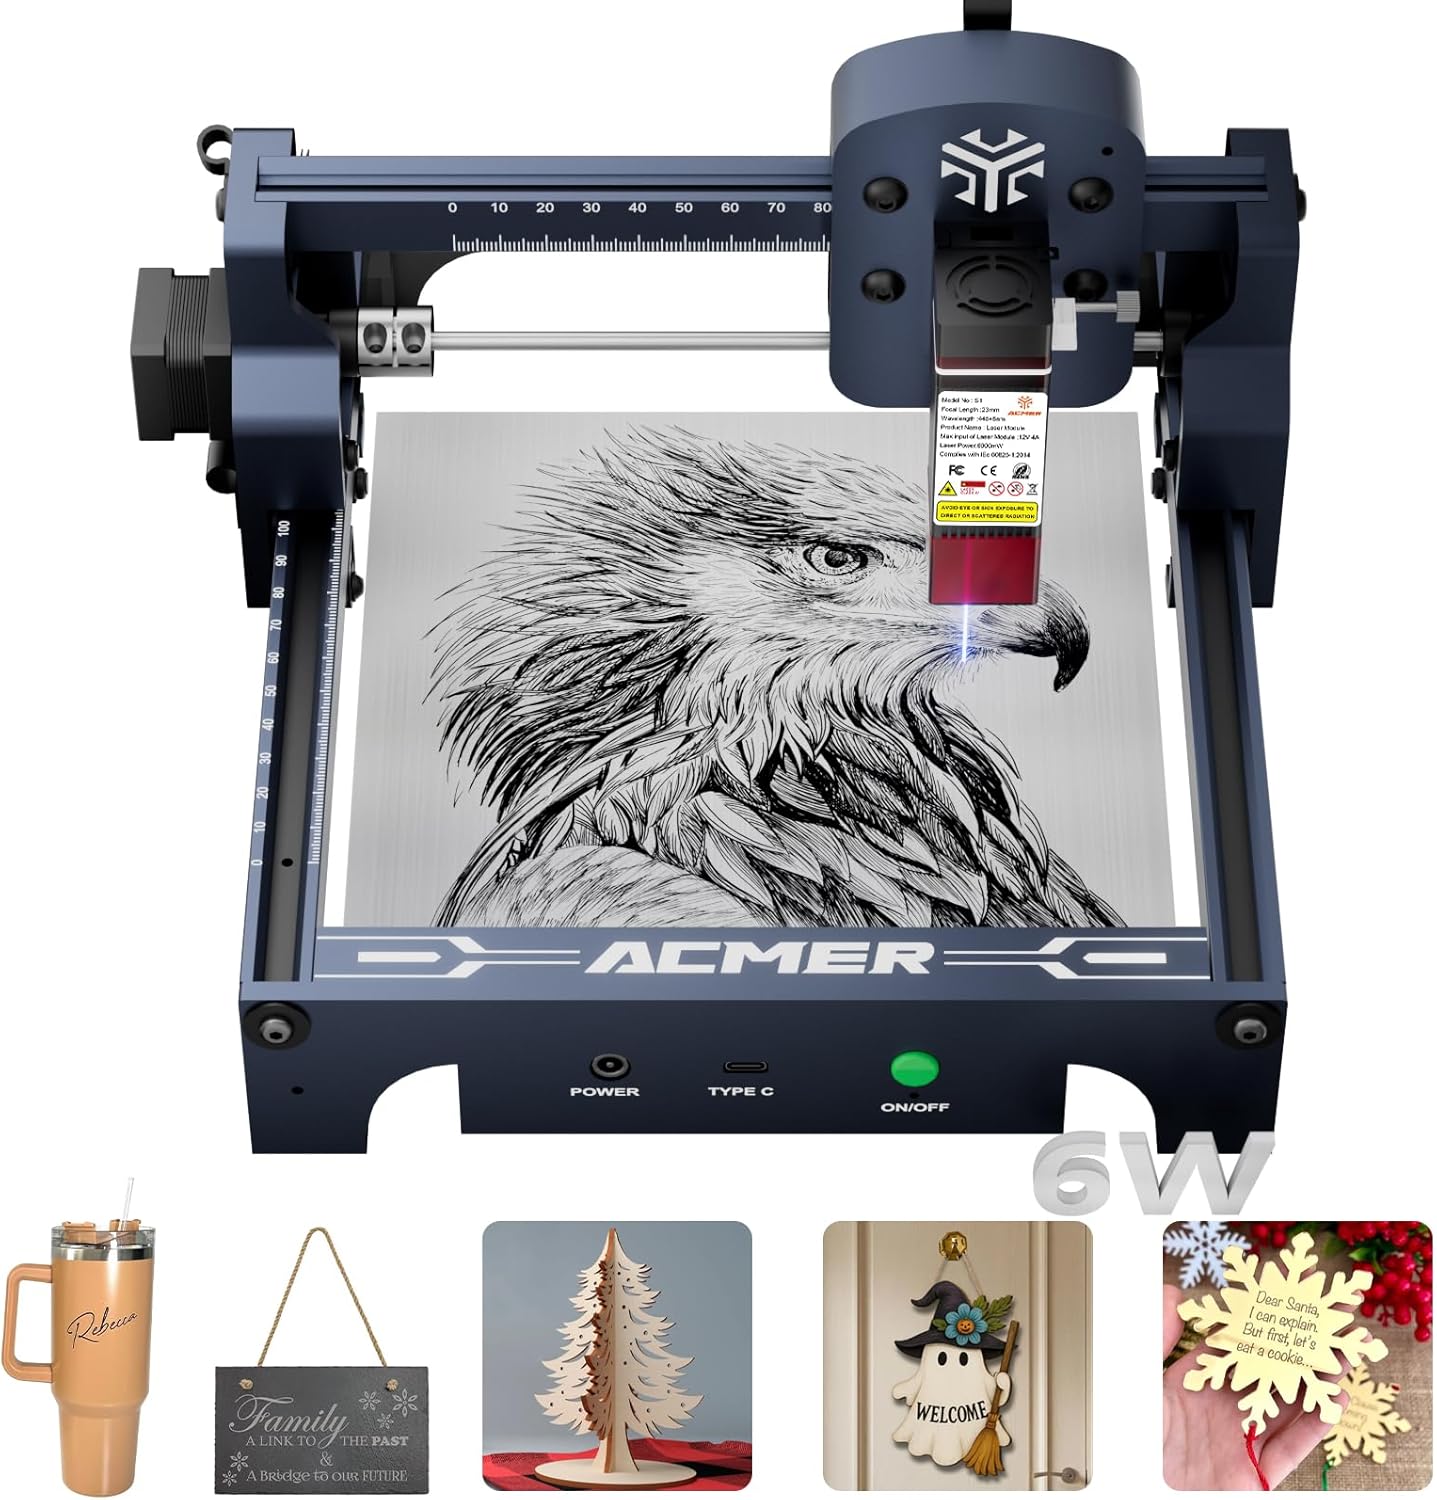
Image: The ACMER S1 Laser Engraver in operation, engraving an intricate eagle design onto a metallic surface.
2. Safety Information
WARNING: This is a Class 4 laser product. Direct exposure to the laser beam can cause severe eye and skin damage. Always wear appropriate laser safety goggles during operation.
Ensure the work area is well-ventilated to dissipate fumes from engraving.
Never leave the machine unattended during operation.
Keep flammable materials away from the laser engraver.
Do not operate the machine if any components are damaged.
Refer to IEC 60825-1 standards for laser safety.
3. Package Contents
Verify that all items are present in your package:
ACMER S1 Laser Engraver Unit
Laser Module (6000mW)
Power Adapter
USB Cable
Safety Goggles
User Manual (this document)
Sample Materials (may vary)
4. Setup
4.1. Assembly
The ACMER S1 is 99% preassembled. Only the laser head requires installation, which typically takes less than one minute.
Carefully unpack all components from the box.
Attach the laser module to the gantry using the provided screws. Ensure it is securely fastened.
Connect the power adapter and USB cable to the machine and your computer.
Place the machine on a stable, level surface.
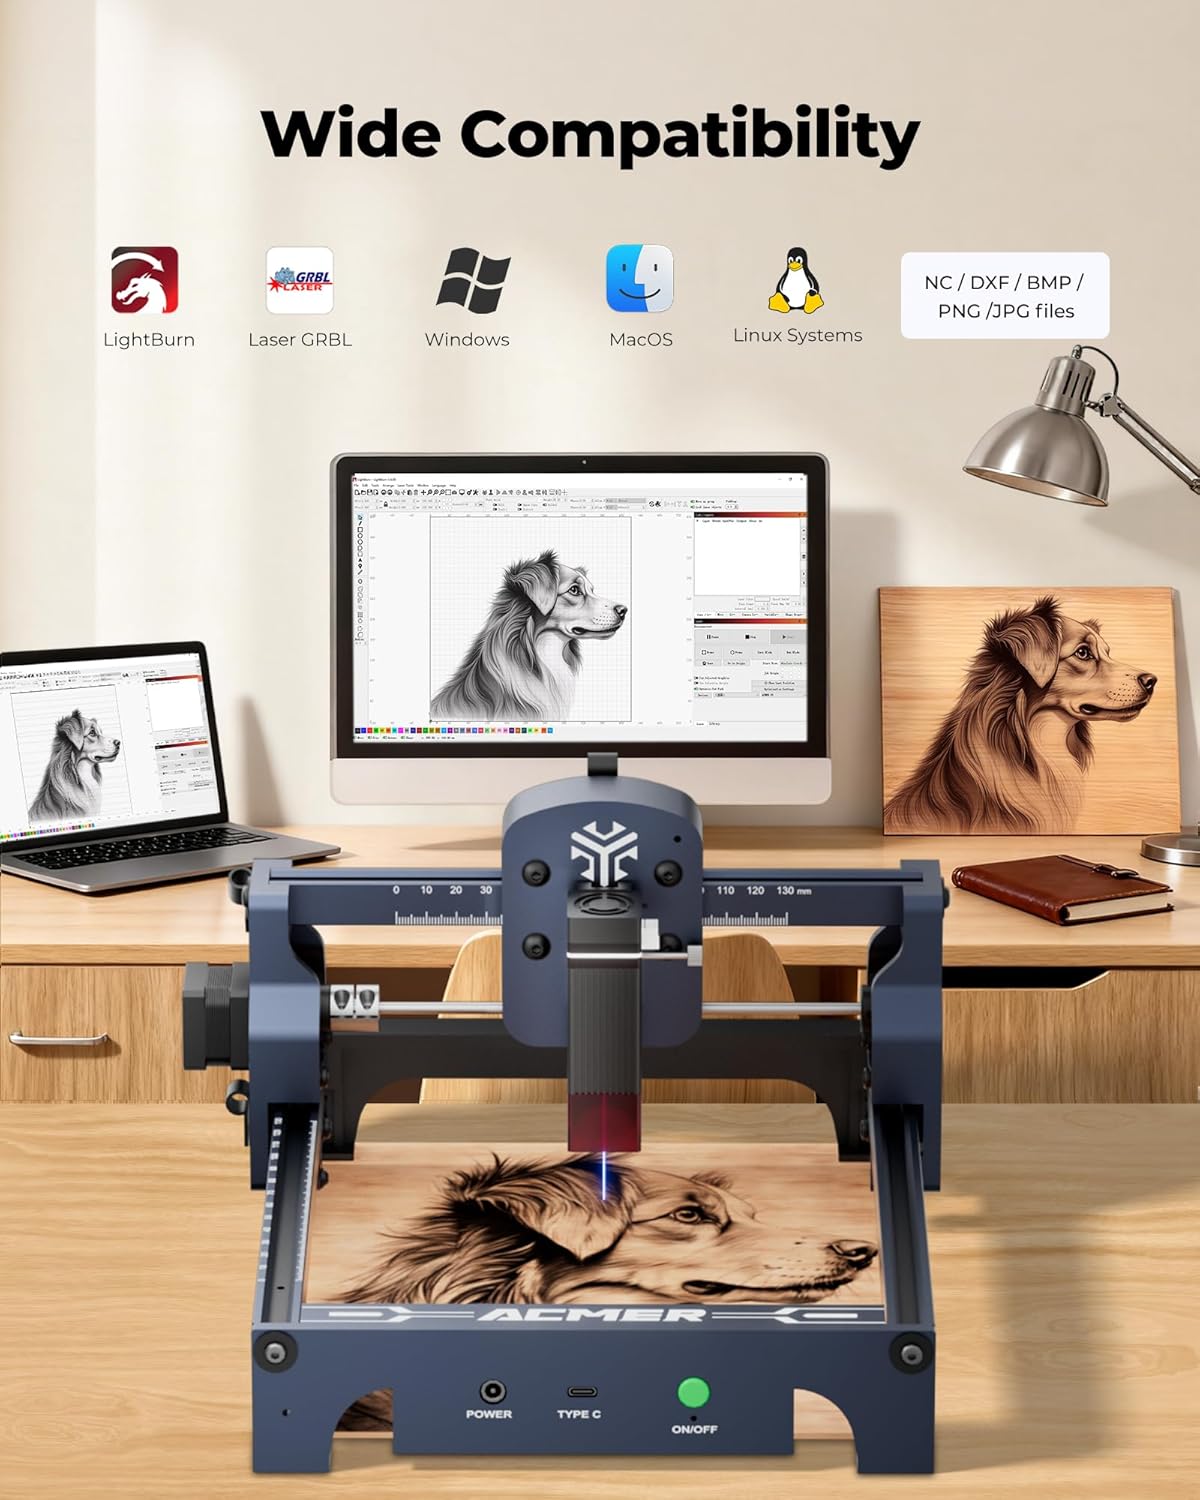
Image: The ACMER S1 Laser Engraver set up on a desk, connected to a laptop and an external monitor, illustrating its wide compatibility with various operating systems and software.
4.2. Software Installation
The ACMER S1 is compatible with LightBurn and LaserGRBL software. Both support macOS, Windows, and Linux operating systems.
4.2.1. LaserGRBL Installation
Follow these steps to install LaserGRBL:
Visit the official LaserGRBL website to download the latest stable version.
Run the installer and follow the on-screen prompts.
Ensure the CH340 driver is installed (usually prompted during LaserGRBL setup or available in the software's Tools menu).
Connect the engraver via USB. In LaserGRBL, select the correct COM port and baud rate (115200).
Click "Connect" to establish communication with the engraver.
Video: A step-by-step guide on how to install and set up LaserGRBL software for the ACMER S1 Laser Engraver, including driver installation and connecting the device.
4.2.2. LightBurn Installation
Follow these steps to install LightBurn:
Download the LightBurn trial version from the official LightBurn website.
Run the installer and follow the on-screen prompts.
Launch LightBurn. In the "Devices" window, click "Create Manually/LightBurn Bridge".
Select "gbrl GRBL" as the device type.
Choose "Serial/USB" for connection.
Name your device (e.g., "S1").
Enter the working area dimensions: X-axis 130mm, Y-axis 130mm.
Set the origin to "Front Left".
Complete the setup wizard.
In LightBurn settings, ensure units are set to "mm/min" for consistency.
5. Operating Instructions
5.1. Material Placement and Focusing
Place your material securely within the 130x130mm working area.
Adjust the laser module height until the laser spot is at its smallest and sharpest point on the material surface. This ensures optimal engraving/cutting quality.
Video: A demonstration of the ACMER S1 Portable Laser Engraver, showcasing its compact design and ease of use for various engraving tasks.
Image: A close-up view of the ACMER S1 laser module engraving a highly detailed cat design onto a wooden surface, emphasizing the 0.01mm precision.
5.2. Engraving/Cutting Process
Load your design file (NC, DXF, BMP, JPG, PNG) into LightBurn or LaserGRBL.
Adjust engraving parameters such as speed (up to 10,000mm/min) and power according to your material and desired outcome.
Use the framing function in the software to preview the engraving area and ensure correct positioning.
Once satisfied, click "Start" to begin the engraving or cutting process.
Monitor the process closely and ensure safety goggles are worn.
Image: A visual comparison illustrating the faster engraving speed of the ACMER S1 (10,000 mm/min) compared to other engravers (8,000 mm/min), with a detailed rabbit engraving as an example.
Table: One-pass laser cutting depth capabilities for different laser wattages on black acrylic and wood.
Video: A demonstration of the ACMER S1 Laser Engraver's precision and capability to engrave intricate designs on various materials, showcasing its higher accuracy.
6. Maintenance
Regularly clean the laser lens to maintain optimal performance and prevent debris buildup.
Keep the machine free from dust and debris. Use a soft, dry cloth for cleaning.
Inspect cables and connections periodically for any signs of wear or damage.
Ensure proper ventilation during and after use to prevent overheating.
7. Troubleshooting
7.1. Machine Not Connecting to Software
Verify the USB cable is securely connected to both the engraver and the computer.
Check if the correct COM port is selected in your engraving software.
Ensure the CH340 driver is properly installed. Reinstall if necessary.
Restart both the engraver and your computer.
7.2. Poor Engraving Quality
Ensure the laser is properly focused on the material surface.
Adjust engraving speed and power settings. Different materials require different parameters.
Clean the laser lens if it appears dirty or smudged.
Verify the material is flat and securely placed to prevent movement during engraving.
7.3. Laser Not Firing
Check if the machine is powered on and the laser module is correctly installed.
Confirm that the software is connected to the machine and the "Start" command has been issued.
Ensure safety features (e.g., emergency stop button, if present) are not activated.
8. Specifications
Feature
Detail
Brand
ACMER
Model
S1-6W
Laser Power
6000mW (Diode Laser)
Machine Output
48W
Wavelength
455±5nm
Focal Length
2mm
Laser Spot Size
0.04mm
Engraving Speed
Up to 10,000mm/min
Repeatable Positioning Accuracy
0.01mm
Working Area
130x130mm
Product Dimensions (L x W x H)
9.84 x 9.84 x 6.38 inches (250x250x162mm)
Item Weight
4.13 pounds (2kg)
Supported Operating Systems
macOS, Windows, Linux
Supported Software
LightBurn, LaserGRBL
Supported File Formats
NC, DXF, BMP, JPG, PNG
Laser Safety Class
Class 4 (IEC 60825-1 Compliant)
9. Warranty and Support
Your ACMER S1 Laser Engraver comes with a 12-month warranty from the date of purchase, covering manufacturing defects. For technical assistance, troubleshooting, or warranty claims, please contact ACMER customer support. We offer 24/7 customer support to ensure you have a seamless experience with your product.