XUNTOP 5519
XUNTOP Digital Inclinometer (Model 5519) User Manual
Model: 5519 | Brand: XUNTOP
1. Introduction
This manual provides detailed instructions for the safe and effective use of your XUNTOP Digital Inclinometer, Model 5519. This precision tool is designed for accurate angle measurement in various applications, including carpentry, construction, and DIY projects. Please read this manual thoroughly before operation and retain it for future reference.
2. Safety Information
Always observe the following safety precautions to prevent injury or damage to the device:
- Keep the device away from water and high humidity.
- Do not expose the device to extreme temperatures or direct sunlight.
- Avoid dropping the device or subjecting it to strong impacts.
- Do not attempt to disassemble or modify the device. Repairs should only be performed by qualified personnel.
- Keep out of reach of children.
- The magnetic base is strong; keep it away from sensitive electronic devices, credit cards, and pacemakers.
3. Package Contents
Verify that all items are present in the package:
- Digital Bubble Level (Inclinometer)
- USB Cable (Type-C)
- Carrying Pouch
- Instruction Manual
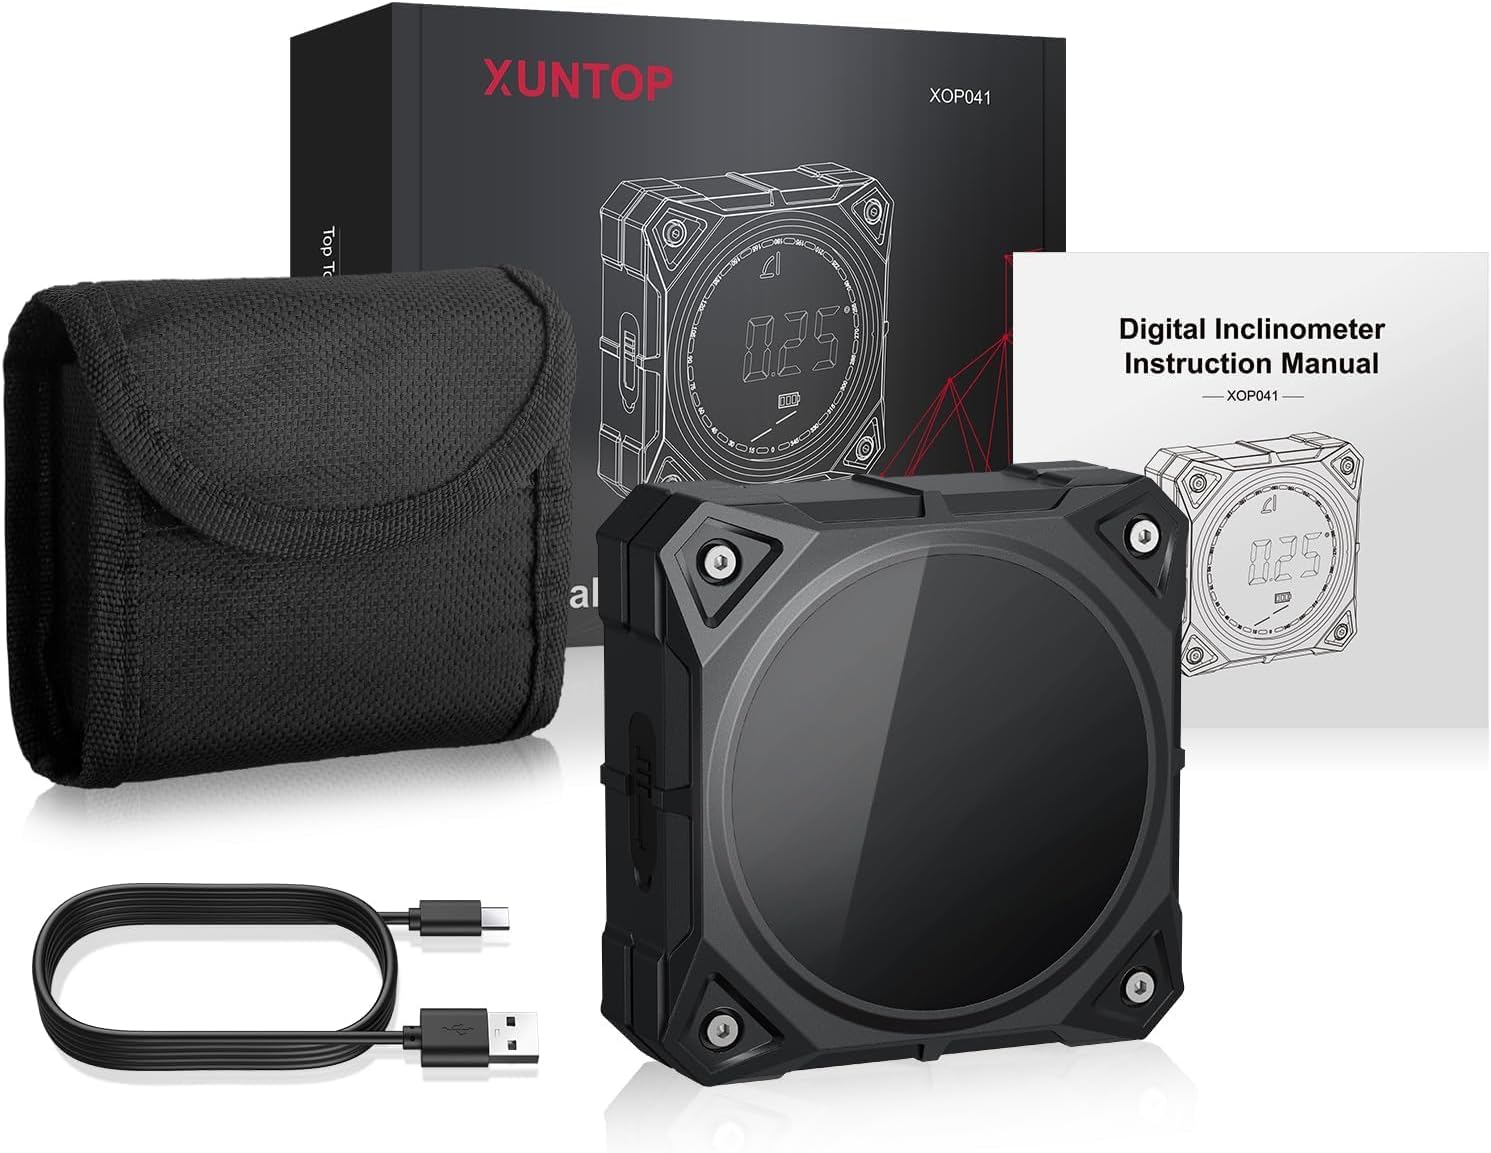
Image: The XUNTOP Digital Inclinometer, its USB charging cable, a protective carrying pouch, and the instruction manual.
4. Product Overview
Key Features:
- High Precision: ±0.1-0.2° accuracy with 0.05° resolution.
- Dual Measurement Ranges: 4x90° or 2x180°.
- Four-Sided Magnetic Base: Secure attachment to metallic surfaces.
- LED Display with Electronic Bubble: Clear visual indication of level and deviation.
- Audible Alarm: Sounds at critical angles (0°, 30°, 45°, 60°, 90°).
- Multiple Measurement Modes: Absolute and Relative.
- Unit Conversions: Degrees (°), Percentage (%), mm/m, inches/feet (in/ft).
- Data Hold Function: Locks the displayed measurement.
- Rechargeable Battery: 400mAh Lithium-ion with Type-C charging.
- Automatic Shutdown: After 3 minutes of inactivity to conserve battery.
- Automatic Display Rotation: For easy reading at any orientation.
Device Components:
The XUNTOP Digital Inclinometer features a compact design with a clear LED display and intuitive controls.

Image: Front view of the inclinometer, highlighting the LED display and control buttons.
5. Specifications
| Feature | Specification |
|---|---|
| Model Number | 5519 |
| Measurement Range | 4 x 90° (0-360°) or 2 x 180° |
| Accuracy | ±0.1° at 0° and 90°, ±0.2° at other angles |
| Resolution | 0.05° |
| Units | ° (degrees), % (percentage), mm/m, in/ft |
| Display | LED Screen |
| Power Source | 400mAh Rechargeable Lithium-Ion Battery |
| Charging Port | USB Type-C |
| Automatic Shutdown | After 3 minutes of inactivity |
| Operating Temperature | -10°C to 50°C (14°F to 122°F) |
| Material | Metal |
| Dimensions | Approximately 12.7 x 10.6 x 3.7 cm |
| Weight | Approximately 150 g |
6. Setup
6.1 Initial Charging
Before first use, fully charge the inclinometer. Connect the provided USB Type-C cable to the device's charging port and the other end to a standard USB power adapter (not included) or a computer USB port. The battery indicator on the display will show charging status.

Image: Detail of the USB Type-C charging port on the inclinometer.
6.2 Powering On/Off
Press the ON/OFF button located on the side of the device to power it on. The LED display will illuminate. To power off, press and hold the ON/OFF button for a few seconds, or the device will automatically shut down after 3 minutes of inactivity.
7. Operating Instructions
7.1 Absolute and Relative Measurement Modes
The inclinometer supports two measurement modes:
- Absolute Measurement Mode: Measures the angle relative to a true horizontal plane (0°). This is the default mode when the device is powered on.
- Relative Measurement Mode: Allows you to set any surface as a temporary 0° reference. To enter this mode, place the inclinometer on your desired reference surface and press the ZERO button. The display will show 0.00°, and subsequent measurements will be relative to this new reference. Press ZERO again to exit relative mode and return to absolute measurement.
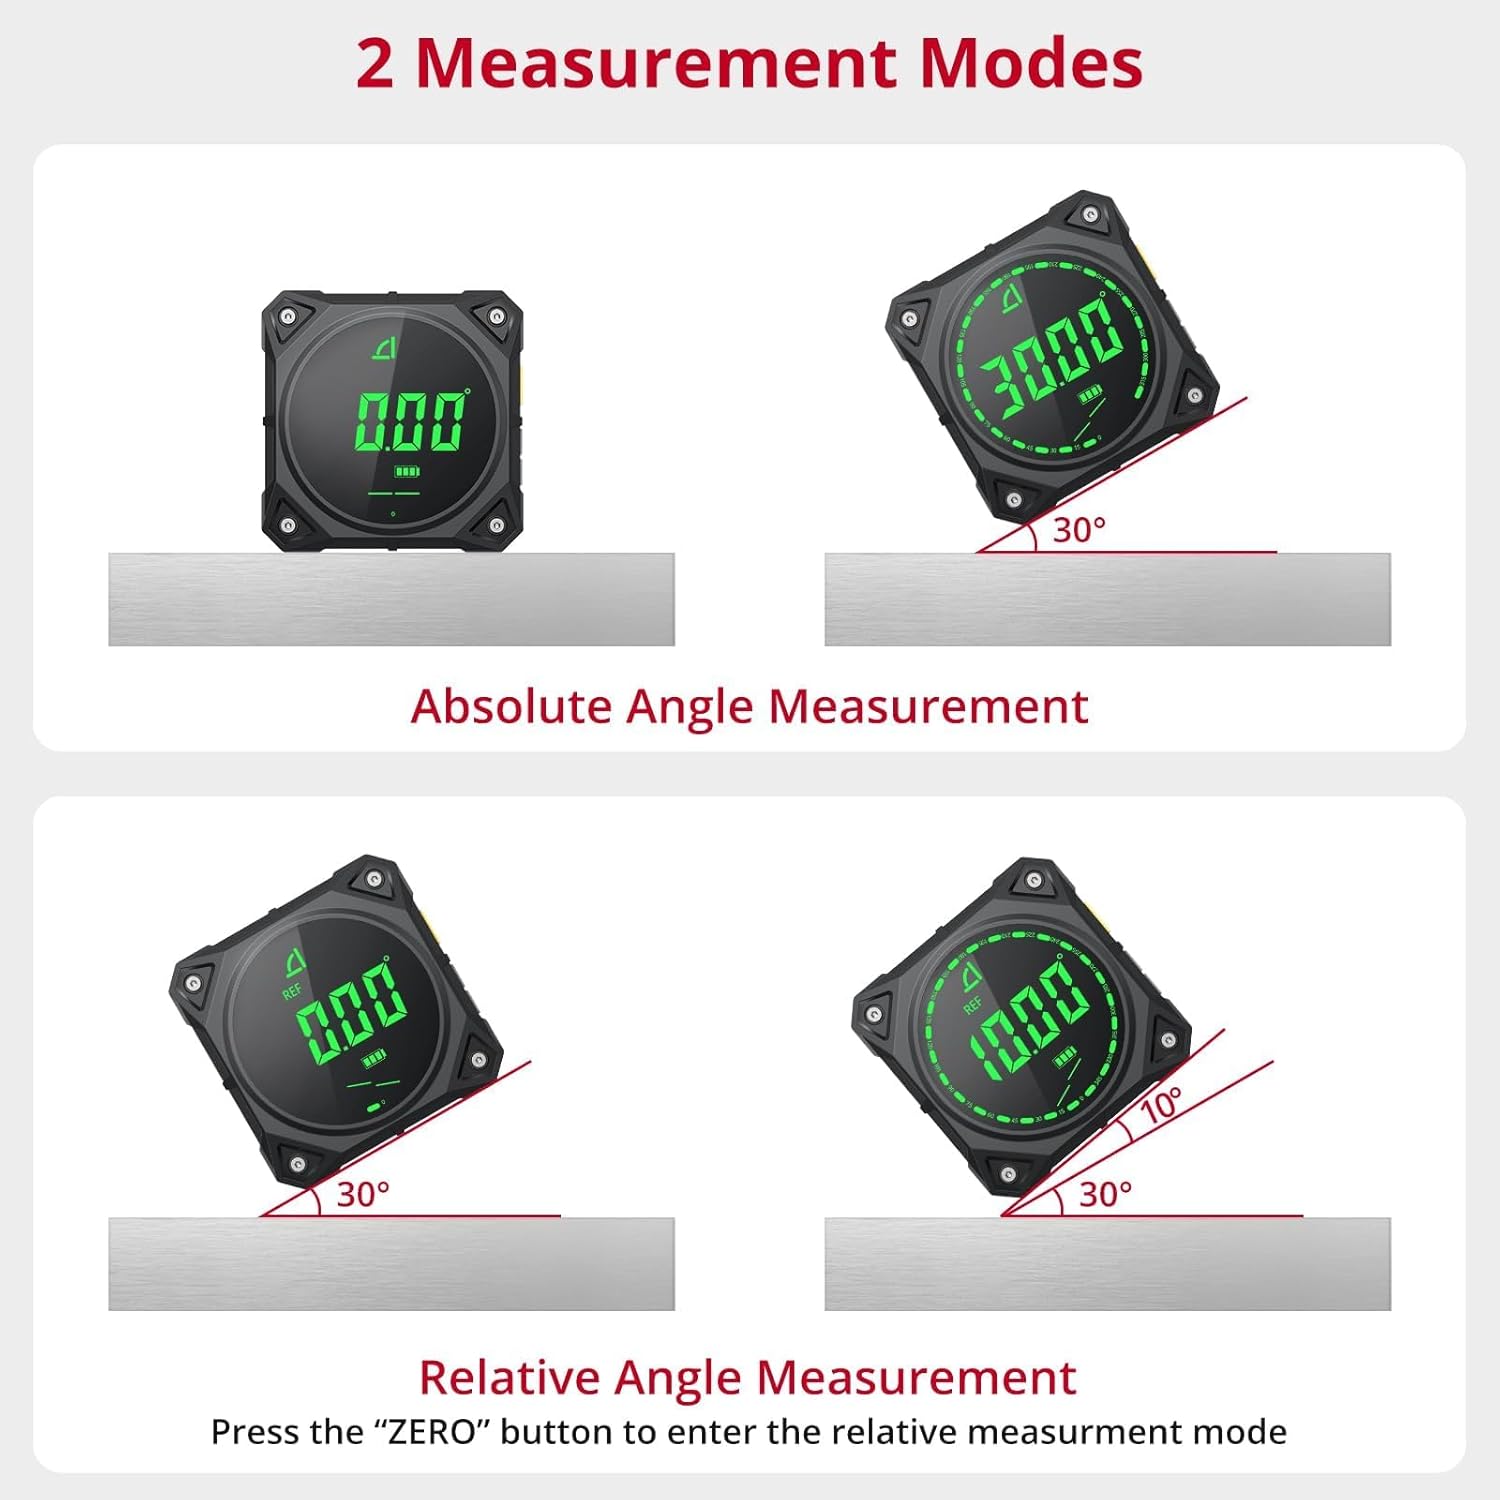
Image: Comparison of Absolute Angle Measurement (measuring from true horizontal) and Relative Angle Measurement (setting a custom zero point).
7.2 Unit Conversions
The device can display measurements in four different units. Press the UNIT button to cycle through the available units:
- Degrees (°)
- Percentage (%)
- mm/m (millimeters per meter)
- in/ft (inches per foot)

Image: The inclinometer displaying angles in degrees, percentage, millimeters per meter, and inches per foot.
7.3 Data Hold Function
To freeze the current measurement on the display, press the HOLD button. Press it again to release the hold and resume live measurement.
7.4 Buzzer Alarm
The inclinometer features an audible alarm that sounds when the measured angle is within ±1° of common reference angles: 0°, 30°, 45°, 60°, and 90°. This provides an additional confirmation for achieving precise angles.

Image: The inclinometer on a wooden frame, illustrating the buzzer alarm feature when near a target angle.
7.5 Magnetic Base Usage
The inclinometer is equipped with powerful magnets on all four sides, allowing it to securely attach to various metallic surfaces. This hands-free operation is ideal for working on steel structures, pipes, or machinery, ensuring stable and accurate measurements.

Image: The inclinometer demonstrating its magnetic attachment capabilities on various metal surfaces, with automatic display rotation.
7.6 Automatic Display Rotation
The LED display automatically rotates to ensure the reading is always upright, regardless of the device's orientation. This enhances readability and convenience during use.
8. Maintenance
8.1 Cleaning
Wipe the device with a soft, dry cloth. Do not use abrasive cleaners, solvents, or immerse the device in water.
8.2 Storage
When not in use, store the inclinometer in its protective carrying pouch in a cool, dry place, away from direct sunlight and extreme temperatures. Ensure the battery is partially charged before long-term storage to prolong its lifespan.
9. Troubleshooting
| Problem | Possible Cause | Solution |
|---|---|---|
| Device does not power on. | Low battery or device is off. | Charge the battery using the provided USB-C cable. Press the ON/OFF button to power on. |
| Inaccurate readings. | Device not calibrated or placed on an unstable surface. | Ensure the device is on a stable, flat surface. Note that accuracy is ±0.1-0.2°. If issues persist, contact customer support. |
| Display is frozen. | Data Hold function is active. | Press the HOLD button to release the measurement. |
| Buzzer not sounding. | Angle is not within ±1° of critical angles (0°, 30°, 45°, 60°, 90°). | Ensure the angle is close to one of the critical angles for the buzzer to activate. |
10. Warranty and Support
XUNTOP products are manufactured to high-quality standards. For warranty information or technical support, please refer to the contact details provided with your purchase or visit the official XUNTOP website. Do not attempt to repair the device yourself, as this may void the warranty.
Ask a question about this manual
Ask about setup, troubleshooting, compatibility, parts, safety, or missing instructions. Manuals+ will review the question and use this page’s manual context to help answer it.