Step 1: Assemble Slides to Board (4)
Using screws (G), attach slide (CL) to board (4). Ensure the slides are aligned correctly with the pre-drilled holes.
Video 3.2: Attaching slides to board (4).
Comprehensive guide for assembly, operation, and maintenance of your HolliWill Grey 9-Drawer Dresser.
The HolliWill Grey 9-Drawer Dresser, Model HH-DE-MF-9D, is a versatile storage solution designed for various rooms in your home. Constructed from high-quality MDF and P2 engineered wood, it features a durable, scratch-resistant surface and vintage metal handles. This dresser includes nine drawers of varying sizes, offering ample storage capacity. Its robust design incorporates an anti-tip mechanism for enhanced stability and safety.
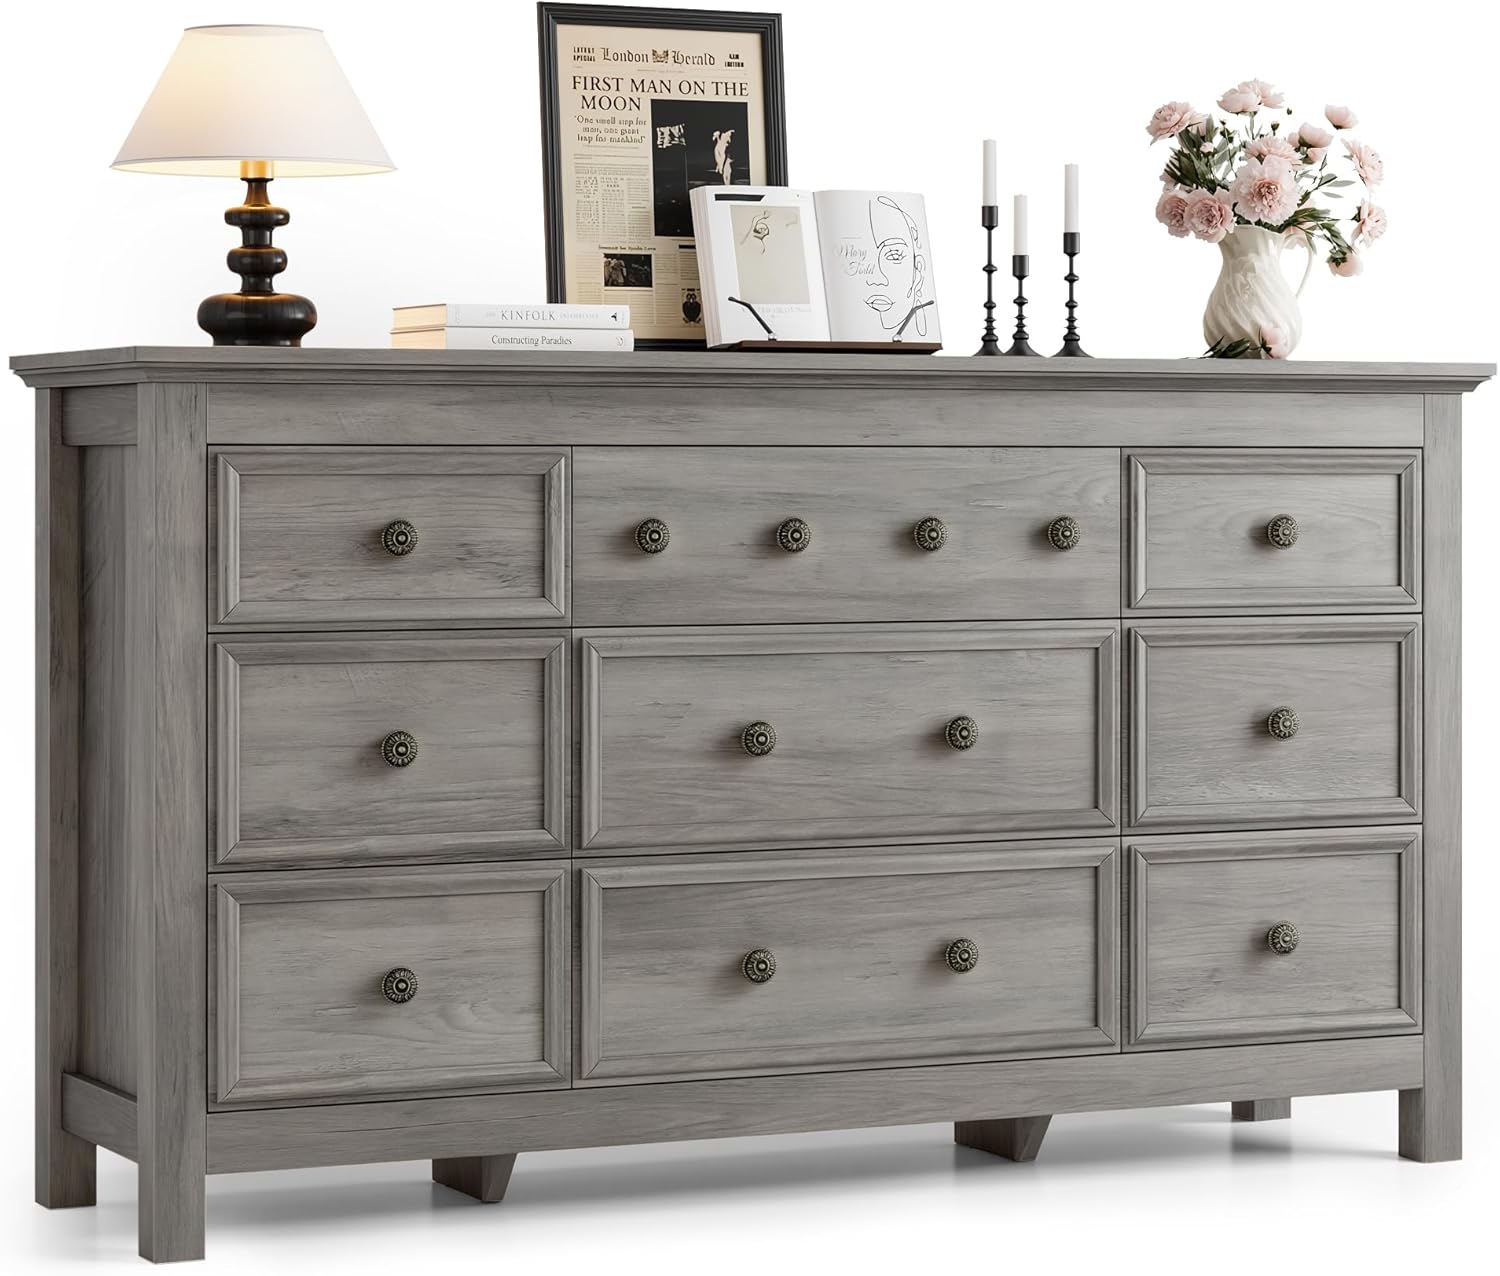
Image 1.1: The HolliWill Grey 9-Drawer Dresser, showcasing its farmhouse style and nine drawers.
Video 1.1: A brief overview of the HolliWill 57" Farmhouse Grey 9-Drawer Dresser, highlighting its design and features.
To ensure safe use of your HolliWill dresser, please adhere to the following guidelines:

Image 2.1: Diagram illustrating the correct installation of the anti-tip mechanism to secure the dresser to a wall.
Please read all instructions carefully before beginning assembly. Ensure all parts are present and accounted for. A power drill may be helpful for some steps. Two people are recommended for assembly.
Video 3.1: Full assembly video for the HolliWill 9-Drawer Dresser.
Using screws (G), attach slide (CL) to board (4). Ensure the slides are aligned correctly with the pre-drilled holes.
Video 3.2: Attaching slides to board (4).
Repeat the process from Step 1, attaching slides (CL) to board (5) using screws (G).
Video 3.3: Attaching slides to board (5).
Insert cam bolts (B) into the designated holes on board (4). Ensure they are fully tightened.
Video 3.4: Securing cam bolts into board (4).
Align board (6) with board (4) and secure using cam locks (A). Ensure a tight connection.
Video 3.5: Attaching board (6) to board (4).
Insert cam bolts (B) into the designated holes on board (5). Tighten securely.
Video 3.6: Securing cam bolts into board (5).
Align board (5) with board (6) and secure using cam locks (A). Ensure a tight connection.
Video 3.7: Attaching board (5) to board (6).
Insert cam bolts (B) into the designated holes on boards (8) and (9). Tighten securely.
Video 3.8: Securing cam bolts into boards (8 & 9).
Align boards (8) and (9) with boards (4) and (5) respectively, and secure using cam locks (A).
Video 3.9: Attaching boards (8 & 9) to boards (4 & 5).
Align board (7) with boards (4) and (5) and secure using cam locks (A).
Video 3.10: Attaching board (7) to boards (4 & 5).
Using screws (D), secure boards (10) and (11) to the top of boards (4) and (5).
Video 3.11: Securing boards (10 & 11) to boards (4 & 5).
Insert cam bolts (B) into the designated holes on boards (12) and (13). Tighten securely.
Video 3.12: Securing cam bolts into boards (12 & 13).
Insert wooden dowels (C) into board (2). Then, attach boards (12) and (13) to board (2) and secure using cam locks (A).
Video 3.13: Attaching boards (12 & 13) to board (2).
Insert cam bolts (B) into the designated holes on boards (14) and (15). Tighten securely.
Video 3.14: Securing cam bolts into boards (14 & 15).
Insert wooden dowels (C) into board (3). Then, attach boards (14) and (15) to board (3) and secure using cam locks (A).
Video 3.15: Attaching boards (14 & 15) to board (3).
Using screws (G), attach slides (CL) to board (2). Ensure proper alignment.
Video 3.16: Attaching slides to board (2).
Using screws (G), attach slides (CR) to board (3). Ensure proper alignment.
Video 3.17: Attaching slides to board (3).
Insert cam bolts (B) into the designated holes on board (3). Tighten securely.
Video 3.18: Securing cam bolts into board (3).
Insert wooden dowels (C) into board (3). Then, attach board (3) to boards (7, 8, 9, 10, & 11) and secure using cam locks (A).
Video 3.19: Attaching board (3) to the main frame.
Insert cam bolts (B) into the designated holes on board (2). Tighten securely.
Video 3.20: Securing cam bolts into board (2).
Insert wooden dowels (C) into board (2). Then, attach board (2) to boards (7, 8, 9, 10, & 11) and secure using cam locks (A).
Video 3.21: Attaching board (2) to the main frame.
Insert cam bolts (B) into the designated holes on board (1). Tighten securely.
Video 3.22: Securing cam bolts into board (1).
Insert wooden dowels (C) into boards (2, 3, 4, 5, & 8). Then, attach board (1) to these boards and secure using cam locks (A).
Video 3.23: Attaching board (1) to the main frame.
Using screws (H) through the anti-tipping belt (I), attach the back panels (16) to the main body of the dresser. Ensure the anti-tipping belt is correctly positioned.
Video 3.24: Attaching back panels to the dresser body.
Refer to the diagram to ensure all components are correctly assembled and secured.
Video 3.25: Final check of the dresser frame assembly.
Insert cam bolts (B) into the designated holes on boards (21) and (22). These are for the drawer sides. Repeat for all drawer sets.
Video 3.26: Securing cam bolts for drawer sides.
Insert wooden dowels (C) into boards (21) and (22). Then, attach boards (17) and (18) to boards (21) and (22) respectively, and secure using cam locks (A). Repeat for all drawer sets.
Video 3.27: Assembling drawer sides.
Carefully slide the drawer bottom panels (20) into the designated grooves of the assembled drawer sides. Repeat for all drawer sets.
Video 3.28: Sliding drawer bottom panels.
Using screws (K), attach board (19) to the front of boards (17) and (18). Repeat for all drawer sets.
Video 3.29: Attaching the front panel of the drawer.
Using screws (F), attach the handle (E) to the front of boards (21) and (22). Repeat for all drawer sets.
Video 3.30: Attaching handles to drawer fronts.
Using screws (G), attach slide (DR) to board (18) and slide (DL) to board (17). Repeat for all drawer sets.
Video 3.31: Attaching drawer slides to the drawers.
Insert cam bolts (B) into the designated holes on boards (26) and (27). Repeat for all drawer sets.
Video 3.32: Securing cam bolts for drawer sides (larger drawers).
Insert wooden dowels (C) into boards (26) and (27). Then, attach boards (23) and (24) to boards (26) and (27) respectively, and secure using cam locks (A). Repeat for all drawer sets.
Video 3.33: Assembling larger drawer sides.
Carefully slide the drawer bottom panels (20) into the designated grooves of the assembled larger drawer sides. Repeat for all drawer sets.
Video 3.34: Sliding larger drawer bottom panels.
Using screws (K), attach board (25) to the front of boards (23) and (24). Repeat for all drawer sets.
Video 3.35: Attaching the front panel of the larger drawer.
Using screws (G), attach slide (DR) to board (24) and slide (DL) to board (23). Repeat for all drawer sets.
Video 3.36: Attaching drawer slides to the larger drawers.
Using screws (F), attach the handle (E) to the front of boards (26) and (27). Repeat for all drawer sets.
Video 3.37: Attaching handles to larger drawer fronts.
Insert cam bolts (B) into the designated holes on board (31). Repeat for all drawer sets.
Video 3.38: Securing cam bolts for the largest drawer sides.
Insert wooden dowels (C) into board (31). Then, attach boards (17), (18), and (29) to board (31) and secure using cam locks (A). Repeat for all drawer sets.
Video 3.39: Assembling largest drawer sides.
Carefully slide the drawer bottom panels (30) into the designated grooves of the assembled largest drawer sides. Repeat for all drawer sets.
Video 3.40: Sliding largest drawer bottom panels.
Using screws (K), attach board (28) to the front of boards (17) and (18). Repeat for all drawer sets.
Video 3.41: Attaching the front panel of the largest drawer.
Using screws (G), attach slide (DR) to board (18) and slide (DL) to board (17). Repeat for all drawer sets.
Video 3.42: Attaching drawer slides to the largest drawers.
Using screws (F), attach the handle (E) to the front of board (31). Repeat for all drawer sets.
Video 3.43: Attaching handles to the largest drawer fronts.
Carefully insert the assembled drawers into the dresser frame. Pay attention to the order of the drawers as per the diagram. When inserting, ensure the drawer wheels are positioned on top of the slide wheels. Check that each drawer slides smoothly when pulled out. If a drawer does not slide smoothly, it may not be aligned correctly.
Video 3.44: Inserting drawers into the dresser frame.
The HolliWill 9-Drawer Dresser is designed for straightforward operation.

Image 4.1: Demonstrating the smooth operation of the dresser drawers.
Proper care will extend the life and appearance of your dresser.
If you encounter any issues with your dresser, refer to the following common solutions:
| Problem | Possible Cause | Solution |
|---|---|---|
| Drawers do not slide smoothly or get stuck. |
|
|
| Dresser feels wobbly or unstable. |
|
|
| Parts are missing or damaged during assembly. |
|
|
HolliWill is committed to customer satisfaction. For any questions, concerns, or assistance with assembly or product issues, please contact our dedicated support team. While specific warranty details are not provided in this manual, please refer to your purchase documentation or contact customer service for warranty information.
Contact Information: Please refer to the contact details provided with your purchase or visit the official HolliWill website for support.
Ask about setup, troubleshooting, compatibility, parts, safety, or missing instructions. Manuals+ will review the question and use this page’s manual context to help answer it.