Samoser 253.79942704 253.79942705
Samoser Refrigerator Ice Maker Assembly Instruction Manual
For Kenmore Refrigerator Models: 253.79942702, 253.79942703, 253.79942704, 253.79942705, 253.79943700, 253.79943701, 253.79943702, 253.79943703, 253.79943704, 253.79943705, 253.79944700, 253.79944701
1. Introduction
This manual provides detailed instructions for the installation, operation, and maintenance of your new Samoser Refrigerator Ice Maker Assembly. This component is designed as an aftermarket replacement part for various Kenmore, Frigidaire, Electrolux, and Crosley refrigerator models. Please read this manual thoroughly before attempting any installation or operation to ensure proper function and safety.
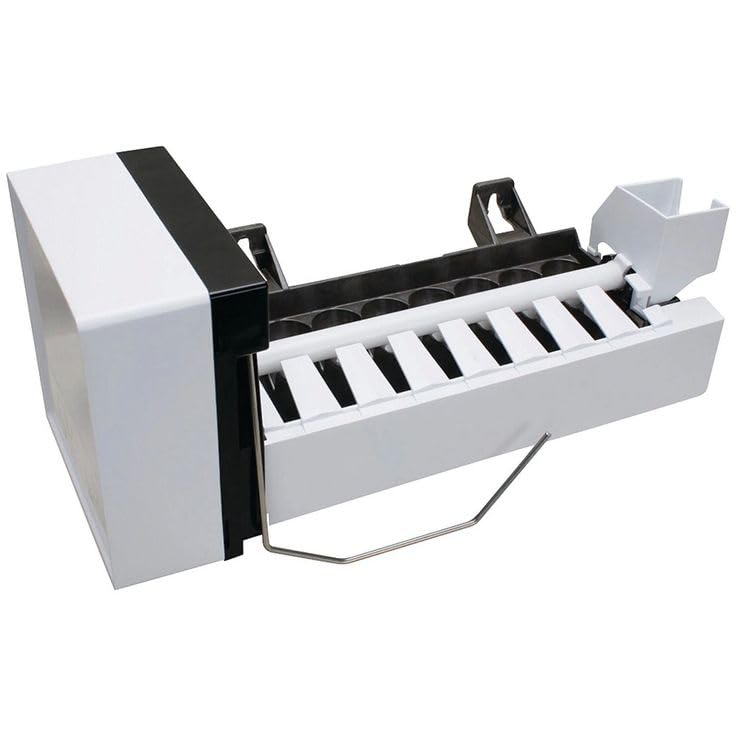
Figure 1: Front view of the Samoser Refrigerator Ice Maker Assembly.
2. Safety Information
Always prioritize safety when working with electrical appliances. Failure to follow these safety guidelines may result in property damage, personal injury, or death.
- Disconnect Power: Always unplug the refrigerator from the power outlet before attempting any installation, repair, or maintenance.
- Water Supply: Turn off the water supply to the refrigerator before beginning installation to prevent leaks.
- Professional Assistance: If you are unsure about any step of the installation process, it is recommended to consult a qualified appliance technician.
- Proper Tools: Use appropriate tools for the task to avoid damage to the appliance or injury.
- Component Handling: Handle the ice maker assembly carefully to avoid damaging delicate parts.
3. Package Contents
Verify that all items are present and undamaged upon opening the package.
- 1x Samoser Refrigerator Ice Maker Assembly
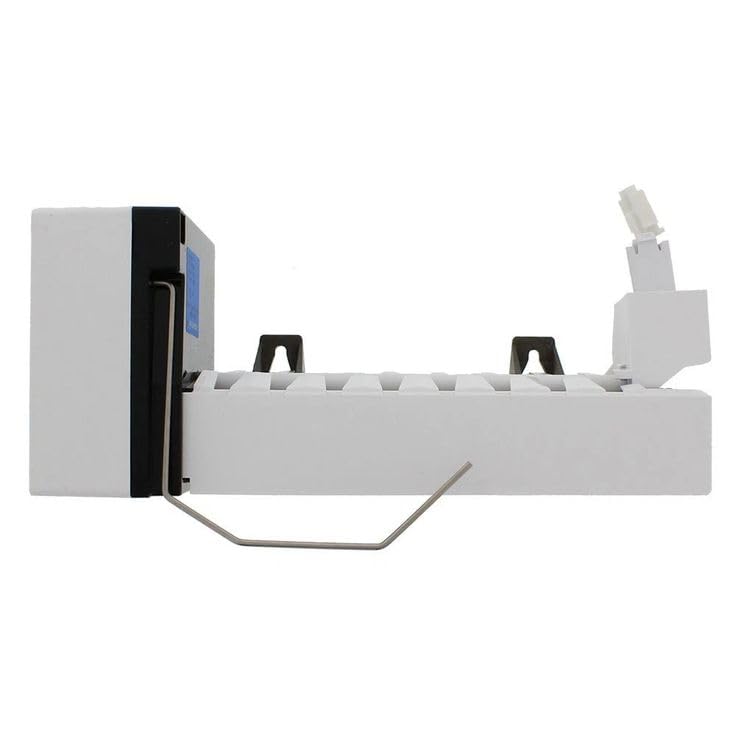
Figure 2: Side view of the ice maker assembly, showing its profile.
4. Compatibility
This Samoser ice maker assembly is an aftermarket replacement part compatible with various refrigerator models from Kenmore, Frigidaire, Electrolux, and Crosley. Please verify your refrigerator's model number against the list below to ensure compatibility.
Compatible Kenmore Models:
- 253.79942702, 253.79942703, 253.79942704, 253.79942705
- 253.79943700, 253.79943701, 253.79943702, 253.79943703, 253.79943704, 253.79943705
- 253.79944700, 253.79944701, 253.79944702, 253.79944703, 253.79944704, 253.79944705
- 253.79949700, 253.79949701, 253.79949702, 253.79949703, 253.79949704, 253.79949705
- 253.79952700, 253.79952701, 253.79952702, 253.79952704
- 253.79953700, 253.79953701, 253.79953702, 253.79953703, 253.79953704
- 253.79954700, 253.79954701, 253.79954702, 253.79954703, 253.79954704
- 253.79959701, 253.79959702, 253.79959703, 253.79959704
- 253.79962701, 253.79962702, 253.79962703
- 253.79963701, 253.79963702, 253.79963703, 253.79963704
- 253.79964701, 253.79964702, 253.79964703, 253.79964704
- 253.79969701, 253.79969702, 253.79969703
- 253.8085C, 253.8089
- 253.8387702, 253.8387712, 253.8387722, 253.8387762, 253.8387782, 253.8387792
- 253.8389702, 253.8389722, 253.8389762, 253.8389782, 253.8389792
- 253.8790102, 253.8790103, 253.8790112, 253.8790113, 253.8790122, 253.8790162, 253.8790163, 253.8790182, 253.8790183, 253.8790192, 253.8790193
- 253.8791202, 253.8791203, 253.8791212, 253.8791222, 253.8791223, 253.8791262, 253.8791263, 253.8791282, 253.8791283, 253.8791292, 253.8791293
- 253.8795203, 253.8795223, 253.8795263, 253.8795283, 253.8795293
- 253.8796202, 253.8796203, 253.8796212, 253.8796213, 253.8796222, 253.8796223, 253.8796262, 253.8796263, 253.8796282, 253.8796283, 253.8796293
- 253.9301700, 253.9301701, 253.9301710, 253.9301711, 253.9301720, 253.9301721, 253.9301760, 253.9301761, 253.9301781, 253.9301790, 253.9301791
- 253.9305100, 253.9305103, 253.9305110, 253.9305111, 253.9305120, 253.9305121, 253.9305160
If you are uncertain about compatibility, please contact the seller for assistance. You can often find your model number on a label inside your refrigerator compartment.
5. Setup and Installation
Installation of a refrigerator ice maker assembly typically involves working with electrical and water connections. It is highly recommended that this procedure be performed by a qualified technician. If you choose to proceed yourself, follow these general steps carefully.
5.1. Preparation
- Disconnect Power: Unplug the refrigerator from the wall outlet.
- Turn Off Water Supply: Locate and turn off the water supply valve to the refrigerator. This is usually behind the refrigerator or under the sink.
- Access Ice Maker Compartment: Open the freezer door and locate the existing ice maker or the designated area for installation. You may need to remove shelves or the existing ice bucket.
5.2. Removal of Old Ice Maker (if applicable)
- Disconnect Wiring: Carefully disconnect the electrical connector from the old ice maker.
- Remove Mounting Screws: Unscrew any mounting screws holding the old ice maker in place.
- Detach Water Line: Disconnect the water fill tube from the old ice maker. Be prepared for a small amount of residual water.
- Remove Assembly: Carefully remove the old ice maker assembly from the freezer compartment.
5.3. Installation of New Ice Maker
- Position New Assembly: Carefully place the new Samoser ice maker assembly into the designated mounting location.
- Secure Mounting: Fasten the new ice maker with the appropriate mounting screws. Ensure it is securely attached.
- Connect Water Line: Reconnect the water fill tube to the new ice maker. Ensure a snug fit to prevent leaks.
- Connect Wiring: Plug the electrical connector from the refrigerator's wiring harness into the new ice maker assembly. Ensure the connection is firm.
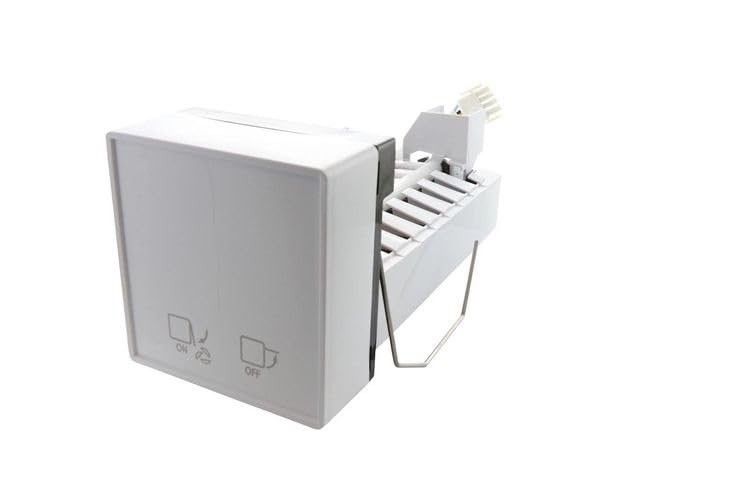
Figure 3: Rear view of the ice maker, highlighting the electrical connector area.
5.4. Post-Installation
- Restore Water Supply: Slowly turn on the water supply valve to the refrigerator. Check for any leaks around the water fill tube connection.
- Restore Power: Plug the refrigerator back into the power outlet.
- Initial Operation: Allow several hours for the freezer to reach its operating temperature and for the ice maker to begin producing ice. The first few batches of ice may be smaller or have an unusual taste; it is recommended to discard them.
6. Operating Instructions
Once installed and powered, the ice maker operates automatically to produce ice. Most ice makers have a shut-off arm or switch.
- Ice Production: The ice maker will automatically fill with water, freeze it, and then eject the ice cubes into the ice bucket.
- Shut-off Arm/Switch: When the ice bucket is full, the shut-off arm will rise, or an internal sensor will detect the full bucket, stopping ice production. Lowering the arm or emptying the bucket will resume production.
- Initial Ice: It may take 12-24 hours for the ice maker to produce its first full batch of ice after installation or extended power outage.
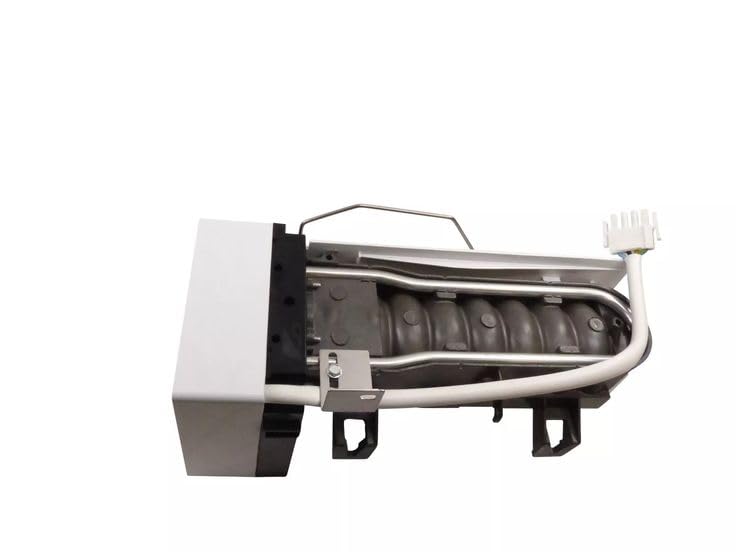
Figure 4: Underside view of the ice maker, revealing internal components and the ice tray.
7. Maintenance
Regular maintenance helps ensure optimal performance and longevity of your ice maker.
- Cleaning: Periodically remove the ice bucket and wash it with mild soap and warm water. Rinse thoroughly and dry before returning it.
- Water Filter: If your refrigerator has a water filter, ensure it is replaced regularly according to the refrigerator manufacturer's recommendations. A clogged filter can affect ice production.
- Check Water Line: Occasionally inspect the water supply line for kinks, leaks, or damage.
- Ice Build-up: If ice builds up around the ice maker mechanism, turn off the ice maker and allow it to defrost naturally, or carefully remove the ice with a plastic utensil. Do not use sharp objects.
8. Troubleshooting
Before contacting support, review these common issues and their potential solutions.
| Problem | Possible Cause | Solution |
|---|---|---|
| Ice maker not producing ice. |
|
|
| Ice cubes are small or hollow. |
|
|
| Ice has an unusual taste or odor. |
|
|
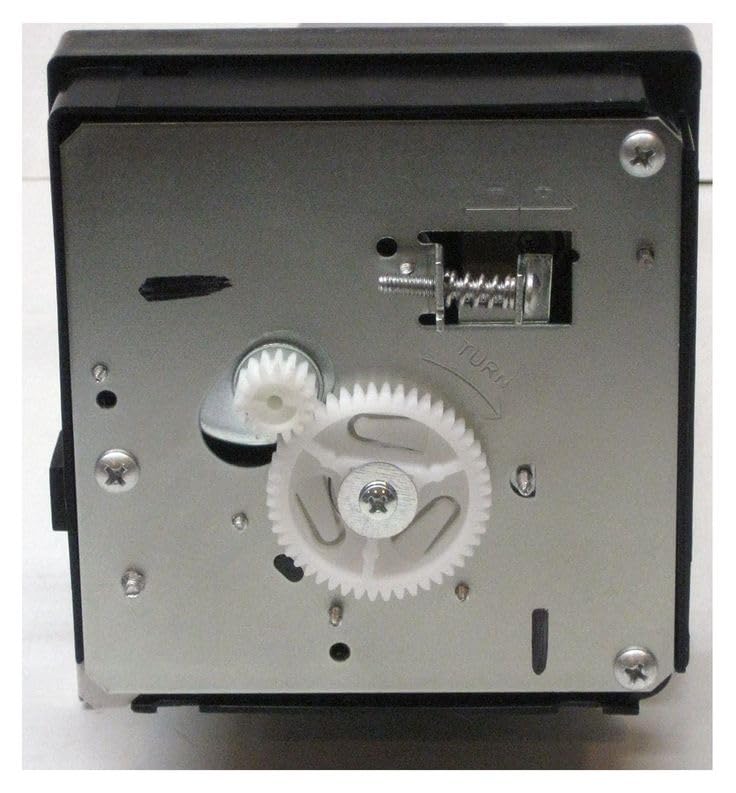
Figure 5: Back view of the ice maker, illustrating the motor and gear mechanism.
9. Specifications
| Feature | Detail |
|---|---|
| Brand | Samoser |
| Model Name | Ice Maker |
| Item Model Number | 253.79942704, 253.79942705 (and other compatible models listed) |
| Compatibility | Aftermarket replacement for Frigidaire, Kenmore, Electrolux, Crosley Refrigerators |
10. Warranty and Support
Specific warranty information for this aftermarket part is not provided in the product details. For any questions regarding compatibility, installation, or troubleshooting that is not covered in this manual, please contact the seller directly. They are equipped to provide further assistance and resolve any issues you may encounter.
Seller Contact: Refer to your purchase documentation or the online marketplace where the item was purchased for seller contact information.