
1. Setup
1.1 Unboxing and Package Contents
Carefully remove all components from the packaging. Ensure all items listed below are present.
- 19.5 Inch Monitor
- Monitor Stand (Base and Neck)
- HDMI Cable
- Power Cord
- User Manual
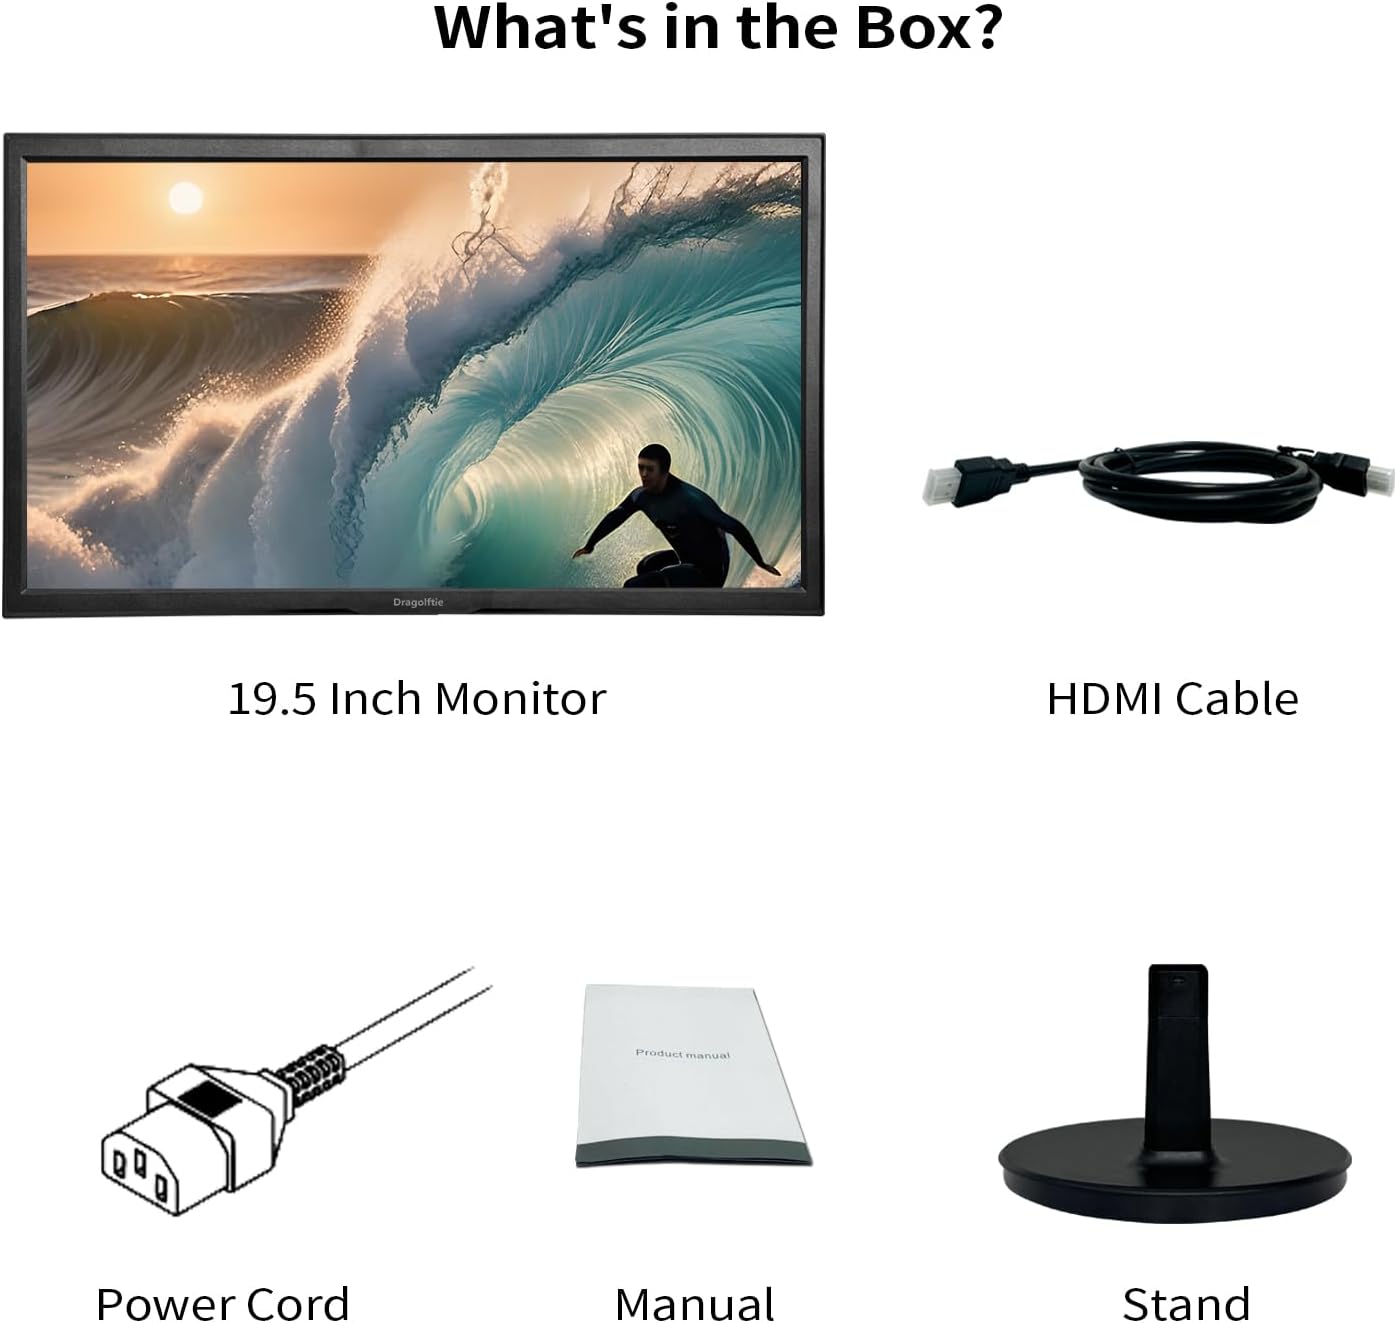
Video 1: Monitor Package Included. This video demonstrates the unboxing process and shows all items included in the monitor package.
1.2 Assembling the Monitor Stand
- Insert the stand neck into the base until it clicks securely into place.
- Align the assembled stand with the mounting slot on the back of the monitor.
- Gently push the monitor onto the stand until it locks. Ensure it is firmly attached before placing the monitor upright.
Video 2: How To Install The Monitor. This video provides a step-by-step guide on how to correctly install the monitor stand.
1.3 Connecting the Monitor
Connect the monitor to your computer or other devices using the appropriate cables.
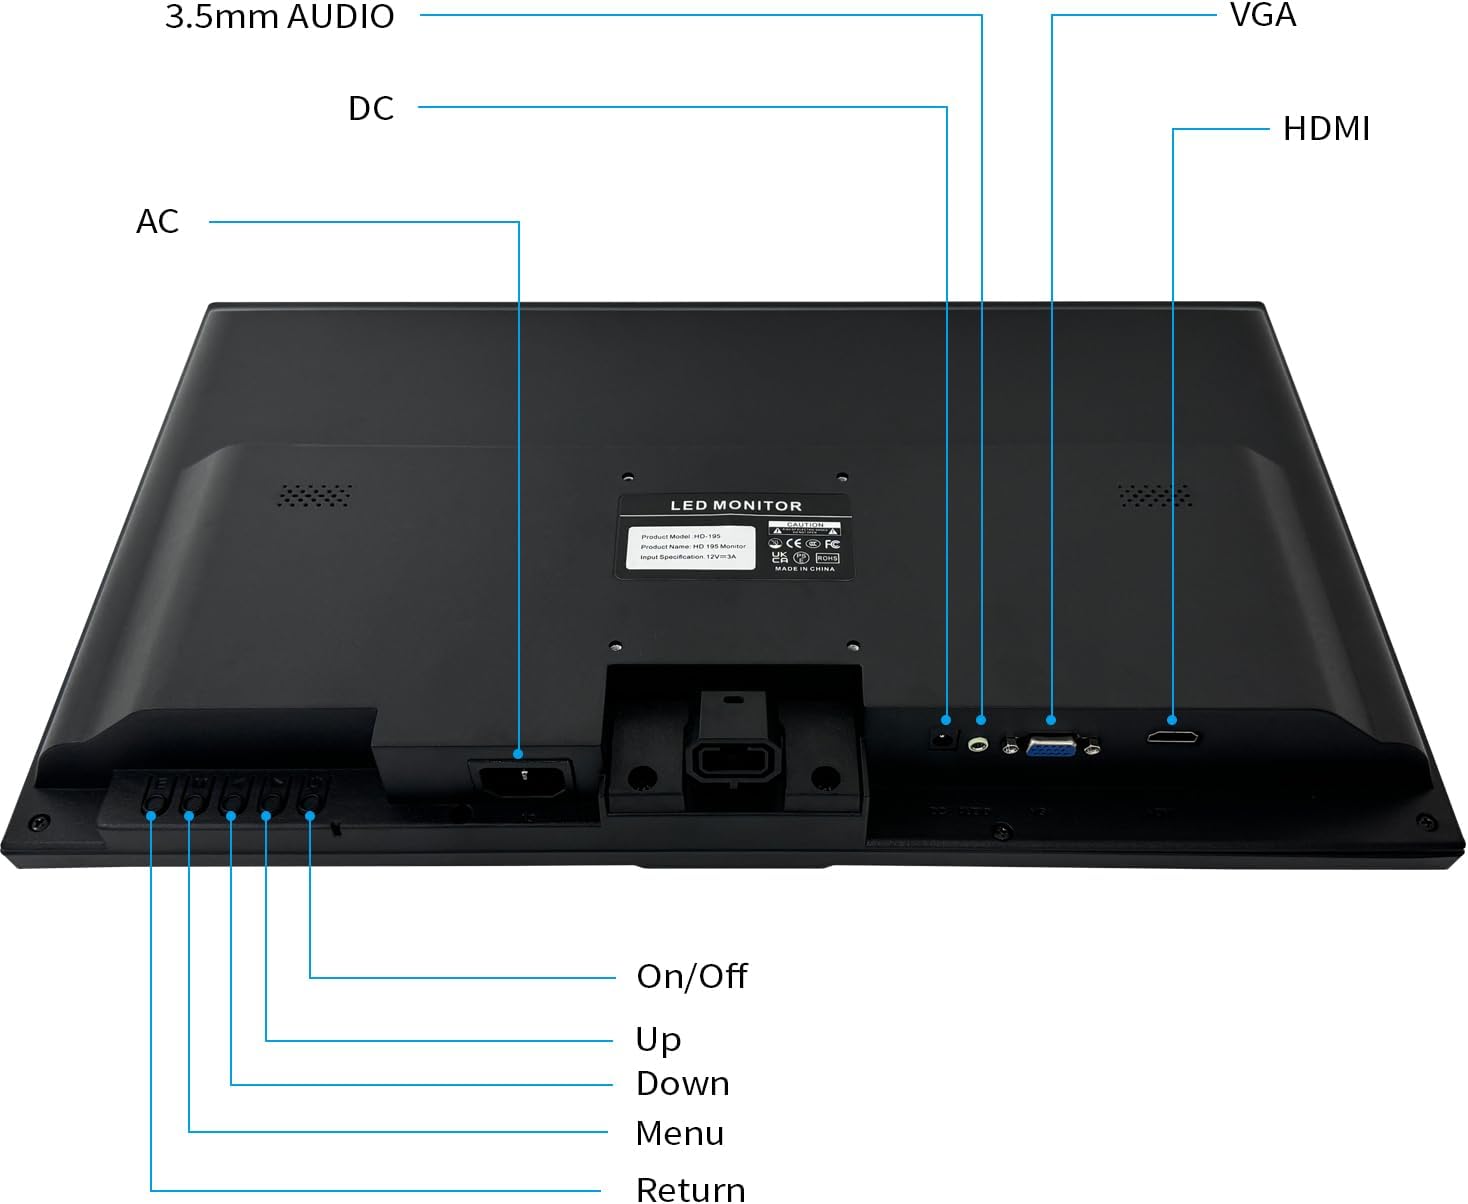
- Power Connection: Connect the power cord to the AC input on the back of the monitor, then plug the other end into a power outlet.
- Video Connection: Use either an HDMI cable or a VGA cable to connect the monitor to your computer's video output port.
- Audio Connection (Optional): If using external speakers or headphones, connect them to the 3.5mm AUDIO output port.
Video 3: How To Connect The Monitor. This video demonstrates the correct method for connecting power and video cables to the monitor.
2. Operating Instructions
2.1 Powering On/Off
To power on the monitor, press the 'On/Off' button located on the bottom right side of the monitor's back panel. Press it again to power off.

2.2 Basic Display Settings
Use the control buttons on the back panel to navigate the On-Screen Display (OSD) menu and adjust settings such as brightness, contrast, color, and input source.
- Press the 'Menu' button to open the OSD.
- Use the 'Up' and 'Down' buttons to navigate through menu options.
- Press the 'Menu' button again to select an option or confirm a setting.
- Press the 'Return' button to go back or exit the OSD.
The monitor supports a native resolution of 1600x900 and a refresh rate of 60Hz for optimal performance.
2.3 Adjusting the Monitor Angle
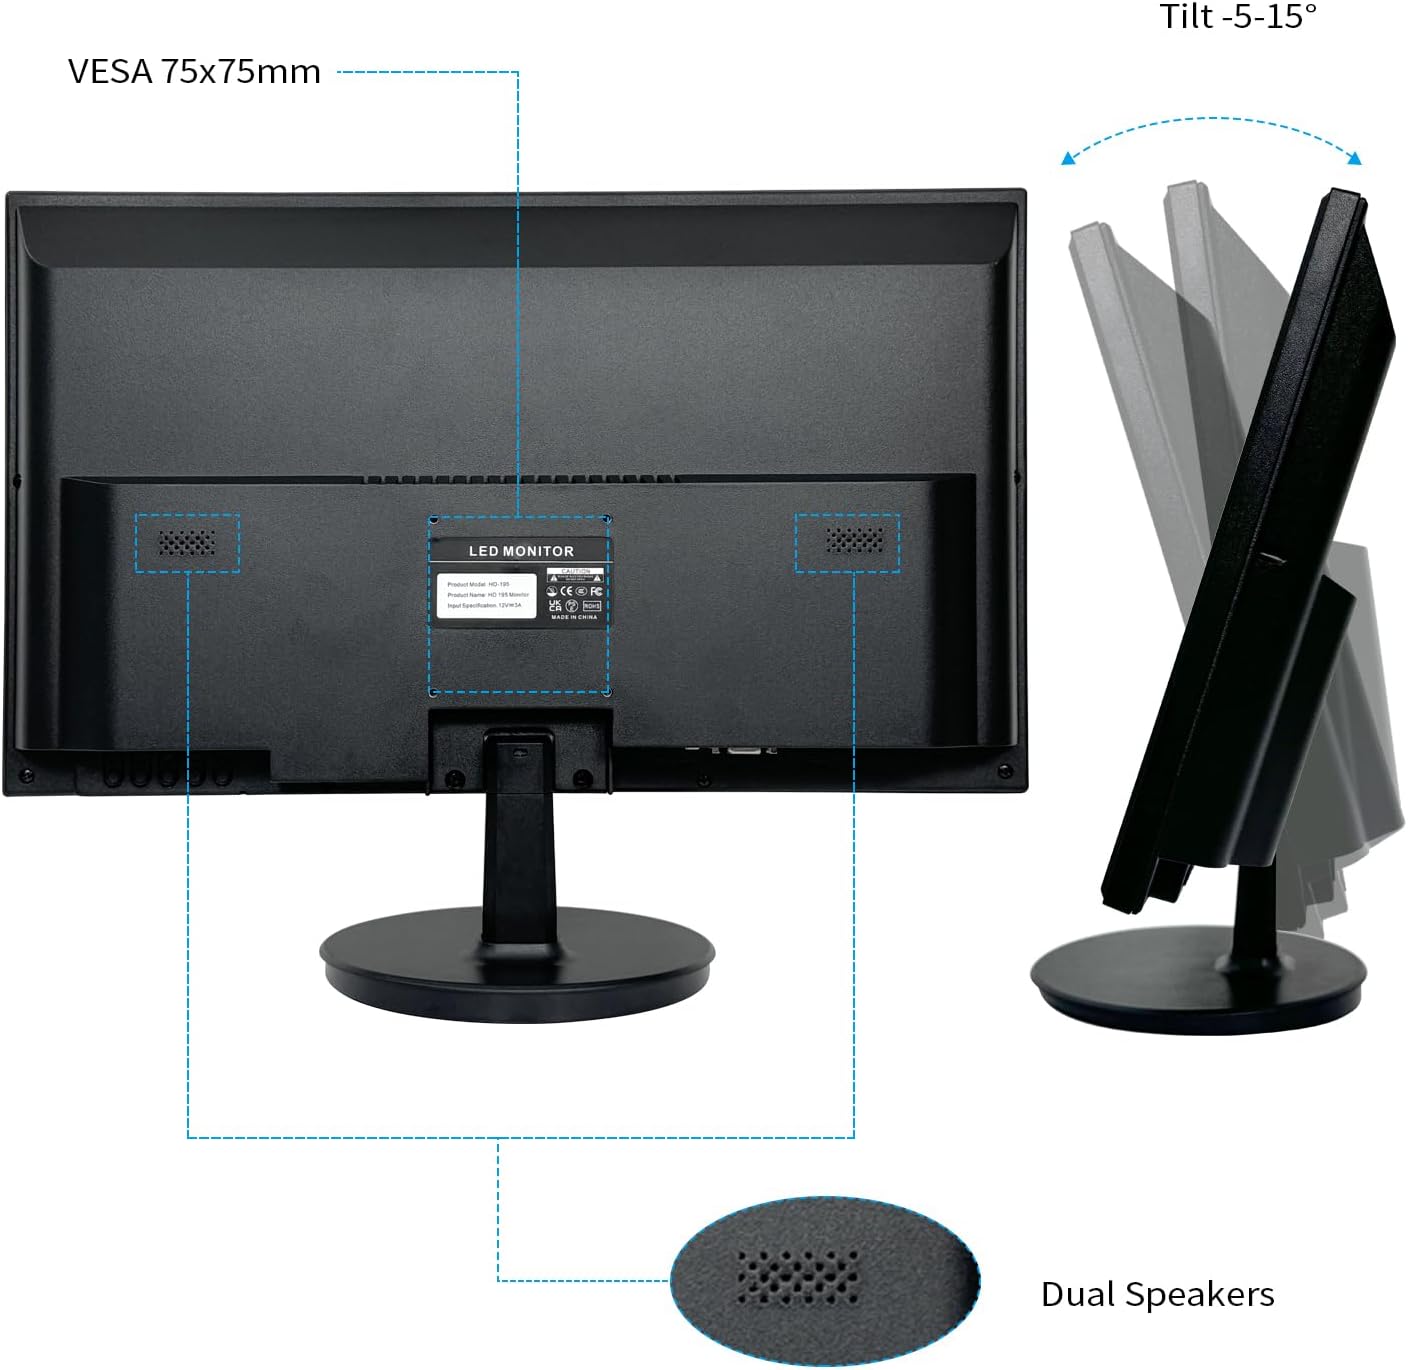
The monitor allows for tilt adjustment to achieve an optimal viewing angle. Gently hold the top and bottom edges of the monitor and tilt it forward or backward within the range of -5° to 15°.
Video 4: Monitor Tilt Adjustment. This video demonstrates how to adjust the tilt angle of the monitor for comfortable viewing.
2.4 Using Built-in Speakers
The monitor features dual built-in speakers. To ensure audio plays through the monitor, connect your computer via an HDMI cable. Verify that the audio output settings on your computer are configured to use the monitor's speakers.
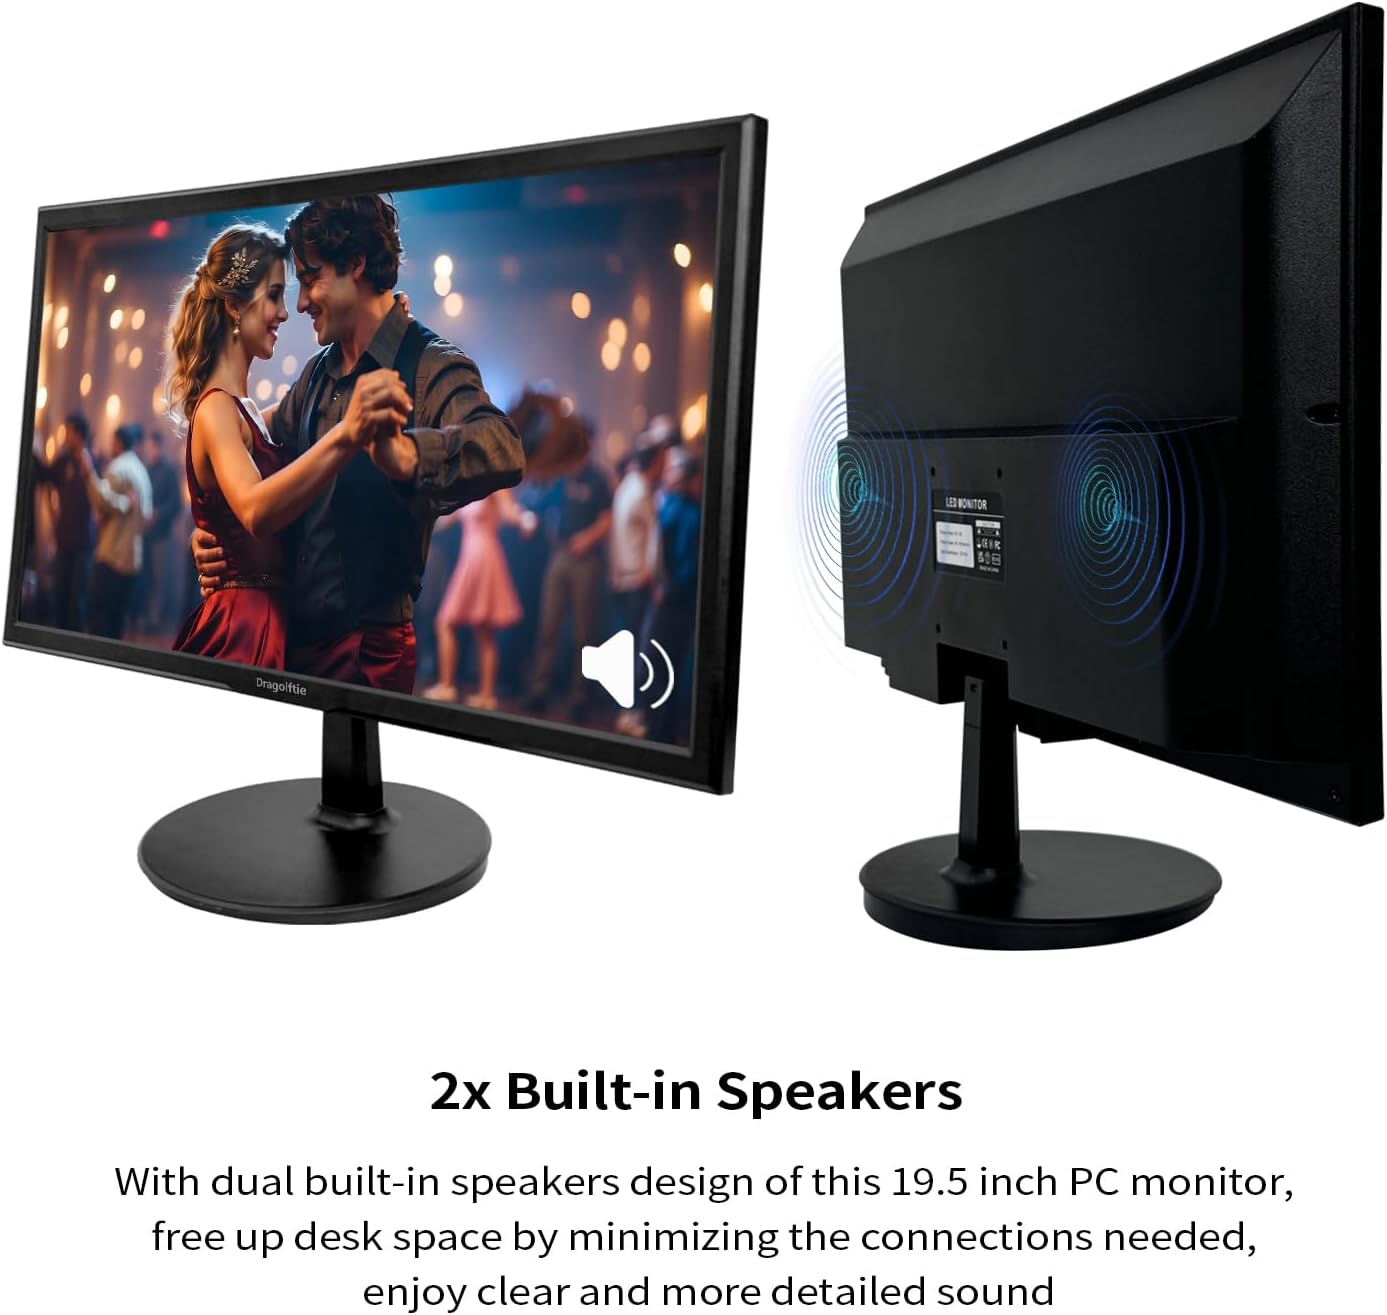
Video 5: Dual Built-in Speakers. This video demonstrates the sound output from the monitor's integrated speakers.
3. Maintenance
3.1 Cleaning the Monitor
To clean the monitor screen, gently wipe it with a soft, lint-free cloth. For stubborn marks, slightly dampen the cloth with water or a mild, non-abrasive screen cleaner. Avoid using harsh chemicals or abrasive materials that could damage the screen surface. For the monitor casing, use a dry, soft cloth.
3.2 Eye Care Features
This monitor is equipped with Low-Blue Light and Flicker-free technology to reduce eye strain during extended use. Low-Blue Light mode minimizes harmful blue light emissions, while Flicker-free technology eliminates screen flickering, contributing to a more comfortable viewing experience.

4. Troubleshooting
4.1 Common Issues and Solutions
- No Display:
- Ensure the power cord is securely connected to both the monitor and the power outlet.
- Verify that the video cable (HDMI or VGA) is firmly connected to both the monitor and your computer.
- Check if the monitor is powered on (power indicator light should be lit).
- Select the correct input source using the OSD menu.
- No Sound from Built-in Speakers:
- Ensure the monitor is connected via HDMI for audio transmission.
- Check your computer's sound settings to confirm the monitor is selected as the audio output device.
- Adjust the volume on both the monitor and your computer.
- Image Quality Issues (Blurry, Distorted, Incorrect Colors):
- Ensure your computer's display resolution is set to the monitor's native resolution (1600x900).
- Adjust brightness, contrast, and color settings through the OSD menu.
- If using VGA, ensure the cable is securely connected and try auto-adjustment in the OSD.
5. Specifications
Below are the key technical specifications for the Dragolftie 19.5 Inch PC Monitor (Model HD-195).
| Feature | Specification |
|---|---|
| Brand | Dragolftie |
| Model Number | HD-195 |
| Screen Size | 19.5 Inches |
| Native Resolution | 1600x900 (HD+) |
| Aspect Ratio | 16:9 |
| Refresh Rate | 60 Hz |
| Response Time | 5 Milliseconds |
| Display Technology | TN Panel, LED |
| Brightness | 250 cd/m² |
| Contrast Ratio | 1000:1 |
| Color Gamut | 95% sRGB |
| Connectivity | 1x HDMI, 1x VGA |
| Audio | Built-in Speakers, 3.5mm Audio Out |
| VESA Mount | 75x75mm |
| Tilt Adjustment | -5° to 15° |
| Eye Care Features | Low-Blue Light, Flicker-free |
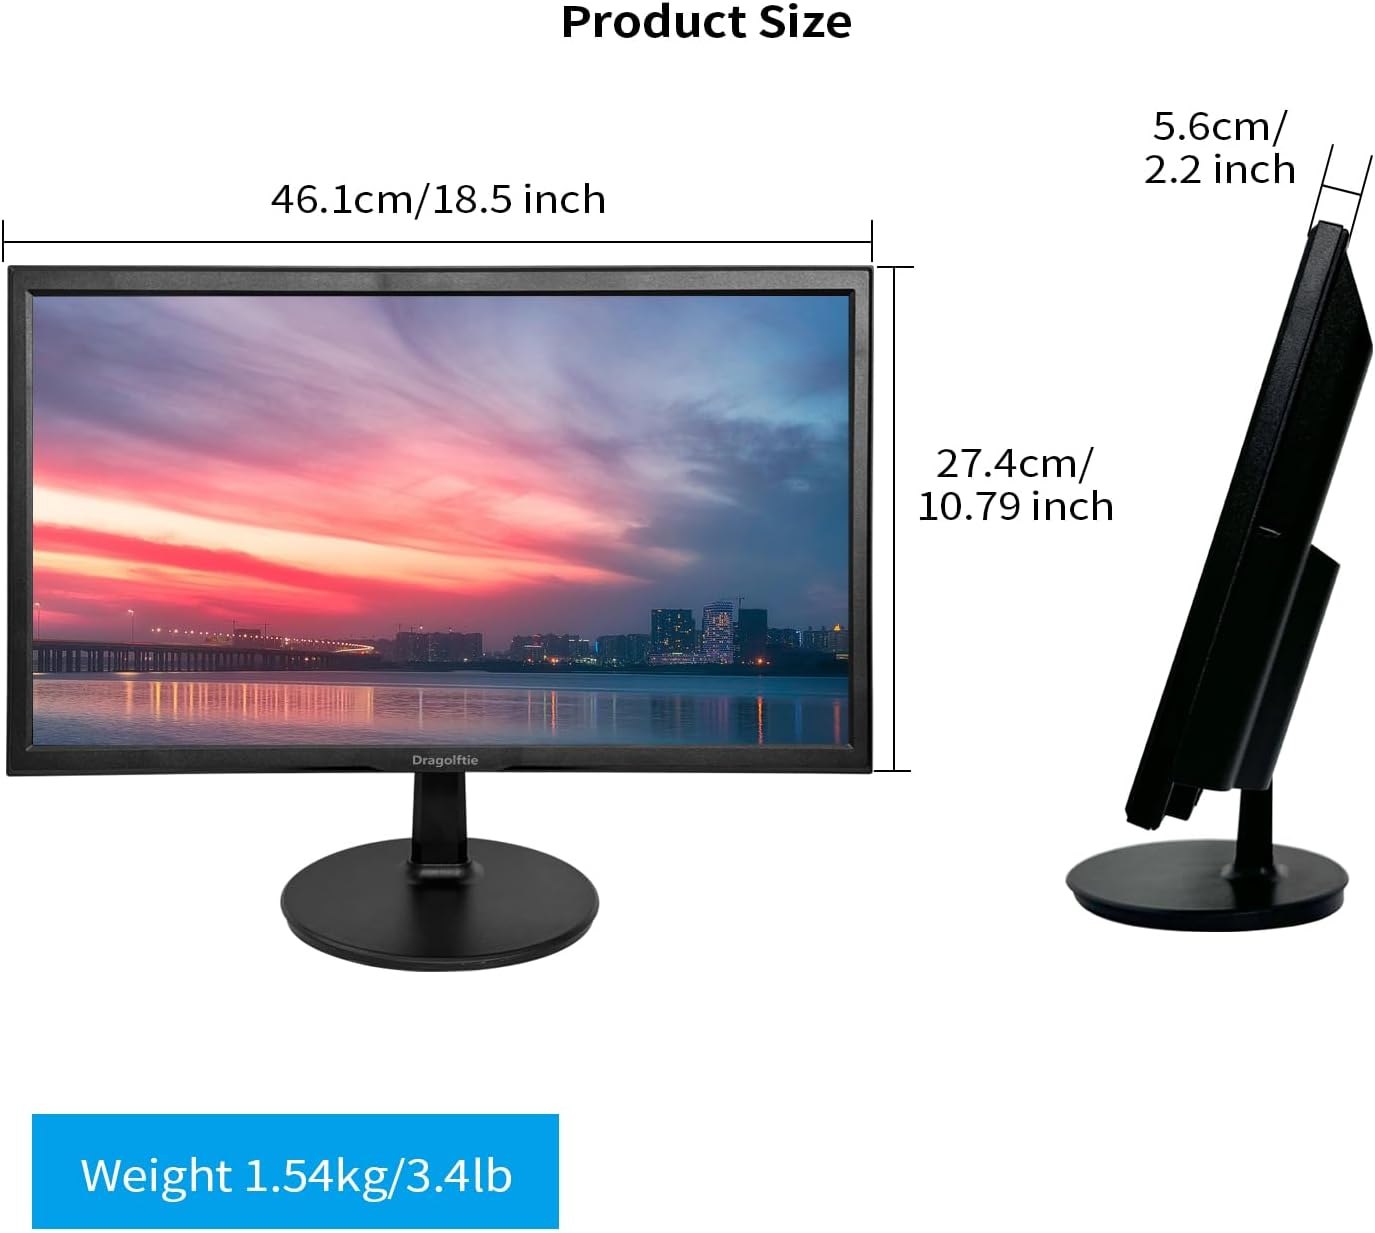
| Dimensions (D x W x H) | 2.2"D x 18.14"W x 10.78"H |
| Weight | 1.54kg / 3.4lb |
6. Warranty and Support
6.1 Warranty Information
This product comes with a 1-year limited warranty. Please refer to the warranty card included in your package for detailed terms and conditions. Keep your purchase receipt as proof of purchase for warranty claims.
6.2 Customer Support
For technical assistance, troubleshooting, or warranty inquiries, please contact Dragolftie customer support. Contact information can typically be found on the manufacturer's website or in the included warranty documentation.