
Introduction
This manual provides essential instructions for the safe and effective use of your Impressions Vanity Hello Kitty RGB All Over Vanity Mirror. Please read this manual thoroughly before installation and operation, and retain it for future reference. This mirror features integrated LED lighting with RGB color options, app control, and a removable 5x magnifying mirror.
Safety Information
- Always unplug the mirror before installing, uninstalling, or cleaning.
- Use appropriate hardware and follow the provided instructions for wall mounting to ensure secure installation.
- Exercise caution when handling the mirror to prevent glass breakage.
- Keep the mirror away from direct heat sources and extreme temperatures.
- Do not use the mirror if the glass is cracked or damaged. Contact customer support for assistance.
Package Contents
Verify that all components are present before proceeding with setup:
- Impressions Vanity Hello Kitty RGB All Over Vanity Mirror
- Removable 5x Magnifying Mirror
- Acrylic Base (for tabletop use)
- Power Adapter
- Instruction Manual (this document)
Setup Instructions
Tabletop Installation
- Carefully unbox the mirror and its components.
- Attach the clear acrylic base to the bottom of the mirror. Ensure it is securely fitted into the designated slots.
- Place the mirror on a stable, flat surface such as a vanity or desk.
- Connect the power adapter to the mirror's power input port, located on the back. Plug the adapter into a suitable electrical outlet.

Image: Front view of the mirror with the 5x magnifying mirror and acrylic base installed.
Wall-Mounted Installation
For wall mounting, ensure you use appropriate hardware (not included) suitable for your wall type and the mirror's weight (approximately 17 lbs). Consult a professional if unsure.
- Identify the built-in anchors on the back of the mirror.
- Measure the distance between the anchors and mark the corresponding positions on your wall.
- Install appropriate wall anchors and screws (not included) into the marked positions, ensuring they are level and can support the mirror's weight.
- Carefully hang the mirror onto the installed screws. Verify that the mirror is securely mounted before releasing it.
- Connect the power adapter to the mirror's power input port and plug it into an electrical outlet.

Image: Rear view of the mirror, highlighting the power port and wall mounting anchors.
Operating Instructions
Power and Brightness Control
The mirror features soft-touch sensor controls located at the bottom center of the mirror surface.
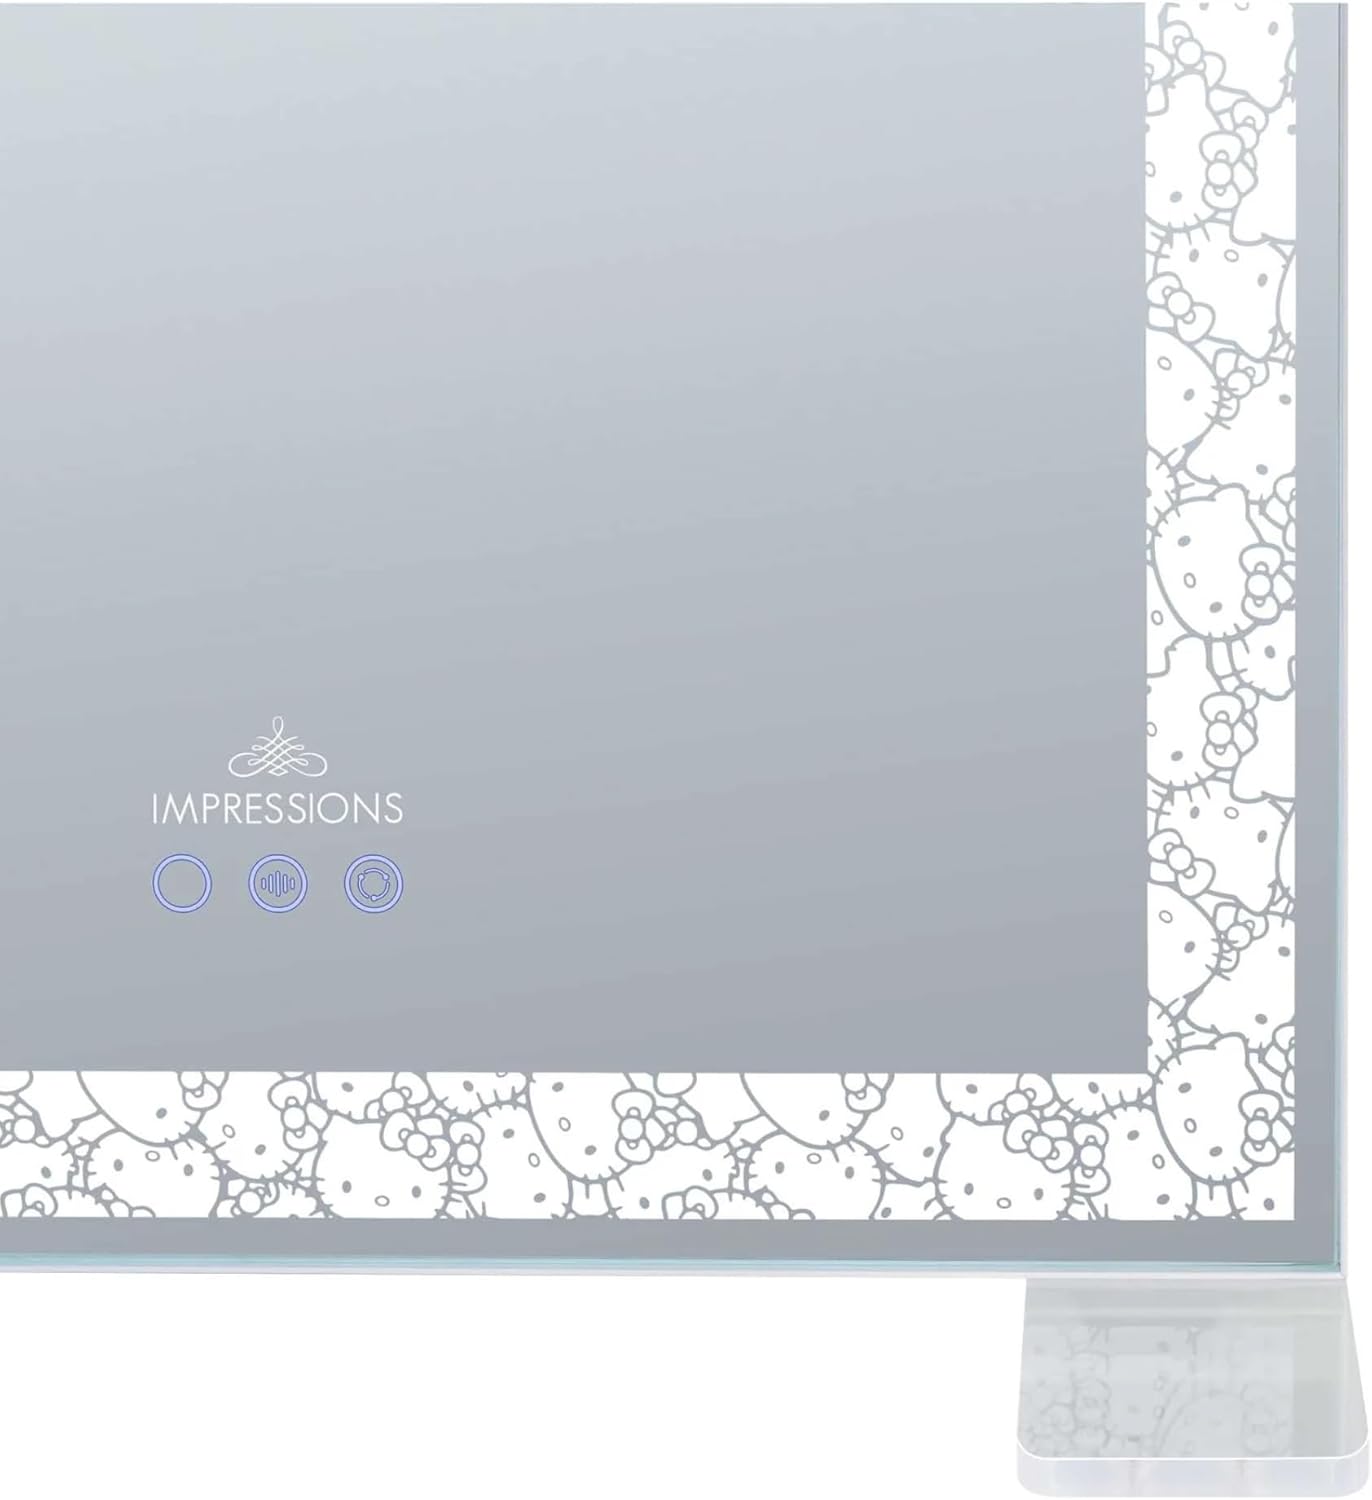
Image: Detail of the soft-touch control buttons on the mirror.
- Power On/Off: Touch the power icon (usually the leftmost button) to turn the mirror lights on or off.
- Adjust Brightness: With the lights on, press and hold the power icon to dim or brighten the LED lighting. Release when the desired brightness is achieved.
RGB Lighting and Automatic Mode
The mirror offers various RGB lighting options, controllable via the mirror's touch sensors or the Impressions Lit app.
- Manual Color Selection: Touch the color cycle icon (middle button) to cycle through different static RGB colors (Red, Green, Blue, etc.).
- Automatic Color Change Mode: Touch the automatic mode button (rightmost button) to activate a gradual, automatic color-changing sequence. Touch it again to pause on a specific color or return to manual selection.

Rainbow RGB Mode

Red RGB Mode

Green RGB Mode
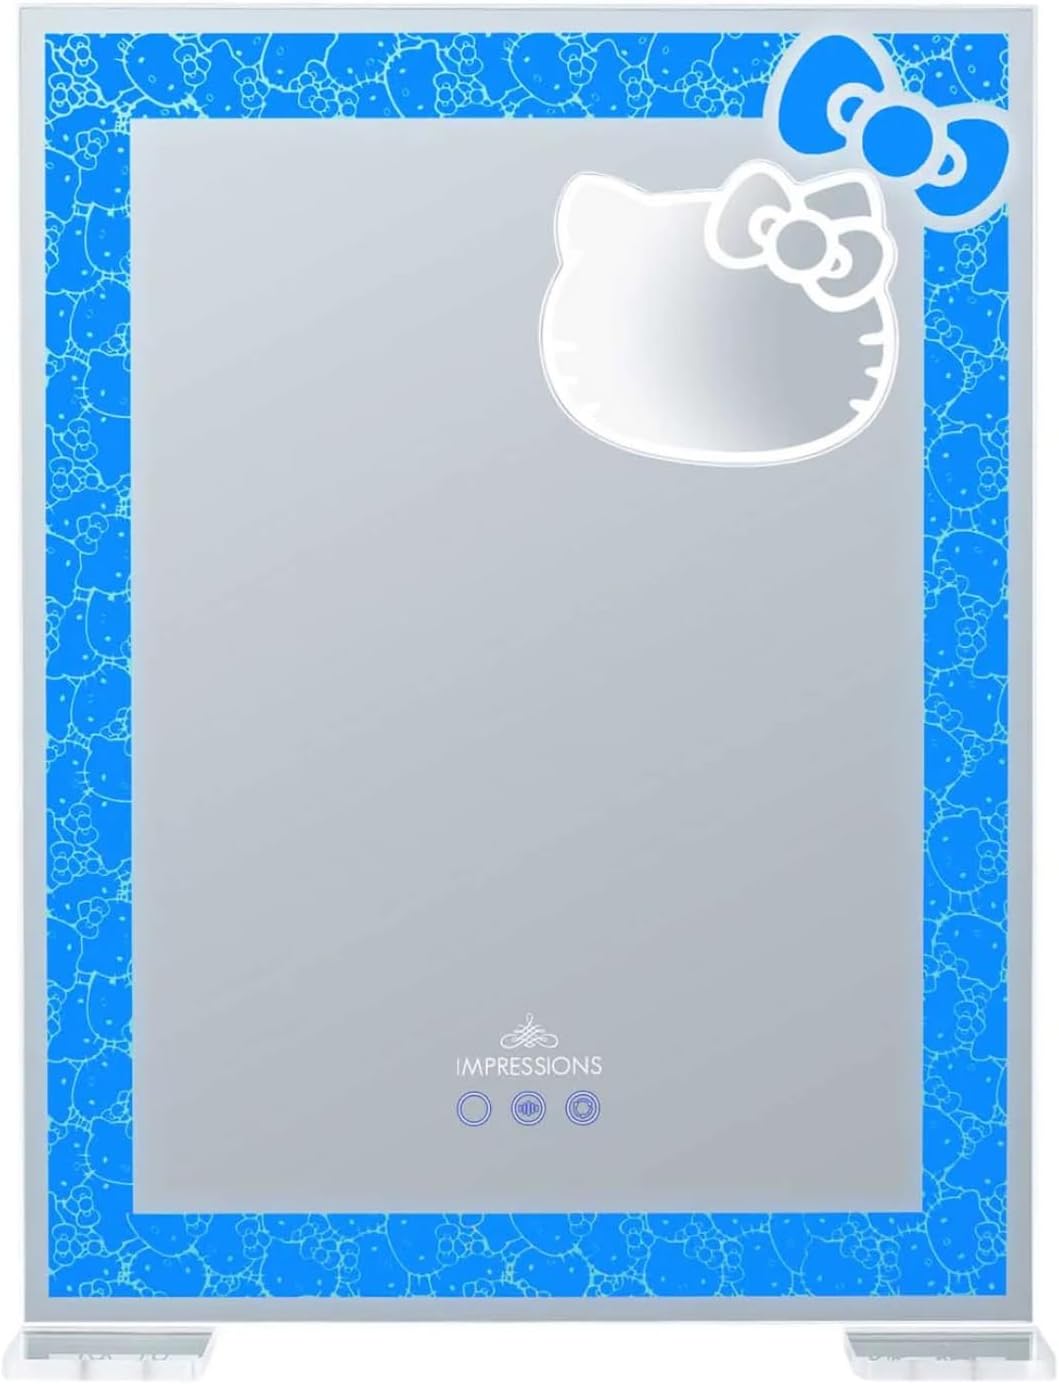
Blue RGB Mode
App Control (Impressions Lit App)
For advanced control and customization, download the Impressions Lit app on your mobile device. The app allows you to:
- Select specific RGB colors from a wider palette.
- Adjust brightness levels precisely.
- Set timers for automatic turn on and turn off.
- Create custom lighting sequences.
Refer to the app's in-app instructions for detailed pairing and usage guides.
Using the 5x Magnifying Mirror
The mirror includes a removable 5x magnifying mirror for detailed tasks such as eyeliner application or brow shaping.
- To attach, gently place the magnifying mirror onto the main mirror surface. It will adhere magnetically or via suction.
- To remove, gently pull the magnifying mirror away from the main mirror surface.
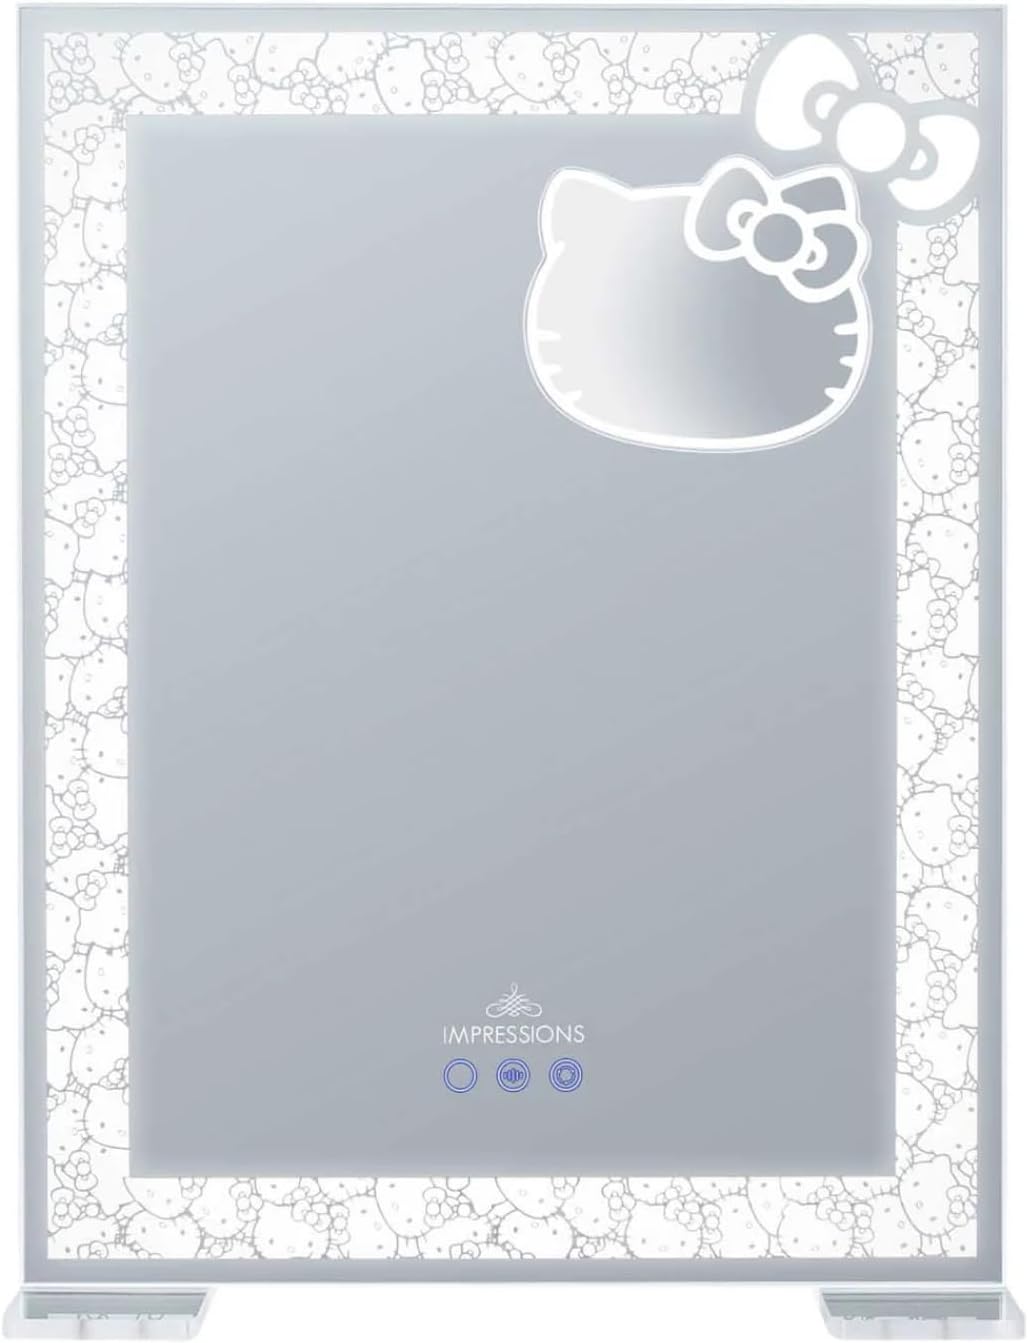
Image: Front view of the mirror without the 5x magnifying mirror attached.
Maintenance
- Cleaning the Mirror Surface: Always unplug the mirror before cleaning. Use a soft, lint-free cloth and a non-abrasive glass cleaner. Spray the cleaner onto the cloth, not directly onto the mirror, to avoid liquid seeping into the electronics.
- Cleaning the Frame: Wipe the frame with a soft, damp cloth. Avoid harsh chemicals or abrasive materials that could damage the finish.
- Storage: If storing the mirror for an extended period, unplug it and store it in a dry, cool place, preferably in its original packaging to protect it from dust and damage.
Troubleshooting
| Problem | Possible Cause | Solution |
|---|---|---|
| Mirror lights do not turn on. | No power connection. | Ensure the power adapter is securely plugged into both the mirror and a working electrical outlet. Test the outlet with another device. |
| Lights are dim or flickering. | Low power or faulty connection. | Check power connections. Try adjusting brightness using the touch sensor. If the issue persists, contact support. |
| RGB colors are not changing. | Incorrect mode selected or app connectivity issue. | Ensure you are pressing the correct touch sensor for color change or automatic mode. If using the app, verify Bluetooth connection and app settings. |
| App cannot connect to the mirror. | Bluetooth disabled or mirror not in pairing mode. | Ensure Bluetooth is enabled on your mobile device. Restart the mirror by unplugging and replugging it. Re-attempt pairing through the Impressions Lit app. |
Specifications
| Feature | Detail |
|---|---|
| Brand | IMPRESSIONS VANITY · COMPANY |
| Model | Hello Kitty RGB All Over Vanity Mirror |
| Product Dimensions (L x W) | 26"L x 19.7"W |
| Item Weight | 17 Pounds |
| Frame Material | Acrylonitrile Butadiene Styrene (ABS) |
| Mirror Material | Glass |
| Mounting Type | Tabletop Mount, Wall-Mounted |
| Lighting Features | Dimmable LED, RGB Rainbow Lighting, App Controlled |
| Additional Features | Removable 5x Magnifying Mirror |
| Color | White |
| UPC | 810144697123 |
| ASIN | B0FLDC356M |
Warranty Information
This product is covered by a limited manufacturer's warranty. For specific details regarding warranty coverage, duration, and terms, please refer to the warranty card included with your purchase or visit the official Impressions Vanity Company website. Please retain your proof of purchase for warranty claims.
Support
If you encounter any issues or have questions not addressed in this manual, please contact Impressions Vanity Company customer support:
- Website: Visit the Impressions Vanity Company official website for FAQs, support resources, and contact information.
- Email: Refer to the website for the most current customer service email address.
- Phone: Refer to the website for customer service phone numbers.
When contacting support, please have your product model number (Hello Kitty RGB All Over Vanity Mirror) and proof of purchase readily available.