
WUKHG GH6x4
WUKHG GH6×4 6x4FT Small Walk-in Greenhouse Instruction Manual
Model: GH6×4 | Size: 6x4 FT
Introduction
This manual provides detailed instructions for the assembly, operation, and maintenance of your WUKHG GH6×4 6x4FT Small Walk-in Greenhouse. Please read all instructions carefully before beginning assembly and retain this manual for future reference.
Video 1: Overview of the WUKHG Greenhouse for outdoor use.
Video 2: Product introduction for the 6x4FT Greenhouse model.
Important Safety Information
For outdoor use only. Install on stable ground and secure firmly. Keep away from fire or heat sources. Supervise children at all times. Regular maintenance is required to ensure safety.
Product Features
- Sturdy & Strong Construction: High-quality aluminum alloy frame combined with heavy-duty 4mm thick twin-wall polycarbonate panels designed to withstand harsh weather conditions.
- Quality UV Resistant Panels: 580g PC panels effectively block harmful UV rays, control humidity and temperature, and create an optimal environment for plant growth.
- Optimal Airflow: Features adjustable ventilation windows and a lockable door for fresh air circulation and plant safety.
- Roomy and Flexible: Provides ample space for arranging various plant collections.
- Easy to Install: All parts are clearly marked with symbols for straightforward assembly with the provided instructions.

Figure 1: The spacious interior of the greenhouse allows for flexible arrangement of plants.
Setup and Assembly
Before beginning assembly, ensure you have a suitable and flat location. All parts are marked for easy identification. It is recommended to have assistance during assembly.
1. Unboxing and Part Identification
Carefully unpack all components. Verify that all parts are present and match the parts list in your instruction manual. Note that all screws and metal pieces are labeled for convenience.

Figure 2: Unboxed components of the WUKHG GH6×4 greenhouse. All parts are labeled for easy identification during assembly.

Figure 3: Illustration of the quick assemble design with interlocking components, indicating 1-2 hours for finish and 1-2 people for assembly.
Video 3: Unboxing video and manual excerpts for the 6x4FT greenhouse, showing initial components.
2. Base Fixing Parts Installation
Follow the video guide for installing the greenhouse base fixing parts. Ensure all connections are secure before proceeding.
Video 4: Detailed guide on the installation method for greenhouse base fixing parts.
3. Side Reinforcement and PC Panel Installation
Install the side reinforcements and then the PC panels for the greenhouse walls. Pay close attention to the orientation of the panels as indicated in the manual.
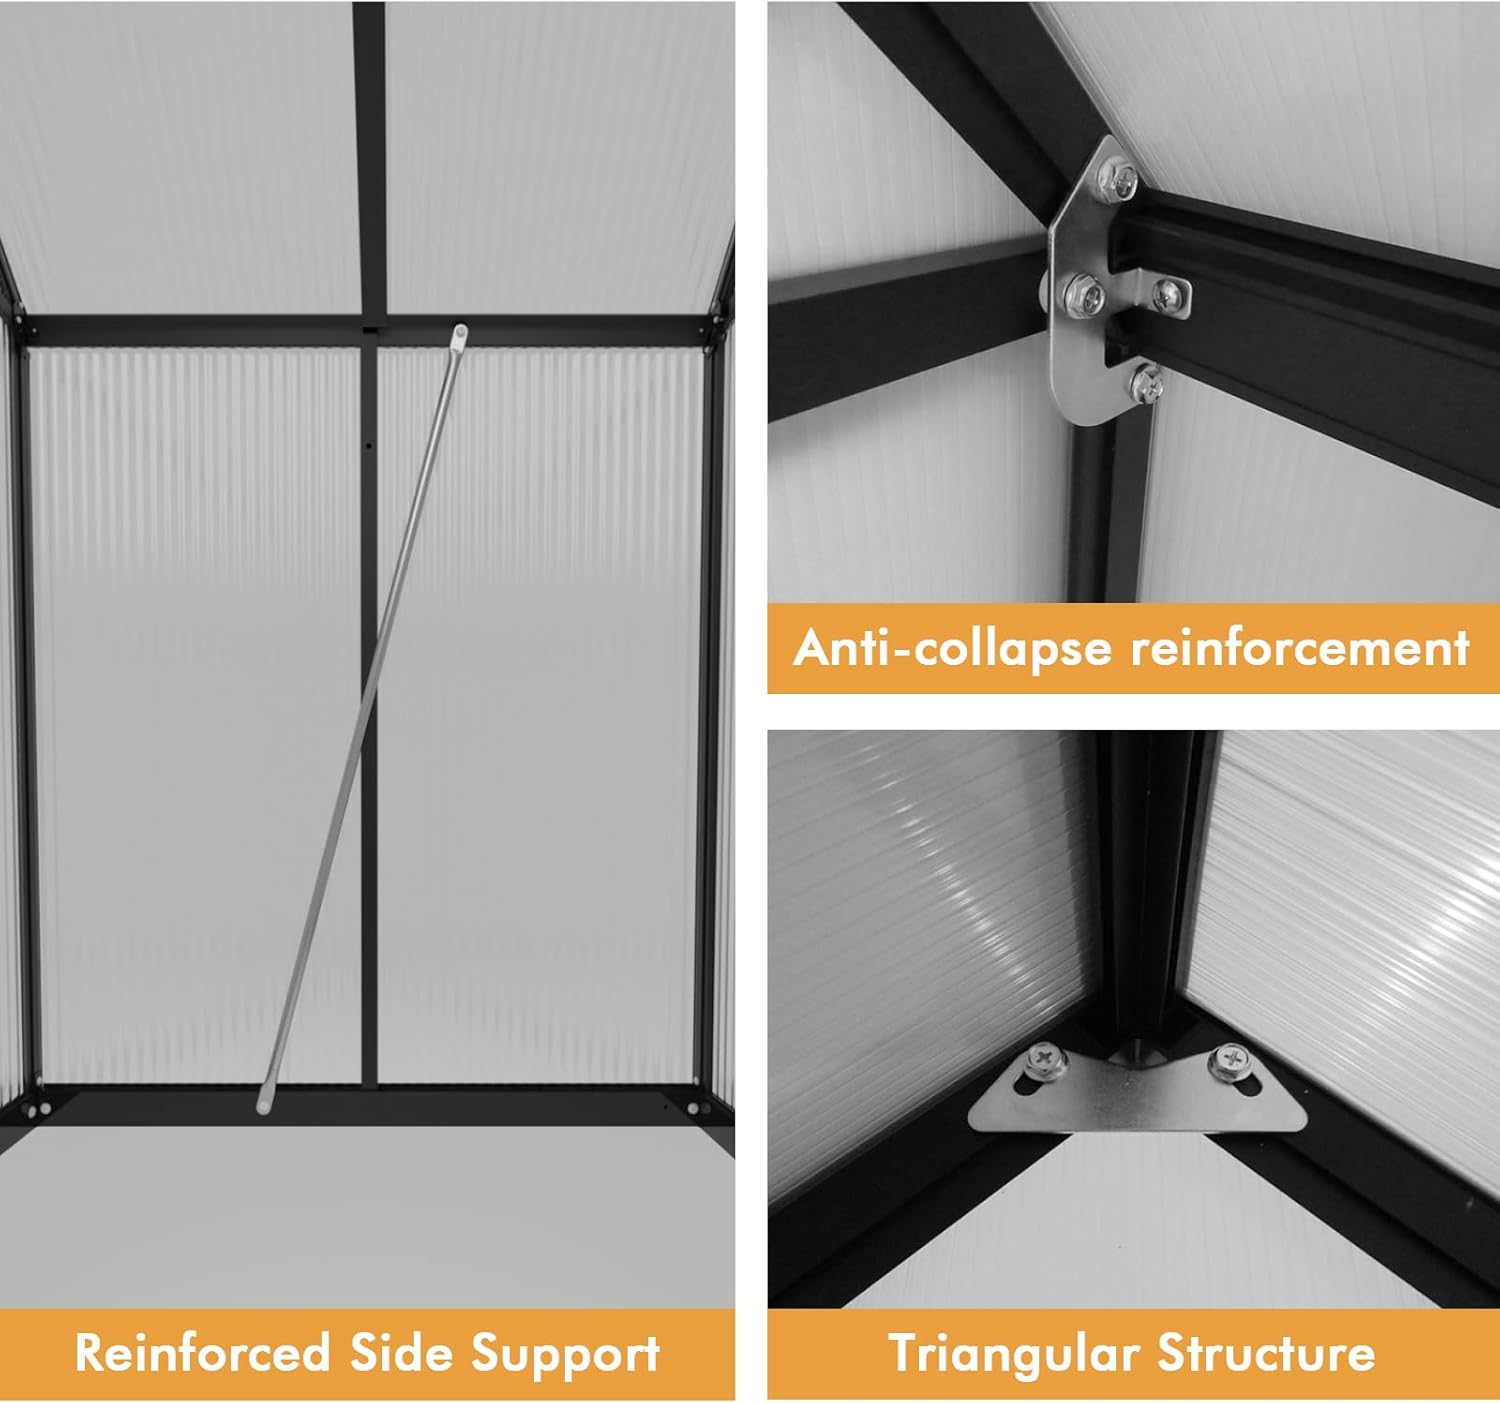
Figure 4: Close-up view of reinforced side support and triangular structure for enhanced stability and anti-collapse reinforcement.
Video 5: Instructions for installing the side reinforcements for the 6FT greenhouse model.
Video 6: Guide on the installation method for the greenhouse side PC panels.
4. Top Skylight Installation
The top skylight provides adjustable ventilation. Follow the instructions carefully for proper installation and functionality.
Video 7: Step-by-step guide for installing the greenhouse top skylight.
Operating Your Greenhouse
Ventilation and Temperature Control
The greenhouse features adjustable ventilation windows and a lockable door to ensure optimal airflow. Utilize these features to regulate the internal temperature and humidity, preventing overheating and promoting healthy plant growth.

Figure 5: The adjustable roof vent allows for 5-position adjustment to improve greenhouse airflow. The door features quick locking for increased or decreased airflow.
The 4mm thick twin-wall polycarbonate roof panels are designed for strength and clarity, allowing the right amount of light while blocking harmful UV rays. This design aids in heat retention, crucial for protecting plants in colder weather.

Figure 6: The greenhouse is designed for enhanced heat retention, keeping the interior 50-60°F higher than outdoor temperatures, protecting plants against UV rays, and improving seedling survival rates in winter.
Maintenance
- Cleaning: Regularly clean the polycarbonate panels with mild soap and water to ensure maximum light transmission. Avoid abrasive cleaners that could scratch the surface.
- Frame Inspection: Periodically check the aluminum frame for any loose screws or connections. Tighten as necessary to maintain structural integrity.
- Ventilation System: Ensure the adjustable windows and door operate smoothly. Lubricate hinges if needed.
- Winter Preparation: In areas with heavy snowfall, gently remove accumulated snow from the roof to prevent excessive weight. Ensure the greenhouse is securely anchored to the ground.
Troubleshooting
- Water Leakage: Check all panel edges and frame connections. Apply silicone sealant if any gaps are found. Ensure the foundation is level.
- Poor Ventilation: Verify that adjustable windows and door are fully operational and not obstructed. Consider opening them more frequently or for longer durations.
- Structural Instability: Ensure the greenhouse is installed on a flat, stable surface and securely anchored. Check all screws and bolts for tightness.
- Difficulty Assembling: Refer to the detailed instruction manual and assembly videos. Ensure all parts are correctly identified by their labels. Contact customer support if parts are missing or damaged.
Specifications
| Feature | Detail |
|---|---|
| Brand | WUKHG |
| Model Number | GH6×4 |
| Product Dimensions | 77.16"L x 48.42"W x 70.86"H |
| Item Weight | 48.9 pounds |
| Frame Material | Aluminum |
| Cover Material | Polycarbonate (PC) |
| Nominal Wall Thickness | 5mm |
| Number of Doors | 1 |
| Number Of Vents | 1 (Adjustable Skylight) |
| Indoor/Outdoor Usage | Outdoor |
| Special Features | Advanced Ventilation & Enhanced Security, Easy to Install, Quick Assemble Design, Heat Retention Ability |
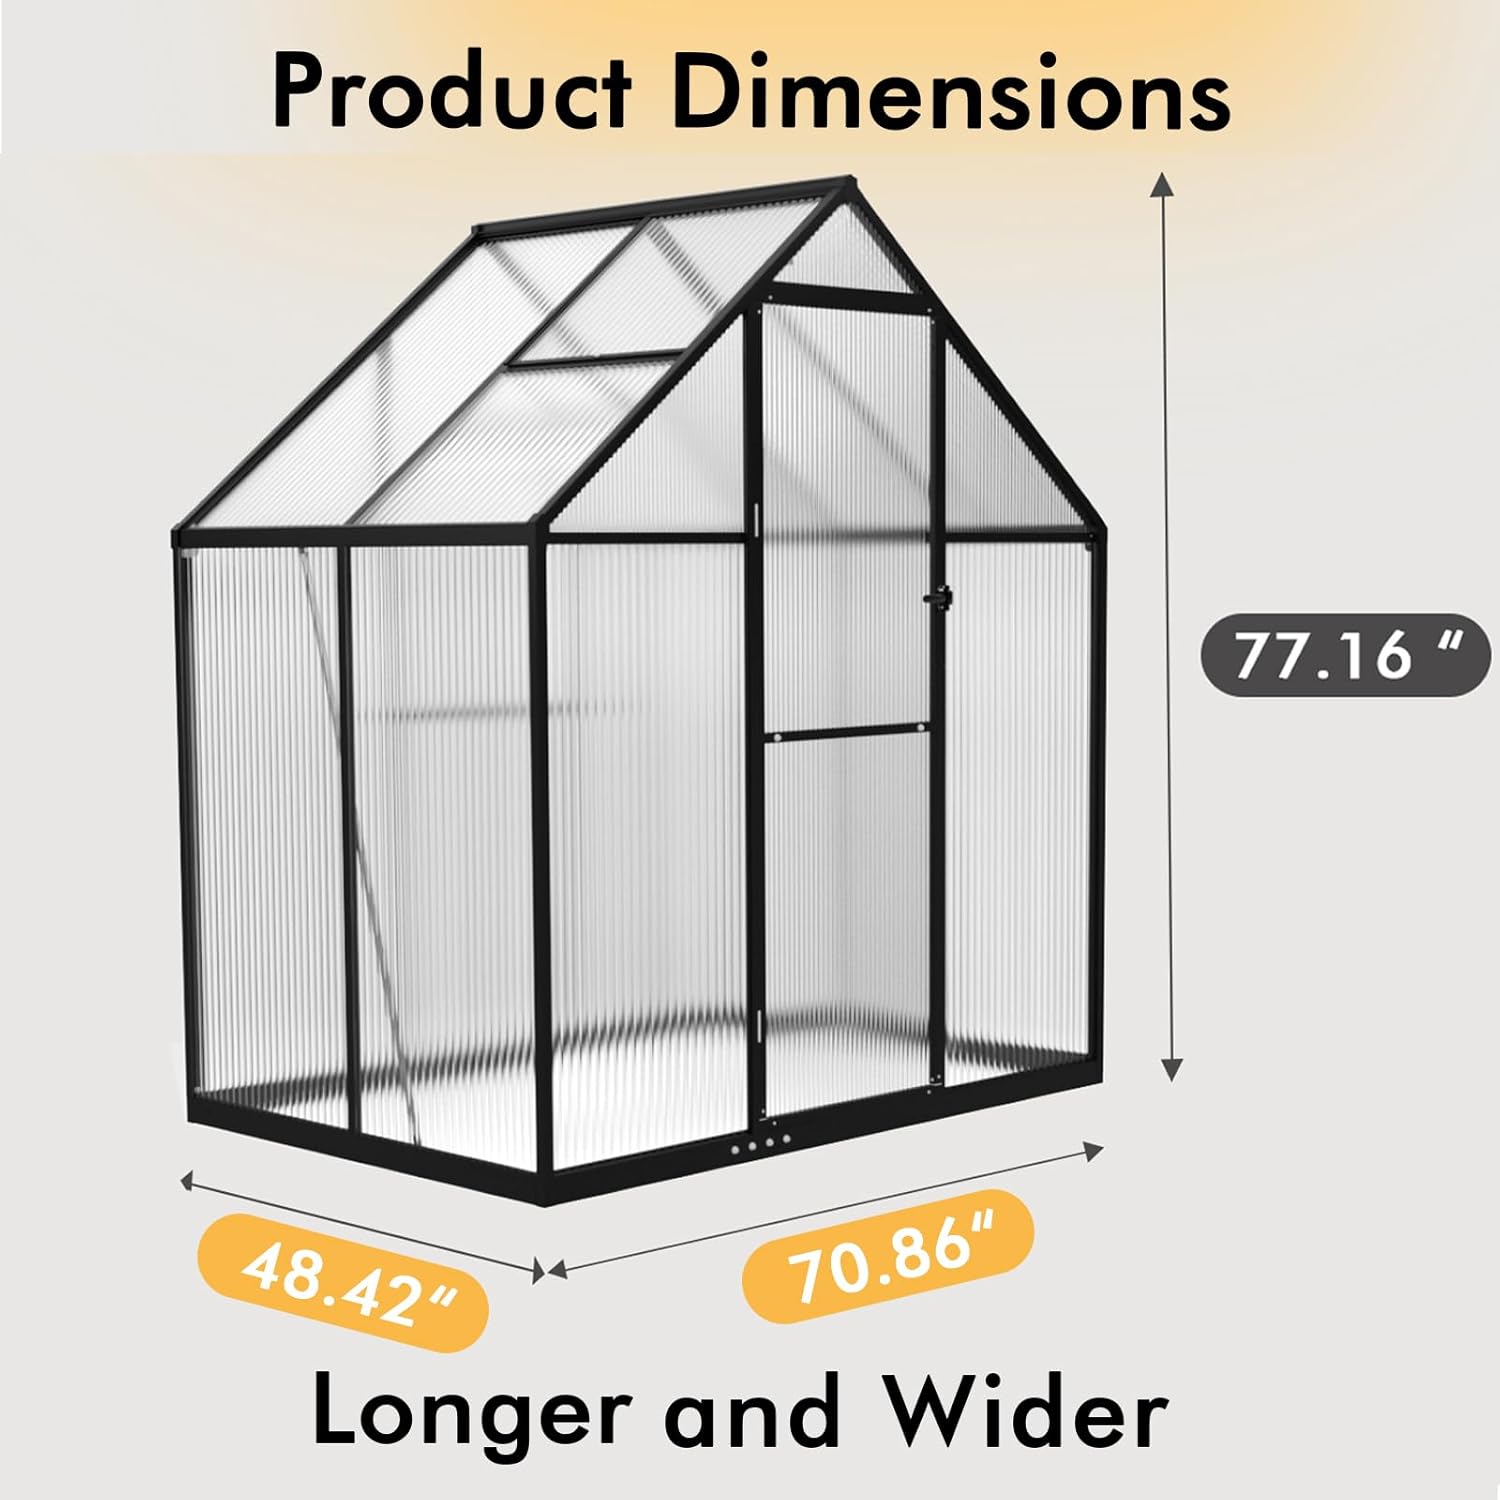
Figure 7: Visual representation of the greenhouse product dimensions (77.16"L x 48.42"W x 70.86"H).
Warranty and Support
For any questions, missing parts, or support needs, please contact WUKHG customer service. Refer to your purchase documentation for specific warranty details.
Ask a question about this manual
Ask about setup, troubleshooting, compatibility, parts, safety, or missing instructions. Manuals+ will review the question and use this page’s manual context to help answer it.