Important Safety Instructions
Please read all instructions carefully before using the JRL Diamante Clipper & Trimmer Set. Keep this manual for future reference.
- Always unplug the clipper/trimmer before cleaning or storing.
- Keep the devices away from water sources. Do not use near bathtubs, showers, basins, or other vessels containing water.
- Do not use the clipper/trimmer on infants or children without proper supervision.
- Always keep the blades away from the face and eyes to prevent injury.
- Always test the device on a small area of skin before full use to check for any adverse reactions.
- Follow recommended cleaning and maintenance procedures to ensure safety and longevity.
- Do not operate the device if it has a damaged cord or plug, if it is not working properly, or if it has been dropped or damaged.
Package Contents
Verify that all items are present in your package:
- JRL Diamante Clipper
- JRL Diamante Trimmer
- Clipper Charging Dock
- Trimmer Charging Dock
- Power Adapter
- Cleaning Brush
- Lubricating Oil
- Blade Adjustment Tool (for zero-gap tuning)

Image: The JRL Diamante Clipper and Trimmer, along with their respective charging docks, neatly arranged in their product packaging.
Product Overview
The JRL Diamante Clipper & Trimmer Set is engineered for professional grooming, offering precision and performance.
Clipper Features:
- High-Performance Brushless Motor: Delivers powerful and consistent torque with 8,200 RPM.
- Precision Fade Blade: Features integrated cooling technology and a 2nd Gen upper-lower blade separation system for easy swaps and zero-gap tuning (0–3.0 mm).
- Smart Clip Technology: Ensures constant cutting speed through all hair types, preventing drag or stall.
- Reset IQ Charge System: Offers fast, intelligent charging and extends battery life.
- Dual Speed Modes: 6,500 & 8,200 RPM for versatile cutting.
- Extended Run Time: Up to 4 hours on a Samsung 3500mAh lithium-ion battery.
- LED Display: Indicates runtime, battery status, and maintenance alerts.
Trimmer Features:
- High-Speed Brushless Motor: 8,200 RPM for crisp detailing.
- Ultra-Low Noise Design: Engineered for quiet performance.
- 2nd Generation EZ-Gap Blade: Offers sharp, close-cutting precision ideal for edging, lining, and dry shaving.
- Smart Clip Technology: Maintains consistent cutting speed.
- Reset IQ Charge System: For efficient charging and battery optimization.
- Run Time: Up to 3 hours with its 2000mAh battery.
- Lightweight Ergonomic Feel: Designed for comfort during prolonged use.
- LED Display: Indicates runtime, battery status, and maintenance alerts.

Image: The JRL Diamante Clipper and Trimmer standing upright on their individual charging docks, showcasing their design and LED indicators.
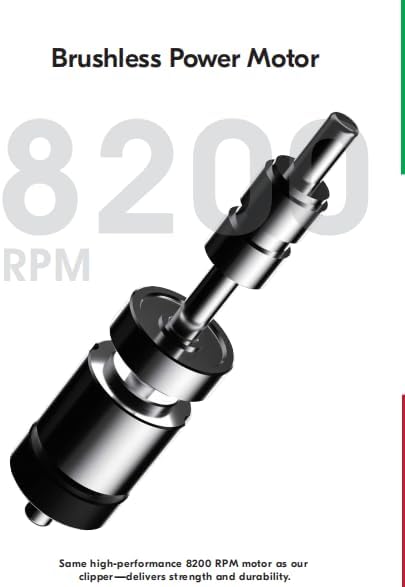
Image: A detailed diagram illustrating the internal brushless power motor, highlighting its 8200 RPM capability.

Image: A close-up view of the 2nd-Gen EZ-Gap M Blade, emphasizing its advanced design for precise detailing.
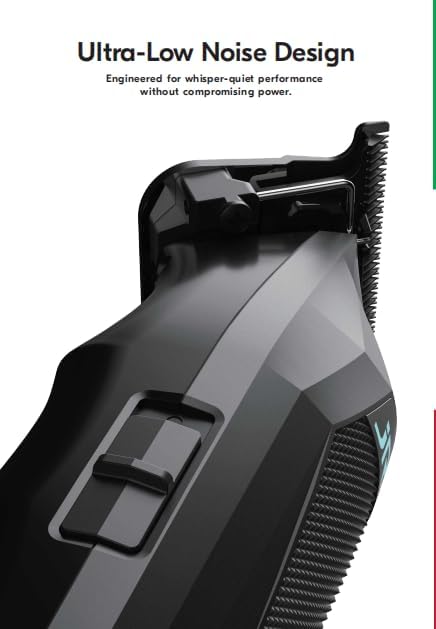
Image: A side view of the trimmer, illustrating its sleek design and highlighting the ultra-low noise engineering.
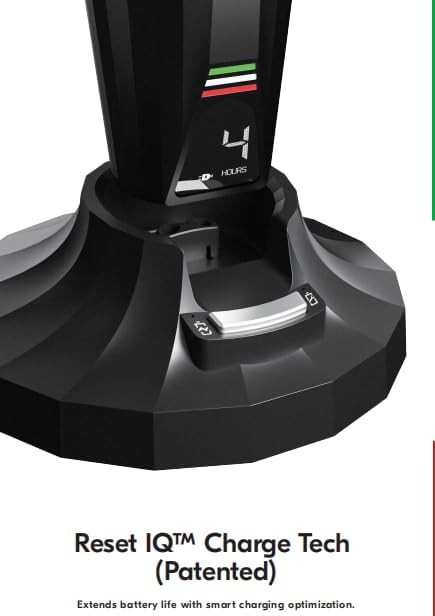
Image: A close-up of the charging dock, showing the 'Reset IQ Charge Tech' indicator and the '4 HOURS' display, signifying smart charging optimization.
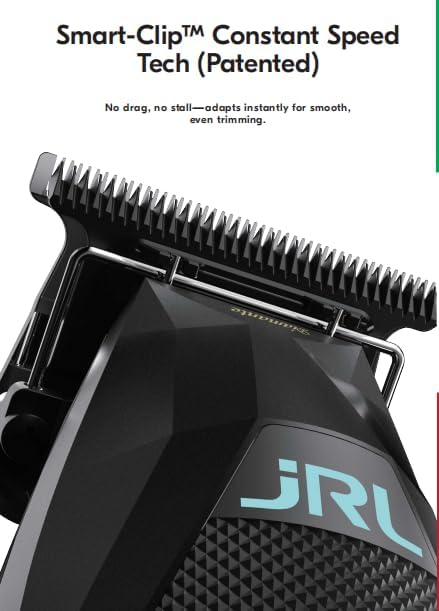
Image: A close-up of the clipper blade area, highlighting the 'Smart-Clip Constant Speed Tech' feature, designed for smooth and even trimming.
Setup
1. Initial Charging
- Connect the power adapter to the charging dock and plug it into a suitable electrical outlet.
- Place the clipper or trimmer onto its respective charging dock. Ensure the device is properly seated.
- The LED display will indicate charging status. Allow for a full charge before first use (approximately 2 hours for both devices). The Reset IQ Charge System optimizes this process.
2. Blade Adjustment (Optional)
For advanced users, the blades can be adjusted for a closer cut (zero-gap tuning).
- Clipper: The 2nd Gen upper-lower blade separation system allows for zero-gap tuning between 0-3.0 mm. Use the provided adjustment tool and follow specific instructions for precise alignment.
- Trimmer: The 2nd Generation EZ-Gap Blade is designed for ultra-precise detailing. Refer to the detailed instructions for fine-tuning the blade gap for optimal edging and lining.
- Always ensure the blades are properly aligned after adjustment to prevent skin irritation or injury.
Operating Instructions
1. Power On/Off
- To turn on, press the power button located on the device.
- To turn off, press the power button again.
2. Speed Modes (Clipper Only)
- The clipper features two speed modes: 6,500 RPM and 8,200 RPM.
- Press the speed selection button (if available, or cycle through by pressing power button) to switch between modes.
- Use the lower speed for finer hair or detailed work, and the higher speed for bulk removal or thicker hair.
3. Using the Clipper
- Attach desired guard comb (not included in all sets, check package contents).
- Hold the clipper firmly and move it against the direction of hair growth for an even cut.
- The Smart Clip Technology will automatically adjust motor speed to maintain consistent power through varying hair densities.
4. Using the Trimmer
- The trimmer is ideal for edging, lining, and dry shaving.
- Hold the trimmer at an angle to the skin and use light pressure for precise lines and detailing.
- Ensure the blade is clean and oiled for optimal performance and to prevent pulling.
Maintenance
1. Cleaning the Blades
- Ensure the device is turned off and unplugged from the charging dock.
- Use the provided cleaning brush to remove any loose hair from the blades and cutting head.
- For a more thorough clean, the blades can be detached (refer to blade removal instructions).
2. Oiling the Blades
- After cleaning, apply 1-2 drops of lubricating oil (provided) to the teeth and sides of the blades.
- Turn on the device for a few seconds to allow the oil to distribute evenly.
- Wipe off any excess oil with a soft cloth. Regular oiling ensures smooth operation and extends blade life.
3. Battery Care
- To maximize battery life, avoid completely draining the battery before recharging.
- The Reset IQ Charge System helps optimize charging cycles.
- Store the devices in a cool, dry place when not in use.
Troubleshooting
| Problem | Possible Cause | Solution |
|---|---|---|
| Device not turning on | Low battery; Device not charged | Place on charging dock and allow to fully charge. Check power adapter connection. |
| Poor cutting performance / Pulling hair | Blades are dull, dirty, or not oiled; Hair buildup | Clean blades thoroughly. Apply lubricating oil. Consider blade replacement if dull. |
| Excessive noise or vibration | Blades not properly aligned; Lack of lubrication | Check blade alignment and adjust if necessary. Oil blades. |
| Device not charging | Charging dock or adapter faulty; Poor connection | Ensure device is correctly seated on the dock. Check adapter and outlet. Try a different outlet. |
Specifications
| Feature | Clipper | Trimmer |
|---|---|---|
| Motor Type | Brushless Motor | Brushless Motor |
| Motor Speed | 6,500 & 8,200 RPM | 8,200 RPM |
| Battery Type | Samsung 3500mAh Li-ion | 2000mAh Li-ion |
| Run Time | Up to 4 hours | Up to 3 hours |
| Recharge Time | 2 hours | 2 hours |
| Blade Type | Precision Fade Blade (2nd Gen) | EZ-Gap Blade (2nd Gen) |
| Special Features | Smart Clip Technology, Reset IQ Charge, LED Display | Smart Clip Technology, Reset IQ Charge, Ultra-Low Noise, LED Display |
| Power Source | Battery Powered | |
| Package Dimensions | 14 x 9 x 4 inches | |
| Weight | 4 Pounds (total package) | |
| Manufacturer | JRL USA LLC | |
| UPC | 683125781438 | |
Warranty and Support
For warranty information, product registration, or technical support, please refer to the official JRL USA LLC website or contact their customer service directly. Keep your purchase receipt as proof of purchase.
Manufacturer: JRL USA LLC