1. Introduction
Thank you for choosing the COWSAR Nugget Ice Maker. This manual provides essential information for the safe and efficient operation, maintenance, and troubleshooting of your new appliance. Please read it thoroughly before first use and retain it for future reference.
This countertop ice maker is designed to produce soft, chewable nugget ice quickly and conveniently, ideal for home, kitchen, or office use.
2. Important Safety Instructions
To reduce the risk of fire, electric shock, or injury when using your ice maker, follow these basic precautions:
- Read all instructions before use.
- Do not touch the evaporator or ice blades when the unit is operating.
- Do not immerse the appliance, power cord, or plug in water or other liquids.
- Close supervision is necessary when any appliance is used by or near children.
- Unplug from the outlet when not in use and before cleaning. Allow to cool before putting on or taking off parts.
- Do not operate any appliance with a damaged cord or plug, or after the appliance malfunctions or has been damaged in any manner. Contact the manufacturer for examination, repair, or adjustment.
- The use of accessory attachments not recommended by the appliance manufacturer may cause injuries.
- Do not use outdoors.
- Do not let the cord hang over the edge of a table or counter or touch hot surfaces.
- Do not place on or near a hot gas or electric burner, or in a heated oven.
- Ensure the appliance is placed on a stable, level surface.
- Only use potable water in the ice maker.
- Do not store explosive substances such as aerosol cans with a flammable propellant in this appliance.
3. Product Overview
3.1 Components
Your COWSAR Nugget Ice Maker comes with the following components:
- Ice Maker Unit
- Ice Scoop
- Removable Ice Basket


3.2 Key Features
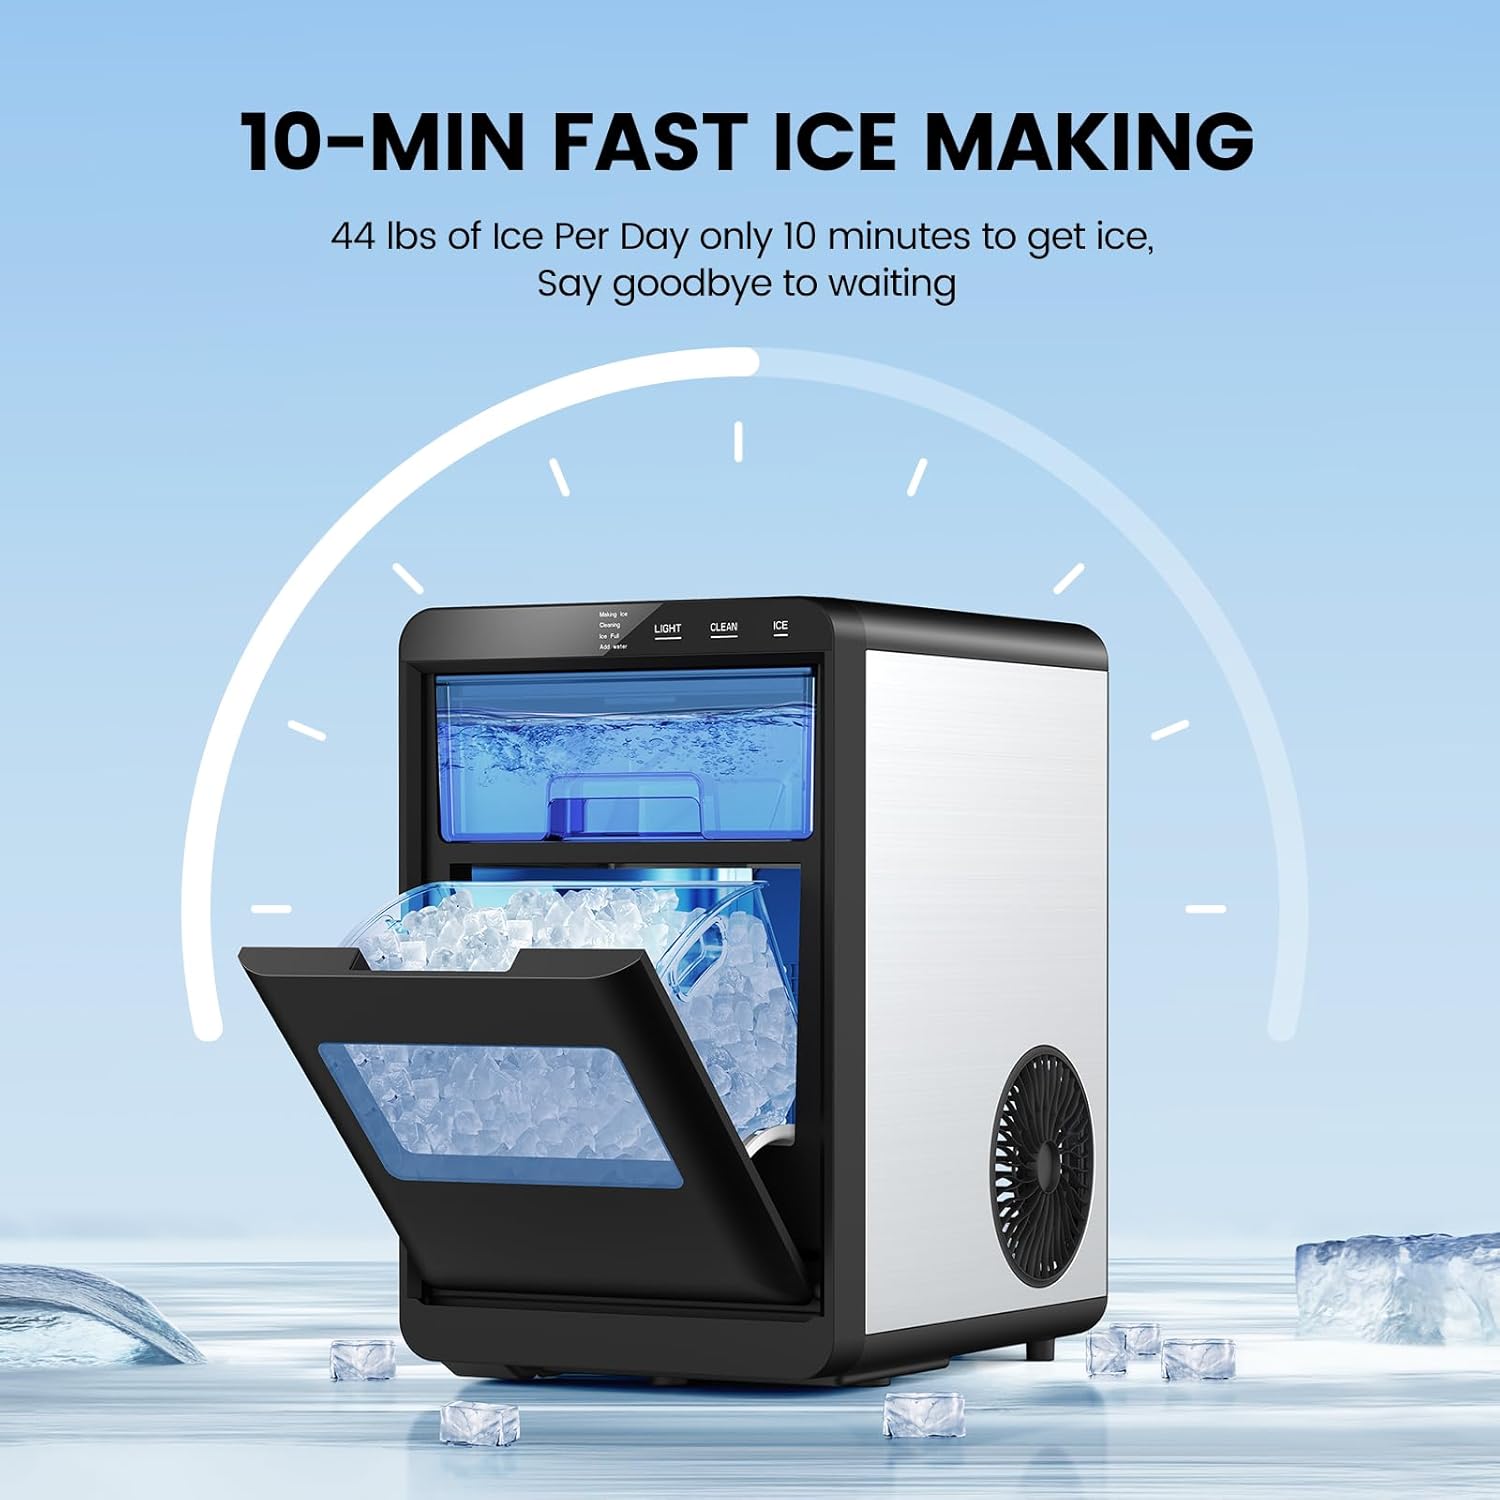
- Continuous Ice Supply: Produces soft nugget ice in approximately 10 minutes, with a daily capacity of up to 44 lbs. Features a refrigeration function to keep ice from melting.
- Effortless Use & Self-Cleaning: One-touch operation for ice making. Includes a "LIGHT" button to illuminate the interior and a "CLEAN" button for automatic self-cleaning (press for 5 seconds).
- Quieter Operation: Equipped with a powerful compressor and a 1.8L water tank, operating at a noise level of less than 45 decibels.
- Compact and Stylish Design: Measures 14.96 x 12.2 x 9.45 inches, designed for countertop placement. Features a removable ice basket and water tank for portability.
- Soft Chewable Ice: Produces nugget ice with a softer texture and larger surface area compared to traditional ice, ideal for beverages.


4. Setup
4.1 Unpacking and Placement
- Remove all packaging materials and check for any damage.
- Place the ice maker on a flat, stable, and heat-resistant surface, away from direct sunlight or heat sources.
- Ensure there is adequate ventilation around the unit (at least 4 inches of space on all sides).
- Allow the unit to stand upright for at least 2 hours before plugging it in, especially if it was transported horizontally. This allows the refrigerant to settle.
4.2 Initial Cleaning
Before first use, it is recommended to clean the ice maker:
- Remove the ice basket and wash it with warm water and mild detergent. Rinse thoroughly.
- Clean the interior of the water tank and ice storage area with a soft cloth dampened with a mixture of water and a small amount of vinegar or mild detergent. Rinse with clean water.
- Dry all parts thoroughly before reassembling.


4.3 Filling the Water Tank
- Open the top lid and pull out the water tank.
- Fill the water tank with clean, potable water up to the MAX fill line. Do not overfill.
- Carefully slide the water tank back into its position.
5. Operation
5.1 Making Ice
- Ensure the ice maker is plugged into a grounded electrical outlet.
- Press the "ICE" button on the control panel. The "Making Ice" indicator light will illuminate.
- The ice maker will begin the ice-making cycle. The first batch of nugget ice typically takes about 10 minutes.
- When the ice basket is full, the "Ice Full" indicator light will turn on, and the ice making process will pause. Remove ice from the basket to resume production.
- If the water level is low, the "Add Water" indicator light will illuminate. Add more water to the tank to continue ice production.

5.2 Using the Light Function
- Press the "LIGHT" button to illuminate the interior of the ice maker. This allows you to observe the ice-making process or check the ice level in low light conditions.
- Press the "LIGHT" button again to turn off the interior light.
6. Maintenance
6.1 Automatic Self-Cleaning
The ice maker features an automatic self-cleaning function:
- Ensure there is water in the tank.
- Press and hold the "CLEAN" button for 5 seconds. The "Cleaning" indicator light will illuminate.
- The unit will perform a 20-minute deep cleaning cycle.
- Once the cycle is complete, drain any remaining water from the unit.


6.2 Regular Cleaning and Storage
- Daily: Empty the ice basket and wipe the interior with a clean cloth.
- Weekly: Perform the automatic self-cleaning cycle. For a more thorough clean, unplug the unit, remove the ice basket and water tank, and wash them with warm, soapy water. Rinse and dry thoroughly.
- Monthly: For areas with hard water, consider using a descaling solution (e.g., a mixture of water and white vinegar) to clean the internal components. Run the solution through a cleaning cycle, then rinse thoroughly with clean water by running several cycles with fresh water.
- Storage: If storing the ice maker for an extended period, ensure it is completely drained and dry. Store in a cool, dry place.
7. Troubleshooting
Before contacting customer support, please refer to the following table for common issues and their solutions:
| Problem | Possible Cause | Solution |
|---|---|---|
| Ice maker not turning on. | No power; unit not plugged in; power outlet malfunction. | Ensure the unit is properly plugged into a working outlet. Check the circuit breaker. |
| "Add Water" indicator is on. | Water tank is empty or water level is too low. | Refill the water tank with potable water up to the MAX line. |
| "Ice Full" indicator is on, but ice basket is not full. | Ice sensor is blocked or dirty; ice is piled up unevenly. | Clear any obstructions from the ice sensor. Redistribute or remove ice from the basket. Clean the sensor if necessary. |
| Ice production is slow or ice is not forming. | Room temperature is too high; poor ventilation; water temperature is too high. | Ensure the unit is in a cool, well-ventilated area. Use cold water when filling the tank. Ensure proper clearance around the unit. |
| Unusual noise during operation. | Unit not level; internal components vibrating; normal compressor noise. | Ensure the unit is on a level surface. Some operational noises are normal. If noise is excessive or new, contact support. |
8. Specifications
| Attribute | Value |
|---|---|
| Brand | COWSAR |
| Model Name | 58020RIM0-STEEL |
| Product Dimensions (D x W x H) | 12.2"D x 9.45"W x 14.9"H |
| Capacity | 44 Pounds (ice production per 24 hours) |
| Voltage | 115 Volts |
| Water Tank Capacity | 1.8 Liters |
9. Warranty and Support
COWSAR products are manufactured to the highest quality standards. For information regarding warranty coverage, please refer to the warranty card included with your product or visit the official COWSAR website.
If you encounter any issues not covered in the troubleshooting section or require further assistance, please contact COWSAR customer support. Contact details can typically be found on the product packaging, warranty card, or the manufacturer's official website.
For more information, you can visit the COWSAR Store on Amazon.