1. Introduction
This manual provides essential information for the safe and efficient operation of your Cecotec Conga X100 Robot Vacuum Cleaner. Please read it thoroughly before using the device and retain it for future reference.
The Conga X100 is an advanced robot vacuum cleaner designed for comprehensive floor cleaning, featuring a self-emptying base, AI-powered navigation, high suction power, and adaptive mopping capabilities.
2. Important Safety Instructions
- Ensure the power supply voltage matches the specifications of the charging base.
- Do not operate the robot in wet environments or near water.
- Keep children and pets away from the robot during operation.
- Do not use the robot to pick up large debris, sharp objects, or liquids.
- Regularly inspect the power cord for damage. If damaged, contact customer support.
- Turn off the robot and unplug the charging base before performing any maintenance or cleaning.
- Only use original accessories and replacement parts provided by Cecotec.
3. Package Contents
Verify that all items are present in the package:
- 1 x Conga X100 Robot Vacuum Cleaner
- 1 x Self-Emptying and Self-Cleaning Base with 2 Tanks (Clean Water and Dirty Water)
- 1 x Dust Bag (pre-installed or spare)
- 1 x Side Brush
- 2 x Rotating Mops
- 1 x Power Cable
- 1 x Cleaning Brush/Tool
- 1 x Instruction Manual

Image: Conga X100 robot, self-emptying base, and all accessories.
4. Product Components
4.1 Robot Overview
Familiarize yourself with the main parts of your Conga X100 robot:
- Lidar Sensor for navigation
- Front Bumper with object recognition sensors
- Power/Clean Button
- Charging Contacts
- Side Brush
- Main Brush (HairCut Brush)
- Rotating Mopping Pads
- Driving Wheels
- Omnidirectional Wheel

Image: Underside components of the robot.
4.2 Self-Emptying and Self-Cleaning Base
The base serves as the robot's charging station and handles automatic dust emptying, mop washing, and mop drying.
- Clean Water Tank
- Dirty Water Tank
- Dust Bag Compartment
- Mop Washing Tray
- Charging Contacts

Image: Robot docked at the self-emptying base.
5. Setup Guide
5.1 Charging Base Placement
- Place the self-emptying base against a wall in an open area, ensuring at least 1 meter of clear space on both sides and 1.5 meters in front.
- Connect the power cable to the base and plug it into a power outlet.
- Ensure the clean water tank is filled and the dirty water tank is empty. Install a dust bag in the base.
5.2 Initial Robot Charging
- Place the robot manually onto the charging contacts of the base.
- Allow the robot to fully charge before its first use. The indicator light will change when charging is complete.
5.3 App Installation and Connection
- Download the official Cecotec app from your smartphone's app store.
- Register an account and follow the in-app instructions to add your Conga X100 robot.
- Ensure your Wi-Fi network is 2.4 GHz for optimal connection.
6. Operation
6.1 Cleaning Modes
The Conga X100 offers various cleaning modes:
- Vacuum Mode: Utilizes the 20000 Pa suction power to effectively remove dust and debris from floors and carpets.
- Mop Mode (Spin Mopping with Perfect Wash): The rotating mops are continuously moistened with clean water from the base to scrub and remove stains.
- Combined Mode: The robot vacuums and mops simultaneously for a complete clean.
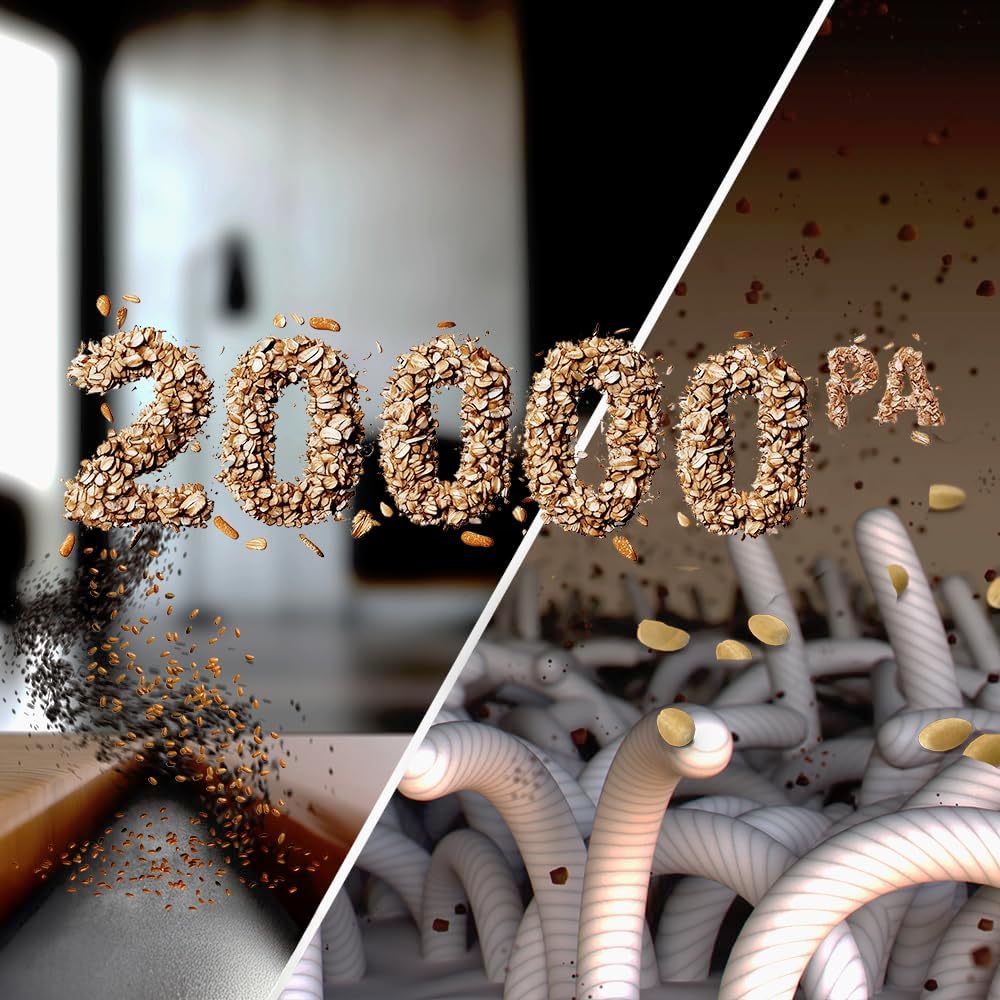
Image: Illustration of 20000 Pa suction power.
6.2 Adaptive Lifting Technology
The robot features adaptive lifting for optimized cleaning:
- BrushUp Technology: In mop mode, the central brush is elevated to prevent contact with liquids.
- SpinUp Technology: In combined mode, the mopping pads are raised or lowered based on the surface detected (e.g., lifted when on carpets).

Image: Robot demonstrating mop lifting on carpet.
6.3 AI Object Recognition and Laser Navigation
The Conga X100 uses advanced AI and laser navigation to map your home, recognize objects, and plan efficient cleaning routes. This allows it to navigate around obstacles and clean effectively even in cluttered environments.

Image: Robot with AI object recognition.
6.4 Using the Mobile App
The Cecotec app provides full control over your robot:
- Start/Stop cleaning
- Select cleaning modes and power levels
- View real-time cleaning maps
- Set virtual walls and restricted zones
- Schedule cleaning tasks
- Monitor battery level and maintenance alerts
- Access the robot's camera feed for remote monitoring (if applicable).

Image: App control interface with camera view.
7. Maintenance
Regular maintenance ensures optimal performance and extends the lifespan of your robot.
7.1 Self-Emptying and Self-Cleaning Base Maintenance
- Dust Bag: Replace the dust bag in the base when full. The app will notify you.
- Water Tanks: Regularly empty the dirty water tank and refill the clean water tank.
- Mop Washing Tray: Clean the mop washing tray periodically to prevent residue buildup.
- Mop Drying: The base automatically dries the mops after cleaning to prevent odors. Ensure the base is connected to power for this function.

Image: Automatic mop cleaning at the base.
7.2 HairCut Brush Cleaning
The innovative HairCut Brush is designed to cut and vacuum hair, minimizing tangles. However, periodic inspection and cleaning are recommended, especially if you have long-haired pets.
- Remove the main brush cover and lift out the HairCut Brush.
- Use the included cleaning tool to remove any tangled hair or debris.
- Reinstall the brush and cover securely.
7.3 Rotating Mops Cleaning
While the base performs automatic mop cleaning, it is advisable to occasionally remove and hand-wash the rotating mops for a deeper clean.
- Detach the rotating mops from the robot.
- Wash them with mild detergent and water.
- Allow them to air dry completely before reattaching.
7.4 Filter Maintenance
The robot uses a HEPA filter to capture fine dust particles.
- Remove the dustbin from the robot and open it.
- Tap the HEPA filter gently to dislodge dust. Do not wash the HEPA filter with water.
- Replace the HEPA filter every 3-6 months, depending on usage.
8. Troubleshooting
If you encounter issues with your Conga X100, refer to the following common problems and solutions:
| Problem | Possible Cause | Solution |
|---|---|---|
| Robot does not turn on | Low battery; Power button not pressed correctly | Place robot on charging base; Press and hold power button for 3 seconds |
| Robot cannot find charging base | Base obstructed; Base unplugged; Robot too far from base | Ensure clear space around base; Plug in base; Manually place robot closer to base |
| Poor suction performance | Dustbin full; Filter clogged; Main brush tangled | Empty dustbin; Clean/replace filter; Clean main brush |
| Mops not cleaning effectively | Clean water tank empty; Dirty water tank full; Mops dirty/worn | Refill clean water tank; Empty dirty water tank; Clean/replace mops |
| App connection issues | Incorrect Wi-Fi password; Router too far; 5GHz Wi-Fi network | Verify password; Move robot closer to router; Ensure 2.4GHz Wi-Fi is used |
For other issues or persistent problems, please contact Cecotec customer support.
9. Technical Specifications
- Brand: Cecotec
- Model Name: Conga X100
- Model Number: A01_EU01_114479
- Color: Black
- Product Dimensions: 42.5 x 34 x 46.5 cm (Robot + Base)
- Product Weight: 8 kg
- Voltage: 220 Volts
- Power Source: Battery
- Special Features: Self-Emptying, Programmable, AI Object Recognition, Laser Navigation, Adaptive Mop Lifting, HairCut Brush, Spin Mopping
- Filter Type: HEPA
- Suction Power: Up to 20000 Pa
- Included Components: Robot vacuum, Self-emptying base with 2 tanks, Dust bag, Side brush, 2 rotating mops, Power cable, Cleaning brush, Manual.
10. Warranty and Support
Your Cecotec Conga X100 Robot Vacuum Cleaner is covered by a manufacturer's warranty. Please refer to the warranty card included in your package for specific terms and conditions, including the warranty period and coverage details.
For technical assistance, troubleshooting beyond this manual, or warranty claims, please contact Cecotec customer support through their official website or the contact information provided in your warranty documentation.
Keep your purchase receipt as proof of purchase for warranty purposes.


