1. Introduction
Thank you for purchasing the VUEKIME X1 Mini Portable Projector. This manual provides essential information for setting up, operating, and maintaining your device. Please read it thoroughly before use to ensure proper functionality and to maximize your viewing experience. Keep this manual for future reference.
2. Important Safety Information
- Do not look directly into the projector lens when the lamp is on.
- Ensure proper ventilation around the projector to prevent overheating.
- Use only the power adapter provided with the device.
- Keep the projector away from water, moisture, and extreme temperatures.
- Do not attempt to disassemble or repair the projector yourself. Contact customer support for assistance.
3. Package Contents
Verify that all items are present in the box:
- VUEKIME X1 Mini Portable Projector
- Remote Control
- Power Adapter
- User Manual (this document)
Video: Unboxing the VUEKIME X1 Mini Portable Projector, showing the projector, remote control, power cable, and user manual.
Video: A detailed unboxing of a similar mini portable projector, showcasing its components including the projector unit, remote, power adapter, and manual.
4. Product Overview
4.1 Front View

The front of the projector features the main projection lens and ventilation grilles.
4.2 Rear View (Ports)
The rear panel includes the power input, HDMI port, USB port, and audio output jack.
4.3 Top View (Controls)
The top of the projector typically features a power button and a focus adjustment wheel (if manual focus is present).
5. Initial Setup
5.1 Power Connection
- Connect the power adapter to the projector's power input port.
- Plug the power adapter into a suitable electrical outlet.
- Press the power button on the projector or remote control to turn it on.
5.2 Placement and Projection Angle
The VUEKIME X1 projector features a 270° rotation capability, allowing for flexible placement and projection onto walls or ceilings.

Image: The projector can be rotated up to 270 degrees to project onto various surfaces, including ceilings.

Image: Example of the projector being used to display content on a bedroom ceiling.
5.3 Focus and Keystone Correction
The projector features automatic keystone correction and manual focus adjustment for a clear image.

Image: Visual representation of automatic keystone correction and zoom functionality.
Video: Demonstrates how to adjust focus and use automatic keystone correction for a clear and properly shaped image.
Video: Comparison of image quality and automatic focus/keystone correction between the CROSPIN projector and conventional models.
6. Operating Instructions
6.1 Navigating the Interface
Use the included remote control to navigate the projector's smart interface. The Air Remote function allows for intuitive control by moving your wrist.

Image: The projector's smart interface with various streaming applications.
6.2 Connectivity
6.2.1 Wi-Fi Connection
Connect to your home Wi-Fi network for online streaming and updates. The projector supports dual-band Wi-Fi 6 (2.4G/5G) for fast and stable connections.

Image: Highlighting the projector's advanced Wi-Fi 6 and Bluetooth 5.2 capabilities.
Video: Shows how to connect the projector to a Wi-Fi network and access various streaming applications like YouTube and Netflix.
6.2.2 Bluetooth Connection
Connect external Bluetooth speakers, headphones, or soundbars for an enhanced audio experience using Bluetooth 5.2.
6.2.3 HDMI and USB Inputs
Use the HDMI port to connect devices such as laptops, game consoles (PS5), TV boxes, or Fire Sticks. The USB port allows for playback of media files from USB drives.
6.3 Screen Mirroring
Mirror content from your phone (iOS/Android) or laptop wirelessly to the projector.
Video: Demonstrates how to connect a mobile phone to the projector via screen mirroring for content display.
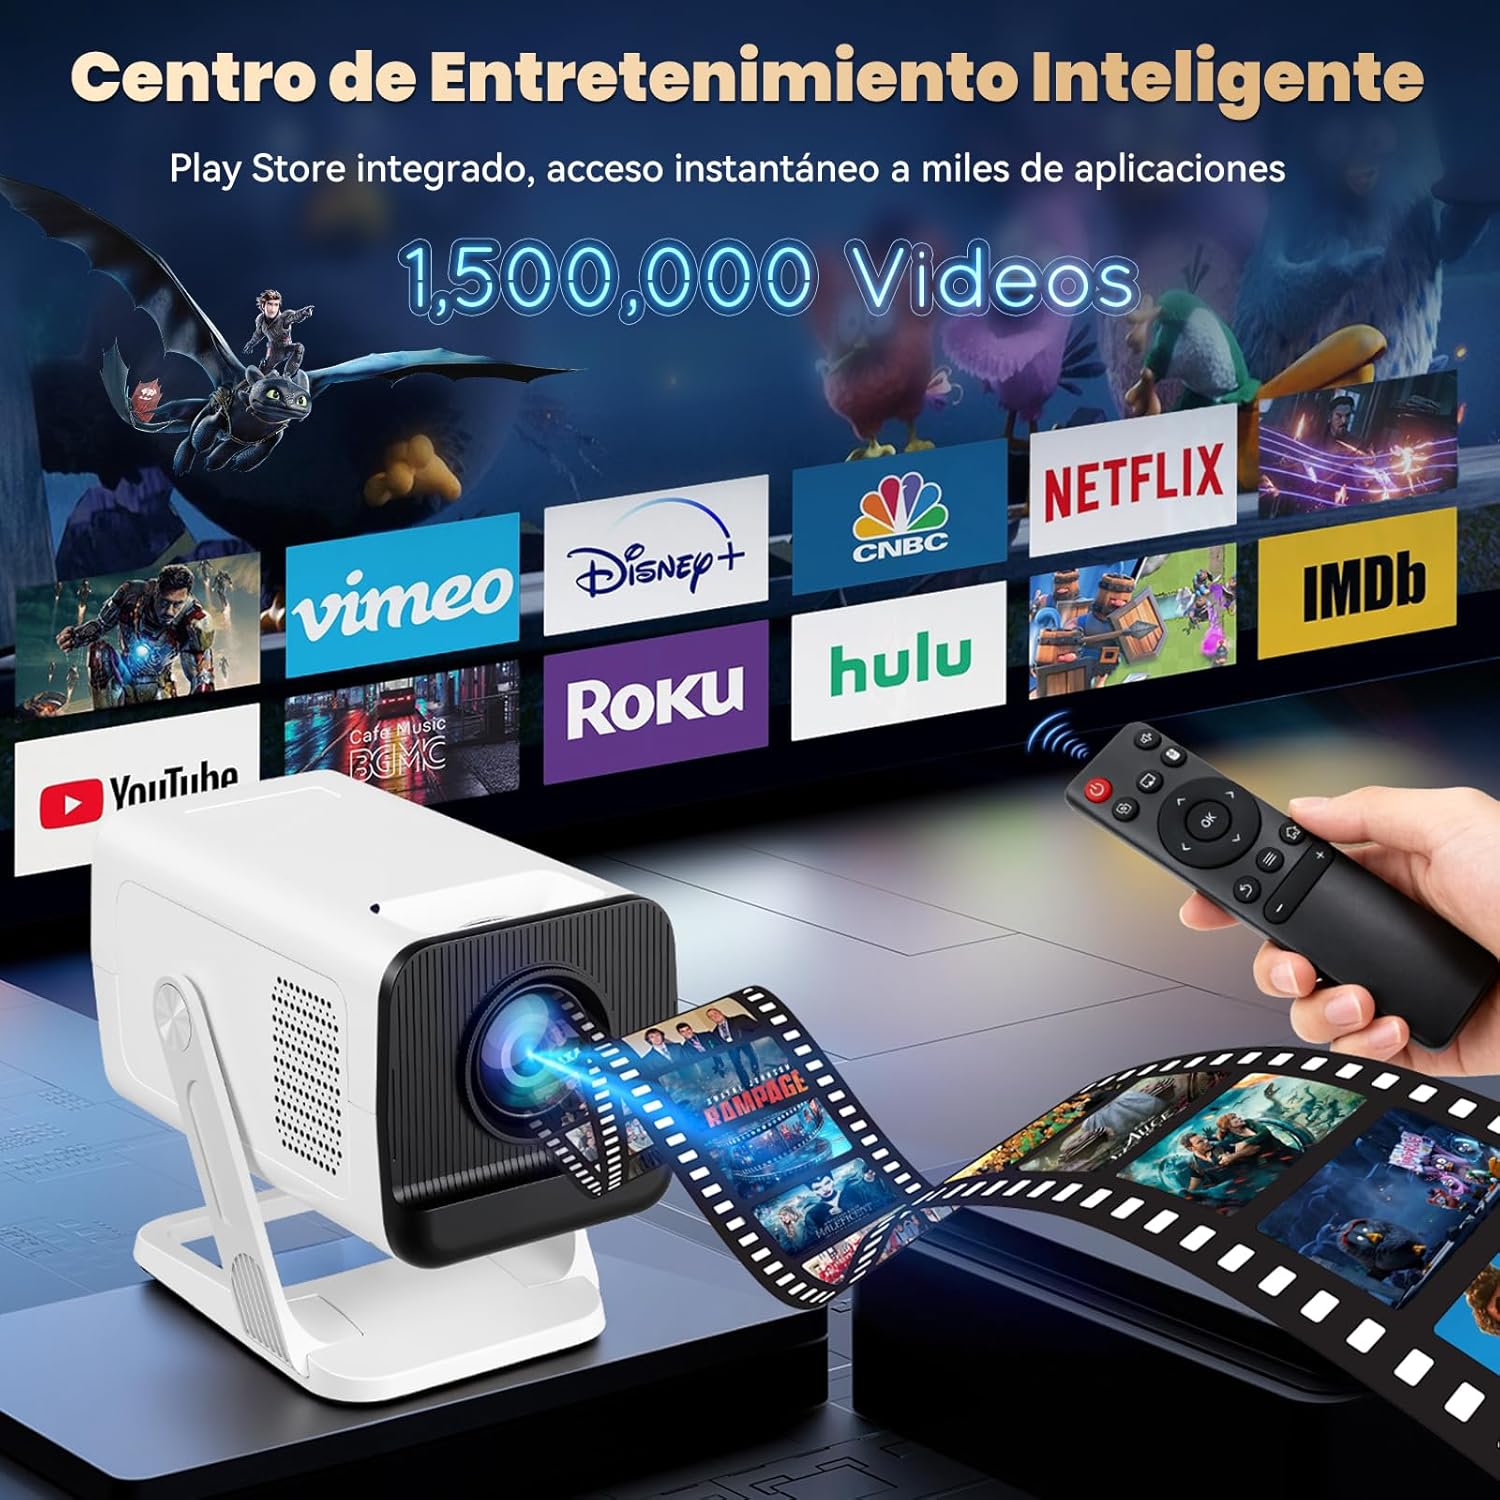
6.4 Using Integrated Applications
The projector is compatible with popular streaming applications like Netflix, YouTube, Prime Video, and Disney+ when connected to external devices or via wireless connection.

Image: Display of the projector's visual capabilities and integrated sound system.
Video: Shows the projector's interface and how to open and use YouTube for video playback.
Video: Demonstrates opening and playing content from Netflix on the projector.
Video: Illustrates how to open and play videos from Prime Video on the projector.
7. Specifications
| Feature | Description |
|---|---|
| Brand | VUEKIME |
| Model | X1 |
| Brightness | 350 ANSI Lumens |
| Native Resolution | Full HD 1080P |
| Supported Resolution | Up to 4K (3840 x 2160) |
| Connectivity | Wi-Fi 6 (2.4G/5G), Bluetooth 5.2 |
| Input Ports | HDMI, USB |
| Output Ports | Audio Out |
| Rotation Angle | 270° |
| Keystone Correction | Automatic |
| Dimensions | 8.5 x 8.6 x 16 cm |
| Weight | 0.5 kg |
8. Maintenance
8.1 Cleaning the Lens
Gently wipe the projector lens with a soft, lint-free cloth. Do not use abrasive cleaners or solvents.
8.2 Cleaning the Exterior
Use a soft, dry cloth to clean the exterior of the projector. For stubborn marks, a slightly damp cloth can be used, followed by a dry cloth.
8.3 Ventilation
Ensure that the ventilation openings are clear of dust and obstructions to prevent overheating. Do not block the air vents during operation.
9. Troubleshooting
9.1 No Power
- Check if the power adapter is securely connected to both the projector and the power outlet.
- Ensure the power outlet is functioning correctly.
- Press the power button on the projector or remote control.
9.2 Blurry Image
- Adjust the focus manually using the focus wheel on the projector.
- Ensure the projector is placed at an appropriate distance from the projection surface.
- Check if automatic keystone correction is enabled or adjust it manually if needed.
9.3 No Sound
- Increase the volume on the projector or the connected device.
- Check if the audio output is correctly configured (e.g., internal speaker, Bluetooth speaker).
- If using an external device, ensure its audio output is not muted.
9.4 No Signal from External Device
- Ensure the HDMI or USB cable is securely connected to both the projector and the source device.
- Select the correct input source on the projector (e.g., HDMI 1, USB).
- Verify that the source device is powered on and outputting a signal.
10. Warranty and Support
For warranty information, technical support, or service inquiries, please refer to the warranty card included in your package or contact VUEKIME customer service through their official channels. Do not attempt to repair the product yourself, as this may void your warranty.