
1. Introduction
This manual provides essential instructions for the safe and effective use of your Generic replacement battery, designed for compatibility with the A19-150R cordless vacuum cleaner. Please read this manual thoroughly before installation and operation to ensure optimal performance and safety.
2. Safety Information
Your replacement battery is equipped with multiple safety features to protect against potential hazards. These include:
- Over Voltage Output Protection (OVP): Prevents damage from excessive voltage.
- Over Current Output Protection (OCP): Safeguards against excessive current flow.
- Short Circuit Output Protection (SCP): Protects the battery and device from short circuits.
- Overload Protection: Prevents damage due to excessive load.
- High Temperature Protection: Monitors and regulates internal temperature to prevent overheating.
Always use the battery with its compatible A19-150R vacuum cleaner and original power supply cord charger PSU. Do not attempt to disassemble, modify, or expose the battery to extreme temperatures or liquids.
3. Product Overview
This replacement battery is designed to provide extended runtime for your A19-150R cordless vacuum cleaner. It integrates seamlessly with the vacuum's existing power system and charging station.

Figure 3.1: A19-150R vacuum cleaner with the compatible battery dock. The image illustrates the vacuum's main body and the separate charging dock, indicating where the battery would connect or be housed.
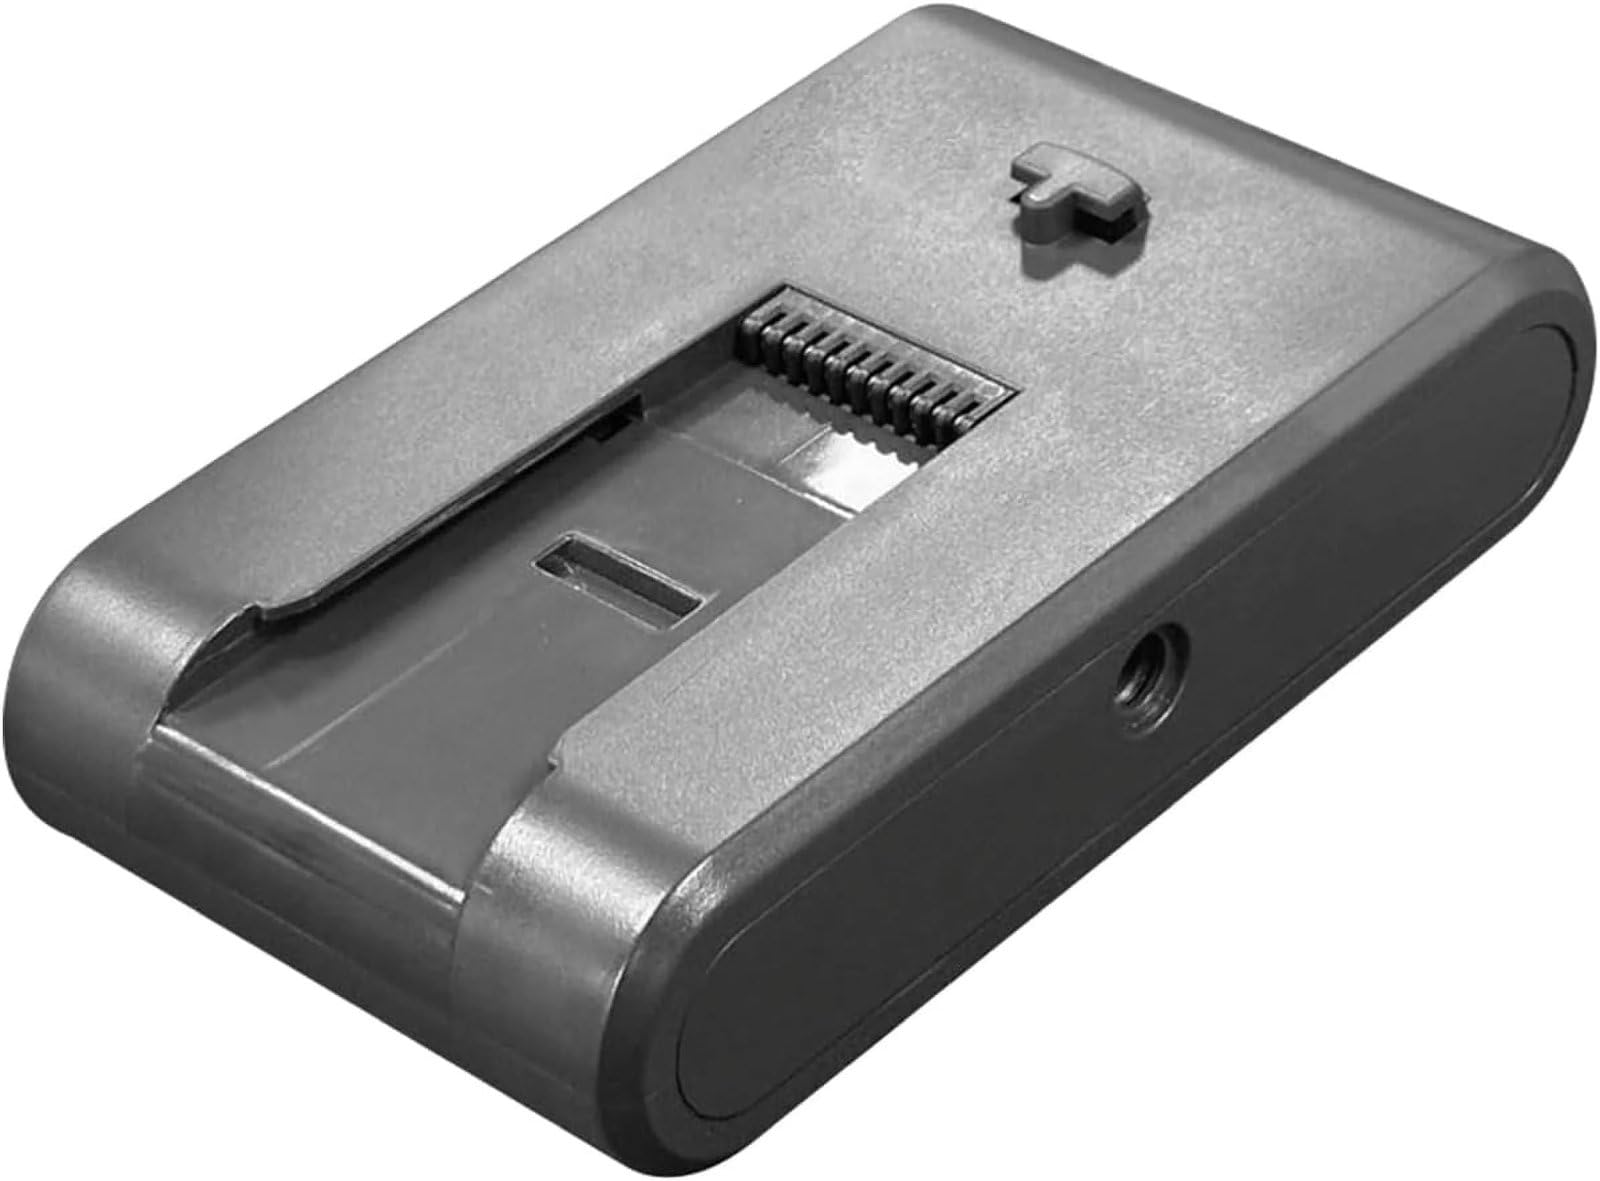
Figure 3.2: Diagram showing the battery's 2500 mAh capacity and estimated runtimes: 50 minutes in Min Mode (15000PA) and 20 minutes in Max Mode (38000PA).
4. Setup and Installation
Replacing the battery in your A19-150R vacuum cleaner is a straightforward process. Ensure the vacuum cleaner is powered off and disconnected from any charging source before proceeding.
- Locate the Battery Compartment: Refer to your original A19-150R vacuum cleaner manual to identify the battery compartment. Typically, this is located on the main body of the vacuum.
- Remove the Old Battery: Carefully unlatch or unscrew the existing battery from its compartment.
- Insert the New Battery: Align the new replacement battery with the connectors in the compartment. Gently push it into place until it clicks or is securely fastened.
- Secure the Battery: Ensure the battery is firmly seated and any latches or screws are re-secured.
- Initial Charge: Place the vacuum cleaner on its original wall charger station to initiate the first charge.
The installation process typically takes approximately 2 minutes and the battery is designed to fit perfectly with the original vacuum cleaner and charging station.
5. Operating Instructions
5.1 Charging the Battery
- Always use the original A19-150R wall charger station and power supply cord (PSU) for charging.
- Connect the vacuum cleaner with the installed replacement battery to the charging station.
- The charging indicator on your vacuum cleaner will show the charging status. Refer to your vacuum's original manual for specific indicator meanings.
- Allow the battery to fully charge before its first use and whenever the battery level is low.
5.2 Using the Vacuum Cleaner
Once the battery is charged, operate your A19-150R cordless vacuum cleaner as per its original operating instructions. The replacement battery provides reliable power for both standard and powerful cleaning modes.
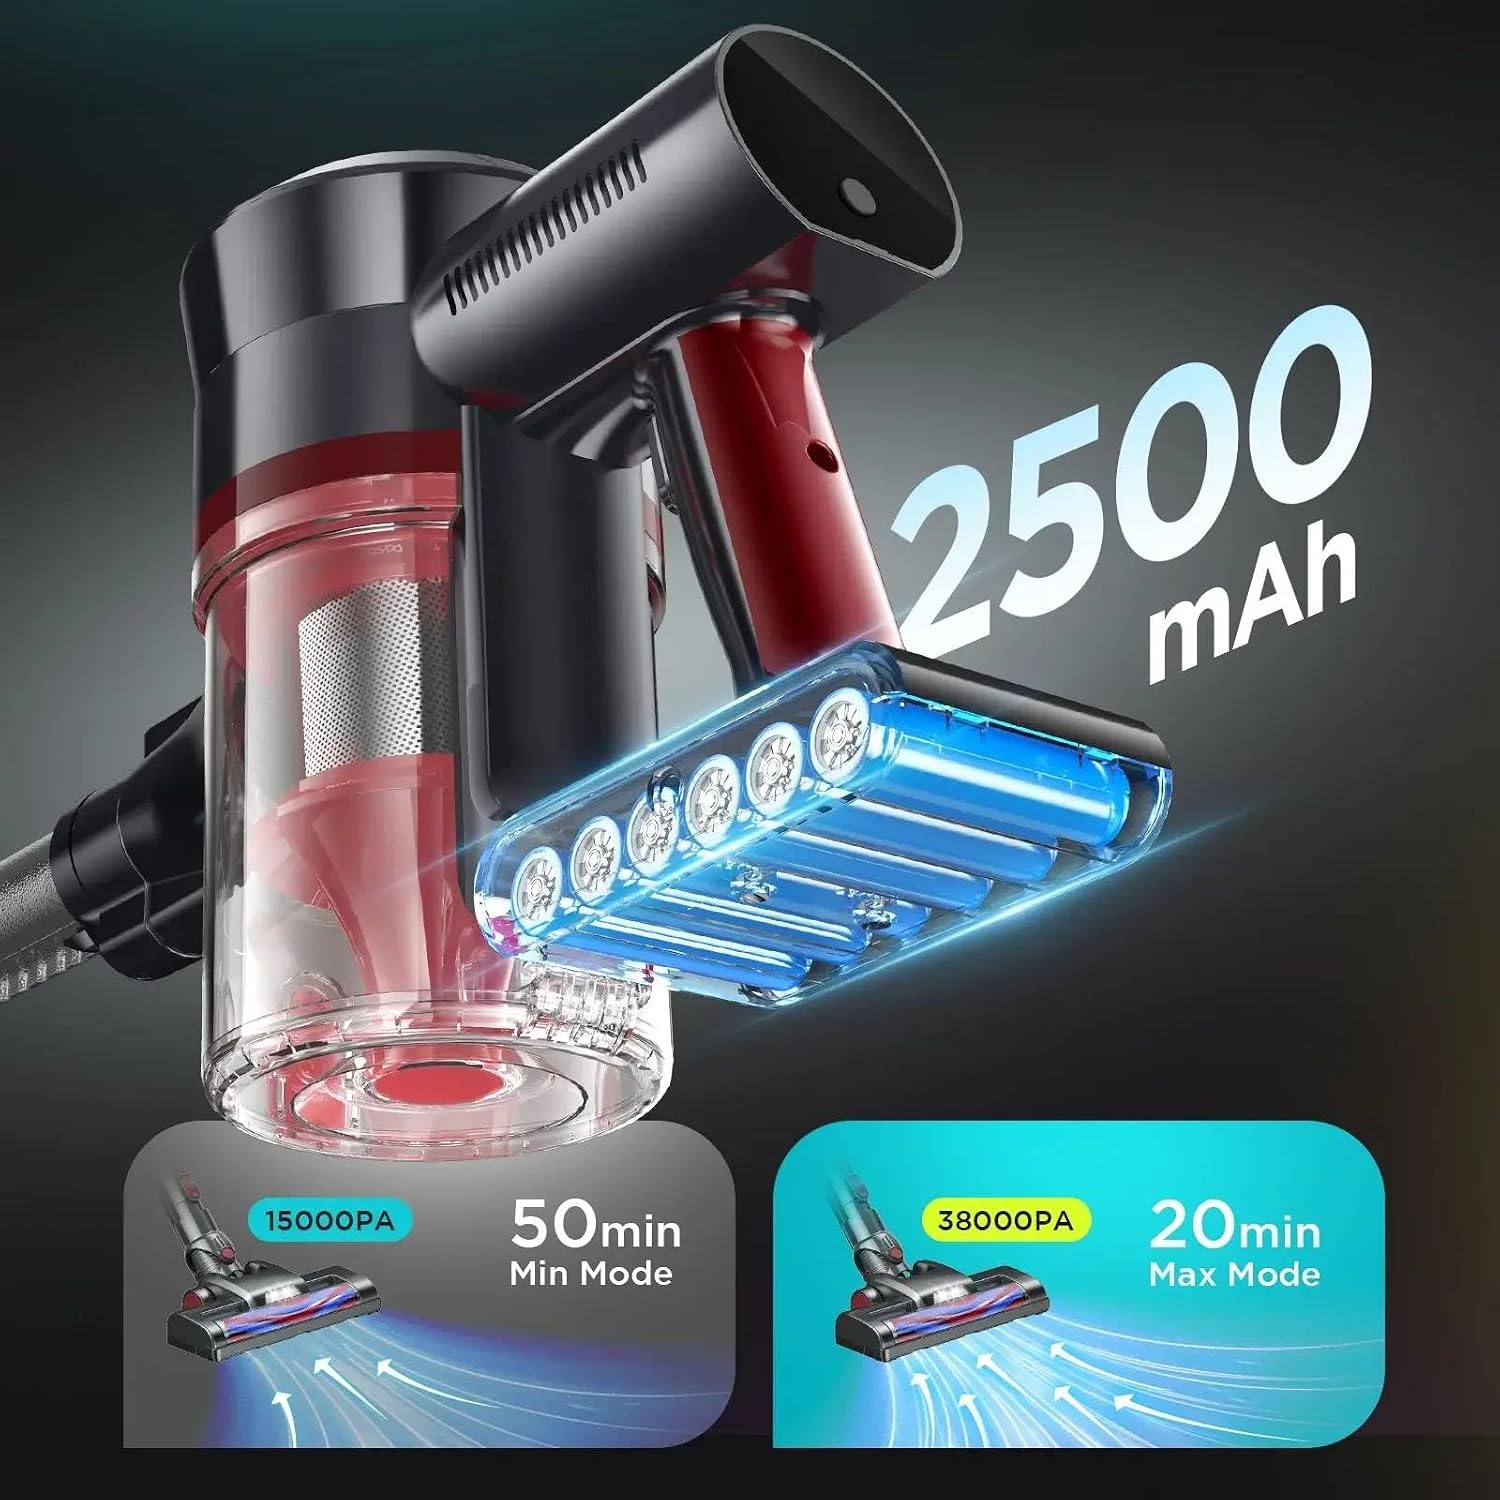
Figure 5.1: The A19-150R vacuum cleaner being used in various scenarios, including floor cleaning, under furniture, and in a car, highlighting its versatility with the new battery.
6. Maintenance and Storage
6.1 Battery Care
- Avoid fully discharging the battery frequently. Recharge it when the power level is low.
- Do not expose the battery to direct sunlight or high temperatures for extended periods.
- Clean the battery contacts periodically with a dry cloth to ensure good connection.
6.2 Storage
If storing the vacuum cleaner and battery for an extended period, ensure the battery is partially charged (around 50%) and stored in a cool, dry place. Avoid storing a fully charged or completely depleted battery for long durations.
7. Troubleshooting
| Problem | Possible Cause | Solution |
|---|---|---|
| Battery not charging |
|
|
| Reduced runtime |
|
|
| Vacuum not powering on |
|
|
8. Specifications
| Feature | Detail |
|---|---|
| Compatibility | A19-150R Cordless Vacuum Cleaner |
| Input Voltage (Charger) | 100-240VAC, 50/60Hz (World Wide) |
| Safety Protections | OVP, OCP, SCP, Overload Protection, High Temperature Protection |
| Installation Time | Approximately 2 minutes |
| Brand | Generic |
| ASIN | B0FL1XGWKM |
9. Warranty and Support
For warranty information or technical support regarding this replacement battery, please refer to the seller or manufacturer's contact information provided at the time of purchase. Keep your purchase receipt as proof of purchase.