Aspiron AS-GH002
Aspiron AS-GH002 Artificial Turf Vacuum and Grass Sweeper User Manual
Model: AS-GH002 | Brand: Aspiron
Introduction
This manual provides essential information for the safe operation, assembly, maintenance, and troubleshooting of your Aspiron AS-GH002 Artificial Turf Vacuum and Grass Sweeper. Please read this manual thoroughly before using the product to ensure proper function and to prevent injury or damage.
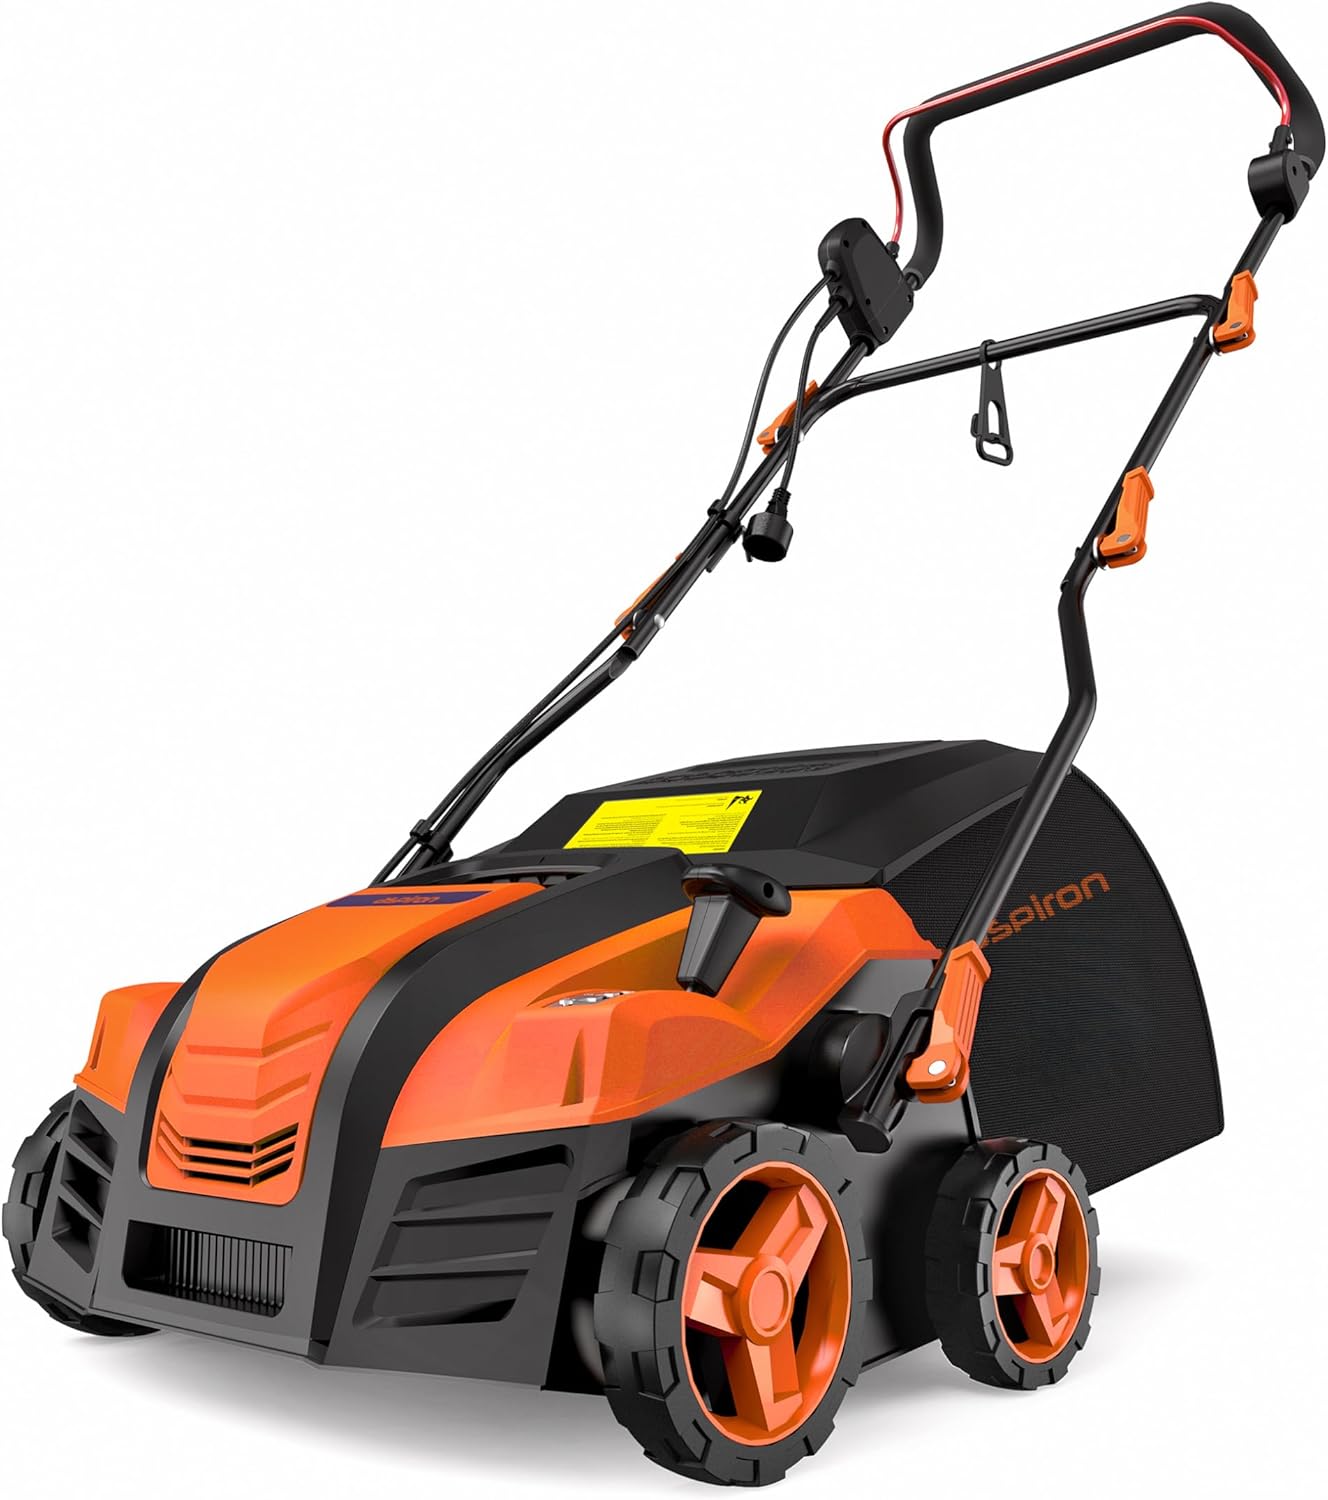
Image: The Aspiron AS-GH002 Artificial Turf Vacuum and Grass Sweeper, showcasing its orange and black design with a collection bag.
Important Safety Instructions
Always follow basic safety precautions when using electrical appliances to reduce the risk of fire, electric shock, and personal injury.
- Read All Instructions: Familiarize yourself with the controls and proper use of the appliance.
- Personal Safety: Wear appropriate personal protective equipment, such as safety glasses and sturdy footwear. Do not operate the sweeper barefoot or in open-toed sandals.
- Keep Area Clear: Ensure the work area is free of foreign objects that could be thrown by the brush. Keep bystanders, children, and pets away from the operating area.
- Power Cord: Inspect the power cord for damage before each use. Do not use if the cord is damaged. Keep the cord away from the brush and moving parts.
- Avoid Overheating: The unit may shut off to prevent overheating. Allow it to cool down before resuming operation.
- Secure Operation: Always use two hands to operate the sweeper. Ensure a firm grip on the handle.
- Unplug When Not in Use: Disconnect the power supply before cleaning, servicing, or when leaving the machine unattended.
- Storage: Store the appliance indoors in a dry, secure place, out of reach of children.
Product Overview and Components
The Aspiron AS-GH002 is designed for efficient cleaning and grooming of artificial turf. Key components include:
- 15-Amp Electric Motor: Provides powerful operation for effective sweeping.
- 16-inch Working Width: Covers a significant area with each pass.
- Adjustable Brush Height: 5 positions for varying turf conditions and maintenance needs.
- 45-Liter Collection Bag: High capacity for debris collection, easily removable.
- Adjustable Handle Rod: 3 positions to accommodate users of different heights.
- Safety Lock-off Button: Prevents accidental starts.
- Quick-Fold Frame: For compact storage.
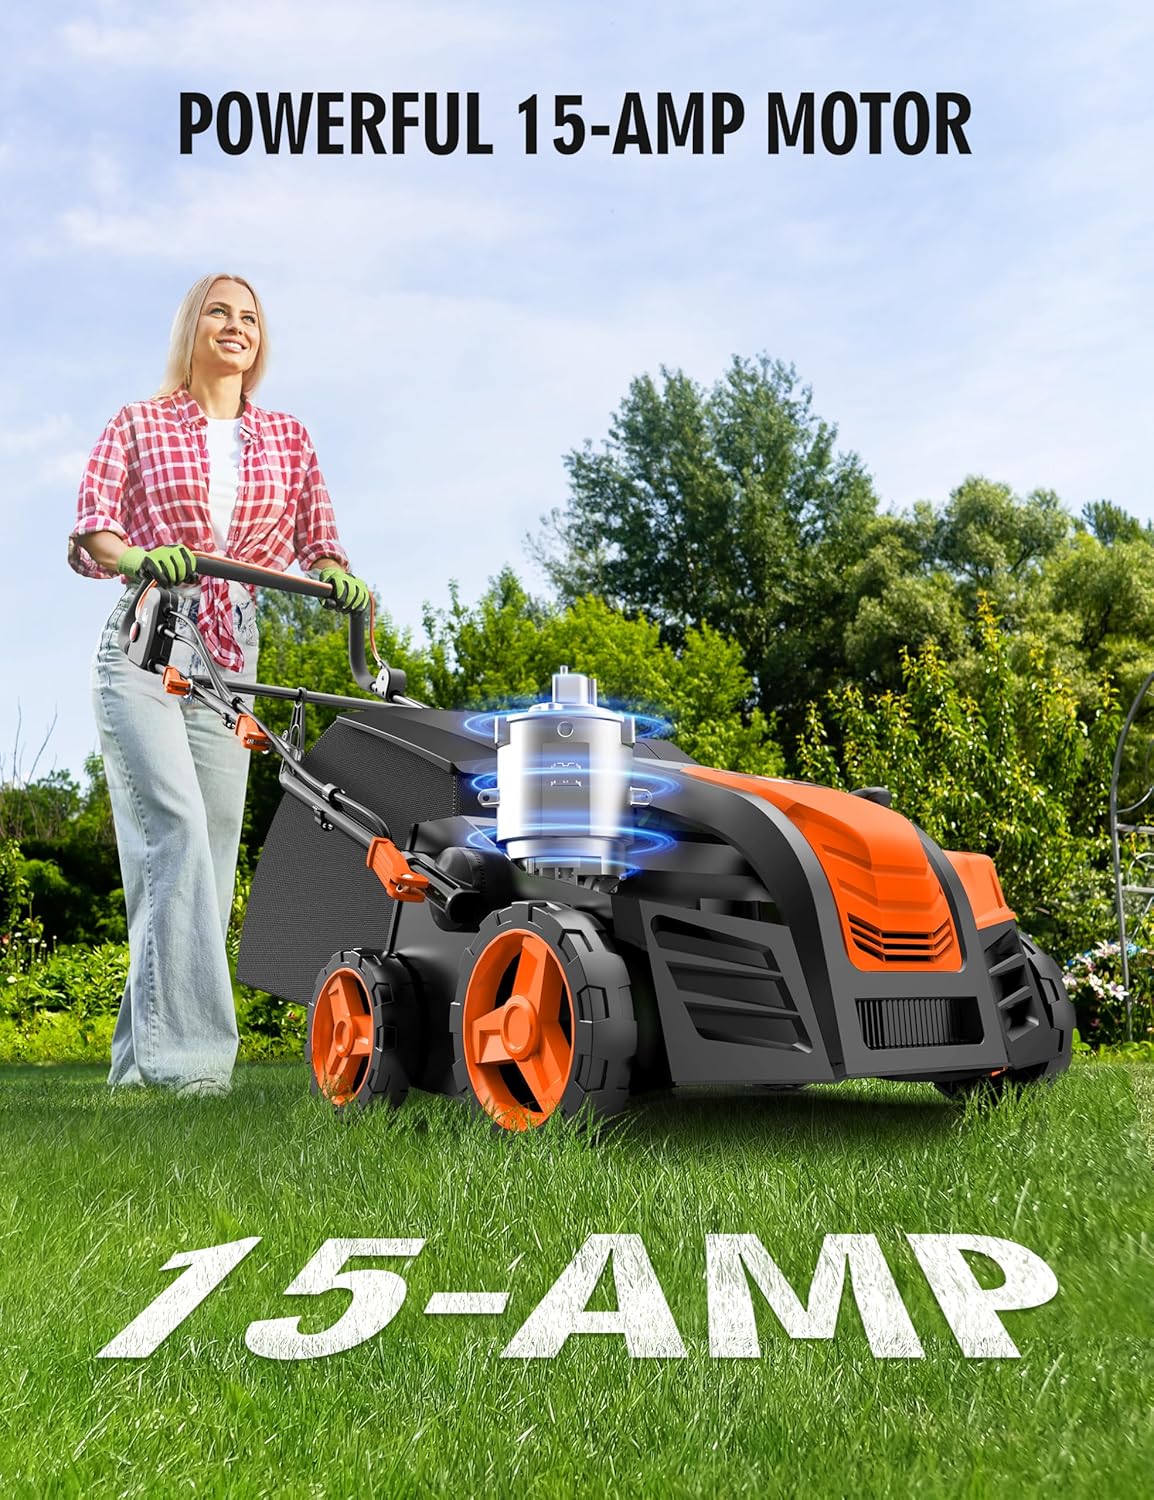
Image: Illustration highlighting the powerful 15-Amp motor of the sweeper.
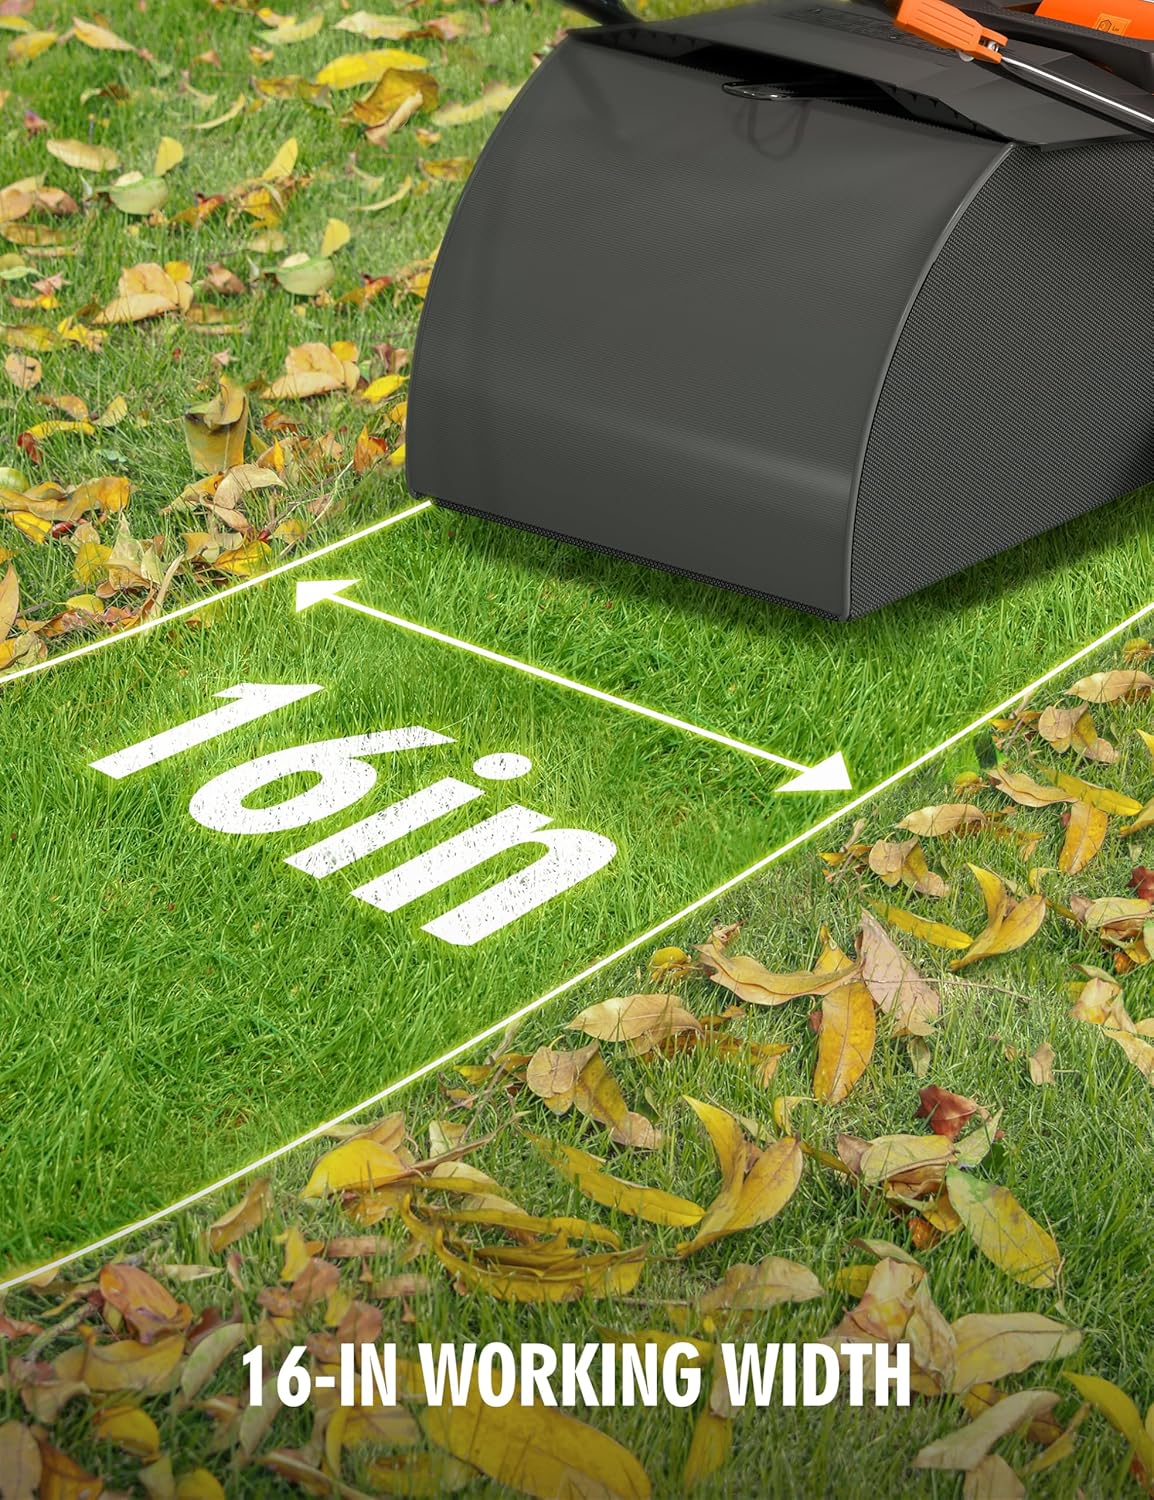
Image: The sweeper operating on artificial turf, illustrating its 16-inch working width.

Image: Close-up of the sweeper's brush, showing its anti-tangle design and removable, washable features.

Image: Detail of the 5-position lever for adjusting the brush height, with a diagram showing different cutting depths.
Setup and Assembly
The Aspiron AS-GH002 requires some assembly before first use. Follow these steps:
- Unpacking: Carefully remove all components from the packaging. Check for any damage or missing parts.
- Handle Assembly: Attach the upper handle to the lower handle section using the provided hardware. Ensure all connections are secure.
- Collection Bag Attachment: Securely attach the 45-liter collection bag to the designated area at the rear of the sweeper. Ensure it is properly seated to prevent debris from escaping.
- Handle Height Adjustment: Adjust the handle rod to one of the 3 available positions for comfortable operation. Use the quick-locking levers to secure the height.
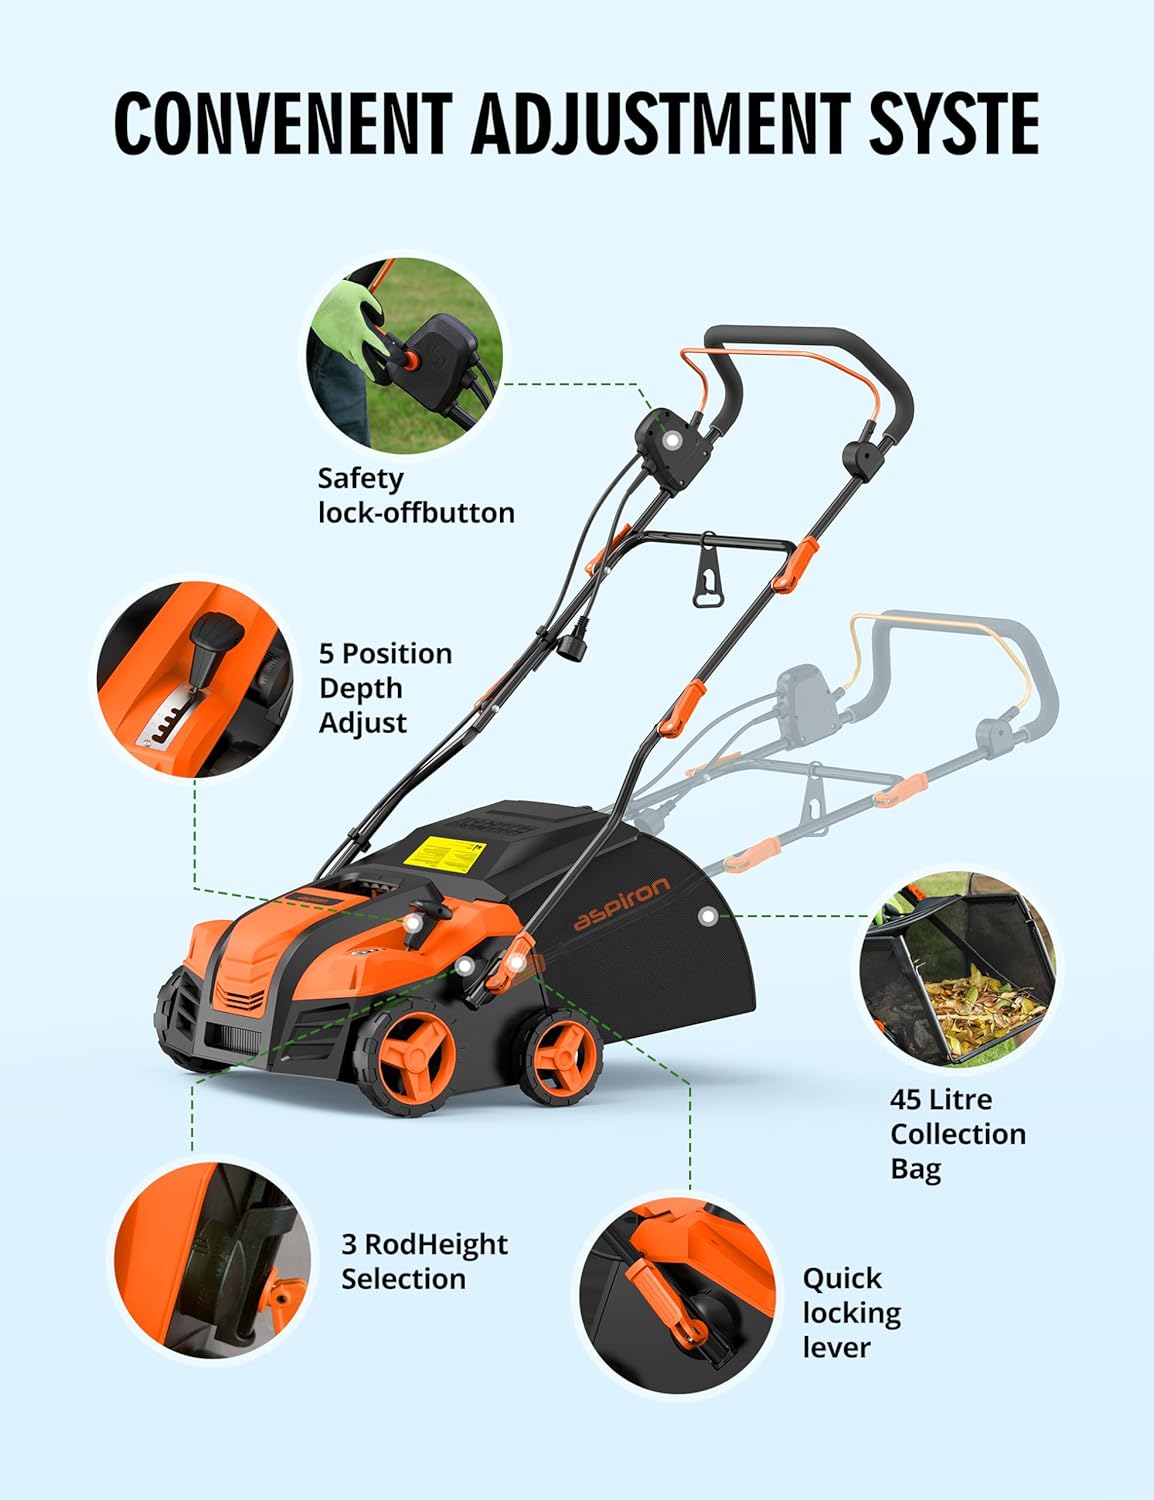
Image: Diagram illustrating the safety lock-off button, 5-position depth adjust, 3-rod height selection, 45-liter collection bag, and quick locking lever.
Operating Instructions
Before operating, ensure the sweeper is fully assembled and the collection bag is empty.
- Connect Power: Plug the sweeper into a suitable power outlet. Ensure the power cord is routed safely to avoid entanglement with the brush.
- Adjust Brush Height: Use the 5-position control lever to select the desired brush height. For initial cleaning or light debris, a higher setting may be sufficient. For deeper cleaning or lifting matted turf, a lower setting can be used. Refer to the diagram in the "Product Overview" section for height settings.
- Start the Sweeper: To start, press the safety lock-off button (1) and then pull the operating lever (2) towards the handle. Release the safety button once the motor starts.
- Sweeping: Push the sweeper forward at a steady pace. The self-propelled motion assists in movement. Overlap each pass slightly to ensure complete coverage.
- Emptying the Collection Bag: When the collection bag is full, the sweeper's efficiency may decrease. Turn off the sweeper and unplug it. Remove the collection bag and empty its contents. Reattach the bag securely before resuming operation.
- Stopping the Sweeper: Release the operating lever to stop the motor. Unplug the unit from the power source after use.

Image: Close-up of the handle showing the two-step starting process: press safety button (1), then pull operating lever (2).

Image: The 45-liter collection bag being emptied, demonstrating its large capacity and ease of removal.
Maintenance
Regular maintenance ensures the longevity and optimal performance of your Aspiron Artificial Turf Vacuum.
- Cleaning the Unit: After each use, unplug the sweeper and clean the exterior with a damp cloth. Do not use harsh chemicals or abrasive cleaners.
- Brush Cleaning: The brush is removable and washable. Periodically remove the brush and clean any accumulated debris, grass fibers, or tangles. Ensure the brush is dry before reinstallation.
- Collection Bag Care: Empty and clean the collection bag regularly. A clean bag ensures efficient airflow and debris collection.
- Cord Inspection: Regularly inspect the power cord for cuts, fraying, or other damage. If damaged, have it repaired by a qualified professional.
- Storage: For compact storage, utilize the quick-fold frame. Store the sweeper in a dry, protected area.

Image: The sweeper in its folded state, demonstrating its compact dimensions for easy storage (23.6"D x 31.5"W x 19.6"H).
Troubleshooting
| Problem | Possible Cause | Solution |
|---|---|---|
| Sweeper does not start. |
|
|
| Sweeper stops during operation. |
|
|
| Poor sweeping performance. |
|
|
Specifications
| Feature | Detail |
|---|---|
| Brand | Aspiron |
| Model Number | AS-GH002 |
| Power Source | AC Electric (Corded) |
| Motor Power | 15 Amp (1800 W) |
| Working Width | 16 inches |
| Collection Bag Capacity | 45 Liters (approx. 12 gallons) |
| Brush Height Adjustment | 5 positions (-0.47" to 0.24") |
| Handle Height Adjustment | 3 positions |
| Item Weight | 33.5 Pounds |
| Product Dimensions (LxWxH) | 23.6"D x 31.5"W x 19.5"H |
| Material | Metal, Plastic |
| Assembly Required | Yes |
Customer Support
For technical assistance, warranty information, or to inquire about replacement parts, please contact Aspiron customer service. Refer to your product packaging or the official Aspiron website for the most current contact details.
Note: Protection plans may be available for purchase separately to extend coverage beyond the standard manufacturer's warranty. Please consult the retailer for details.
Ask a question about this manual
Ask about setup, troubleshooting, compatibility, parts, safety, or missing instructions. Manuals+ will review the question and use this page’s manual context to help answer it.