1. Introduction
This manual provides detailed instructions for the installation, setup, operation, and maintenance of your Darawf K6-2 Smart Keyless Entry Deadbolt Lock. Please read this manual thoroughly before installation and use to ensure proper function and safety.
2. Important Safety Information
- Do not attempt to disassemble or repair the lock yourself. Contact customer support for assistance.
- Use only specified 4 AA batteries. Do not mix old and new batteries or different types of batteries.
- Ensure the door is properly aligned and closes smoothly before installing the lock.
- Keep physical keys in a secure location outside the home, accessible only to trusted individuals.
- Regularly check battery levels and replace batteries when the low battery alert is active.
- Avoid exposing the lock to extreme temperatures or direct water immersion.
3. Package Contents
Verify that all components are present before beginning installation:
- Deadbolt Door Lock Assembly
- 2 Standard Physical Keys
- Latch Mechanism
- Strike Plate
- Installation Instructions
- Programming Instructions
- Mounting Hardware (screws, etc.)
4. Product Overview
The Darawf K6-2 Smart Lock offers multiple entry methods for convenience and security.

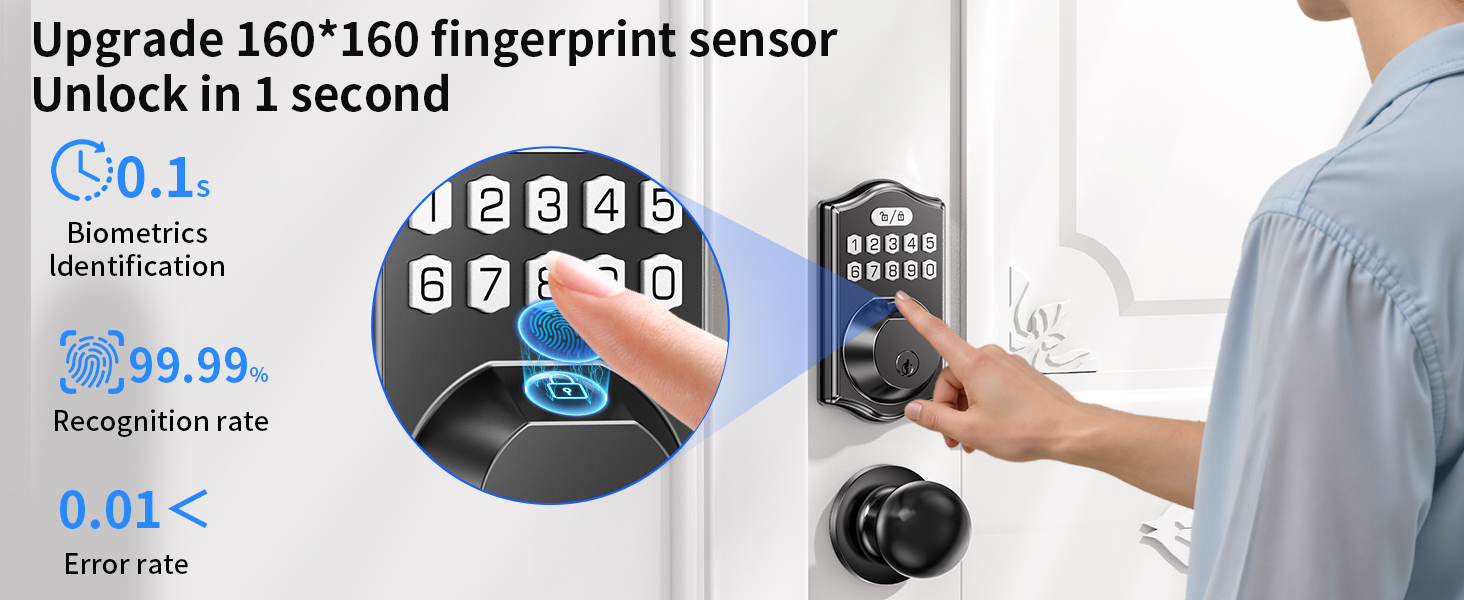
- AI Fingerprint Recognition: Unlock in 0.3 seconds, stores up to 100 fingerprints.
- Passcode Entry: Stores up to 100 passcodes.
- Physical Key: Two backup keys are included for emergency access.
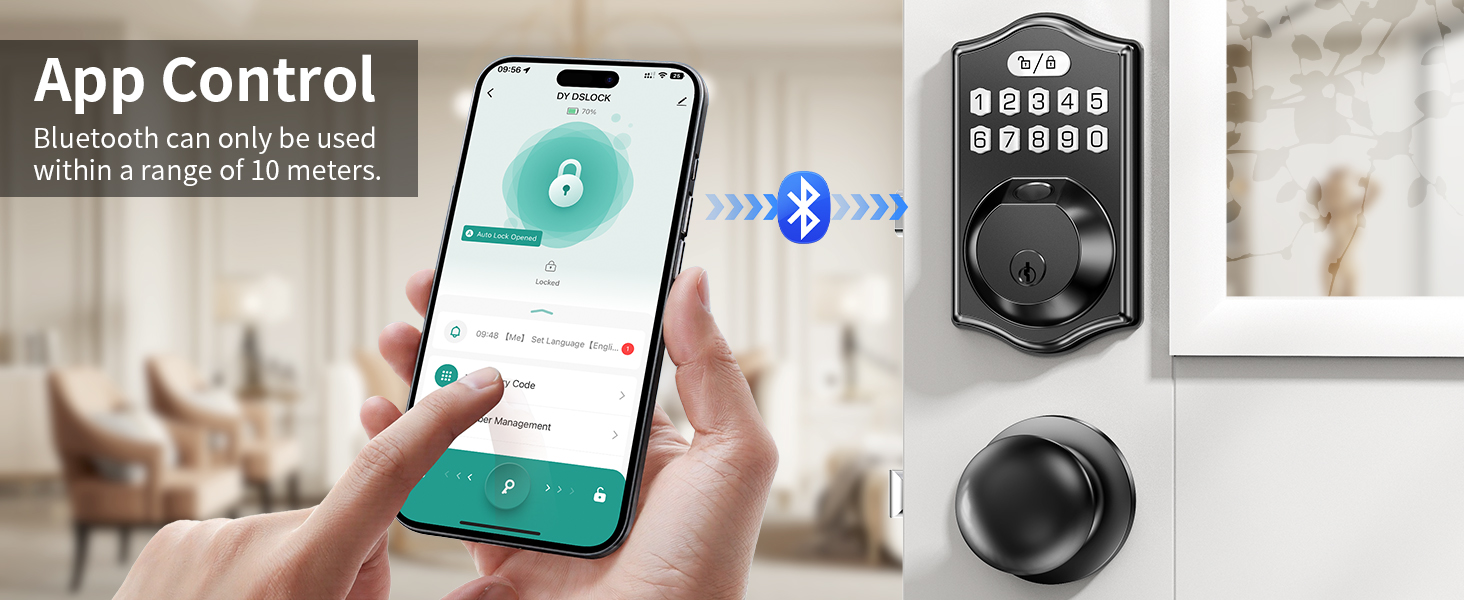
- Smartphone App Control: Manage users, codes, and settings via the Tuya Smart app (Bluetooth connection).
- Auto-Lock Feature: Adjustable auto-lock duration (1-99 seconds).
- Emergency Power: Type-C USB port for temporary power in case of battery depletion.
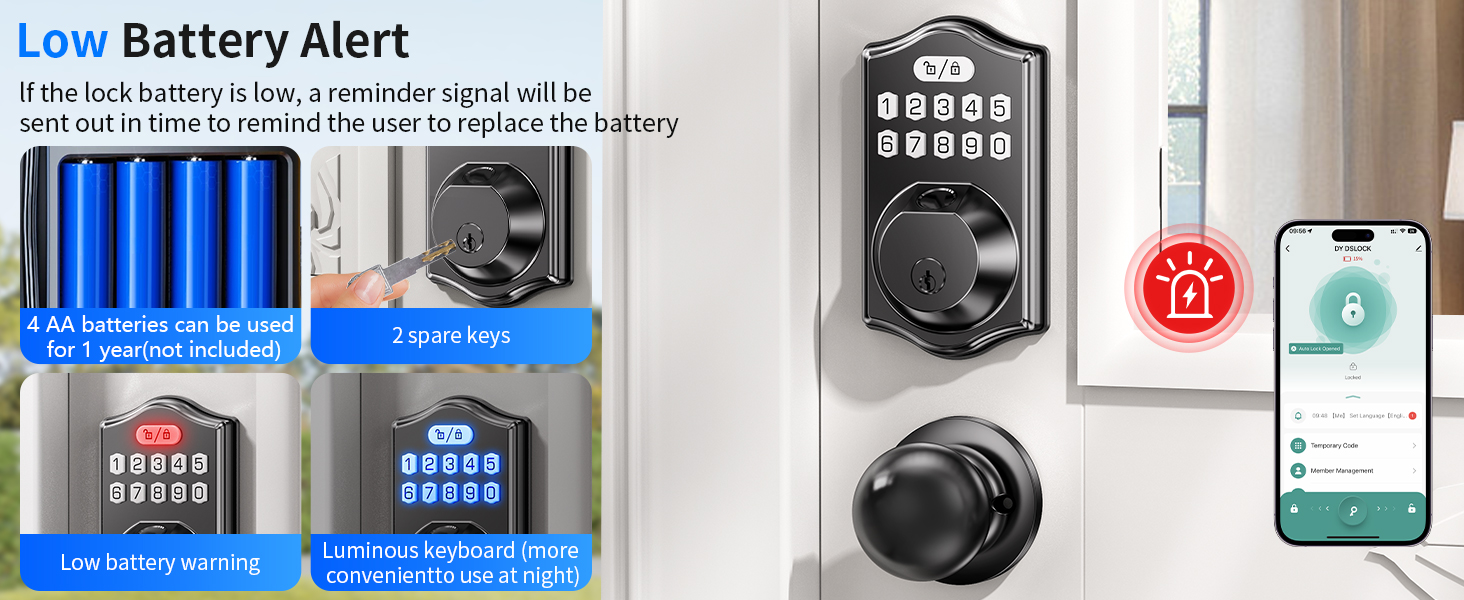
- Low Battery Alert: Red LED flashes weeks before batteries run out.
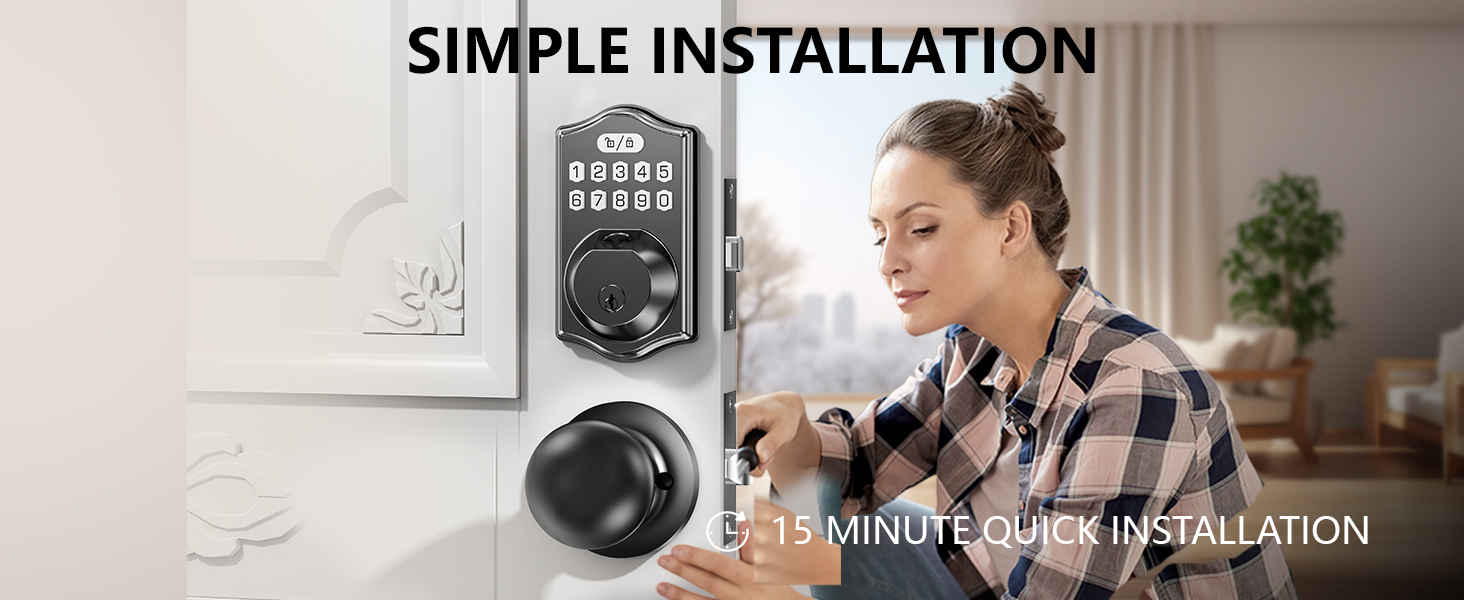
5. Installation Guide
Installation typically takes about 15 minutes with a screwdriver. No drilling or extra tools are usually needed for standard door preparations.
5.1. Door Compatibility Check
Before installation, ensure your door meets the following specifications:

- Door Thickness: 1-1/32" (26mm) to 2" (50mm)
- Hole Diameter: 2-1/8" (54mm)
- Backset: 2-3/8" or 2-3/4" (60mm or 70mm)
- Minimum Distance: ≥4" (101.6mm) from the center of the deadbolt hole to the center of the handle below.
5.2. Step-by-Step Installation
- Prepare the Door: Ensure the door is prepped with the correct holes and backset.
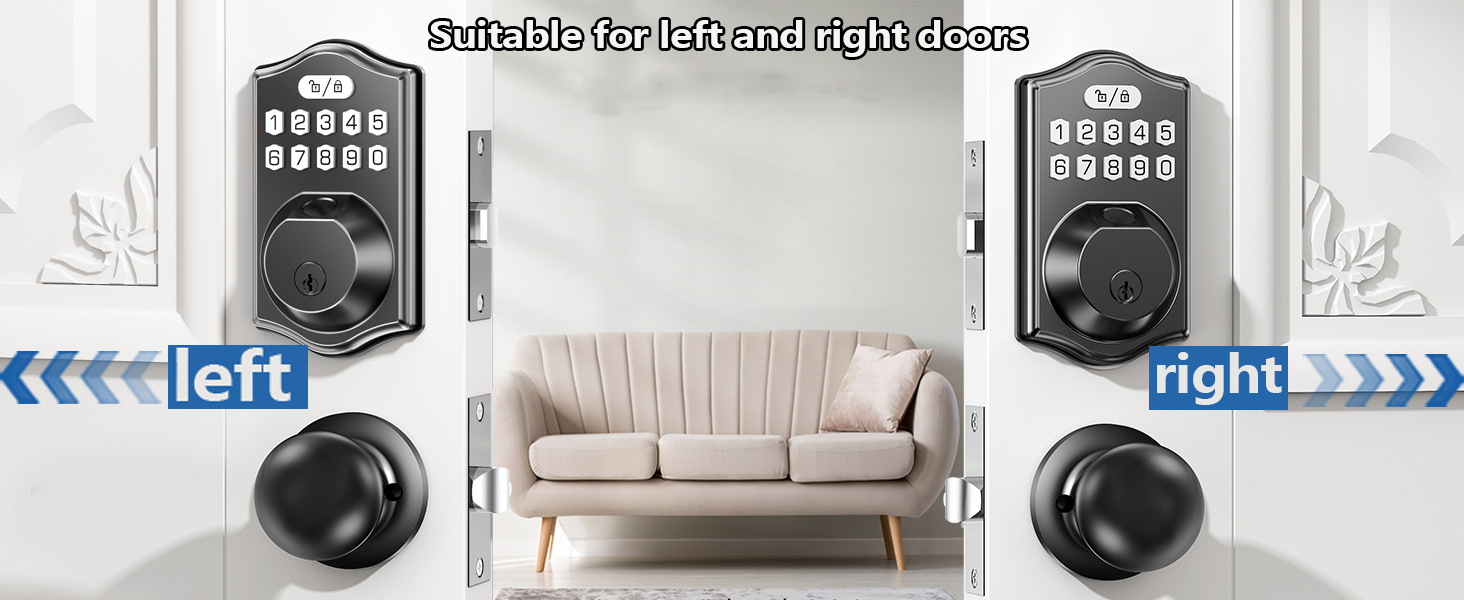
- Install the Latch: Insert the latch into the door edge and secure it with screws. Ensure the latch bolt faces the correct direction for your door swing.
- Install the Exterior Assembly: Place the exterior keypad assembly onto the door, feeding the cable through the cross bore hole.
- Install the Interior Mounting Plate: Secure the interior mounting plate to the exterior assembly using screws, ensuring the cable passes through the plate.
- Connect Cables: Connect the cable from the exterior assembly to the interior assembly.
- Install the Interior Assembly: Mount the interior assembly onto the mounting plate and secure it with screws.
- Install Batteries: Insert 4 AA batteries into the battery compartment.
- Test the Lock: Manually test the deadbolt function with the thumb turn and a physical key.
6. Setup and Programming
The Darawf K6-2 Smart Lock can be set up via the Tuya Smart app or directly on the keypad.
6.1. App Setup (Recommended)
For full functionality and remote control (with optional gateway), use the Tuya Smart app.
- Download App: Download and install the "Tuya Smart" app from your device's app store.
- Enable Bluetooth: Turn on Bluetooth on your smartphone.
- Add Device: Open the Tuya Smart app. In factory condition, click "Add Device" and wait for the app to discover the "DLOCK" device. Tap to add it.
- Administrator Password Reset (if needed): If the lock has been previously set up, the app might not detect it. On the lock keypad, double-click the "Settings" button (lock/unlock icon), enter the default master code (12345678), press "Settings" again, then press "0". This resets the administrator password. Then, try adding the device again in the app.
- Add Members (Fingerprints/Passcodes):
- Go to "Member Management" in the app.
- Click "+" in the upper right corner to add a new member.
- Select the member to add a fingerprint or passcode.
- For fingerprints, follow the on-screen prompts to press your finger on the lock's sensor 4 times until successfully added.
- For passcodes, enter an 8-10 digit password and save it. The first passcode set will be the administrator password.
6.2. Keypad Programming (Single Machine Setup)
This video demonstrates how to perform various settings directly on the lock keypad without the app.
Video 6.1: Fingerprint Lock Settings Tutorial. This video provides a comprehensive guide on setting up the Darawf K6-2 Smart Lock, including adding the device to the Tuya Smart app, managing users, adding fingerprints and passcodes, unlocking via phone, restoring factory settings, and performing various single-machine setup methods such as changing the master code, adding/deleting user codes, adding user fingerprints, enabling/disabling silent mode, enabling/disabling auto-lock, setting auto-lock time, adding one-time codes, and activating vacation mode.
- Change Master Code:
- Press Settings (lock/unlock icon) twice.
- Enter Default Master Code (12345678).
- Press Settings.
- Press 1.
- Enter New Master Code (8-10 digits).
- Press Settings.
- Re-enter New Master Code.
- Press Settings.
- Add User Code:
- Press Settings twice.
- Enter Master Code.
- Press Settings.
- Press 2.
- Enter New User Code (8-10 digits).
- Press Settings.
- Re-enter New User Code.
- Press Settings.
- Add User Fingerprint:
- Press Settings twice.
- Enter Master Code.
- Press Settings.
- Press 2.
- Register fingerprint by pressing finger on sensor 4 times.
- Green light flash indicates success.
- Delete User Code/Fingerprint:
- Press Settings twice.
- Enter Master Code.
- Press Settings.
- Press 3.
- Enter the unwanted User Code or place the unwanted fingerprint on the sensor.
- Press Settings.
- Disable Silent Mode:
- Press Settings twice.
- Enter Master Code.
- Press Settings.
- Press 4.
- Press Settings.
- Silent Mode Disabled.
- Enable Silent Mode:
- Press Settings twice.
- Enter Master Code.
- Press Settings.
- Press 4.
- Press Settings.
- Silent Mode Enabled.
- Enable Auto Lock:
- Press Settings twice.
- Enter Master Code.
- Press Settings.
- Press 5.
- Press Settings.
- Auto Lock Enabled.
- Disable Auto Lock:
- Press Settings twice.
- Enter Master Code.
- Press Settings.
- Press 5.
- Press Settings.
- Auto Lock Disabled.
- Set Auto Lock Time (1-99 seconds):
- Press Settings twice.
- Enter Master Code.
- Press Settings.
- Press 8.
- Enter new duration time (1-99 seconds).
- Press Settings.
- Add One-time Code:
- Press Settings twice.
- Enter Master Code.
- Press Settings.
- Press 7.
- Enter New User Code (8-10 digits).
- Press Settings.
- Re-enter New User Code.
- Press Settings.
- Vacation Mode:
- Press Settings twice.
- Enter Master Code.
- Press Settings.
- Press 6.
- Press Settings.
- Vacation mode enabled/disabled.
7. Operating Instructions
7.1. Unlocking the Door
- Fingerprint: Place your registered finger on the fingerprint sensor. The lock will unlock after successful recognition.
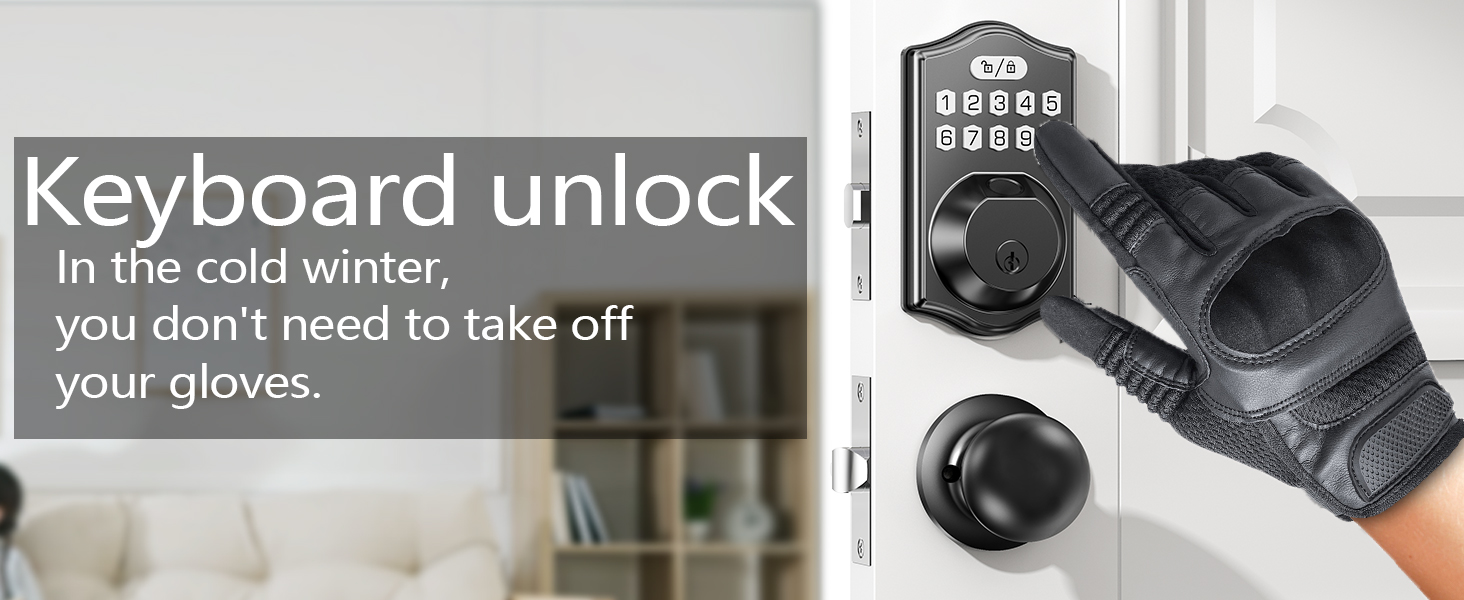
- Passcode: Enter your 8-10 digit passcode on the keypad, then press the Settings button (lock/unlock icon). The lock will unlock.
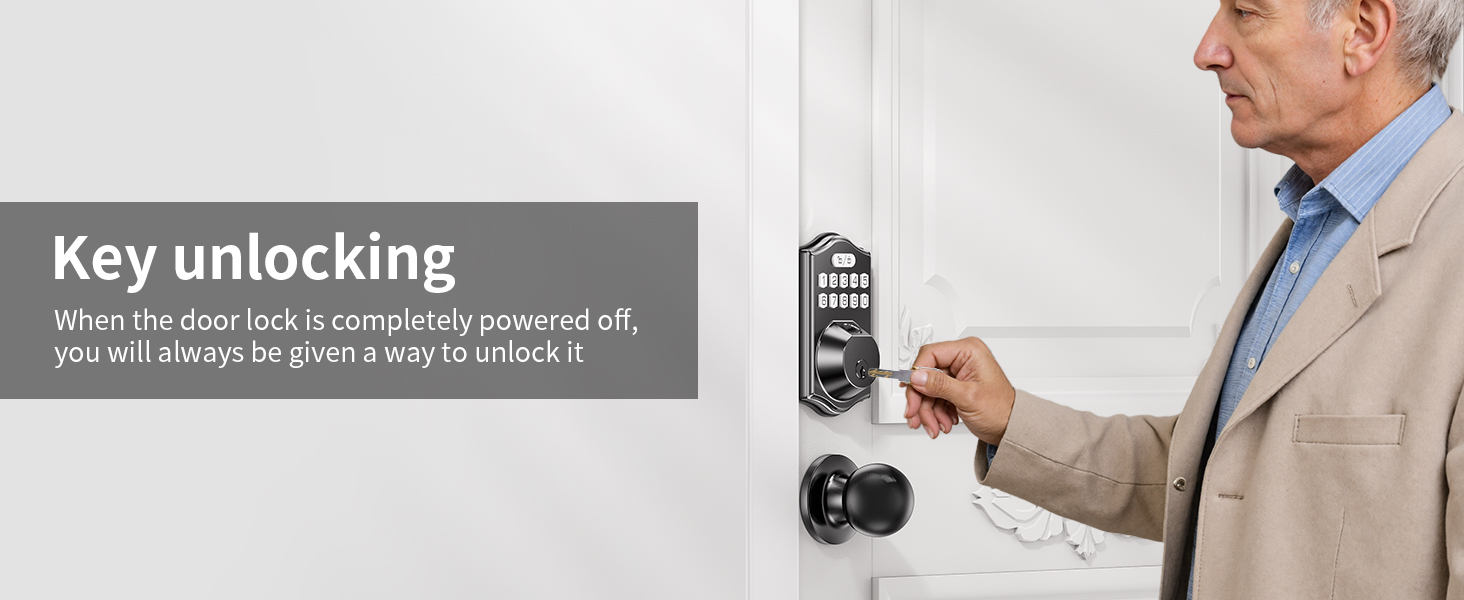
- Physical Key: Insert the physical key into the keyhole and turn to unlock.
- App: Open the Tuya Smart app, select your lock, and press and hold the key button to unlock.
7.2. Locking the Door
- Manual Lock: From the outside, press the Settings button (lock/unlock icon) on the keypad. From the inside, turn the thumb turn.
- Auto-Lock: If enabled, the lock will automatically lock after the set duration (1-99 seconds) once the door is closed.
- App: Open the Tuya Smart app, select your lock, and press and hold the key button to lock.

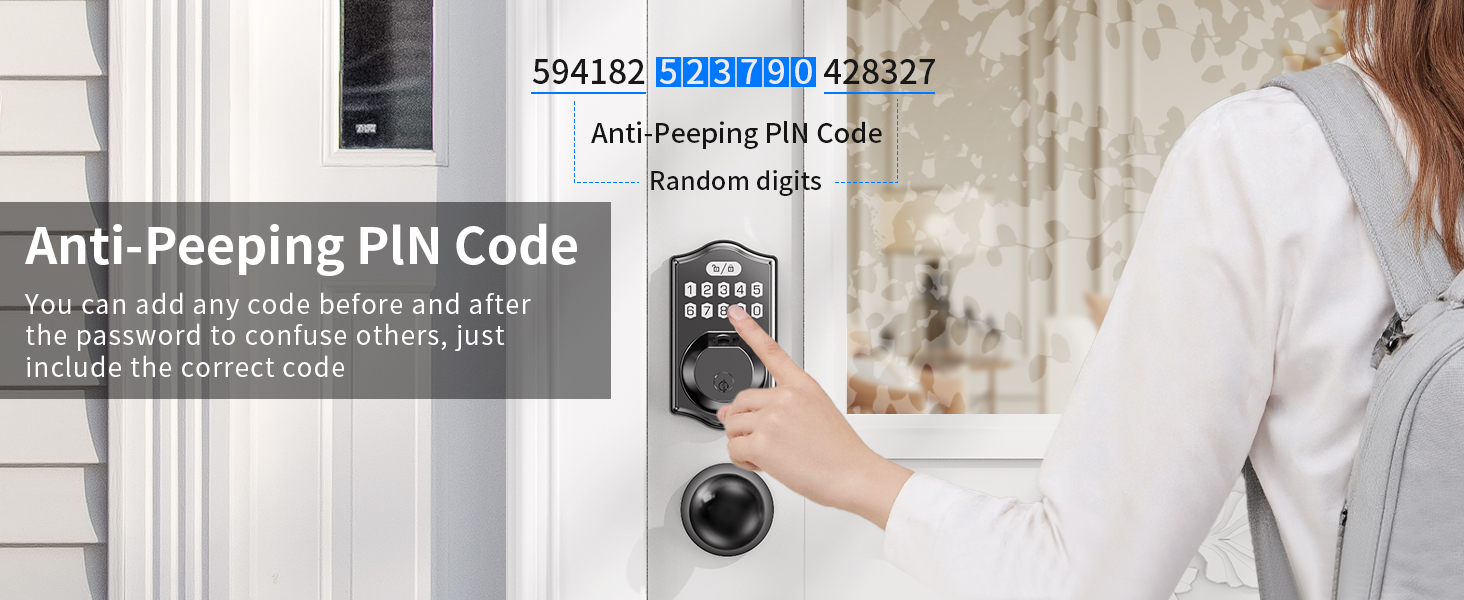
7.3. Anti-Peeping PIN Code
You can add random digits before or after your actual passcode to prevent others from guessing your code. As long as the correct passcode is embedded within the sequence, the lock will unlock.
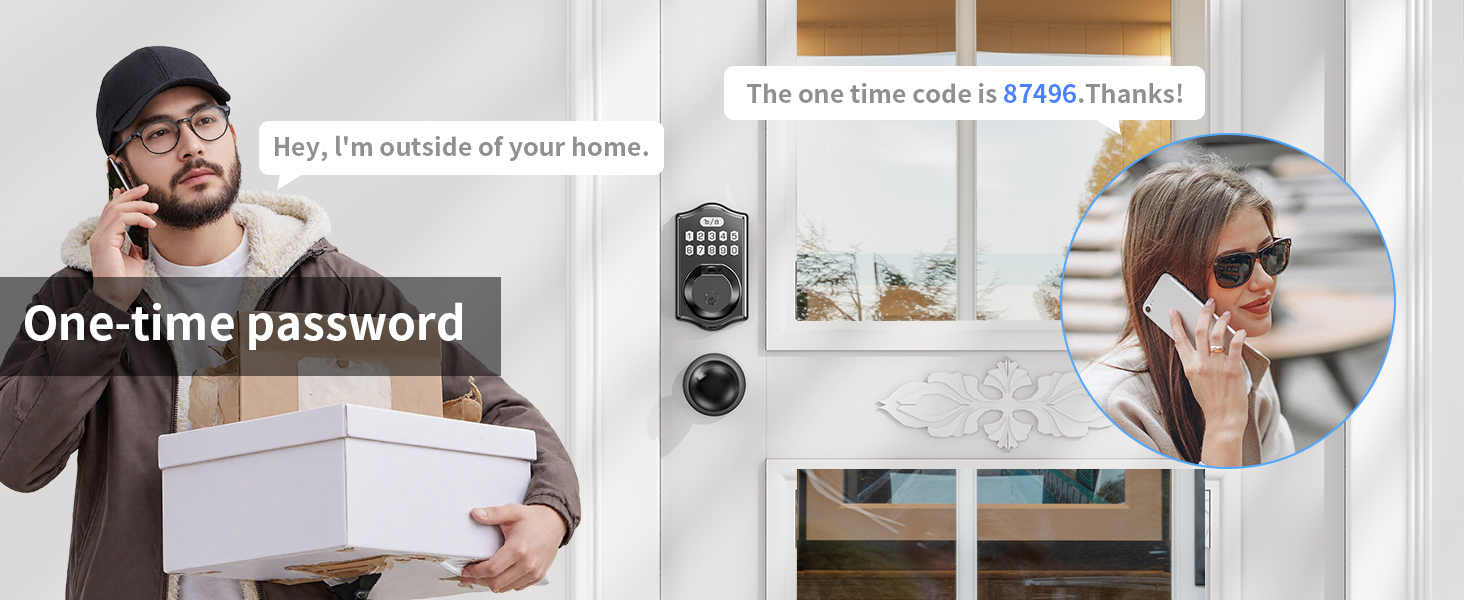
7.4. One-Time Passcode
Generate temporary one-time passcodes for guests or service providers via the app or keypad. These codes expire after a single use.
8. Maintenance
8.1. Battery Replacement
The lock operates on 4 AA batteries and can last up to a year. A red LED will flash weeks before the power runs out, providing ample warning.
- When the low battery alert appears, replace all 4 AA batteries promptly.
- To replace, remove the battery cover on the interior assembly, remove old batteries, and insert new ones, ensuring correct polarity.

8.2. Emergency Power Supply
In case of complete battery depletion, use a Type-C USB power bank to temporarily power the lock via the emergency port located on the exterior unit.
8.3. Cleaning
Wipe the lock's exterior with a soft, damp cloth. Avoid abrasive cleaners or solvents that could damage the finish or electronic components.
9. Troubleshooting
| Problem | Possible Cause | Solution |
|---|---|---|
| Lock does not respond. | Dead batteries. | Replace batteries or use emergency Type-C power. |
| Fingerprint not recognized. | Finger not placed correctly; sensor dirty; worn fingerprint. | Ensure finger covers the sensor completely. Clean the sensor. Re-register fingerprint if needed. |
| Passcode not working. | Incorrect code entered; code not registered. | Verify the passcode. Ensure the passcode is correctly registered. |
| Auto-lock not working. | Auto-lock feature disabled; door not fully closed. | Enable auto-lock in settings. Ensure the door is completely closed. |
| Lock beeps continuously. | Low battery warning; tamper alarm. | Replace batteries. Check for tampering or incorrect installation. |
| Cannot connect to app. | Bluetooth off; lock not in pairing mode; administrator password set. | Ensure Bluetooth is on. Reset administrator password on lock (Section 6.1). Try adding device again. |
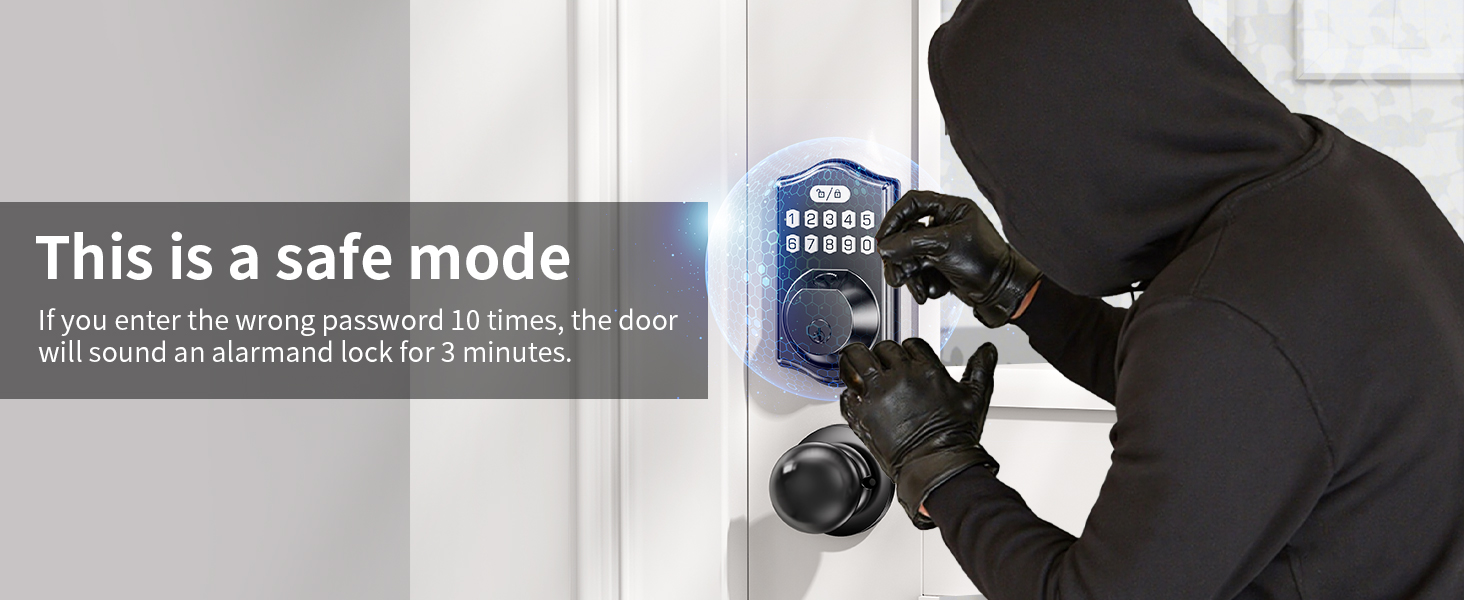
| Lock sounds an alarm and locks for 3 minutes. | Incorrect password entered 10 times. | This is a safety feature. Wait 3 minutes before trying again. |
10. Specifications
| Feature | Detail |
|---|---|
| Brand | Darawf |
| Model Number | K6-2 |
| Lock Type | Biometric (Fingerprint), Keypad, Physical Key |
| Special Features | Passcode Unlock, AI Fingerprint Recognition, Auto-Lock, Emergency Type-C Power, Low Battery Alert, Anti-Peeping PIN, One-Time Passcode, Vacation Mode |
| Material | Zinc Alloy |
| Item Dimensions (L x W x H) | 10 x 2 x 2.7 inches |
| Item Weight | 1.49 Kilograms |
| Power Source | 4 AA Batteries (not included) |
| Connectivity Protocol | Wi-Fi (via optional gateway), Bluetooth (for direct app control) |
| Control Method | App, Keypad, Fingerprint, Key |
| Recommended Uses | Home, Front Door |
| Operating Temperature | Weather resistant for various conditions (-22°F to 158°F) |
11. Warranty and Support
For warranty information, technical support, or service inquiries, please refer to the contact information provided with your purchase or visit the official Darawf website. Keep your purchase receipt for warranty claims.
Manufacturer: Quanzhou Jixiang Building Materials Trading Co., Ltd.


