
Introduction
Thank you for choosing the VANPO Digital Torque Wrench. This precision instrument is designed for accurate torque application in various tasks, including bicycle maintenance, small engine repair, and precision instrument assembly. This manual provides essential information for the safe and effective use of your new tool. Please read it thoroughly before operation and retain it for future reference.
This 1/4-inch digital torque wrench offers a torque range of 0.44-8.85 ft-lb (0.6-12 Nm) with a reliable ±2% clockwise accuracy. It features an LCD display, audible alerts, and LED color feedback to prevent over-tightening and fastener damage.

This image highlights the high precision and durability of the VANPO Digital Torque Wrench, featuring its ±2% accuracy and a 30,000+ cycle fatigue test.
Safety Information
Always observe the following safety precautions to prevent injury or damage to the tool and workpiece:
- Wear appropriate personal protective equipment, such as safety glasses.
- Do not exceed the maximum torque capacity of the wrench.
- Ensure the fastener and socket are clean and free of debris.
- Avoid dropping the wrench or subjecting it to severe impacts.
- Keep the wrench away from water, oil, and other liquids unless specifically designed for such environments.
- Store the wrench in its protective case when not in use.
Package Contents
Verify that all items are present in your package:
- 1/4-inch Digital Torque Wrench
- 100 mm Extension Bar
- 1/4" to 3/8" Adapter
- Storage Case
- Instruction Manual (this document)
Setup
Battery Installation
The digital torque wrench requires batteries for operation. Follow these steps to install them:
- Locate the battery compartment cover, typically at the base of the handle.
- Open the cover.
- Insert the required batteries, ensuring correct polarity (+/-).
- Close the battery compartment cover securely.

This image illustrates the steps for battery installation, quick release button, dual direction operation, colorful LCD display, and ergonomic handle design of the VANPO Digital Torque Wrench.
Attaching Accessories
To attach a socket or adapter:
- Press the quick release button on the drive head.
- Insert the desired 1/4-inch socket or the provided 1/4" to 3/8" adapter onto the square drive.
- Ensure the accessory is securely locked in place.
Operating Instructions
Power On/Off
- To power on, press the power button. The LCD display will illuminate.
- The wrench will automatically power off after a period of inactivity to conserve battery life.
Selecting Measurement Units
The wrench supports four measurement units: ft-lb, in-lb, Nm, and kg-cm.
- Press the "U/S" button to cycle through the available units on the LCD display.

This image demonstrates the four measurement units (Nm, in.lb, ft.lb, kg.cm) available on the digital display of the VANPO torque wrench.
Operating Modes: Track and Peak
The wrench offers two operating modes:
- Track Mode: Provides real-time torque monitoring as force is applied. This is useful for observing torque changes during fastening.
- Peak Mode: Captures and displays the maximum torque value achieved during the fastening process. This is ideal for verifying the final torque applied.
- Press the "P/T" button to switch between Track and Peak modes.

This image illustrates the difference between Track Mode (real-time monitoring) and Peak Mode (displaying maximum torque) on the wrench's LCD screen.
Setting Target Torque
To set a specific target torque value:
- Ensure the wrench is in the desired measurement unit.
- Press the "M" button to enter memory/preset mode.
- Use the up/down arrow buttons to adjust the target torque value.
- Press "M" again to save the setting or wait for the display to return to normal operation.

This image displays the six preset torque values (M1 through M6) that can be quickly accessed on the VANPO Digital Torque Wrench for repetitive tasks.
Applying Torque
When applying torque:
- Hold the wrench firmly by the ergonomic handle.
- Apply force smoothly and steadily in either clockwise or counterclockwise direction.
- The LCD will display the real-time torque (Track Mode) or the peak torque (Peak Mode).
- As you approach the preset target torque, the wrench will provide audible buzzer alerts and LED color changes for clear feedback.
- Stop applying force once the target torque is reached and the alert is given.

This image illustrates the target torque alert system, showing the LED indicator and buzzer alert when the wrench reaches the preset torque value.
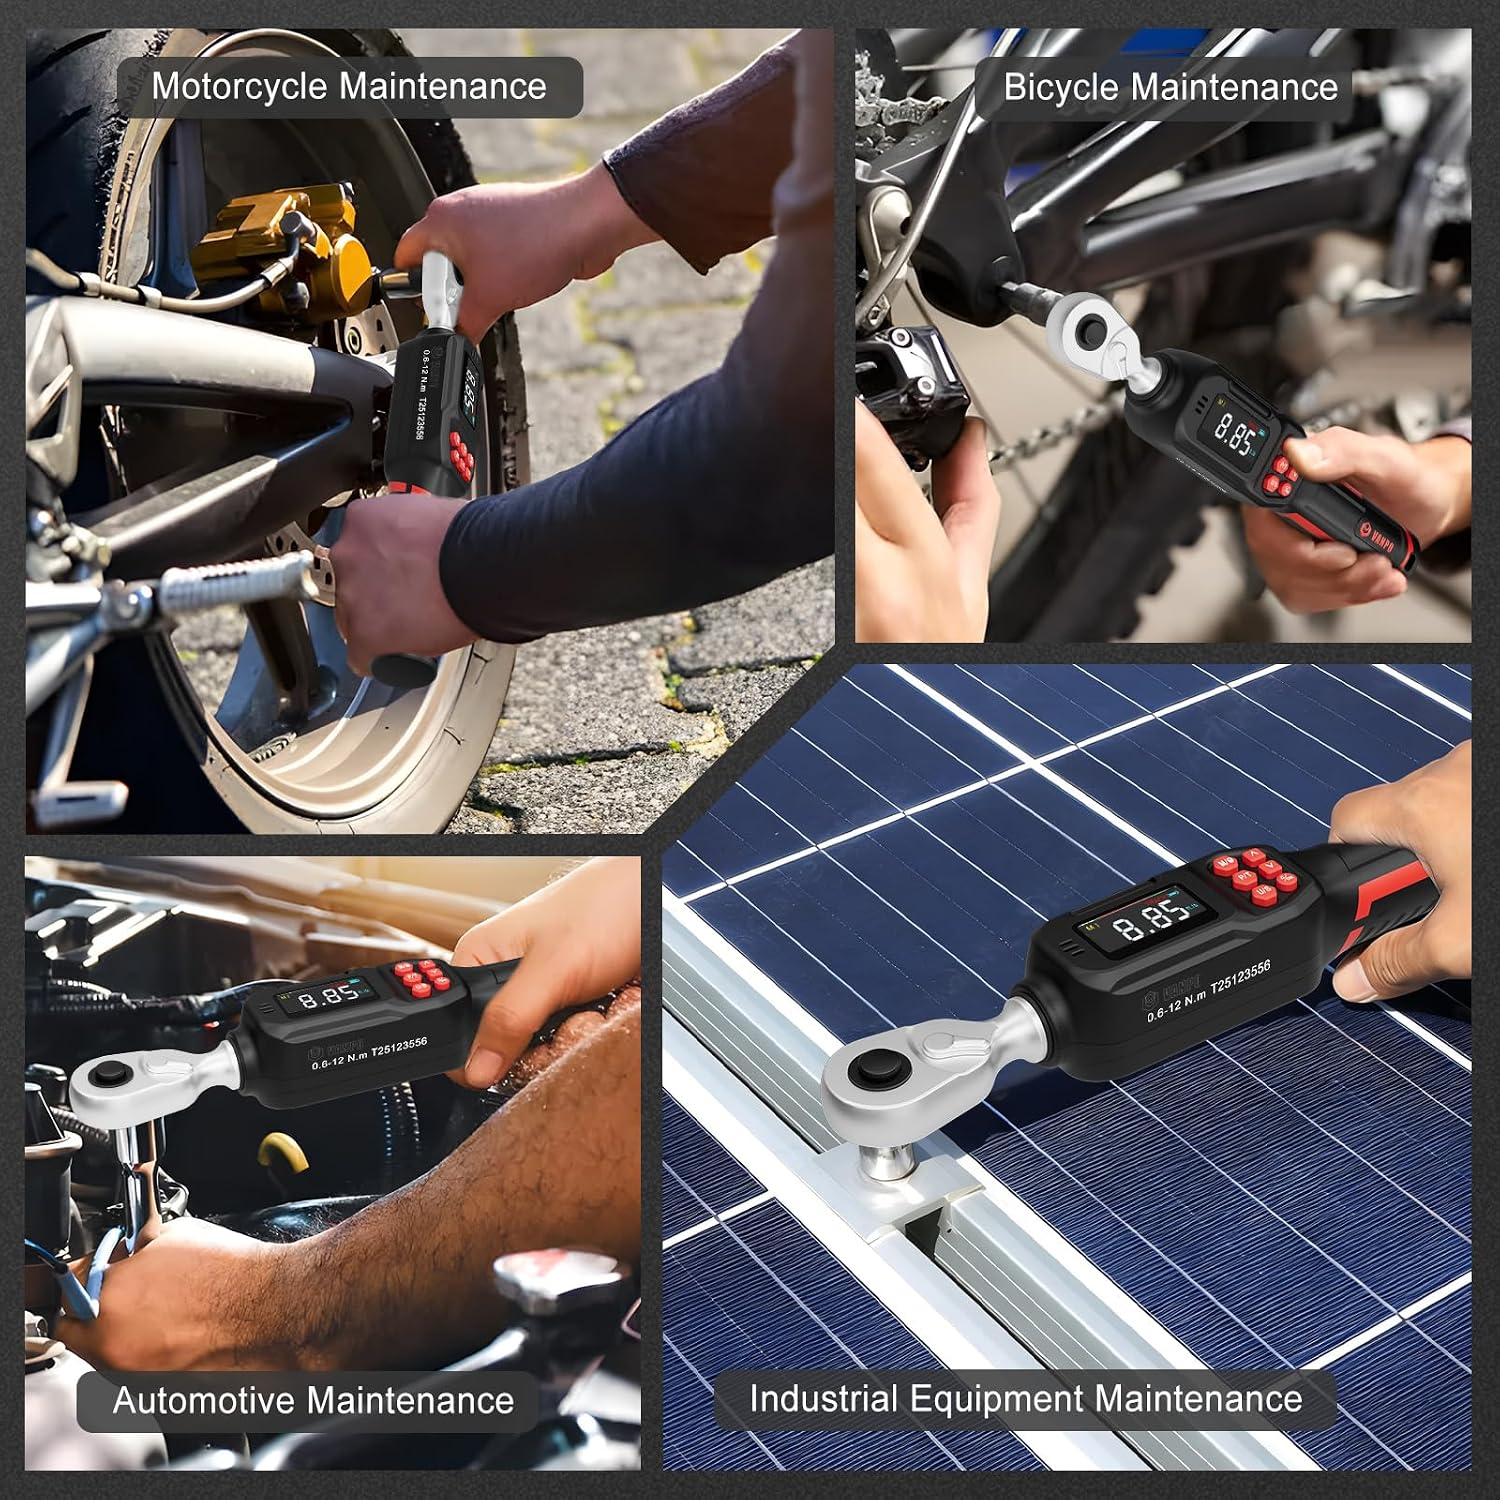
This image demonstrates the wide application of the VANPO Digital Torque Wrench in various maintenance tasks, including motorcycle, bicycle, automotive, and industrial equipment.
Screen Lock Function
To prevent accidental changes to settings during operation:
- Long press the "M" button for 3 seconds to lock the screen and buttons.
- Long press "M" again to unlock.
Data Storage
The wrench can store up to 500 torque data groups. Refer to the on-screen prompts or the full digital manual for detailed instructions on accessing and managing stored data.
Maintenance
- Cleaning: Wipe the wrench with a clean, dry cloth after each use. Do not use abrasive cleaners or solvents.
- Storage: Store the wrench in its protective case in a dry, clean environment when not in use. Remove batteries if storing for extended periods.
- Calibration: Digital torque wrenches require periodic calibration to maintain accuracy. Consult a professional calibration service or the manufacturer for recommended intervals.
Troubleshooting
| Problem | Possible Cause | Solution |
|---|---|---|
| Wrench does not power on. | Dead or incorrectly installed batteries. | Check battery polarity or replace with new batteries. |
| Inaccurate torque readings. | Wrench needs calibration; improper usage. | Ensure smooth, steady force application. Consider professional calibration. |
| Display is dim or flickering. | Low battery power. | Replace batteries. |
| Buttons unresponsive. | Screen lock function is active. | Long press the "M" button to unlock the screen. |
Specifications
| Feature | Detail |
|---|---|
| Model Number | VP18-12 |
| Drive Size | 1/4-inch |
| Torque Range | 0.44-8.85 ft-lb / 0.6-12 Nm |
| Accuracy | ±2% (Clockwise) |
| Measurement Units | ft-lb, in-lb, Nm, kg-cm |
| Operating Modes | Peak, Track |
| Memory Storage | Up to 500 data groups |
| Feedback | Audible Buzzer, LED Color Changes |
| Material | Chrome Vanadium Steel, Chromium Molybdenum Steel |
| Item Weight | 2.2 pounds |
| Included Components | 1/4-inch digital torque wrench, 1/4" to 3/8" adapter, 100 mm extension bar |
Product Videos
VANPO Digital Torque Wrench Overview
This video provides a general overview of the VANPO Digital Torque Wrench, highlighting its features and functionality. (Source: Bruce S. Weinberg)
Warranty and Support
The VANPO Digital Torque Wrench is backed by a lifetime manufacturer's warranty. For warranty claims, technical support, or any inquiries regarding your product, please contact VANPO customer service through their official channels or the retailer where the product was purchased.
For additional information and support, please visit the VANPO Store on Amazon.