
1. Introduction
This instruction manual provides essential information for the safe and efficient operation, installation, and maintenance of your PLPFUDVDZZ WF-15D 40W Machine Tool Cooling Water Pump. Please read this manual thoroughly before using the product and retain it for future reference.
The WF-15D 40W pump is designed for rapid circulation of liquid coolant, improving the efficiency of machine tools in industrial and similar applications. Its compact and stable structure ensures reliable performance.
2. Safety Instructions
WARNING: Failure to follow these safety instructions may result in electric shock, fire, or serious injury.
- Ensure the power supply voltage matches the pump's specifications (220V).
- Always disconnect the power before performing any installation, maintenance, or troubleshooting.
- Do not operate the pump with damaged cords or plugs.
- Keep the pump away from flammable materials.
- Ensure proper grounding to prevent electric shock.
- Do not run the pump dry. Ensure it is submerged in the cooling liquid during operation.
- Handle the pump with care to avoid damage to its components.
3. Product Overview
The PLPFUDVDZZ WF-15D 40W cooling pump is designed for efficient coolant circulation in machine tools. Its robust construction and simple design facilitate easy installation and reliable performance.
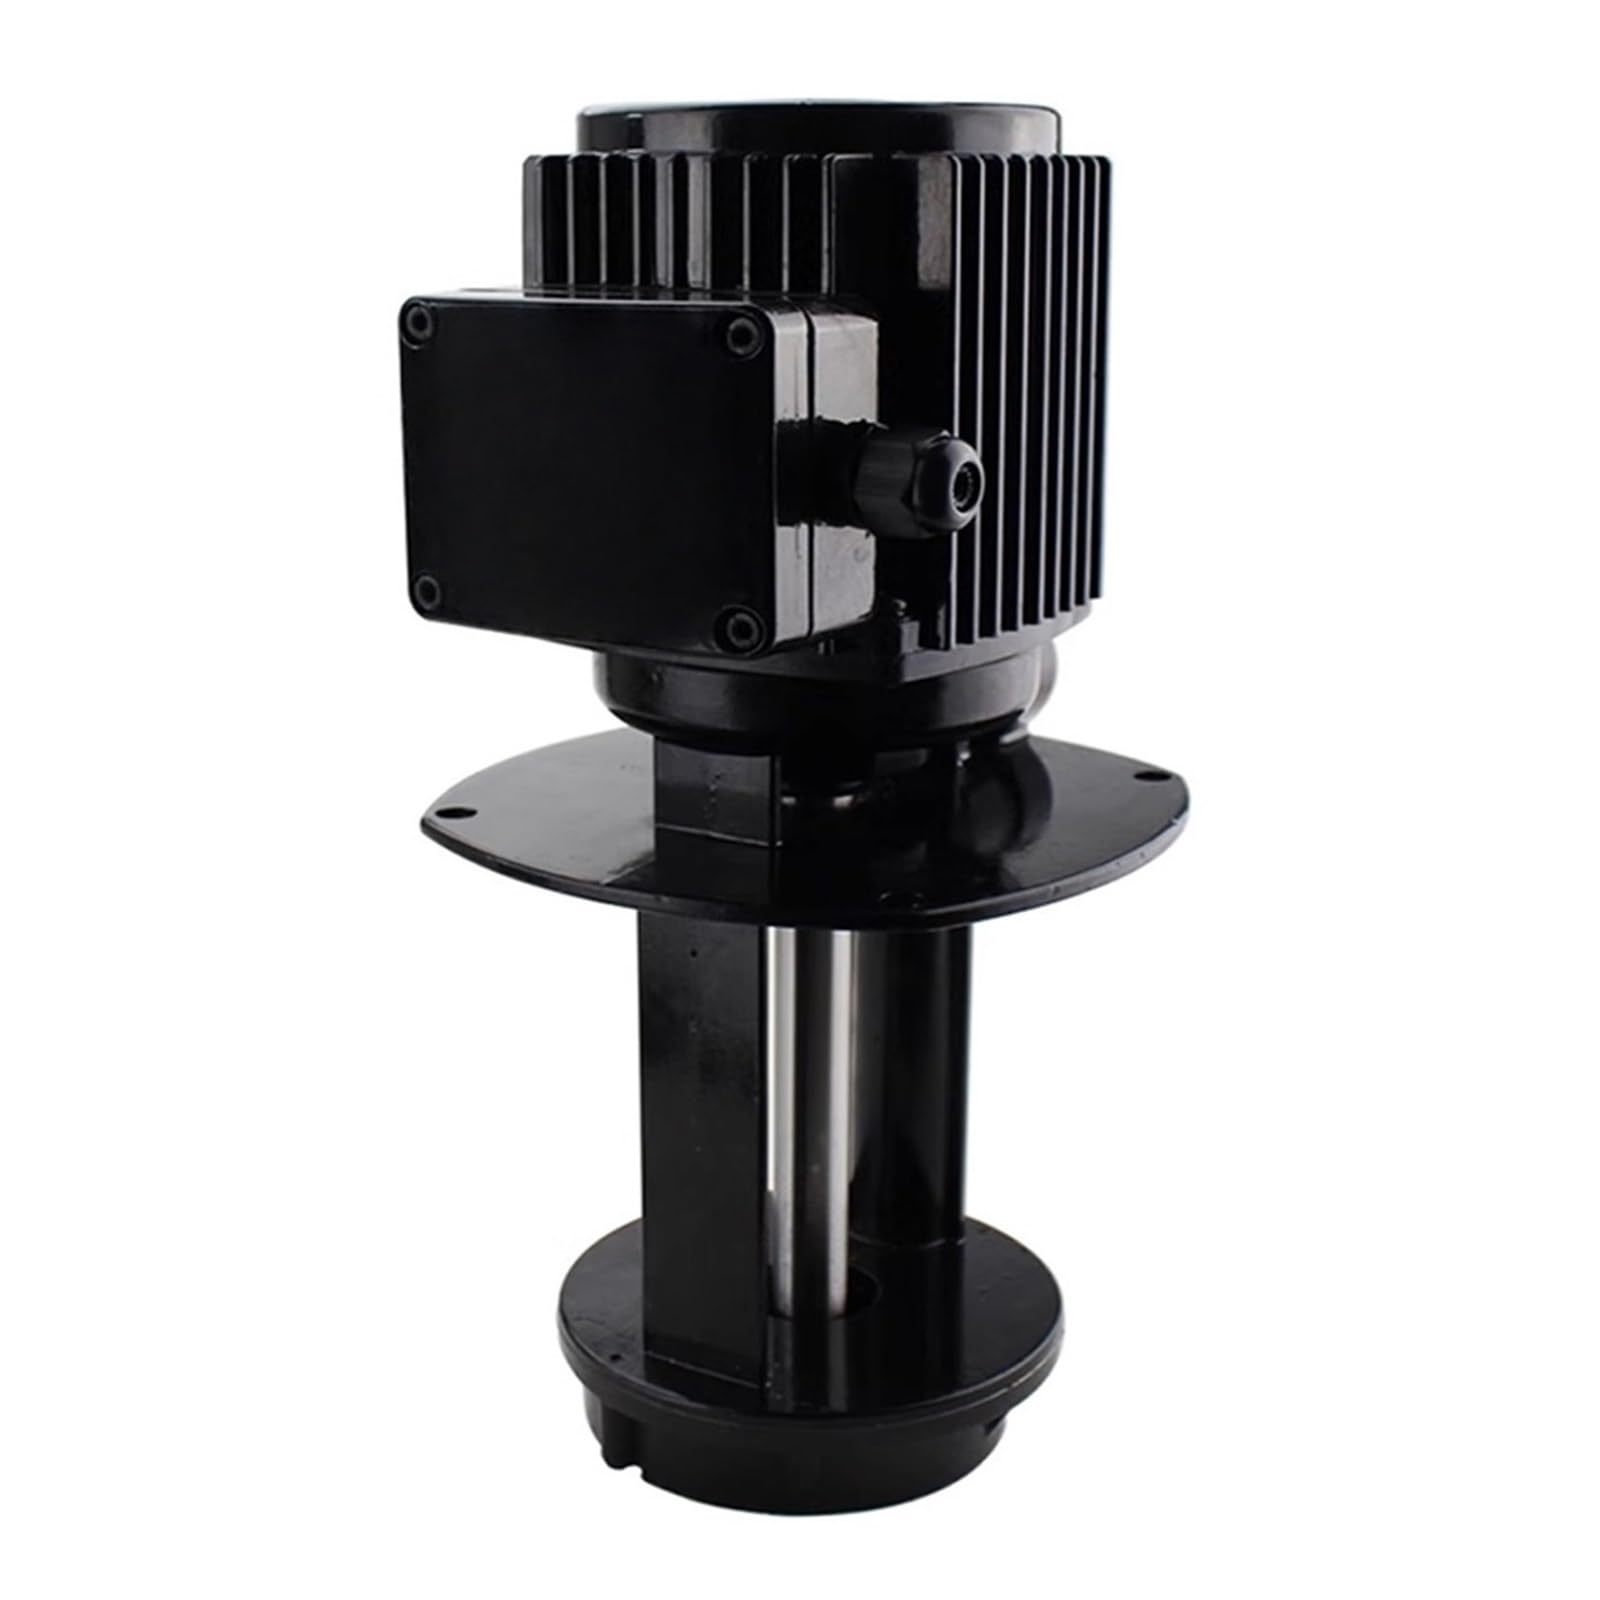
Figure 1: PLPFUDVDZZ WF-15D 40W Cooling Water Pump with key dimensions and electrical specifications. The image shows the pump's motor head, main body, and base, alongside a table detailing Power (40W), Voltage (220V), Flow (15 L/min), Head (300cm), and Outlet (3/8 inch). Dimensions for the motor head (74mm), overall length (140mm + 128mm), mounting hole spacing (88mm), mounting hole diameter (6mm), and base opening (86mm) are also indicated.
Key Features:
- Rapid Liquid Circulation: Enhances machine tool efficiency.
- Compact and Stable Structure: Ensures durability and reliable operation.
- Wide Application: Suitable for various industrial scenarios.
- Simple Design: Facilitates easy installation and maintenance.
- Lightweight and Portable: Convenient for storage and transport.
4. Setup
- Unpacking: Carefully remove the pump from its packaging. Inspect for any visible damage.
- Mounting:
- Identify a suitable location for the pump, ensuring it can be fully submerged in the coolant tank during operation.
- The pump base requires an opening of approximately 86mm (refer to Figure 1).
- Secure the pump using appropriate fasteners through the mounting holes, which have a diameter of 6mm and a spacing of 88mm (center-to-center).
- Hose Connection:
- Connect the coolant outlet hose to the pump's 3/8 inch outlet. Ensure a tight and leak-free connection.
- Route the hose to the desired cooling point on the machine tool.
- Electrical Connection:
- Ensure the power switch is in the "OFF" position.
- Connect the pump's power cord to a grounded 220V power outlet. Verify that the power supply matches the pump's voltage requirements.
- Initial Check: Before powering on, ensure the pump is correctly installed, all connections are secure, and the pump is adequately submerged in the coolant.
5. Operating Instructions
- Fill Coolant Tank: Ensure the machine tool's coolant tank is filled to the appropriate level, ensuring the pump's intake is fully submerged.
- Power On: Plug the pump into a suitable 220V power outlet. Turn the power switch to the "ON" position.
- Verify Flow: Observe the coolant flow to the machine tool. The pump should begin circulating coolant immediately.
- Monitor Operation: During operation, periodically check for unusual noises, vibrations, or leaks.
- Power Off: To stop operation, turn the power switch to the "OFF" position and, if necessary, unplug the pump from the power outlet.
6. Maintenance
Regular maintenance ensures the longevity and optimal performance of your cooling pump.
- IMPORTANT: Always disconnect power before performing any maintenance.
- Regular Cleaning: Periodically clean the pump's intake screen and impeller to prevent blockages from debris in the coolant.
- Coolant Quality: Ensure the coolant is clean and free of excessive particles. Replace or filter coolant as needed according to machine tool manufacturer recommendations.
- Inspect Hoses: Check hoses for kinks, cracks, or leaks. Replace damaged hoses promptly.
- Power Cord Inspection: Regularly inspect the power cord for any signs of damage or wear.
- Storage: If storing the pump for an extended period, clean it thoroughly, drain all liquid, and store in a dry, protected environment.
7. Troubleshooting
| Problem | Possible Cause | Solution |
|---|---|---|
| Pump does not start | No power supply Damaged power cord/plug Motor malfunction | Check power connection and outlet Inspect and replace if damaged Contact support |
| Low or no coolant flow | Pump not submerged Clogged intake/impeller Kinked or blocked hose Low coolant level | Ensure pump is fully submerged Clean intake screen and impeller Inspect and clear hose Refill coolant tank |
| Unusual noise/vibration | Debris in impeller Improper mounting Motor bearing issue | Disconnect power and clean impeller Re-secure pump mounting Contact support |
| Coolant leak | Loose hose connection Damaged hose/pump housing | Tighten hose connections Inspect and replace damaged components |
8. Specifications
| Parameter | Value |
|---|---|
| Model | WF-15D |
| Power | 40W |
| Voltage | 220V |
| Flow Rate | 15 L/min |
| Max Head | 300 cm |
| Outlet Size | 3/8 inch |
| Item Weight | 2.2 kg |
| Motor Head Width | 74 mm |
| Overall Length (Motor Head + Pump Body) | 268 mm (140 mm + 128 mm) |
| Mounting Hole Spacing | 88 mm |
| Mounting Hole Diameter | 6 mm |
| Base Opening Diameter | 86 mm |
9. Warranty and Support
For warranty information or technical support, please refer to the documentation provided at the time of purchase or contact your retailer. Keep your purchase receipt as proof of purchase.