1. Introduction and Overview
The FABULETTA GD01 5-Pin Electric Bike Display Panel is designed to provide essential riding information and control for your e-bike. Featuring a robust waterproof design, it ensures reliable performance in various weather conditions. This display is compatible with 24V, 36V, and 48V systems, offering accurate battery power levels and real-time monitoring of power consumption. It integrates a two-way communication protocol for comprehensive functionality, including speed display, distance tracking, smart battery monitoring, and headlight control.

Figure 1.1: Overview of the GD01 Display Panel and its components.
2. Product Features
- Waterproof Design: The GD01 LCD display features an advanced waterproof design that protects internal circuitry from moisture, ensuring reliable performance in various weather conditions.
- Multi-Voltage Compatibility: Designed to work seamlessly with 24V, 36V, and 48V systems, accurately reflecting battery power levels and optimizing riding distance.
- Comprehensive Functionality: Incorporates a two-way communication protocol, offering real-time speed display, distance tracking (kilometers or miles), smart battery monitoring, and headlight control.
- Adjustable Backlight: Three levels of backlight brightness adjustment allow users to customize visibility for optimal readability in any lighting condition.
- Secure Compatibility: Specifically designed for use with JN controllers. Verify compatibility before installation for proper functionality.
3. Package Contents
Please check the package for the following items:
- 1 x GD01 LCD Display Panel with integrated cable and 5-pin waterproof connector.
4. Setup and Installation
Before installation, ensure your e-bike controller is a JN controller to guarantee compatibility. Incorrect controller types may lead to malfunction.
4.1 Mounting the Display
- Identify a suitable location on your handlebar (typically Φ22.2mm diameter) that allows for clear visibility and easy access to buttons.
- Loosen the mounting bracket screws on the back of the GD01 display.
- Position the display on the handlebar and securely tighten the screws to prevent movement during riding.

Figure 4.1: Rear view of the GD01 display with mounting bracket.
4.2 Connecting the Display
- Locate the corresponding 5-pin waterproof connector on your e-bike's wiring harness.
- Align the pins carefully and firmly push the GD01 display's connector into the e-bike's harness connector until it clicks into place. Ensure the connection is secure and watertight.
- Route the cable neatly along the handlebar and frame, securing it with cable ties if necessary, to prevent interference with moving parts.

Figure 4.2: Detail of the 5-pin waterproof connector.
5. Operating Instructions
The GD01 display provides real-time data and control functions through its intuitive interface.
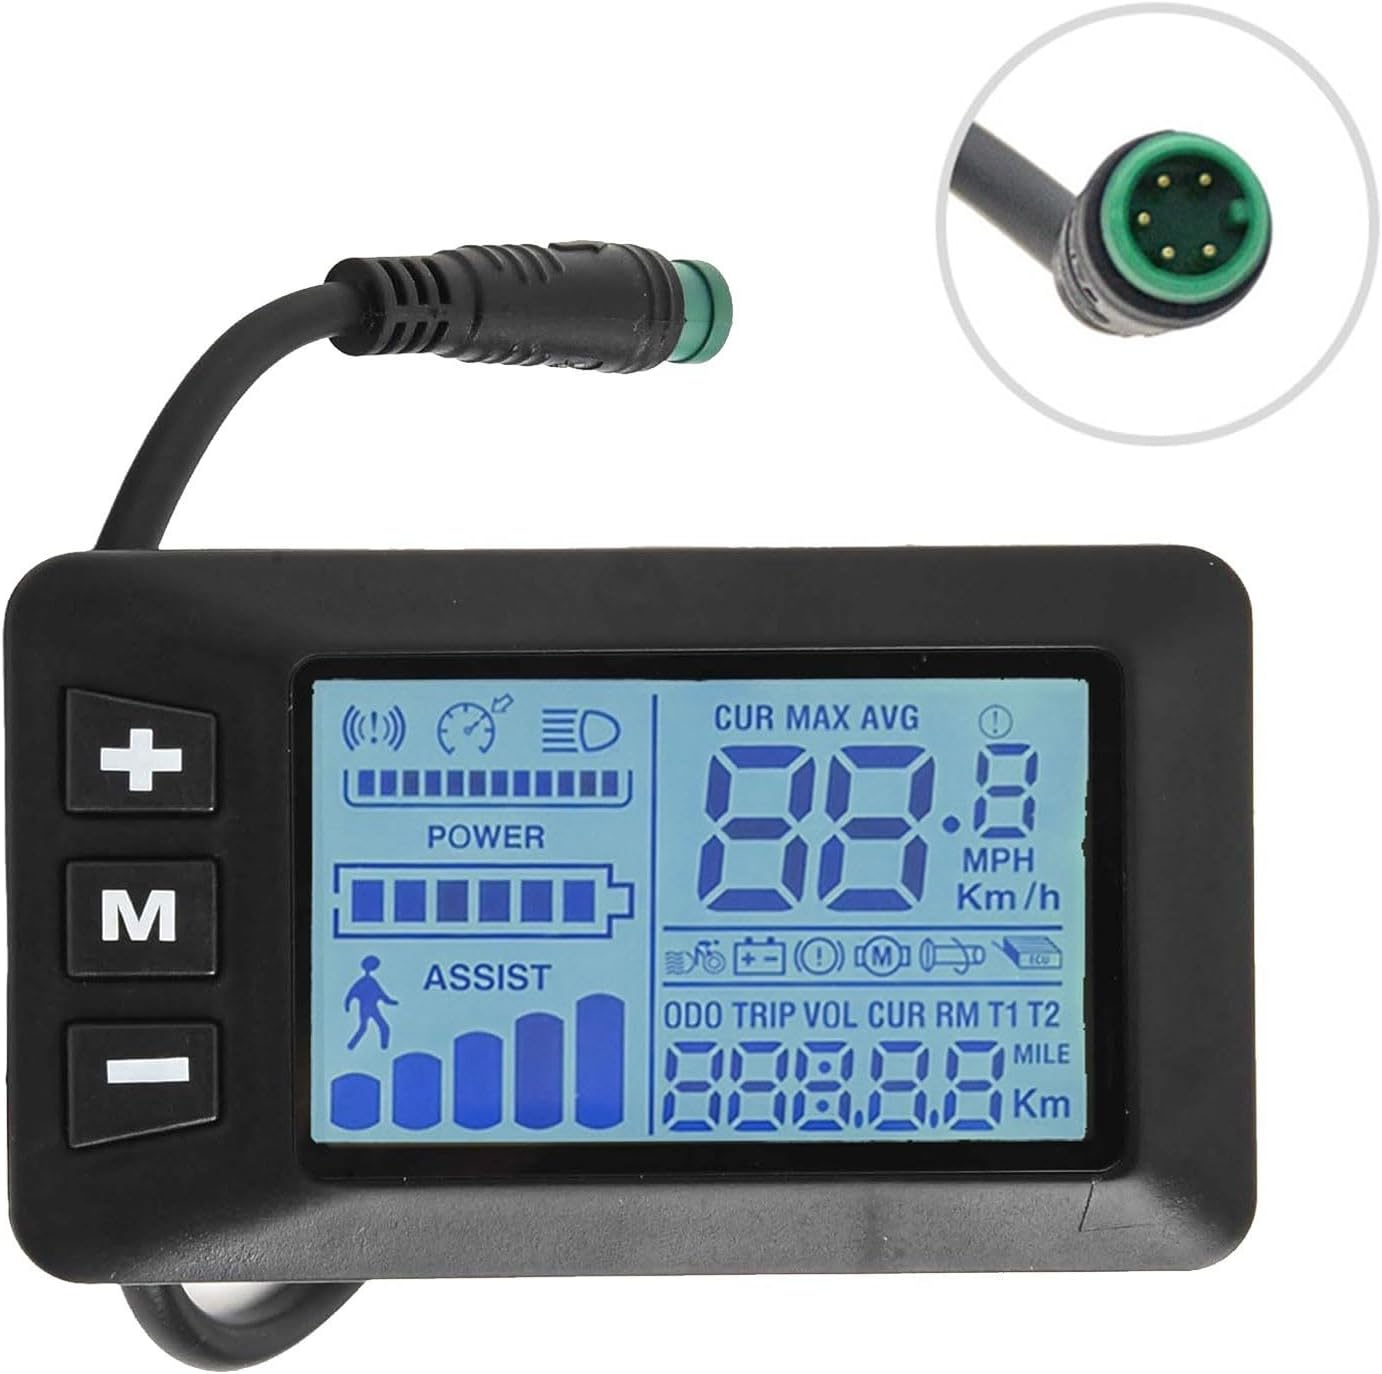
Figure 5.1: Illuminated GD01 display showing various metrics.
5.1 Power On/Off
- To power on the display, press and hold the 'M' button for approximately 2 seconds.
- To power off, press and hold the 'M' button again for approximately 2 seconds.
5.2 Displayed Information
The display shows various metrics:
- Current Speed: Displays real-time riding speed (CUR).
- Maximum Speed: Shows the highest speed achieved (MAX).
- Average Speed: Indicates the average speed of the current ride (AVG).
- Distance: Tracks total distance (ODO), trip distance (TRIP), and current ride distance (CUR). Units can be switched between kilometers (Km) and miles (Mile).
- Battery Level: A graphical indicator shows the remaining battery charge.
- Assist Level: Displays the current pedal assist level (ASSIST). Use '+' and '-' buttons to adjust.
- Headlight Indicator: An icon indicates when the e-bike's headlights are active.
5.3 Button Functions
- 'M' Button: Power on/off, switch display modes (e.g., ODO, TRIP, VOL).
- '+' Button: Increase pedal assist level, increase value in settings.
- '-' Button: Decrease pedal assist level, decrease value in settings.
- '+' and '-' Buttons (simultaneously): Enter/exit settings menu (refer to your e-bike controller manual for specific settings).
- '+' Button (long press): Turn on/off headlights.
5.4 Adjustable Backlight
The display features three levels of backlight brightness. To adjust, navigate to the settings menu (usually by pressing '+' and '-' simultaneously) and locate the backlight setting. Use the '+' or '-' buttons to cycle through the brightness levels.
6. Maintenance
To ensure the longevity and optimal performance of your GD01 display, follow these maintenance guidelines:
- Cleaning: Wipe the display screen and body with a soft, damp cloth. Avoid using abrasive cleaners, solvents, or harsh chemicals, as these can damage the screen or casing.
- Water Resistance: While the display is waterproof, avoid submerging it in water or directing high-pressure water jets directly at it. Ensure the 5-pin connector remains securely fastened.
- Storage: When not in use for extended periods, store the e-bike and display in a cool, dry place away from direct sunlight and extreme temperatures.
- Cable Inspection: Periodically check the cable and connector for any signs of wear, damage, or corrosion. Ensure connections remain tight.
7. Troubleshooting
If you encounter issues with your GD01 display, refer to the following common troubleshooting steps:
| Problem | Possible Cause | Solution |
|---|---|---|
| Display does not power on. | Loose connection, low e-bike battery, display fault. | Check 5-pin connector for secure fit. Ensure e-bike battery is charged. If problem persists, contact support. |
| Incorrect speed/distance readings. | Wheel circumference setting incorrect, speed sensor issue. | Access display settings to verify wheel circumference. Check speed sensor and magnet on wheel. |
| Backlight not adjusting. | Incorrect setting, display fault. | Ensure you are in the correct settings menu for backlight adjustment. Refer to operating instructions. |
| Display shows error code. | System malfunction, sensor error. | Note the error code and consult your e-bike controller manual or contact FABULETTA support for specific guidance. |
If these steps do not resolve the issue, please contact customer support.
8. Specifications
Technical specifications for the FABULETTA GD01 Display Panel:
| Feature | Detail |
|---|---|
| Product Name | GD01 5 Pin Display |
| Material | ABS+LCD |
| Dimensions (L x W x H) | 8.2 x 4.8 x 4.3 cm (3.23 x 1.89 x 1.69 inches) |
| Color | Black |
| Weight | 60g (2.12 ounces) |
| Handlebar Diameter | Φ22.2mm |
| Voltage Compatibility | 24V / 36V / 48V |
| Connector Type | 5 Pin Waterproof Connector |
| Compatibility | JN Controllers |
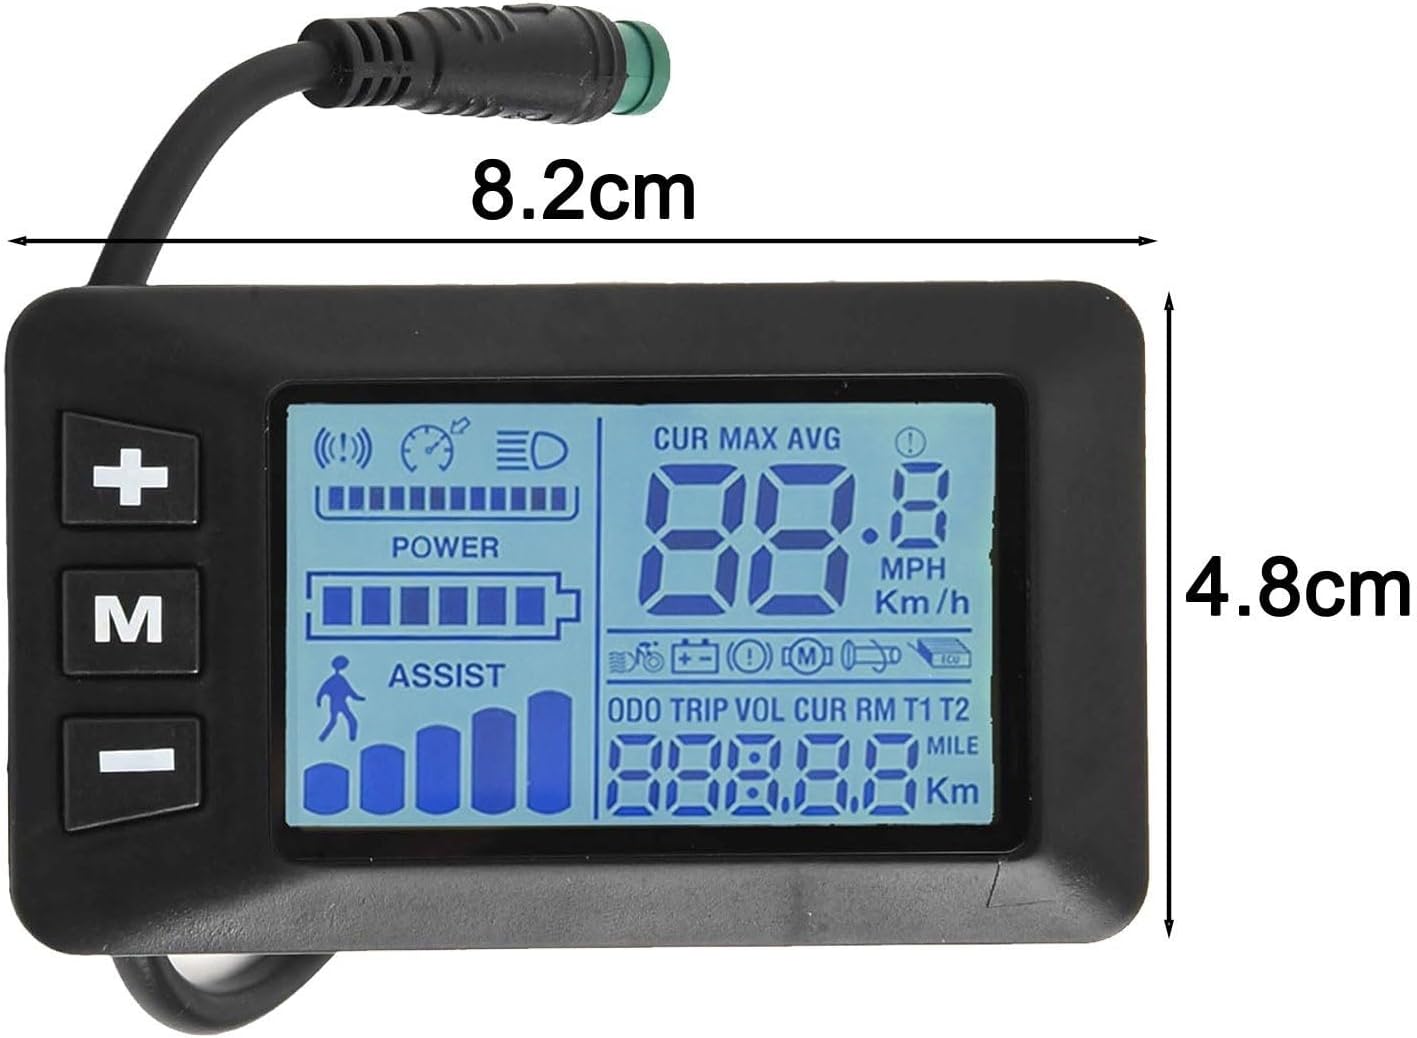
Figure 8.1: GD01 display panel with key dimensions.
9. Warranty Information
FABULETTA products are manufactured to high-quality standards. For specific warranty terms and conditions, please refer to the warranty card included with your purchase or visit the official FABULETTA website. The warranty typically covers manufacturing defects for a limited period from the date of purchase.
10. Customer Support
For further assistance, technical support, or inquiries regarding your FABULETTA GD01 display panel, please contact our customer support team:
- Website: Visit the official FABULETTA website for FAQs, support resources, and contact information.
- Email: Refer to your product packaging or the FABULETTA website for the customer service email address.
Please have your product model (GD01) and purchase details ready when contacting support.