Important Safety Instructions
Please read all instructions carefully before using this appliance to ensure safe operation and optimal performance. Keep this manual for future reference.
- Ensure the appliance is connected to a grounded power outlet with the correct voltage (115 Volts).
- Do not immerse the power cord, plug, or any part of the appliance in water or other liquids.
- Supervise children when the appliance is in use. This appliance is not intended for use by persons with reduced physical, sensory, or mental capabilities unless supervised.
- Unplug the ice maker before cleaning, servicing, or when not in use for extended periods.
- Do not operate any appliance with a damaged cord or plug, or after the appliance malfunctions or has been damaged in any manner.
- Place the ice maker on a stable, level surface, away from direct sunlight, heat sources, and corrosive gases.
- Ensure adequate ventilation around the appliance. Maintain at least 5 inches of space around the sides and back.
- Use only potable water in the water reservoir.
- Do not store explosive substances such as aerosol cans with a flammable propellant in this appliance.
Product Overview
The EUHOMY Nugget Ice Maker IM017-NBL is a countertop appliance designed to produce chewable nugget ice efficiently. It features a self-cleaning function and intuitive controls for ease of use.
Included Components
- Ice Maker Machine
- Ice Scoop
- Instruction Manual

Image Description: This image displays the EUHOMY Nugget Ice Maker with its dimensions (13.8"D x 9.8"W x 14.9"H) and highlights the included accessories: a 2-pound capacity ice basket, an ice scoop, and a 1.8-liter water tank.
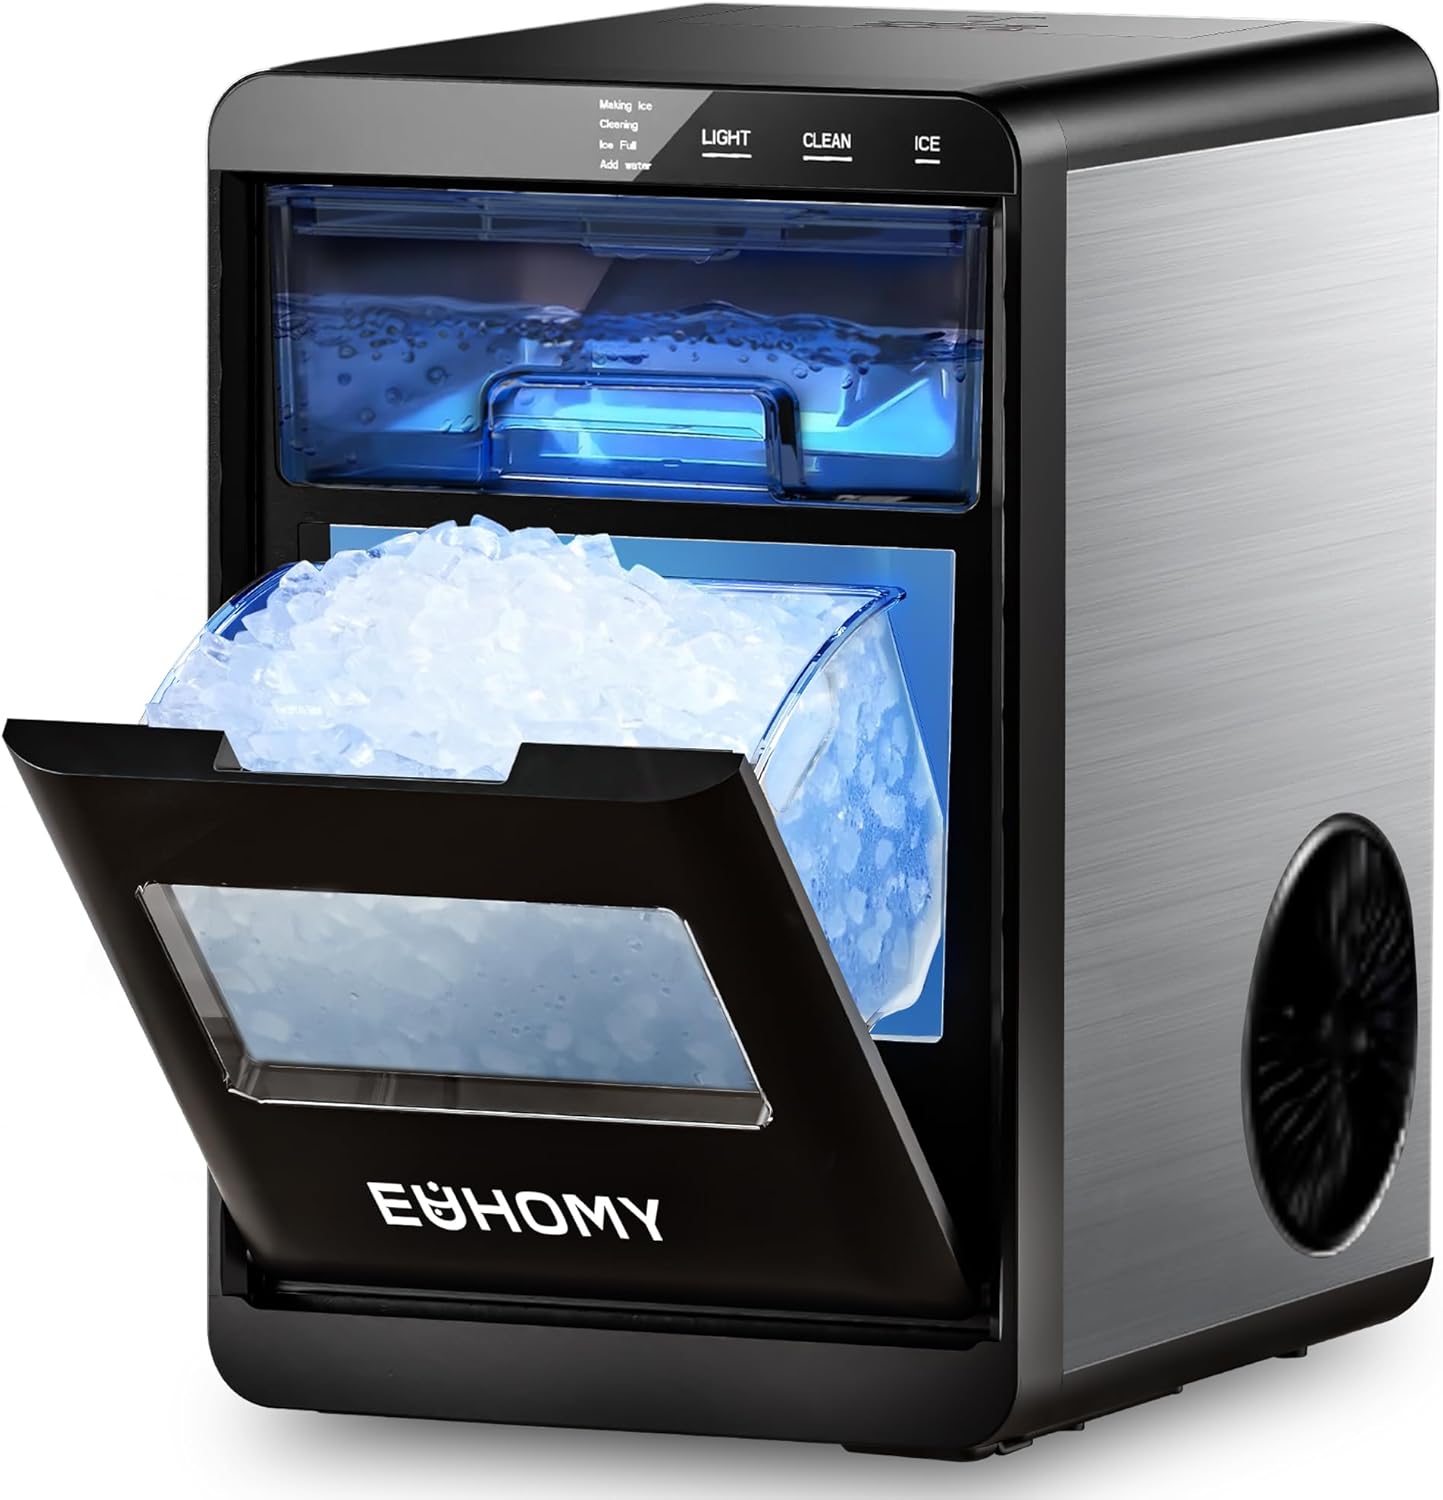
Image Description: A front-angle view of the EUHOMY Nugget Ice Maker. The ice collection bin is pulled out, revealing a generous amount of fresh nugget ice. The control panel with 'LIGHT', 'CLEAN', and 'ICE' buttons is visible at the top.
Setup
1. Unpacking
Carefully remove all packaging materials, including any protective film or tape. Inspect the ice maker for any signs of damage during transit. If any damage is found, do not operate the appliance and contact customer support.
2. Placement
Place the ice maker on a flat, stable, and heat-resistant surface. Ensure there is at least 5 inches (12.7 cm) of clear space around the back and sides for proper ventilation. Avoid placing the unit near heat sources or in direct sunlight.
3. Initial Cleaning
Before first use, it is recommended to clean the ice maker. Refer to the 'Maintenance' section for detailed cleaning instructions, particularly the self-cleaning function.
4. First Use Preparation
After cleaning, ensure the drain plug is securely closed. Fill the water reservoir with potable water up to the 'MAX' fill line. Do not overfill. Allow the unit to sit for at least one hour before plugging it in to allow refrigerants to settle.

Image Description: This image shows a hand pulling out the transparent water tank from the side of the ice maker, positioned under a kitchen faucet, illustrating the easy refill process.
Operating Instructions
1. Adding Water
Open the water tank cover and fill the reservoir with clean, potable water. Ensure the water level does not exceed the 'MAX' indicator. Close the cover securely.
2. Making Ice
Plug the ice maker into a grounded electrical outlet. Press the ICE button on the control panel. The 'Making Ice' indicator light will illuminate, and the unit will begin the ice-making cycle. The first batch of ice typically takes 7-10 minutes.

Image Description: A close-up view of the ice maker's control panel, showing a finger pressing the 'ICE' button to initiate the ice production cycle.
3. Understanding Indicator Lights
- Making Ice: Indicates the unit is actively producing ice.
- Low Water / Add Water: Illuminates when the water reservoir needs refilling. The ice maker will pause operation until water is added.

Image Description: A visual representation of the 'Add Water' indicator light on the ice maker's display, signaling that the water reservoir requires refilling.
- Ice Full: Illuminates when the ice basket is full. The ice maker will automatically stop producing ice until some ice is removed.

Image Description: A visual representation of the 'Ice Full' indicator light on the ice maker's display, indicating that the ice storage bin is at capacity.
- Cleaning: Indicates the unit is performing a self-cleaning cycle.
4. Using the Light Function
Press the LIGHT button to turn the internal illumination on or off, allowing you to monitor the ice-making process or simply illuminate the ice bin.
Maintenance
Regular cleaning and maintenance are crucial for the longevity and hygienic operation of your ice maker.
1. Self-Cleaning Function
The ice maker is equipped with an automatic self-cleaning system. To activate:
- Ensure the water reservoir is filled with clean water.
- Press the CLEAN button on the control panel.
- The unit will perform a 20-minute cleaning cycle. The 'Cleaning' indicator light will be on.
- Once the cycle is complete, drain the water from the unit as described below.

Image Description: An X-ray style illustration of the ice maker's internal components, depicting water actively circulating and splashing during the automatic self-cleaning process.
2. Regular Manual Cleaning
For thorough cleaning, especially if using hard water, perform manual cleaning:
- Unplug the ice maker from the power outlet.
- Remove the ice basket and clean it with mild detergent and warm water. Rinse thoroughly.
- Drain all water from the reservoir (see 'Draining Water' below).
- Wipe the interior of the water reservoir and ice-making components with a soft cloth dampened with a solution of water and a small amount of vinegar or a food-grade cleaning agent.
- Rinse the interior thoroughly with clean water to remove any cleaning solution residue.
- Wipe the exterior of the unit with a soft, damp cloth.
- Ensure all parts are dry before reassembling and operating the unit.
3. Draining Water
To drain water from the unit:
- Place the ice maker near a sink or prepare a container to collect the water.
- Locate the drain plug at the bottom of the unit.
- Carefully remove the drain plug to allow water to flow out.
- Once all water has drained, securely reinsert the drain plug.
Troubleshooting
If you encounter issues with your ice maker, please consult the following table before contacting customer support.
| Problem | Possible Cause | Solution |
|---|---|---|
| Ice maker not turning on | No power supply; Power cord not plugged in; Fuse blown/circuit breaker tripped. | Check power outlet; Ensure cord is securely plugged in; Reset circuit breaker or replace fuse. |
| 'Add Water' indicator is on | Water reservoir is empty or low. | Fill the water reservoir with potable water up to the 'MAX' line. |
| 'Ice Full' indicator is on | Ice basket is full. | Remove ice from the basket. The unit will resume ice production automatically. |
| No ice production or very little ice | Insufficient water; Ambient temperature too high; Air vent blocked; Refrigerant issue. | Add water; Ensure unit is in a cool environment; Clear any obstructions from air vents; Contact customer support if issue persists. |
| Ice melts quickly | High ambient temperature; Ice not transferred to freezer. | Ensure unit is in a cool environment; Transfer ice to a freezer for storage as the ice maker is not a freezer. |
| Unusual noise during operation | Normal operation sounds (compressor, water pump); Unit not level. | Ensure the unit is on a level surface. If noise is excessive or unusual, contact customer support. |
Specifications
| Feature | Specification |
|---|---|
| Brand | EUHOMY |
| Model Name | IM017-NBL |
| Product Dimensions (D x W x H) | 13.8" x 9.8" x 14.9" |
| Ice Production per Day | Up to 40 Pounds |
| Water Tank Capacity | 1.8 Liters (approx. 0.48 Gallons) |
| Ice Basket Capacity | 2 Pounds |
| Wattage | 139 Watts |
| Voltage | 115 Volts |
| Refrigerant | R600a |
| Material | Stainless Steel |
| Item Weight | 25 pounds |
| UPC | 850077022579 |
Warranty and Support
EUHOMY products are manufactured to high-quality standards. For information regarding warranty coverage, terms, and conditions, please refer to the warranty card included with your purchase or visit the official EUHOMY website.
If you require technical assistance, troubleshooting beyond this manual, or have questions about your product, please contact EUHOMY customer support. Contact details can typically be found on the manufacturer's website or on the product packaging.
When contacting support, please have your model number (IM017-NBL) and purchase information readily available.


