1. Introduction
This manual provides detailed instructions for the installation, operation, and maintenance of your Driauto 9-inch Android Car Stereo. This unit is designed for Toyota Corolla models from 2017 to 2019, offering advanced features such as wireless Carplay, Android Auto, Bluetooth connectivity, Wi-Fi, GPS navigation, and support for steering wheel controls and a backup camera.
Please read this manual thoroughly before installation and use to ensure proper function and to maximize your experience with the product.
2. Package Contents
Verify that all items listed below are included in your package:
- 1 x Car Player (Main Unit)
- 2 x Power Cable
- 1 x GPS Antenna
- 1 x Rear Camera Input Cable
- 1 x RCA Cable
- 2 x USB Cable
- 2 x Mounting Bracket
- 4 x Screw
- 1 x User Manual
- 1 x Microphone
- 1 x Backup Camera
- 1 x Installation Tool
- 1 x Canbus
- Accessories x 2 (General term, specific items not detailed in source)

3. Specifications
| Feature | Detail |
|---|---|
| System | Android 15 |
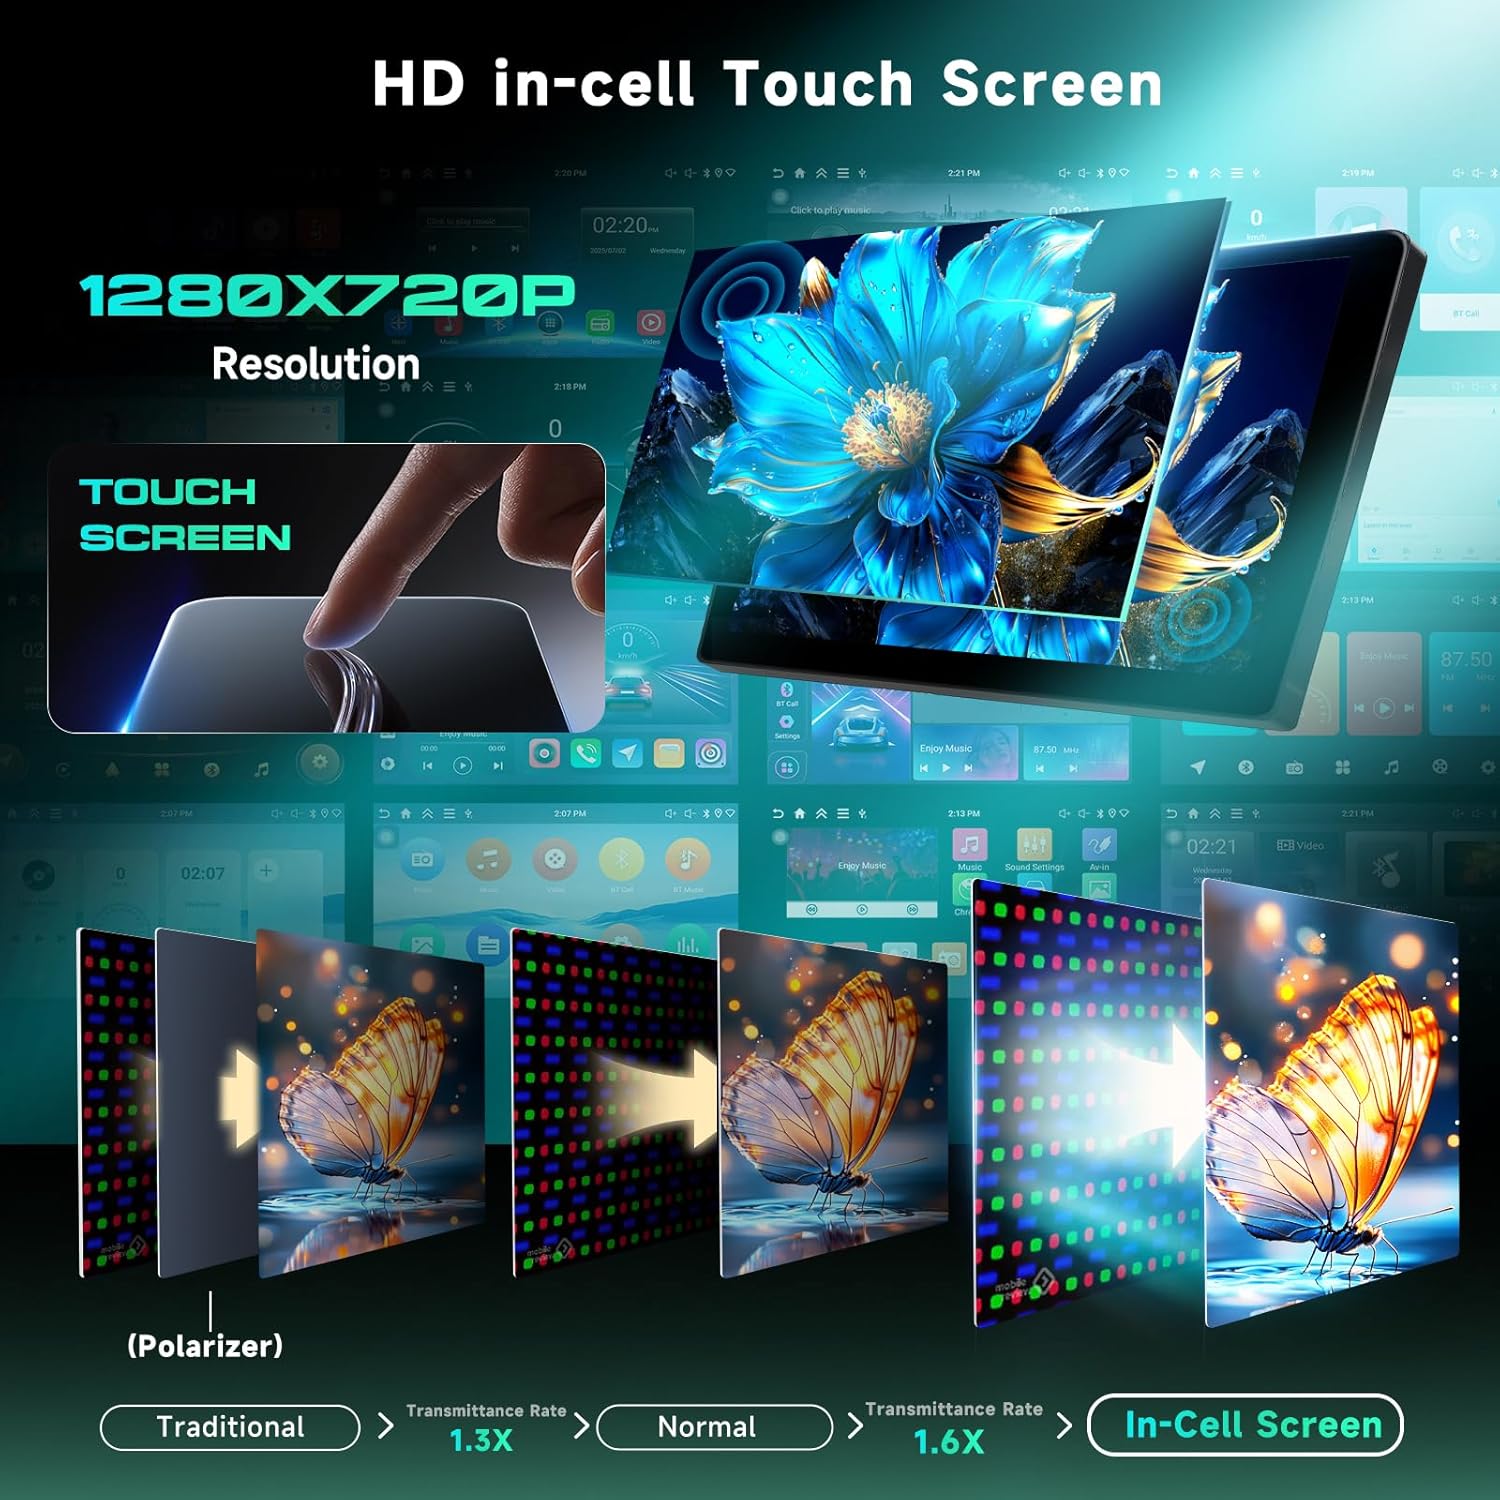
| Screen Material | Incell Touchscreen |
| Chipset | RK3326S |
| MCU | G0001ALT |
| Sound Processor | TM2313 |
| Operating Speed | 1.5GHZ |
| Screen Size | 9 Inches |
| Memory | 4GB (RAM) + 64GB (ROM) |
| Screen Resolution | 1280*720 |
| Radio Chip | UMW2652 |
| Power Output | 4*45W |
| Work Voltage | 9V--16V |
| Work Temperature | -20℃ - 70℃ |
| Radio Band | FM/RDS |
| Reversing Input | AHD/CVBS |
| Maps | Built-in offline maps (requires internet to download data) |
| Audio Format Support | APE/FLAC/WAV/MP3/WMA etc. |
| Video Format Support | MKV/RMVB/AVI/MP4/MDV etc. |
| Picture Format Support | PNG/JPEG/JPG/GIF/WBMP/BNP etc. |
| Supported Languages | Chinese, English, French, Italian, Korean, Japanese, Arabic, Spanish, Portuguese, Russian, Turkish, Vietnamese, Hebrew, Polish, German |
| Item Weight | 2.2 pounds |
| Package Dimensions | 3.94 x 3.94 x 3.94 inches |
4. Setup and Installation
This section outlines the general steps for installing the Driauto car stereo. Professional installation is recommended. Ensure the vehicle's power is disconnected before beginning installation.
- Preparation: Disconnect the negative terminal of the car battery. Remove the original car stereo and trim panels carefully.
- Mounting: Use the provided mounting brackets and screws to secure the new Driauto car stereo into the dashboard opening.
- Wiring: Connect the power cables, RCA cables, USB cables, GPS antenna, and rear camera input cable to the corresponding ports on the car stereo and the vehicle's wiring harness. The Canbus decoder should be integrated as per your vehicle's specific wiring diagram to ensure steering wheel controls function correctly.
- Backup Camera Installation: Install the backup camera at the rear of the vehicle, typically near the license plate. Route the camera cable to the car stereo and connect it to the "Rear Camera Input Cable."
- Microphone Installation: Connect the external microphone and position it in a suitable location for clear voice input.
- Testing: Before fully reassembling the dashboard, reconnect the car battery and power on the stereo to test basic functions like power, audio, touch screen response, and camera display.
- Reassembly: Once all functions are verified, carefully reassemble the trim panels and secure the stereo.

5. Operating Instructions
5.1. Wireless Carplay & Android Auto
Connect your iOS or Android smartphone wirelessly to access navigation, music, calls, and messages directly on the stereo's display. This feature utilizes Bluetooth and Wi-Fi for seamless integration.
- Ensure Bluetooth is enabled on your phone and the car stereo.
- Pair your phone with the car stereo via Bluetooth.
- Follow the on-screen prompts to enable Wireless Carplay or Android Auto.

5.2. Mirror Link
Mirror Link allows you to display your smartphone's screen directly onto the car stereo. This is useful for apps not natively supported by Carplay or Android Auto.
- Access the Mirror Link application on the stereo.
- Follow the instructions to connect your phone, typically via USB or Wi-Fi.
5.3. Bluetooth Connectivity
Pair your phone via Bluetooth for hands-free calling and audio streaming.
- Go to the Bluetooth settings on the stereo.
- Enable Bluetooth on your phone and search for available devices.
- Select the stereo's name from your phone's list and confirm pairing.
5.4. Wi-Fi Connection
Connect the stereo to a Wi-Fi hotspot (e.g., from your phone) to access online features, download apps, and update maps.
- Navigate to the Wi-Fi settings on the stereo.
- Select your desired Wi-Fi network and enter the password.
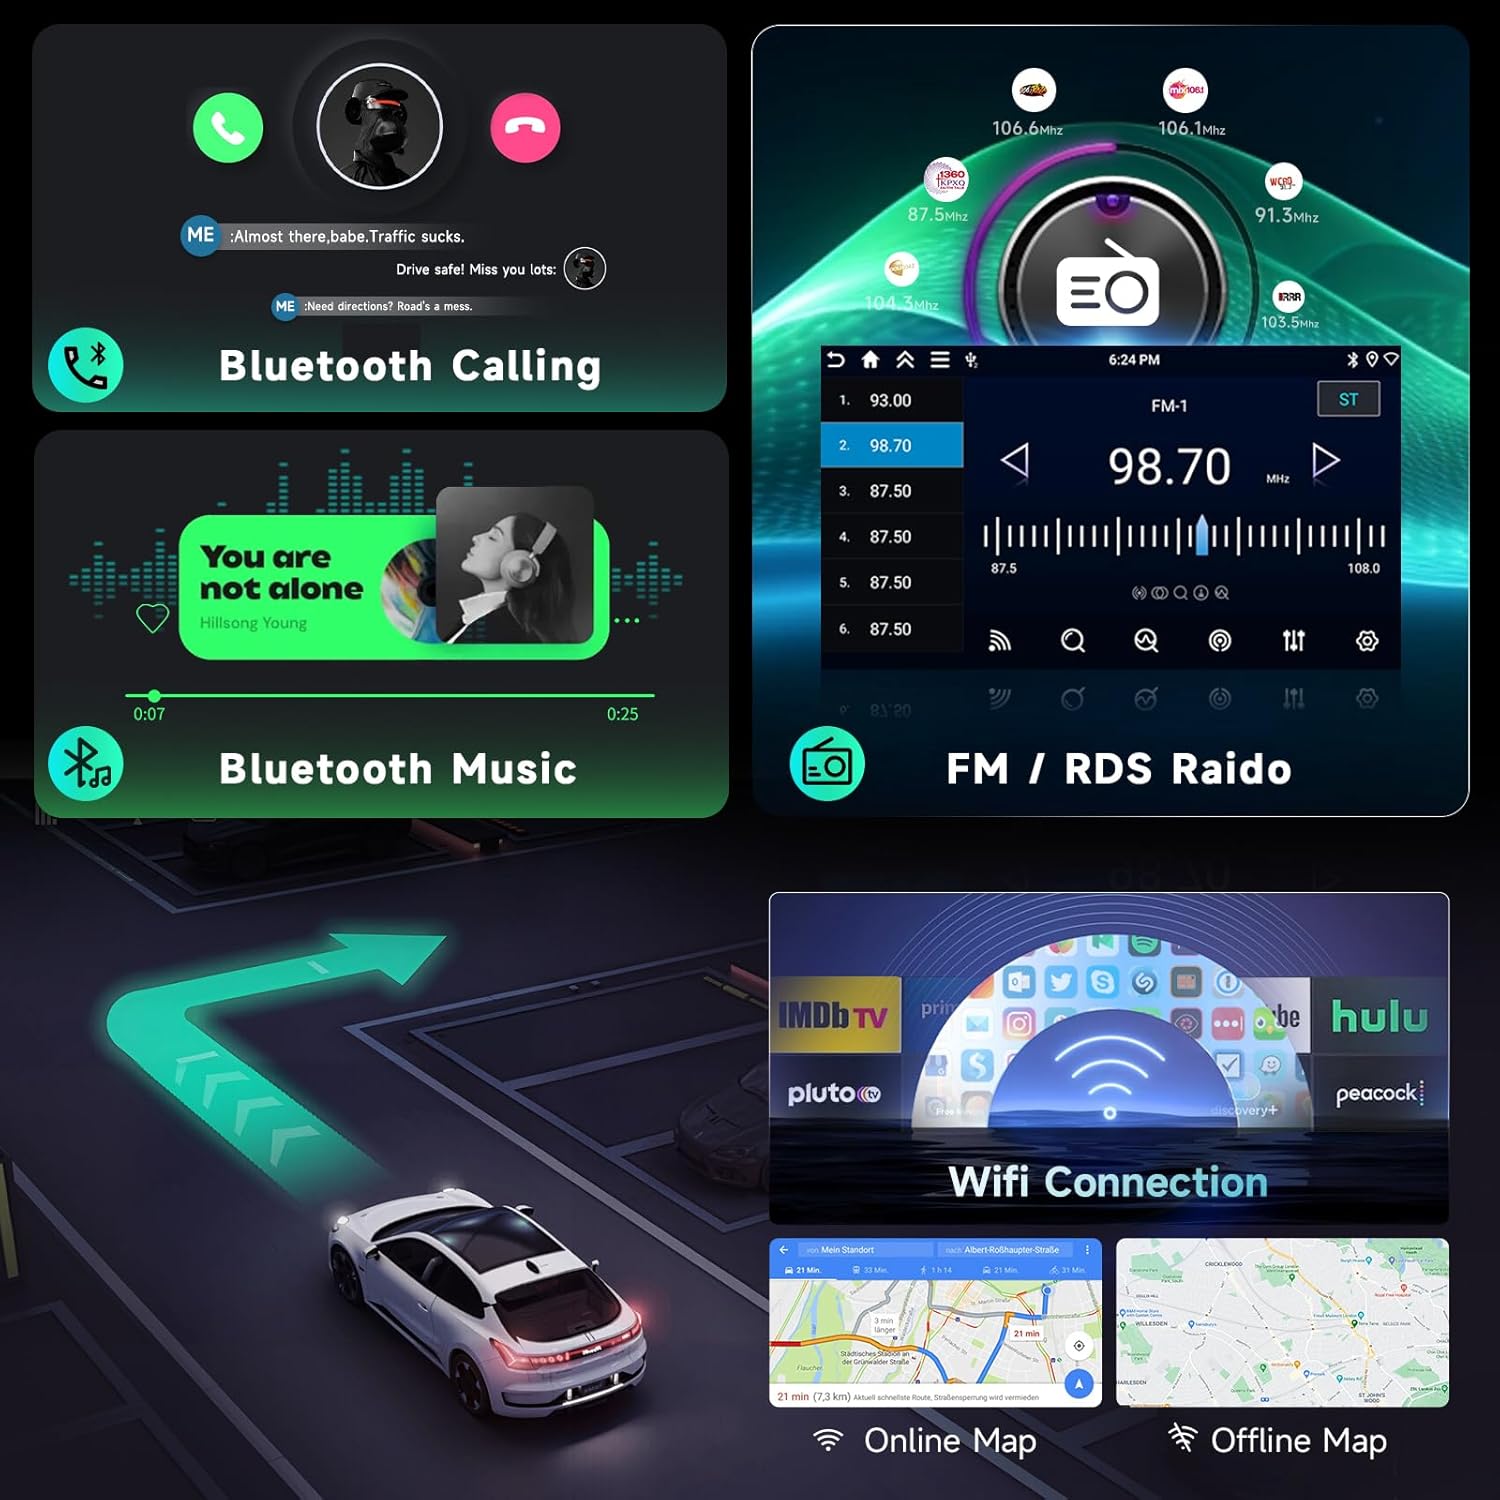
5.5. GPS Navigation
The stereo comes with built-in offline maps. For real-time traffic and updated map data, connect to Wi-Fi to download necessary information.
- Open the navigation application.
- Enter your destination to receive turn-by-turn directions.
5.6. FM/RDS Radio & EQ Adjustment
Tune into FM radio stations. RDS (Radio Data System) provides additional information like station name and traffic announcements. Use the Equalizer (EQ) to customize audio output.
- Access the Radio application to scan for stations.
- Navigate to the EQ settings to adjust bass, treble, and other audio parameters.
5.7. Steering Wheel Controls (SWC)
If properly connected via the Canbus, your vehicle's steering wheel controls can operate the stereo's functions, such as volume, track skipping, and answering calls.
- After installation, access the SWC settings in the stereo's menu to map the buttons if necessary.

5.8. Backup Camera
When the vehicle is shifted into reverse, the stereo automatically displays the view from the connected backup camera, aiding in safe parking and maneuvering.
5.9. Split Screen Function
The split-screen feature allows you to run two applications simultaneously on the display, for example, navigation on one side and music on the other.
- Long-press an app icon or use the split-screen button (if available) to activate.
- Select a second app to display alongside the first.
6. Maintenance
To ensure the longevity and optimal performance of your Driauto car stereo, follow these maintenance guidelines:
- Screen Cleaning: Use a soft, lint-free cloth to gently wipe the touchscreen. For stubborn smudges, slightly dampen the cloth with water or a screen-safe cleaner. Avoid harsh chemicals or abrasive materials.
- Software Updates: Periodically check for software updates through the system settings. Updates can improve performance, add new features, and fix bugs. Ensure a stable Wi-Fi connection during updates.
- Environmental Conditions: Avoid exposing the unit to extreme temperatures, direct sunlight for prolonged periods, or excessive moisture.
- Cable Connections: Periodically check all cable connections to ensure they are secure and free from damage.
7. Troubleshooting
This section addresses common issues you might encounter. For problems not listed here, please contact customer support.
| Problem | Possible Cause / Solution |
|---|---|
| No Power |
|
| No Sound |
|
| Touchscreen Unresponsive |
|
| Carplay/Android Auto Not Connecting |
|
| Backup Camera Not Displaying |
|
8. Warranty and Support
Driauto is committed to product quality and customer satisfaction.
- Warranty: The product typically includes a 2-year warranty. For specific details regarding your purchase, please refer to your purchase documentation or contact the seller.
- Protection Plans: Additional protection plans may be available for purchase, offering extended coverage for 2 or 3 years.
- Customer Support: For technical assistance, troubleshooting, or warranty claims, please contact Driauto customer service. Driauto aims to respond to inquiries within 18 hours and offers lifetime support for its products.
You can often find contact information on the seller's page or through the official Driauto website.