1. Product Overview
The Dpofirs Small Portable Video Projector is a compact and versatile device designed for various entertainment and presentation needs. With its small footprint, it is easy to transport and set up, offering a projection size ranging from 14 to 100 inches. It supports a resolution of 1920 x 1080p and features 100Ansi 6000lm brightness, manual focus, and built-in stereo speakers.
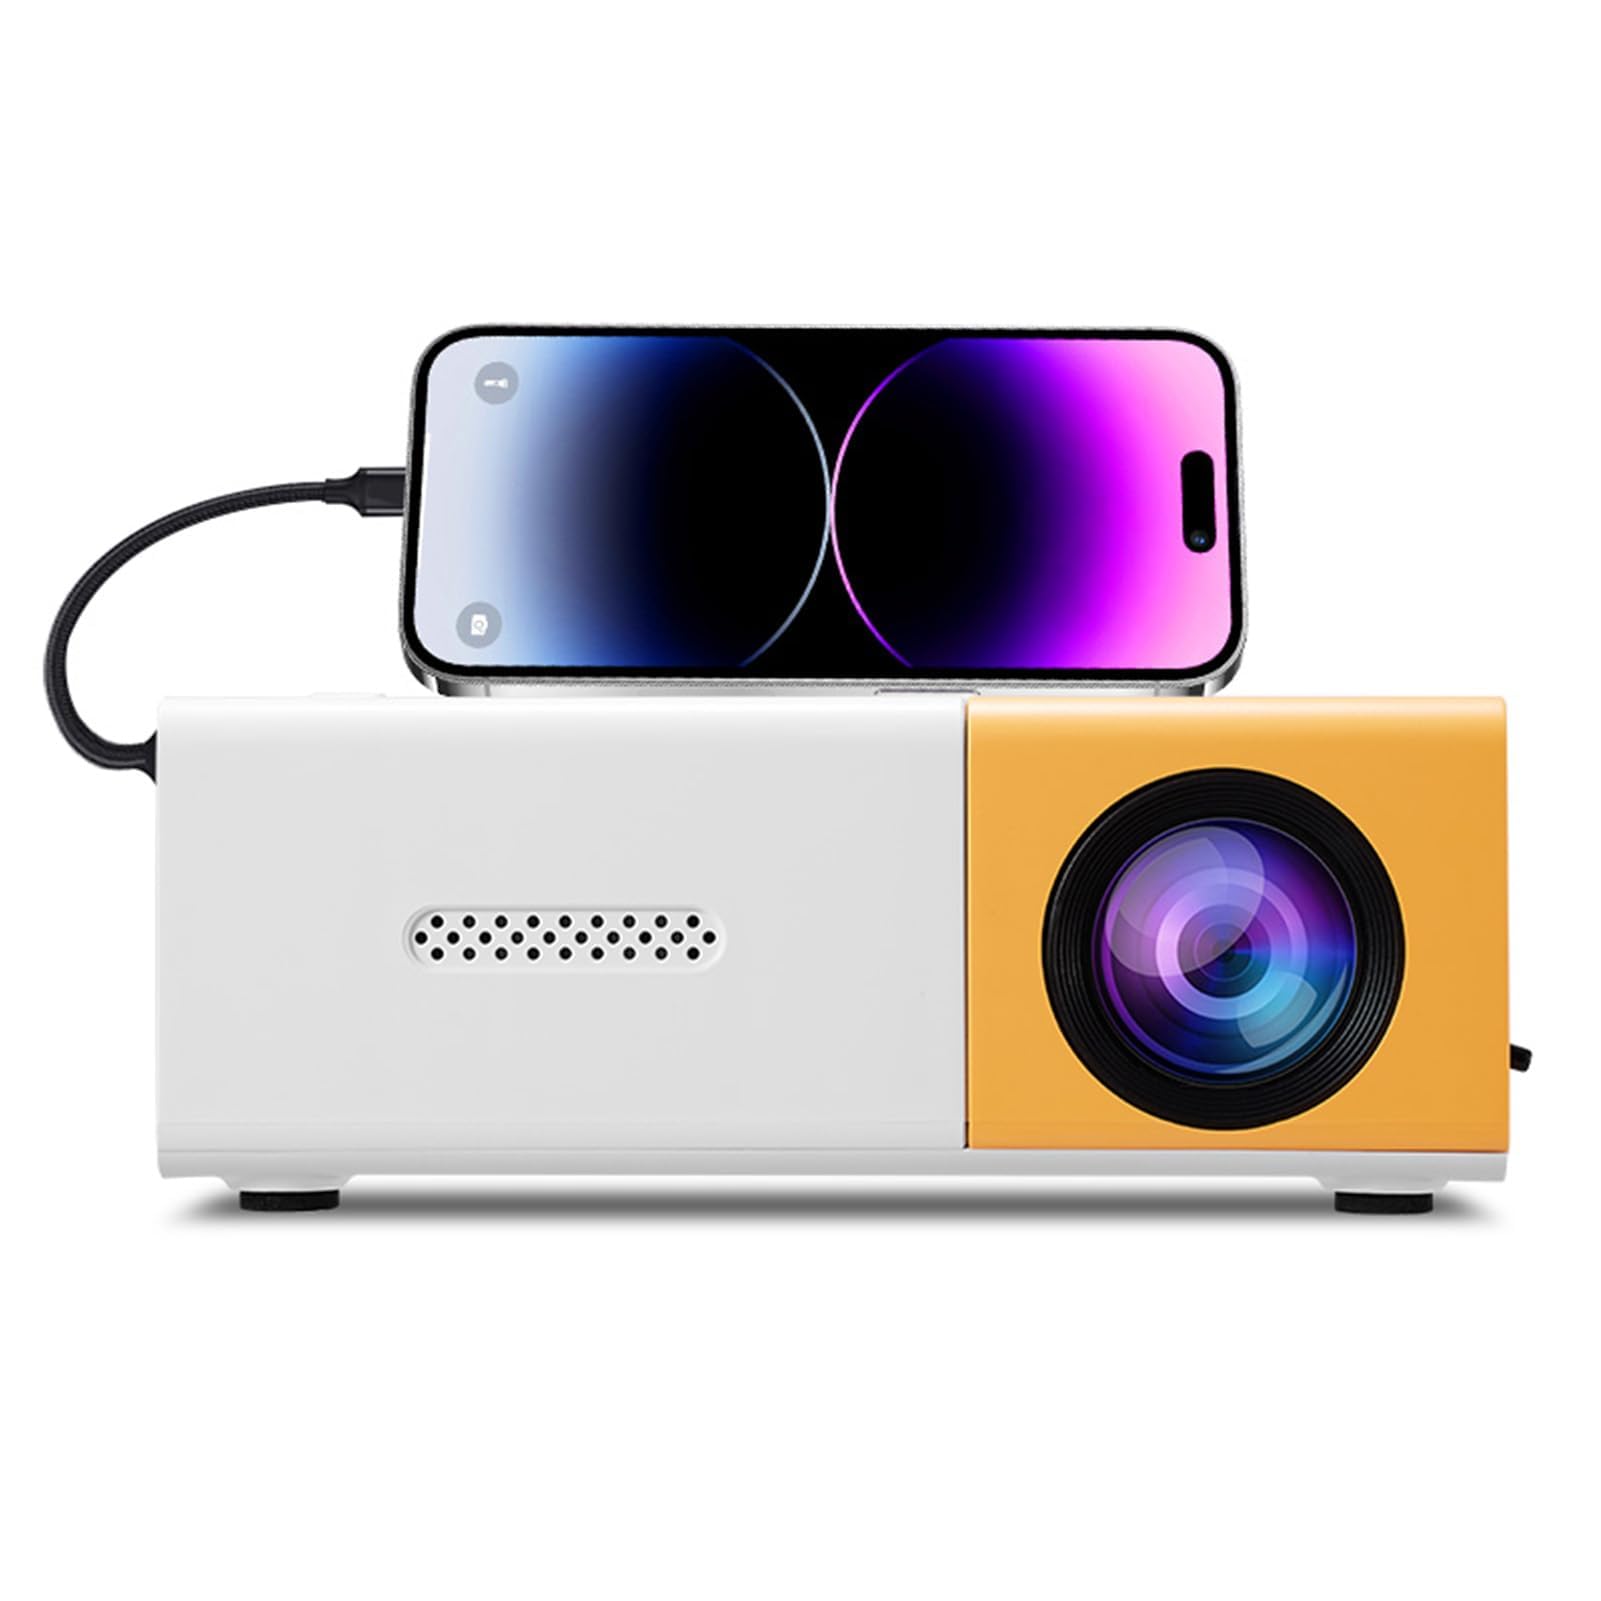
Image 1.1: The Dpofirs Small Portable Video Projector, showcasing its compact design.

Image 1.2: The projector held in a hand, illustrating its compact and portable dimensions (5 x 3.4 x 1.9 inches).
2. Safety Information
- Read all instructions before using the projector.
- Do not look directly into the projector lens when the lamp is on.
- Keep the projector away from water or other liquids.
- Ensure proper ventilation to prevent overheating. Do not block ventilation openings.
- Use only the power adapter specified for this device (Type C, 5V 2A).
- Do not attempt to disassemble or repair the projector yourself. Contact qualified service personnel.
- Keep out of reach of children.
3. Package Contents
Please check the package contents upon unboxing. If any items are missing or damaged, contact your retailer.
- Dpofirs Small Portable Video Projector
- Remote Control
- Power Cable (USB Type-C)
- User Manual
4. Product Display and Controls
4.1 Projector Ports and Buttons

Image 4.1: Front and rear view of the projector with labeled ports and control buttons.
- Power On/Off Button: Located on the top panel.
- Left Click / Right Click / OK Buttons: Navigation buttons on the top panel.
- Signal Source Button: To select input source.
- Return Button: To go back in menus.
- AV Interface: For analog audio/video input.
- Micro USB (5V 2A) Power Interface: For connecting the power cable.
- USB Interface: For connecting USB devices (e.g., flash drives).
- DC Power Supply: (Note: Description mentions Type C, image shows DC. Use Type C as per description).
- High Definition Interface (HDMI): For connecting devices via HDMI.
4.2 Remote Control Functions

Image 4.2: Layout of the remote control with labeled buttons.
- Open Key (Power): Turns the projector on or off.
- Source Key: Selects the input source.
- Mute: Mutes or unmutes the audio.
- Directional Keys (Up, Down, Left, Right): Navigates menus.
- OK Button: Confirms selections.
- Volume Down / Volume Increase: Adjusts audio volume.
- Settings Key: Accesses the projector settings menu.
- Return Key: Goes back to the previous menu.
- Menu Key: Opens the main menu.
5. Setup Guide
5.1 Power Connection
- Connect the provided USB Type-C power cable to the Micro USB (5V 2A) Power Interface on the projector.
- Connect the other end of the cable to a compatible 5V 2A power adapter (not always included) or a power bank.

Image 5.1: The projector can be powered by a power bank (5V 2A minimum) for portable use.
5.2 Placement and Projection Size
Position the projector on a stable, flat surface. The projection distance determines the screen size. The projector can project images from 14 to 100 inches diagonally.
- For an optimal viewing experience, a playback size of 20-60 inches is recommended.
- This corresponds to a projection distance of approximately 0.8m to 1.6m.

Image 5.2: Recommended projection distances for various screen sizes (e.g., 0.8m for 24 inches, 1.6m for 47 inches).

Image 5.3: The projector can achieve large screen sizes up to 100 inches, with examples shown for 24, 35, 47, and 152 inches (note: 152 inches may exceed stated maximum of 100 inches).
5.3 Focus Adjustment
The projector features manual focus. Before turning on the projector or if the image appears blurry:
- Locate the focus ring or knob near the lens.
- Rotate the focus ring until the projected image becomes clear and sharp.
5.4 Keystone Correction
The projector supports automatic vertical keystone correction. If the image appears trapezoidal (wider at the top or bottom):
- The projector automatically corrects vertical distortion (up and down).
- For side projection or horizontal correction, access the settings menu to make manual adjustments.
6. Operating Instructions
6.1 Power On/Off
- To Power On: Press the Power On/Off button on the projector or the 'Open Key' on the remote control.
- To Power Off: Press the Power On/Off button on the projector or the 'Open Key' on the remote control again.
6.2 Input Source Selection
The projector supports multiple input sources:
- HDMI: Connect laptops, gaming consoles, streaming sticks, etc., via the High Definition Interface.
- USB: Connect USB flash drives to play media files directly.
- AV: Connect older devices using the AV interface.
- Screen Mirroring: Supports wired and wireless screen mirroring for Android devices.
To select an input source, press the 'Signal Source' button on the projector or the 'Source Key' on the remote control and navigate to your desired input.
6.3 Navigation and Settings
- Use the directional keys (Up, Down, Left, Right) on the projector or remote to navigate through menus.
- Press the 'OK' button to confirm selections.
- Press the 'Return' button to go back to the previous screen or menu.
- Press the 'Settings Key' on the remote to access advanced projector settings, including picture, sound, and system options.
6.4 Volume Control
Adjust the audio volume using the 'Volume Down' and 'Volume Increase' buttons on the remote control.
6.5 Application Scenarios
The projector is suitable for a variety of uses:
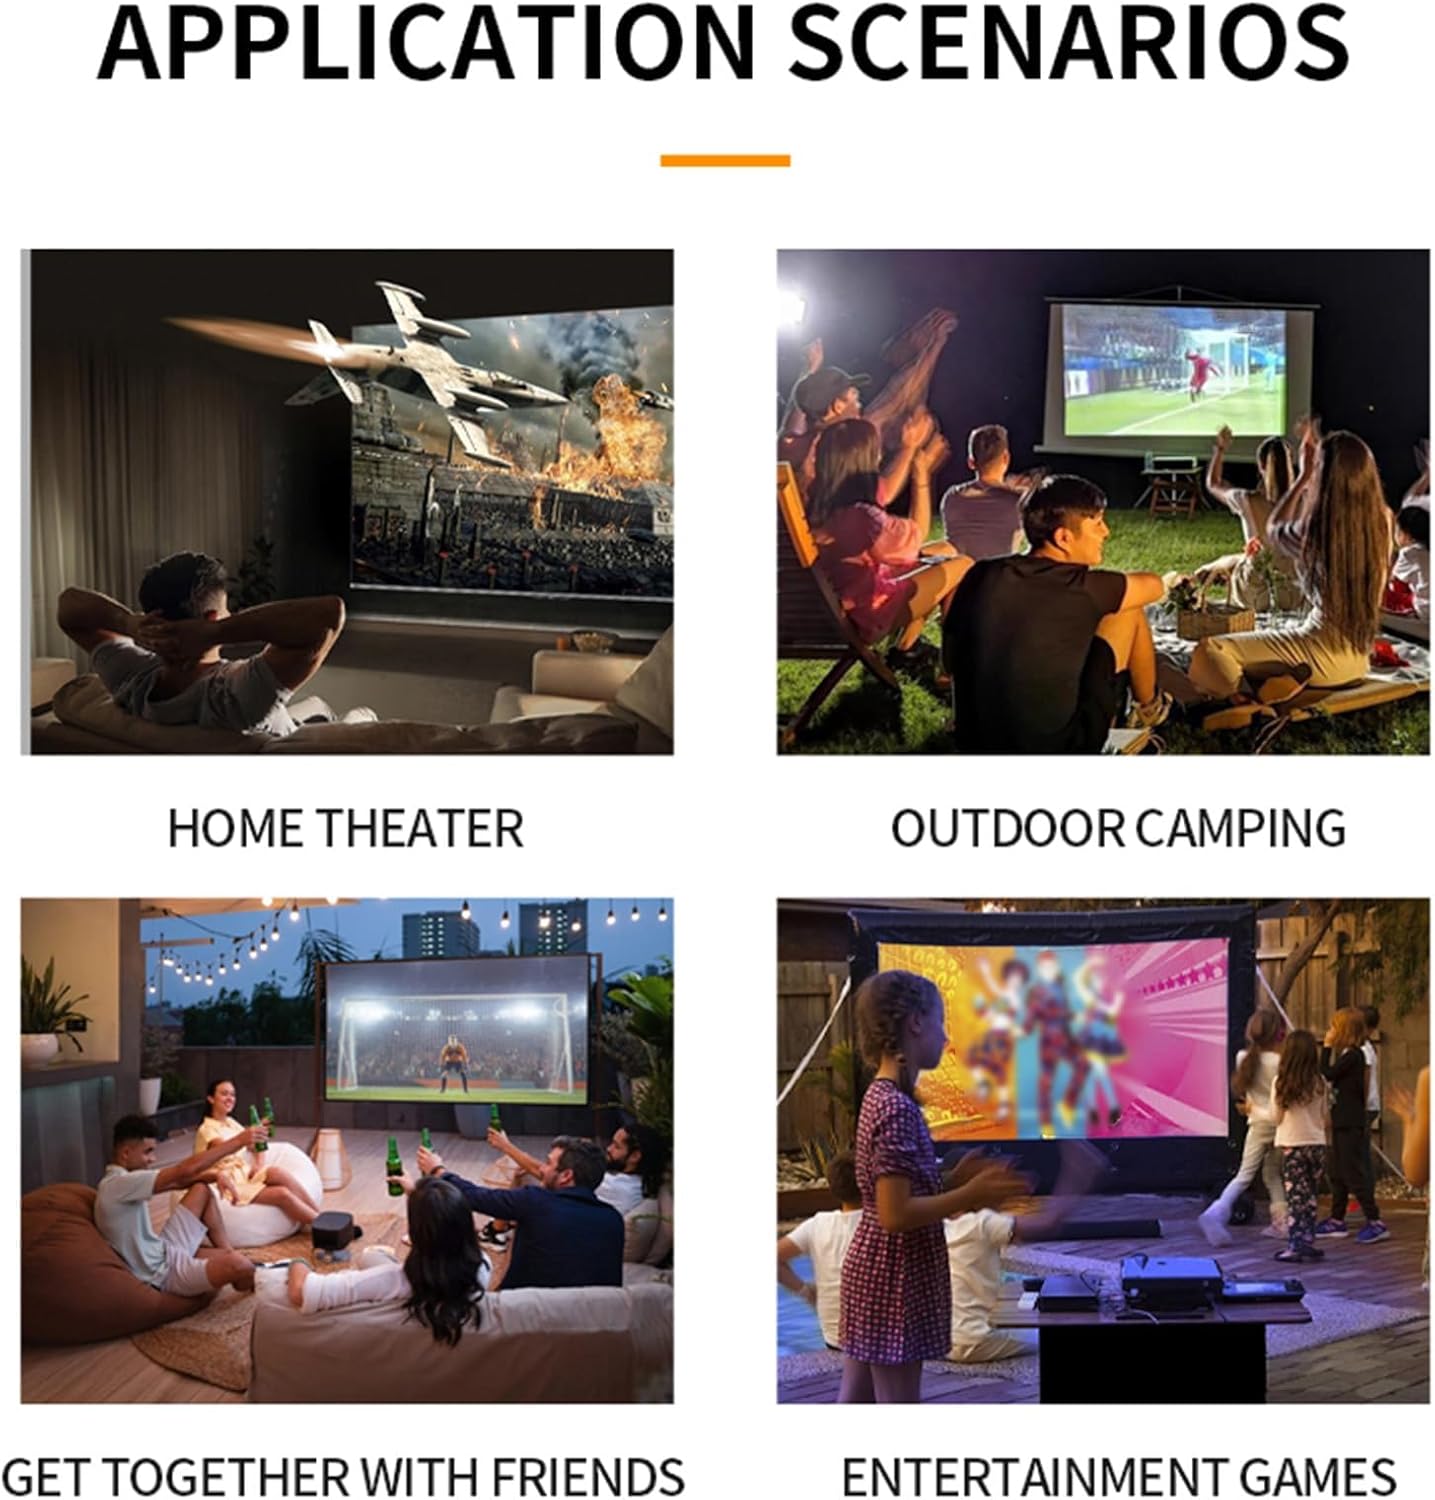
Image 6.1: Examples of projector use in various settings including home theater, outdoor camping, social gatherings, and gaming.
- Home Theater: Enjoy movies and TV shows on a large screen.
- Outdoor Camping: Portable design allows for outdoor entertainment.
- Get-togethers with Friends: Share content or play games with a group.
- Entertainment Games: Connect gaming consoles for an immersive experience.
7. Maintenance
- Cleaning the Lens: Use a soft, lint-free cloth specifically designed for optical lenses. Do not use abrasive cleaners or cloths.
- Cleaning the Casing: Wipe the projector's exterior with a soft, dry cloth. For stubborn dirt, use a slightly damp cloth and then dry thoroughly.
- Ventilation: Ensure the ventilation openings are clear of dust and debris to maintain optimal cooling. Use a soft brush or compressed air to gently clean them.
- Storage: When not in use for extended periods, store the projector in a cool, dry place, away from direct sunlight and extreme temperatures.
8. Troubleshooting
8.1 No Image or Poor Image Quality
- Check Power: Ensure the projector is properly connected to power and turned on.
- Input Source: Verify that the correct input source (HDMI, USB, AV) is selected.
- Focus Adjustment: Manually adjust the focus ring until the image is clear.
- Keystone Correction: Adjust keystone settings if the image is distorted.
- Cable Connection: Ensure all video cables are securely connected. Try a different cable if possible.
- Device Output: Check the output settings of your connected device (laptop, smartphone) to ensure it's sending a signal to the projector.
8.2 No Sound
- Volume Level: Increase the volume on both the projector and the connected source device.
- Mute Function: Ensure the projector is not muted (check remote control).
- Audio Output: If using an external audio system, ensure it is properly connected and selected as the output.
- Source Audio: Verify that the source device is playing audio.
8.3 Remote Control Not Working
- Batteries: Replace the batteries in the remote control.
- Line of Sight: Ensure there is a clear line of sight between the remote and the projector's IR receiver.
9. Specifications
| Feature | Specification |
|---|---|
| Model Number | Dpofirseikmp1t75y |
| Item Type | LED Film Projector |
| Native Resolution | 320 x 240 pixels |
| Support Resolution | Up to 1920 x 1080 (1080p) 60Hz |
| Brightness | 100 Ansi / 6000 Lumens |
| Contrast Ratio | 10000:1 |
| Focus | Manual |
| Correction | Trapezoid Correction (Auto vertical, manual side via settings) |
| Speaker | Built-in box speaker 4Ω 2W |
| Power Interface | Type C (5V 2A) |
| Input Ports | 1x HD Multimedia Interface, 1x USB Port, 1x AV Interface |
| Output Port | 3.5mm Headphone Jack |
| Projection Size | 14 to 100 inches |
| Optimal Playback Size | 20-60 inches |
| Optimal Playback Distance | 0.8m to 1.6m |
| Dimensions | 5 x 3.4 x 1.9 inches (12.6 x 8.58 x 4.77 cm) |
| Item Weight | 12.9 ounces (approx. 365g) |
| Cooling System | Innovative cooling fan system (80% noise reduction) |
10. Warranty and Support
For warranty information, please refer to the warranty card included with your purchase or contact your retailer. Dpofirs is committed to providing quality products and customer support.
If you encounter any issues or have questions regarding your Dpofirs Small Portable Video Projector, please contact Dpofirs customer support through the retailer's platform or the official Dpofirs website for assistance.