1. Introduction
This manual provides essential information for the proper installation, configuration, and operation of your HTLNUZD Radiomaster Nexus-X Helicopter Flight Controller. Designed for high-precision control and reliable performance, the Nexus-X is engineered in collaboration with the Rotorflight team to deliver an exceptional flight experience for RC helicopters.
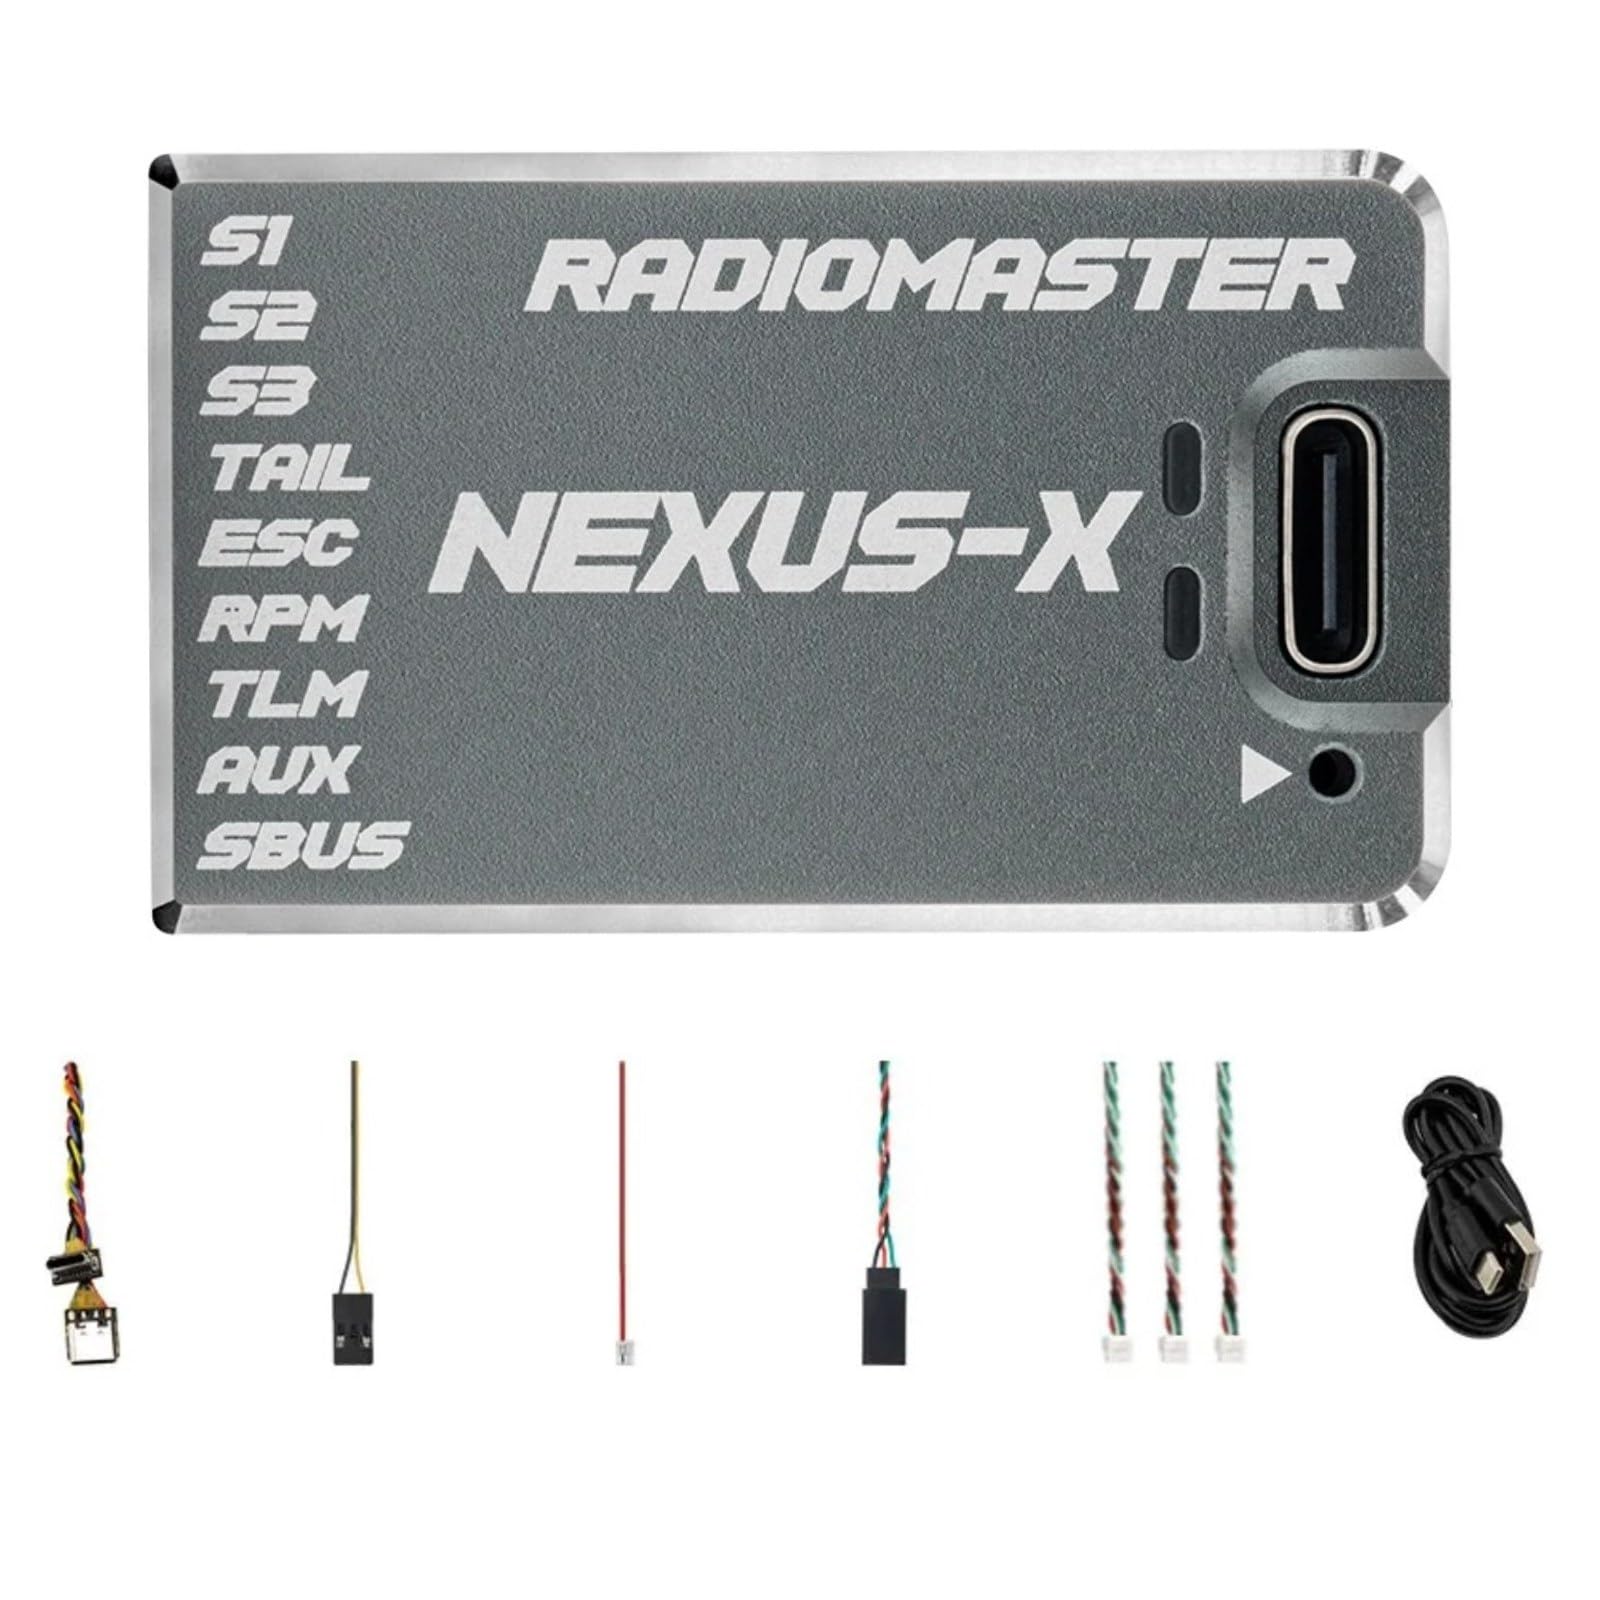
Figure 1: Radiomaster Nexus-X Helicopter Flight Controller (Gary-X variant).
2. Product Overview
The Radiomaster Nexus-X Flight Controller is built for optimal performance and durability. Key features include:
- Optimized Performance: Engineered with Rotorflight 2.2, featuring an STM32F722 MCU and ICM42688P 6-axis sensor for superior flight dynamics.
- Advanced Logging & Connectivity: Equipped with 256MB flash memory for detailed logging and tuning. Multiple UART ports support various protocols including CRSF, ELRS, and S.BUS for seamless integration.
- Durable Design: Housed in a rugged CNC aluminum case that acts as a heat sink, providing protection and efficient cooling.
- Versatile Power & Servo Support: Supports 12V servos and a wide voltage supply range of 3.6V–70V. Compatible with 760µs/1520µs tail servos and ESCs.
- Safety & Accessibility: Includes Rotorflight Rescue for emergency situations. Isolated power minimizes noise, and a USB-C extender eases access for configuration.
Video 1: Official product video demonstrating features and capabilities of the Radiomaster Nexus-X Helicopter Flight Controller.
3. Specifications
| Feature | Detail |
|---|---|
| Firmware | Rotorflight 2.2 |
| MCU | STM32F722RET6 |
| Gyro (IMU) | ICM42688P |
| Flash Memory (Black Box) | 256MB (W25N02KVZEIR) |
| Barometer | SPL06-001 |
| UART Ports | 5 - S.BUS[UART1], TELEM[UART2], PORT-A[UART4], PORT-B[UART6], PORT-C[UART3] |
| Servo Outputs | S1, S2, S3, TAIL Servos (Up to 12V) |
| RPM Sensor | 1 - FROM ESC FREQUENCY SENSOR |
| AUX | 1 Ext voltage input (tele) |
| Ext Voltage Input | 3.6-70V |
| Receiver Support | CRSF, ELRS, GHOST, S.BUS, SUMD, IBUS, XBUS, EXBUS, PPM, MSP |
| Voltage Supply (DC) | 5 - 16V |
| Serial Port Power Output | 5V - 1.5A (A-B-C) |
| Telemetry | S.BUS, HoTT, S.Port, MSP, EDGETX, ELRS |
| ESC Support | PWM, Oneshot, Multishot, Dshot |
| Tail ESC Support | 760µs/1520µs Servo Support |
| Tail Motor Support | Yes |
| Dimensions | 44.70 x 26.50 x 12.30mm (1.76 x 1.04 x 0.49 inches) |
| Weight | 20.6g |
| Material | Metal (CNC Aluminum Case) |

Figure 2: Dimensions of the Nexus-X Flight Controller.
4. Package Contents
Verify that all items are present in your package:
- 1 * NEXUS-X Helicopter Flight Controller
- 3 * JST-GH 4 Wire pigtail cables
- 1 * JST-GH to Servo Plug (dupont 3 pin connector)
- 1 * Ultra light-weight and flexible USB-C extender
- 1 * Type C extension cable
- 1 * JST-ZH1.5 "DSM" Telemetry cable (Telemetry only, does not support DSM Receivers)
- 1 * Voltage telemetry wire
- 3 * 3M double-sided mounting tape
- 2 * Heat shrink tubing
- 1 * Inventory Card
5. Setup and Installation
Careful installation is crucial for optimal performance. Follow these general guidelines:
5.1 Mounting the Flight Controller
- Choose a flat, stable surface on your helicopter frame.
- Use the provided 3M double-sided mounting tape to secure the flight controller. Ensure it is firmly attached and isolated from vibrations.
- Orient the flight controller correctly as per the Rotorflight software's requirements. Refer to the Rotorflight documentation for specific orientation settings.
5.2 Wiring Connections
Connect your servos, ESCs, receiver, and other peripherals to the appropriate ports. The Nexus-X features multiple UART ports and dedicated servo outputs.
- Servos: Connect S1, S2, S3, and TAIL servos to their respective pins. The controller supports 760µs and 1520µs tail servos up to 12V.
- ESCs: Connect your Electronic Speed Controllers (ESCs) to the designated ESC output. The Nexus-X supports PWM, Oneshot, Multishot, and Dshot protocols.
- Receiver: Connect your receiver (CRSF, ELRS, S.BUS, etc.) to one of the available UART ports (e.g., S.BUS[UART1]).
- Telemetry: Use the voltage telemetry wire and JST-ZH1.5 cable for telemetry functions if your setup requires it.
- External Voltage Input: The EXT-V port supports 3.6-70V for external voltage monitoring.

Figure 3: Example wiring diagram for servos and receiver connections.

Figure 4: Side view illustrating UART ports A, B, C and EXT-V port.
6. Operating Instructions and Configuration
The Nexus-X operates on Rotorflight 2.2 firmware, offering extensive configuration options for fine-tuning your helicopter's flight characteristics.
6.1 Initial Configuration with Rotorflight
- Connect the flight controller to your computer using the provided USB-C extender.
- Launch the Rotorflight Configurator software.
- Follow the on-screen prompts to perform initial setup, including sensor calibration, motor/servo mapping, and flight mode configuration.
- Ensure your receiver is properly bound and configured within Rotorflight.
6.2 Flight Tuning
Rotorflight 2.2 provides advanced tuning parameters. It is recommended to make small adjustments and test flights to achieve desired performance. Utilize the 256MB black box flash memory for detailed flight logging to analyze and refine your settings.
6.3 Rotorflight Rescue
Familiarize yourself with the Rotorflight Rescue feature for emergency situations. Proper setup of this feature can help recover your helicopter during unexpected events.
7. Maintenance
To ensure the longevity and reliable operation of your Nexus-X Flight Controller:
- Keep the flight controller clean and free from dust, dirt, and moisture.
- Regularly inspect all wiring connections for signs of wear or damage.
- Ensure the CNC aluminum case remains free of obstructions to allow for proper heat dissipation.
- Periodically check for firmware updates for Rotorflight 2.2 to benefit from performance improvements and bug fixes.
8. Troubleshooting
If you encounter issues with your Nexus-X Flight Controller, consider the following:
- No Power: Check all power connections, battery voltage, and ensure the flight controller is receiving adequate power (5-16V DC).
- No Receiver Signal: Verify receiver binding, correct wiring to the UART port, and proper protocol selection in Rotorflight Configurator.
- Unstable Flight: Re-check sensor calibration, motor/servo directions, and PID tuning parameters in Rotorflight. Review black box logs for insights.
- Servo Issues: Confirm servo type (760µs/1520µs) is correctly set in Rotorflight. Check servo connections and ensure they are receiving sufficient voltage.
- Connection Problems (USB): Ensure the USB-C extender is properly connected and try a different USB port or cable.
For more detailed troubleshooting, consult the official Rotorflight documentation and community forums.
9. Warranty and Support
For warranty information, technical support, or service inquiries, please contact HTLNUZD customer service through your retailer or the official HTLNUZD website. Keep your purchase receipt as proof of purchase.