1. Introduction
Thank you for choosing the MomMed S33 Wearable Breast Pump. This manual provides essential information for the safe and effective use of your breast pump. Please read it thoroughly before first use and keep it for future reference. The MomMed S33 is designed to offer a convenient and discreet pumping experience, allowing you to express milk hands-free.
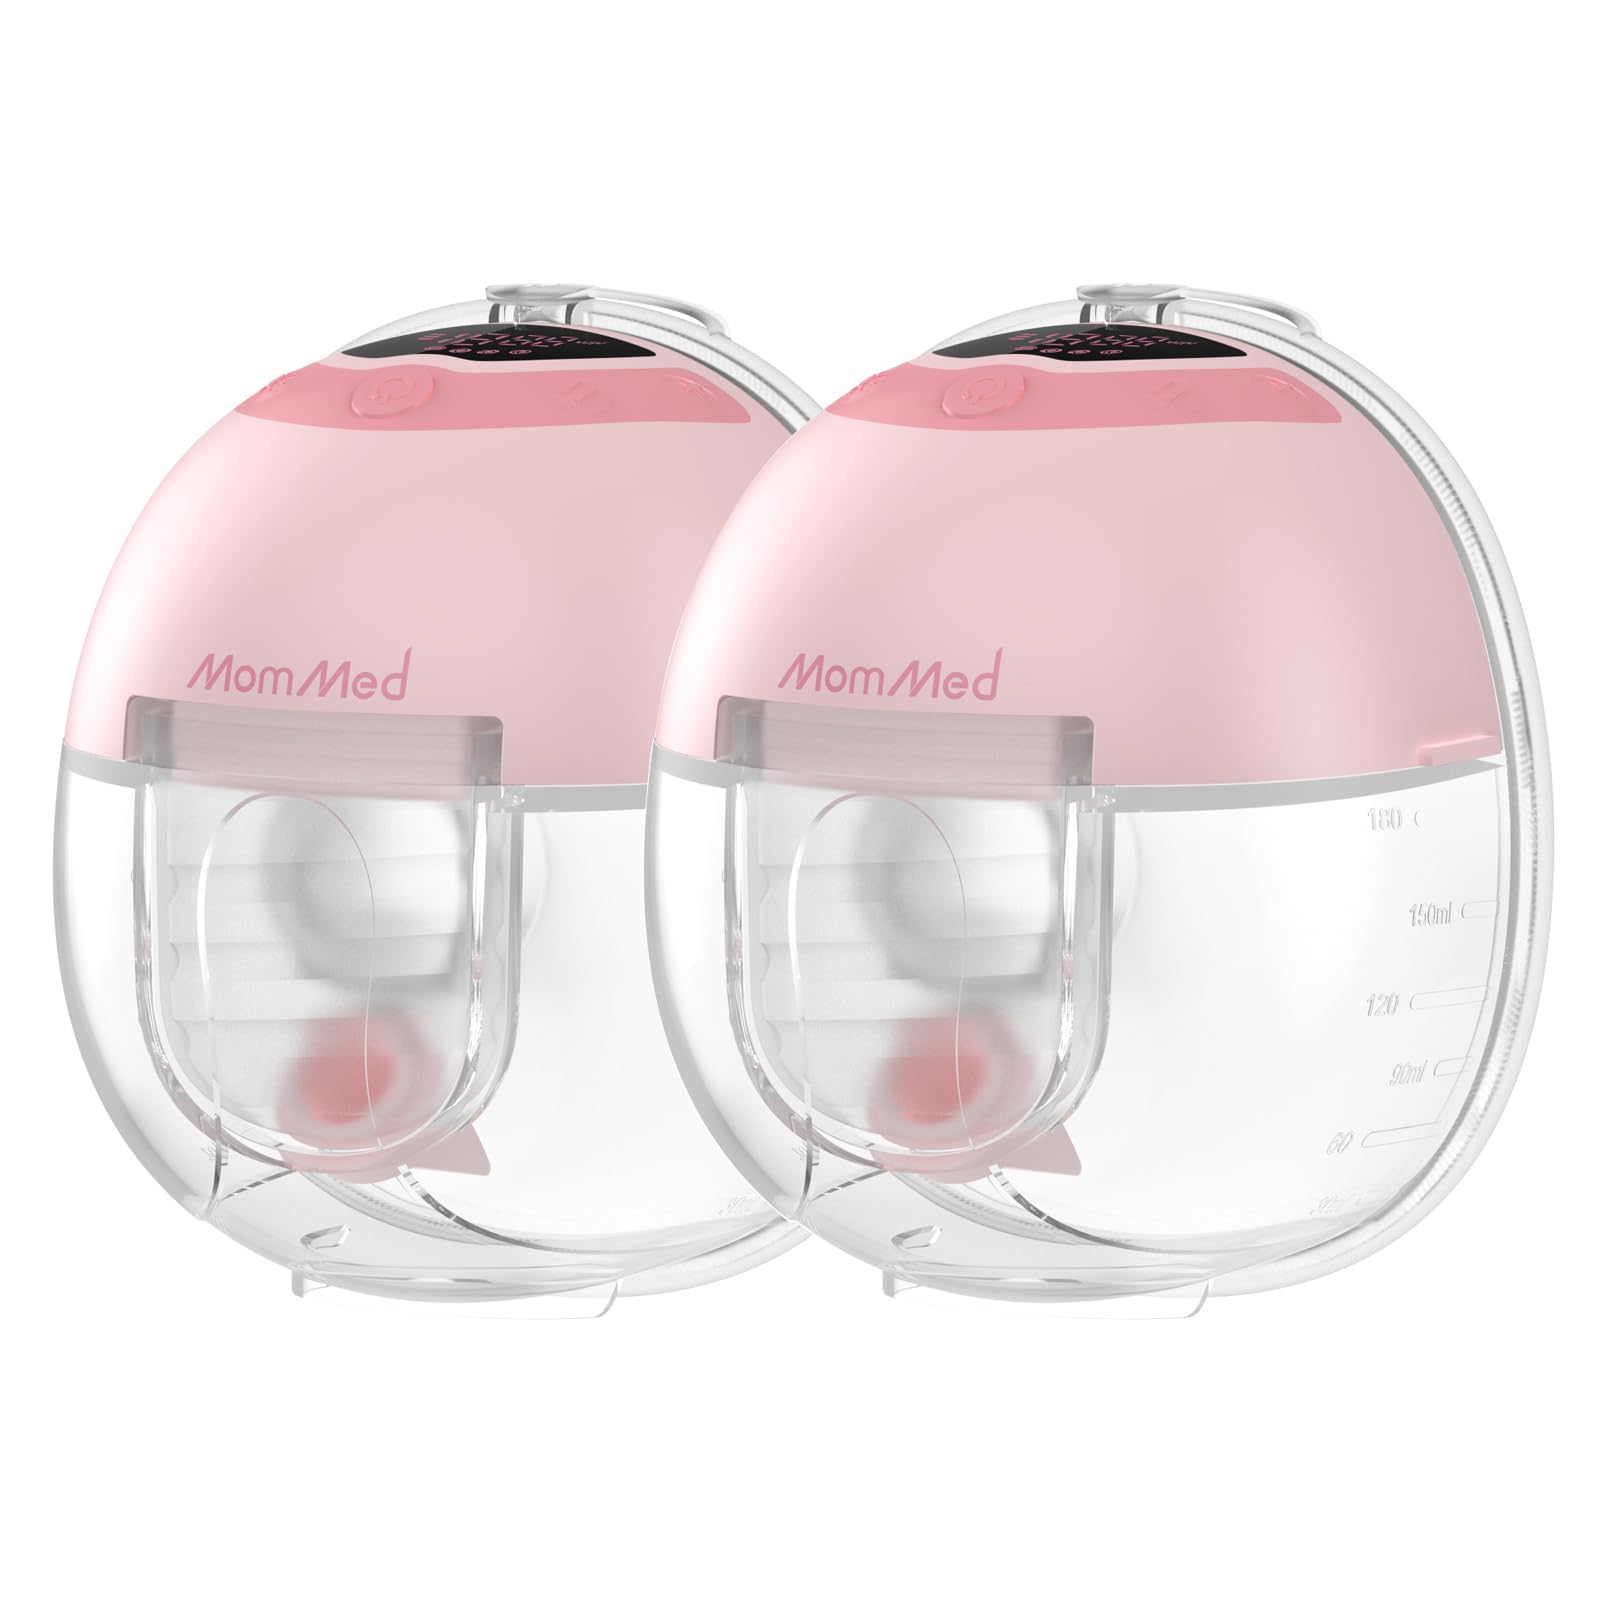
Image 1: The MomMed S33 Wearable Breast Pump, showcasing its compact and discreet design.
2. Safety Information
Always follow basic safety precautions when using electrical products, especially when children are present. Failure to do so may result in electric shock, fire, or personal injury.
- Do not immerse the motor unit in water or other liquids.
- Keep the pump and its components out of reach of children.
- Use only the provided charging cable and adapter.
- Inspect all components before each use for any damage or wear. Replace damaged parts immediately.
- Do not use while bathing or showering.
- Do not use if the product is damaged or malfunctioning.
- This product is for personal use only. Do not share components to prevent cross-contamination.
- Consult a healthcare professional or lactation consultant if you experience pain or discomfort during pumping.
- Statements regarding dietary supplements have not been evaluated by the FDA and are not intended to diagnose, treat, cure, or prevent any disease or health condition.
3. Product Components
The MomMed S33 Wearable Breast Pump comes with all necessary components for a complete pumping experience. The specific contents may vary slightly depending on whether you purchased a 1-pack or 2-pack.

Image 2: Contents of the MomMed S33 2-Pack, including two motors, milk containers, silicone diaphragms, duckbill valves, flange inserts (17mm, 19mm, 21mm), USB cables, milk storage bags, pump storage bags, user manual, and nipple ruler.

Image 3: Contents of the MomMed S33 1-Pack, including one motor, milk container, silicone diaphragm, duckbill valve, flange inserts (17mm, 19mm, 21mm), USB cable, milk storage bags, pump storage bag, user manual, and nipple ruler.
Key Components:
- Motor Unit: The main pumping mechanism with control buttons and LED display.
- Milk Collector Cup: Collects expressed milk.
- Silicone Flange: Soft, comfortable part that comes into contact with the breast. Includes 17mm, 19mm, and 21mm inserts for optimal fit.
- Silicone Diaphragm: Creates the vacuum for suction.
- Duckbill Valve: Controls milk flow into the collector.
- USB Type-C Cable: For charging the pump.
- Nipple Sizing Card: Helps determine the correct flange size.
- Milk Storage Bags: For storing expressed milk.
- Cleaning Brush: For easy cleaning of components.
- Dust Cover: To keep the pump hygienic when not in use.
- Storage Pouch: For convenient transport and storage.
4. Setup
Before first use, sterilize all parts that come into contact with breast milk (flange, diaphragm, valve, milk collector cup). The motor unit should not be washed or sterilized.
4.1 Charging the Pump
Connect the USB Type-C cable to the charging port on the motor unit and plug the other end into a USB power source. The LED display will indicate charging status. A full charge takes approximately 2 hours and provides up to 2.5 hours of continuous use.

Image 4: The MomMed S33 pump connected to a USB-C charging cable, illustrating its portability and ease of charging.
4.2 Assembling the Pump
Follow these steps to assemble your breast pump:
- Step 1: Place the silicone diaphragm onto the collector and seal it tightly.
- Step 2: Insert the duckbill valve into the collector firmly, ensuring no gaps.
- Step 3: Attach the silicone flange (with the correct insert size) to the collector securely, without gaps.
- Step 4: Assemble the pump motor with the milk collector, making sure there are no gaps and it is securely fastened.

Image 5: Visual guide demonstrating the four quick steps to assemble the MomMed S33 Wearable Breast Pump.
4.3 Choosing the Correct Flange Size
Using the correct flange size is crucial for comfort and effective milk expression. Use the provided nipple sizing card to measure your nipple diameter. The MomMed S33 includes 17mm, 19mm, and 21mm flange inserts to help you find the best fit.
5. Operating Instructions
The MomMed S33 offers 4 pumping modes and 9 adjustable suction levels for personalized comfort and efficiency.
5.1 Powering On/Off
- Press and hold the power button to turn the pump on or off.
- The pump features an auto-shutdown in 30 minutes to prevent over-pumping.
5.2 Selecting Pumping Modes
Press the mode button to cycle through the 4 available modes:
- Stimulation Mode: Short, alternating suction to trigger let-down.
- Expression Mode: Slow, deep suction for efficient milk flow.
- Massage Mode: Quick, gentle pulses to relax and relieve tension.
- Automatic Mode: Transitions from gentle to deep suction, mimicking a baby's natural rhythm.

Image 6: Diagram illustrating the four distinct pumping modes and their corresponding suction patterns.
5.3 Adjusting Suction Levels
Use the '+' and '-' buttons to adjust the suction intensity within each mode. There are 9 levels to choose from, allowing you to find your most comfortable and effective setting.
5.4 Night Light Feature
The built-in night light allows for discreet pumping in low-light conditions without disturbing your baby or partner. Activate the night light by pressing the dedicated light button on the motor unit.

Image 7: A user demonstrating the MomMed S33 with its night light feature, ideal for nighttime pumping sessions.
5.5 One-Tap Pause Control
The pump features a one-tap pause button, allowing you to temporarily stop pumping to adjust the fit or attend to your baby without ending the session. Tap the button again to resume pumping.
5.6 Pouring Milk
After pumping, carefully remove the motor unit and pour the expressed milk from the collector into a storage bottle or bag. The collector is designed for easy pouring.
Video 1: Demonstration of pouring expressed milk from the MomMed S33 Wearable Breast Pump into a storage container.
6. Maintenance & Cleaning
Proper cleaning and maintenance are essential for hygiene and the longevity of your breast pump.
6.1 Disassembly for Cleaning
Disassemble all parts that come into contact with breast milk: the silicone flange, flange insert, silicone diaphragm, duckbill valve, and milk collector cup. The motor unit should not be disassembled or washed.

Image 8: The four main parts of the MomMed S33 that require cleaning, highlighting the simple design for easy maintenance.
6.2 Cleaning Instructions
- Rinse all disassembled parts under cold running water immediately after use to remove milk residue.
- Wash parts in warm, soapy water using a mild dish soap. Use the provided cleaning brush to reach all crevices.
- Rinse thoroughly with clean water.
- Air dry all parts on a clean paper towel or drying rack. Do not use a cloth towel as it may leave lint.
- Ensure all parts are completely dry before reassembling or storing to prevent mold or bacterial growth.
6.3 Sterilization
Sterilize all milk-contacting parts regularly (e.g., once a day or as recommended by your healthcare provider). You can sterilize by boiling in water for 5 minutes, using a steam sterilizer, or a dishwasher (top rack only, if dishwasher safe).
6.4 Storage
Store the clean and dry pump components in the provided storage pouch or a clean, dry container. Keep the motor unit in a dry place away from direct sunlight.
7. Troubleshooting
If you encounter any issues with your MomMed S33 Wearable Breast Pump, refer to the following common problems and solutions:
| Problem | Possible Cause | Solution |
|---|---|---|
| No suction or weak suction |
|
|
| Pump not turning on |
|
|
| Milk leakage |
|
|
| Pain or discomfort during pumping |
|
|
If the problem persists after trying these solutions, please contact MomMed customer support.
8. Specifications
- Model Number: S33
- Brand: MOMMED
- Material Type: Silicone
- Battery: 1 12V battery (included)
- Charging Time: Approximately 2 hours
- Continuous Use Time: Up to 2.5 hours
- Noise Level: Ultra-Quiet (<45dB)
- Pumping Modes: 4 (Stimulation, Expression, Massage, Automatic)
- Suction Levels: 9 adjustable levels
- Flange Inserts Included: 17mm, 19mm, 21mm
- Additional Features: Double Pump (for 2-pack), LCD Display, Low Noise, Memory Function, Night Light, One-Tap Pause Control, Leak-Proof Double-Seal Design
- Item Weight: 1.39 Kilograms (for 2-pack)
- Package Dimensions: 10.16 x 6.93 x 5.51 inches
9. Warranty & Support
MomMed products are manufactured to high-quality standards. For warranty information, product support, or to purchase replacement parts, please refer to the contact information provided in your product packaging or visit the official MomMed website. Please retain your proof of purchase for warranty claims.