1. Important Safety Information
Please read all instructions carefully before using the HORIGEN Wearable Breast Pump E4. Keep this manual for future reference.
- This product is intended for personal use by lactating mothers to express breast milk.
- Do not use this device for any purpose other than its intended use.
- Always inspect the pump components for damage before each use. Discard and replace any damaged parts.
- Keep the pump motor unit dry. Do not immerse it in water or other liquids.
- Ensure all parts that come into contact with breast milk are cleaned and sterilized according to the instructions before first use and after each subsequent use.
- Do not leave the pump unattended while in use.
- Keep out of reach of children.
- If you experience pain or discomfort during pumping, discontinue use and consult a healthcare professional.
- Use only the provided power adapter and cable for charging.
2. Product Overview and Components
The HORIGEN Wearable Breast Pump E4 is designed for discreet and efficient milk expression. It features APP control, multiple modes and levels, and a comfortable design.
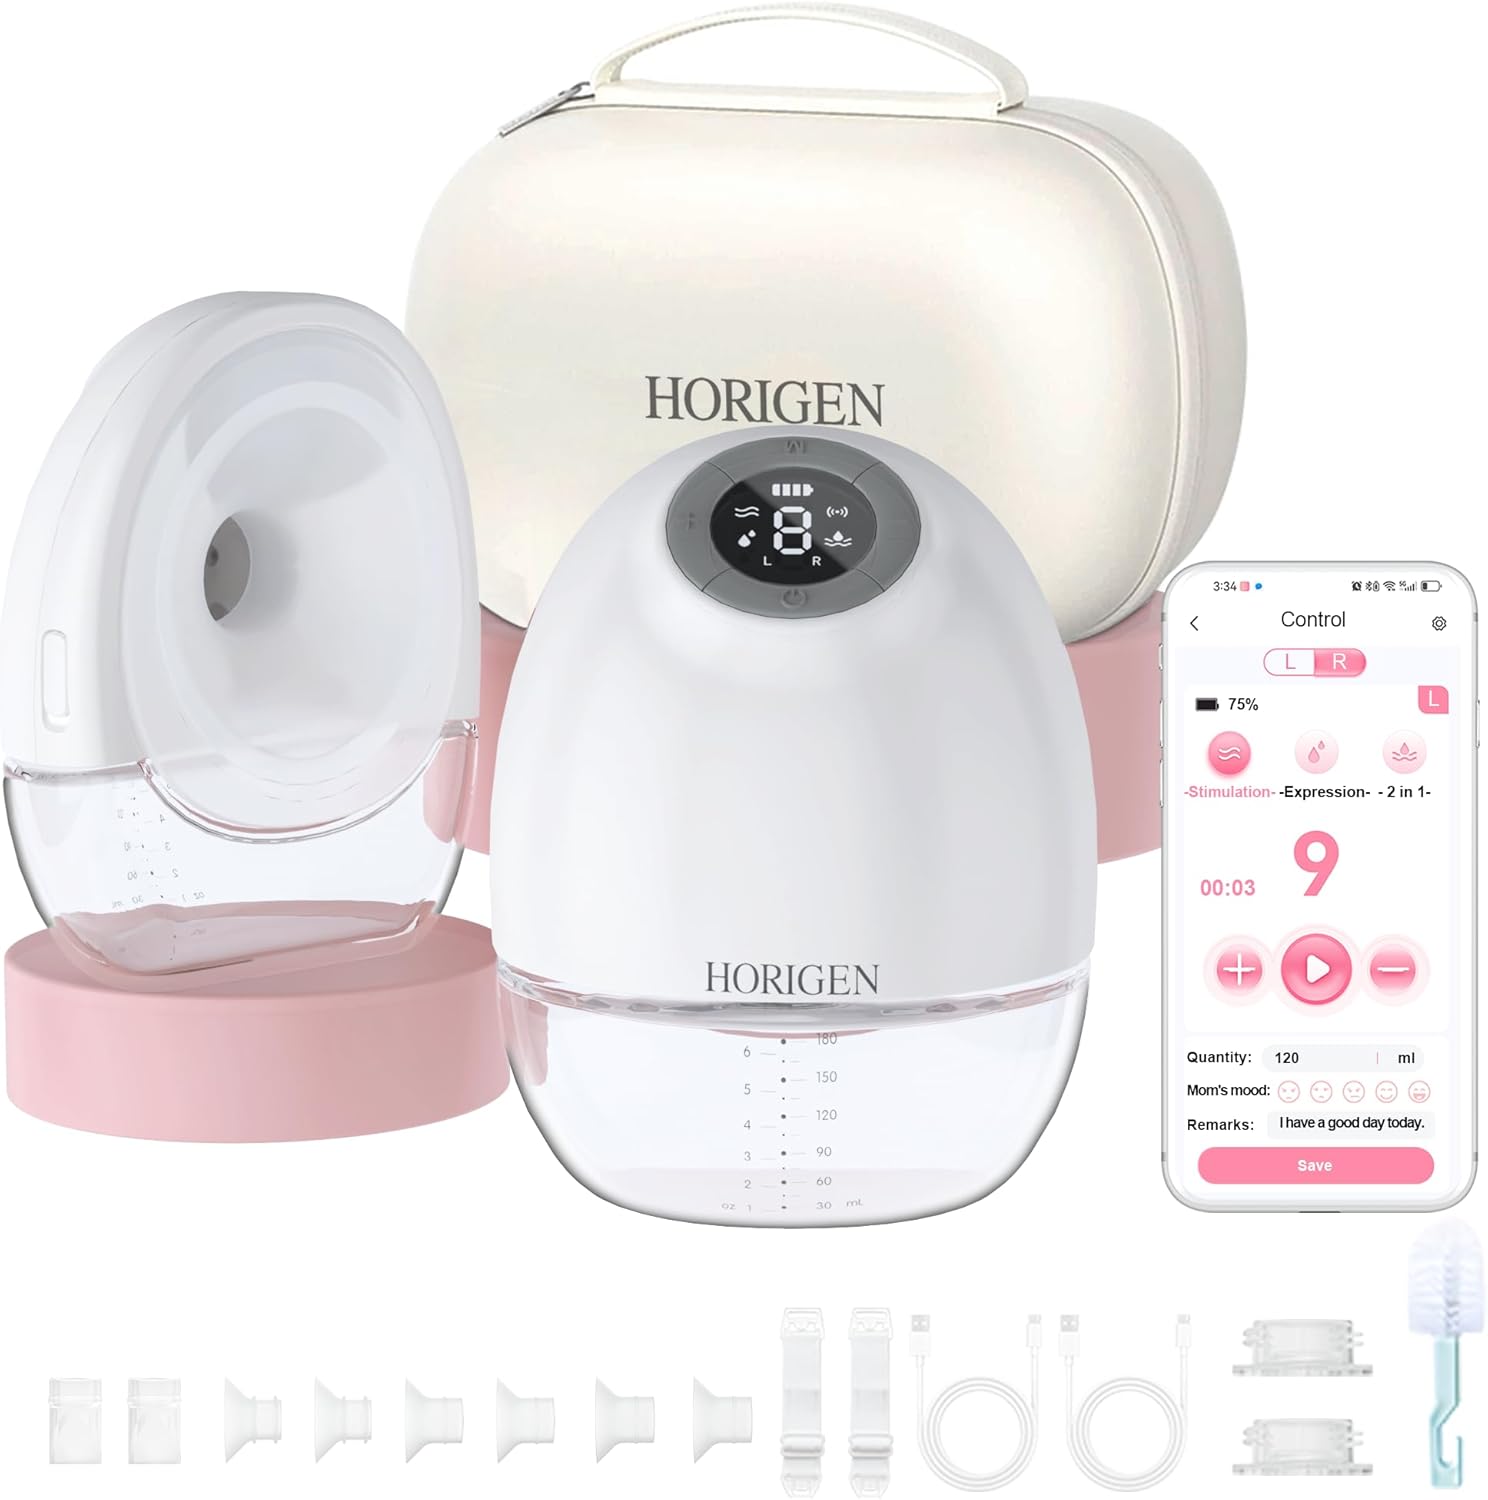
Image: The HORIGEN Wearable Breast Pump E4, showing the main pump unit, milk collector, and various accessories including flanges, USB-C cable, and cleaning brush.
What's in the Box:

Image: A detailed view of all included components: 25mm Flange (x2), Breast Shield (x2), Diaphragm (x2), Pump Motor (x2), 180ml Milk Collector (x2), Silicone Valve (x2), 21mm Flange (x2), 17mm Flange (x2), 15mm Flange (x2), Milk Collector Lid (x2), Converters (x2), USB Type-C Cable (x2), Bra Adjuster (x2), Clean Brush (x1), Flange Size Ruler (x1), Instructions (x1), Storage Case (x1).
- Pump Motor Unit (x2)
- Milk Collector (180ml) (x2)
- Breast Shield (x2)
- Silicone Flange (25mm, 21mm, 17mm, 15mm) (x2 each size)
- Diaphragm (x2)
- Silicone Valve (x2)
- Milk Collector Lid (x2)
- Converters (x2)
- USB Type-C Cable (x2)
- Bra Adjuster (x2)
- Cleaning Brush (x1)
- Flange Size Ruler (x1)
- Instruction Manual (x1)
- Storage Case (x1)
3. Setup and Assembly
3.1 Initial Charging
Before first use, charge the pump motor unit for 2 hours using the provided USB Type-C cable and a 5V-1A power adapter. The battery indicator on the display will show charging status.
Video: Demonstrates the initial charging process of the HORIGEN E4 breast pump, showing how to connect the USB-C cable to the pump unit.
3.2 Assembly Procedure
Follow these steps to assemble your breast pump:

Image: Visual guide for assembling the breast pump. Steps include attaching the diaphragm and silicone valve to the breast shield, pushing the assembled breast shield into the pump motor, assembling the pump motor and milk collector, and pushing the flange into the breast shield, ensuring alignment.
- Attach the diaphragm and the silicone valve to the breast shield.
- Push the assembled breast shield into the pump motor until it seals well.
- Assemble the pump motor and milk collector to ensure secure installation.
- Push the flange into the Breast Shield. Make sure it's aligned and assembled in place.
3.3 Flange Sizing
Selecting the correct flange size is crucial for comfort and effective milk expression. Use the provided flange size ruler to determine your nipple diameter.

Image: A visual guide demonstrating how to measure nipple size and choose the appropriate flange insert (15mm, 17mm, 21mm, 25mm) for a proper fit.
Recommended Insert Size based on Nipple Diameter:
- 15mm: 11-13mm Nipple Diameter
- 17mm: 13-15mm Nipple Diameter
- 21mm: 15-19mm Nipple Diameter
- 25mm: 19mm-above Nipple Diameter
4. Operating Instructions
4.1 Wearing the Pump
Once assembled, place the pump unit inside your nursing bra, ensuring the flange is centered over your nipple. The drop-shaped design allows for a discreet and comfortable fit.
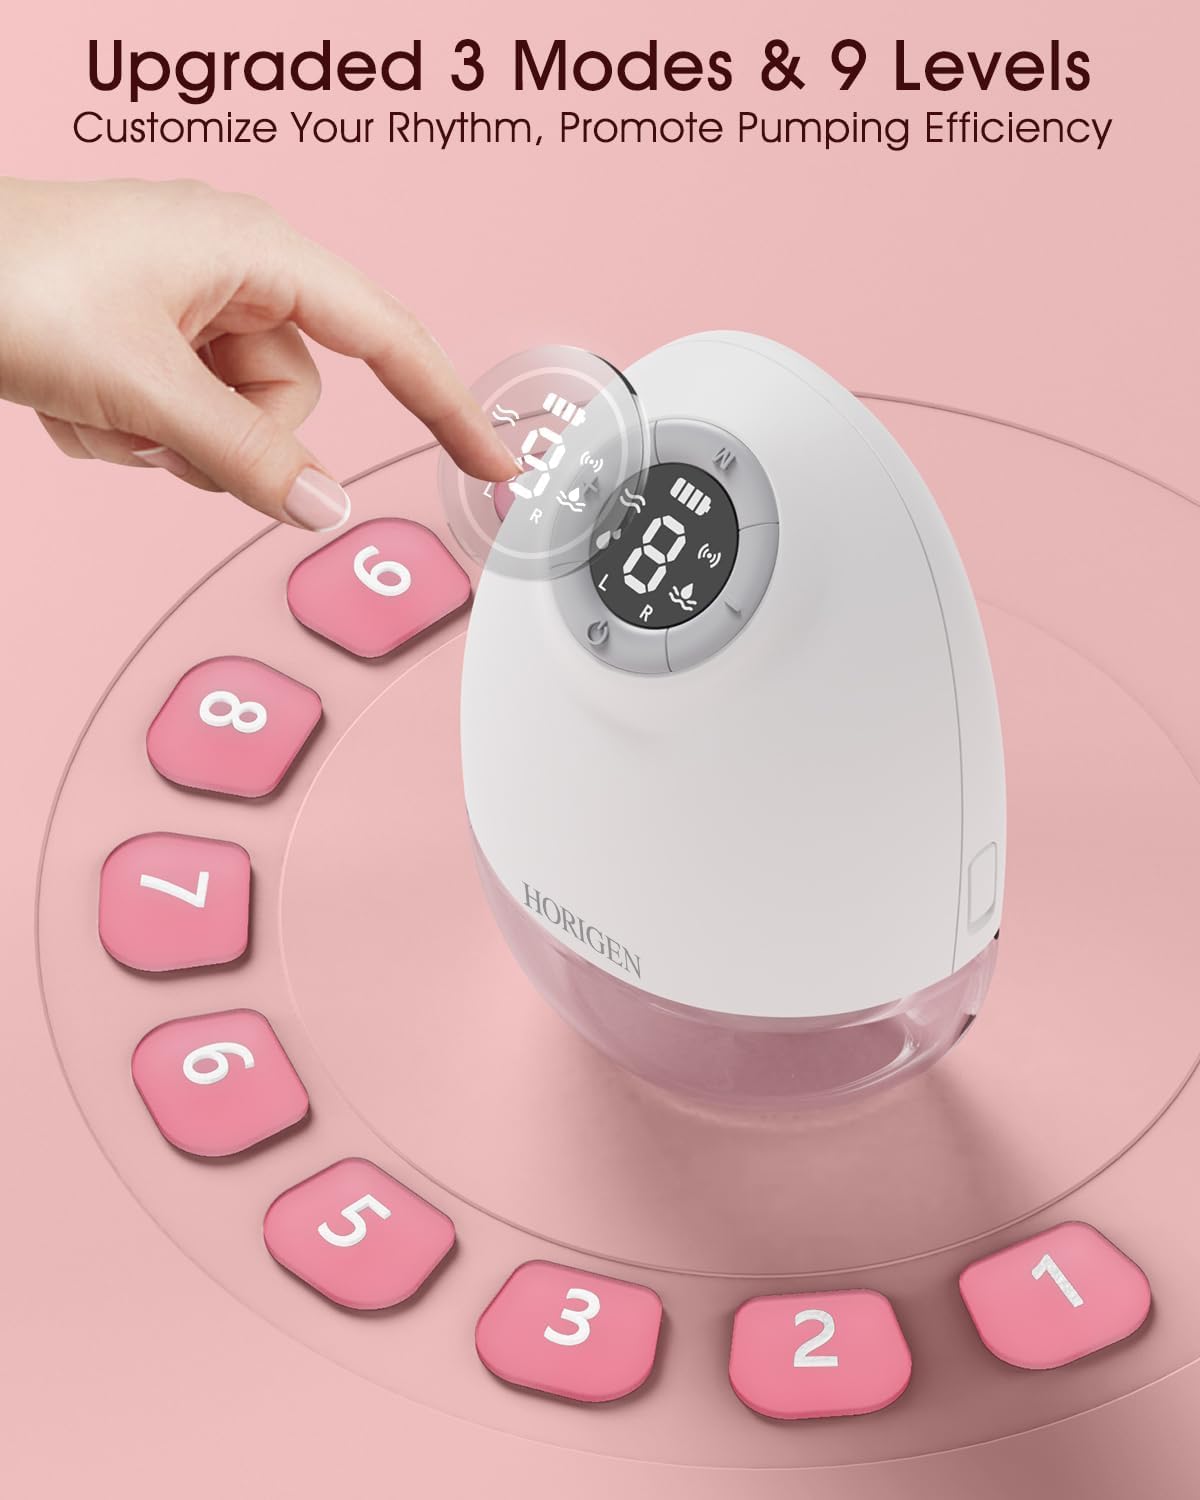
Image: A woman demonstrating how the HORIGEN E4 breast pump fits discreetly within a bra, highlighting its wearable design.
4.2 Power On/Off and Mode Selection
Press the power button on the pump motor unit to turn it on. The pump offers 3 modes and 9 levels of intensity. Use the mode button (M) to cycle through Stimulation, Expression, and Mixed modes. Use the '+' and '-' buttons to adjust the intensity level within each mode.

Image: A close-up of the pump's control panel, illustrating the digital display and buttons for power, mode selection, and intensity adjustment.
4.3 APP Control
The HORIGEN E4 breast pump can be controlled via the "HORIGEN" app on your smartphone. This allows for remote control, tracking of pumping sessions, and personalized settings.
Video: Demonstrates connecting the HORIGEN E4 breast pump to the smartphone app and controlling its functions, including mode and intensity adjustments.
- Download the "HORIGEN" app from your device's app store.
- Ensure Bluetooth is enabled on your smartphone.
- Turn on the breast pump.
- Open the app and follow the on-screen instructions to pair your pump.
- Once connected, you can control the pump's modes, levels, and track your pumping data.

Image: A screenshot of the HORIGEN app interface, showing options for stimulation, expression, and mixed modes, along with intensity levels and a timer.
4.4 Discreet and Portable Use
The compact and quiet design of the E4 allows for pumping in various settings, including at work, while driving, or during daily activities.
Video: Shows a user wearing the HORIGEN E4 breast pump in various scenarios, such as driving, working, and exercising, emphasizing its hands-free and discreet nature.

Image: A woman resting on a bed with a sleeping baby, illustrating the quiet operation of the breast pump (less than 50 dB).
5. Cleaning and Maintenance
Proper cleaning and sterilization of your breast pump parts are essential for hygiene and product longevity.
5.1 Disassembly for Cleaning
Disassemble the washable parts of the pump after each use:

Image: Shows the breast pump linker, milk collector, valve, diaphragm, and double-layer flange separated for cleaning, emphasizing food-grade safe and BPA-free materials.
Washable Parts:
- Silicone Flange
- Milk Collector
- Diaphragm
- Duckbill Valve
- Breast Shield
5.2 Cleaning Instructions
- Rinse the disassembled parts with water.
- Wash with dishwashing soap and warm water (approximately 86°F / 30°C).
- Rinse the parts thoroughly with water or place them on the top rack of a dishwasher.
5.3 Sterilization Tips
- Sterilize with boiling water for no more than 5 minutes.
- Alternatively, use a steam sterilizer or cold water sterilizing solution.
- After sterilization, dry with a clean cloth and place on a rack to air dry completely.
6. Milk Collection and Feeding
6.1 Pouring Milk
After pumping, carefully remove the milk collector from the pump motor unit and pour the expressed milk into a storage container or bottle.

Image: A four-step visual guide showing how to turn off the pump, remove the motor, unscrew the breast shield, and pour out the milk into a bottle.
6.2 Direct Feeding with Converter
The E4 breast pump includes converters that allow you to attach a standard teat (pacifier not included) directly to the milk collector for immediate feeding or convenient storage.

Image: A woman feeding a baby using the milk collector with a nipple attached, demonstrating the direct feeding feature.
7. Troubleshooting
If you encounter any issues with your HORIGEN Wearable Breast Pump E4, please refer to the following common problems and solutions:
| Problem | Possible Cause | Solution |
|---|---|---|
| No suction or weak suction |
|
|
| Pump not turning on |
|
|
| Milk leakage |
|
|
| Difficulty connecting to APP |
|
|
8. Specifications
- Model Number: HNR-US-2249BS1
- Brand: HORIGEN
- Material: Plastic (BPA-free, Tritan Eco)
- Number of Items: 2 (per pack)
- Color: White
- Special Feature: Wearable, APP Control, 3 Modes, 9 Levels
- Battery: 1300 mAh (up to 2 hours use / 6-7 sessions per full charge)
- Capacity: 6 ounces (180ml) per milk collector
- Noise Level: < 50 decibels
- Package Dimensions: 10.87 x 6.97 x 4.09 inches
- Item Weight: 2.64 Pounds
- Manufacturer: HORIGEN
9. Warranty and Support
For warranty information, product support, or to purchase replacement parts, please contact HORIGEN customer service. Refer to the product packaging or the official HORIGEN website for the most up-to-date contact details.
You can also reach out to the seller directly through your purchase platform for assistance.

Image: Illustrates options for contacting customer support, including through Amazon's order page to contact the seller.


