
1. Introduction
Thank you for choosing the L-mix BL-360 Mini Portable Smart Projector. This manual provides essential information for setting up, operating, and maintaining your device. Please read it thoroughly before use to ensure optimal performance and longevity of your projector.
The L-mix BL-360 is a compact, smart projector featuring 4K resolution support, 400 ANSI lumens brightness, and a 10000:1 contrast ratio. It runs on Android 11, offering built-in Wi-Fi (2.4G/5G) and Bluetooth 5.2 connectivity for seamless streaming and audio. Its 360° rotatable design allows for flexible projection in various environments.
2. What's in the Box
- L-mix BL-360 Projector
- Remote Control (AAA batteries not included)
- Power Cord
- User Manual (this document)
3. Product Overview
Familiarize yourself with the projector's components and controls.

Image: The L-mix BL-360 projector, a white spherical device with a black lens, shown alongside its remote control. The projector features a 360-degree rotatable stand.
3.1 Front View
- Projection Lens: Emits the image.
- Focus Sensor: Detects distance for automatic focus adjustment.
3.2 Rear View (Ports)
- Power Input: Connects to the power adapter.
- HDMI Port: Connects to external video sources (e.g., laptop, gaming console).
- USB Port: For connecting USB drives or other peripherals.
- Audio Output (R/L): For connecting external audio systems.
3.3 Remote Control
The included remote control allows for easy navigation and adjustment of projector settings. It requires two AAA batteries (not included).
4. Setup
4.1 Power Connection
- Connect the power cord to the projector's power input port.
- Plug the other end of the power cord into a suitable electrical outlet.
4.2 Remote Control Battery Installation
- Open the battery compartment on the back of the remote control.
- Insert two AAA batteries, ensuring correct polarity (+/-).
- Close the battery compartment.
4.3 Projector Placement
The BL-360 offers versatile placement options due to its 360° rotatable design.
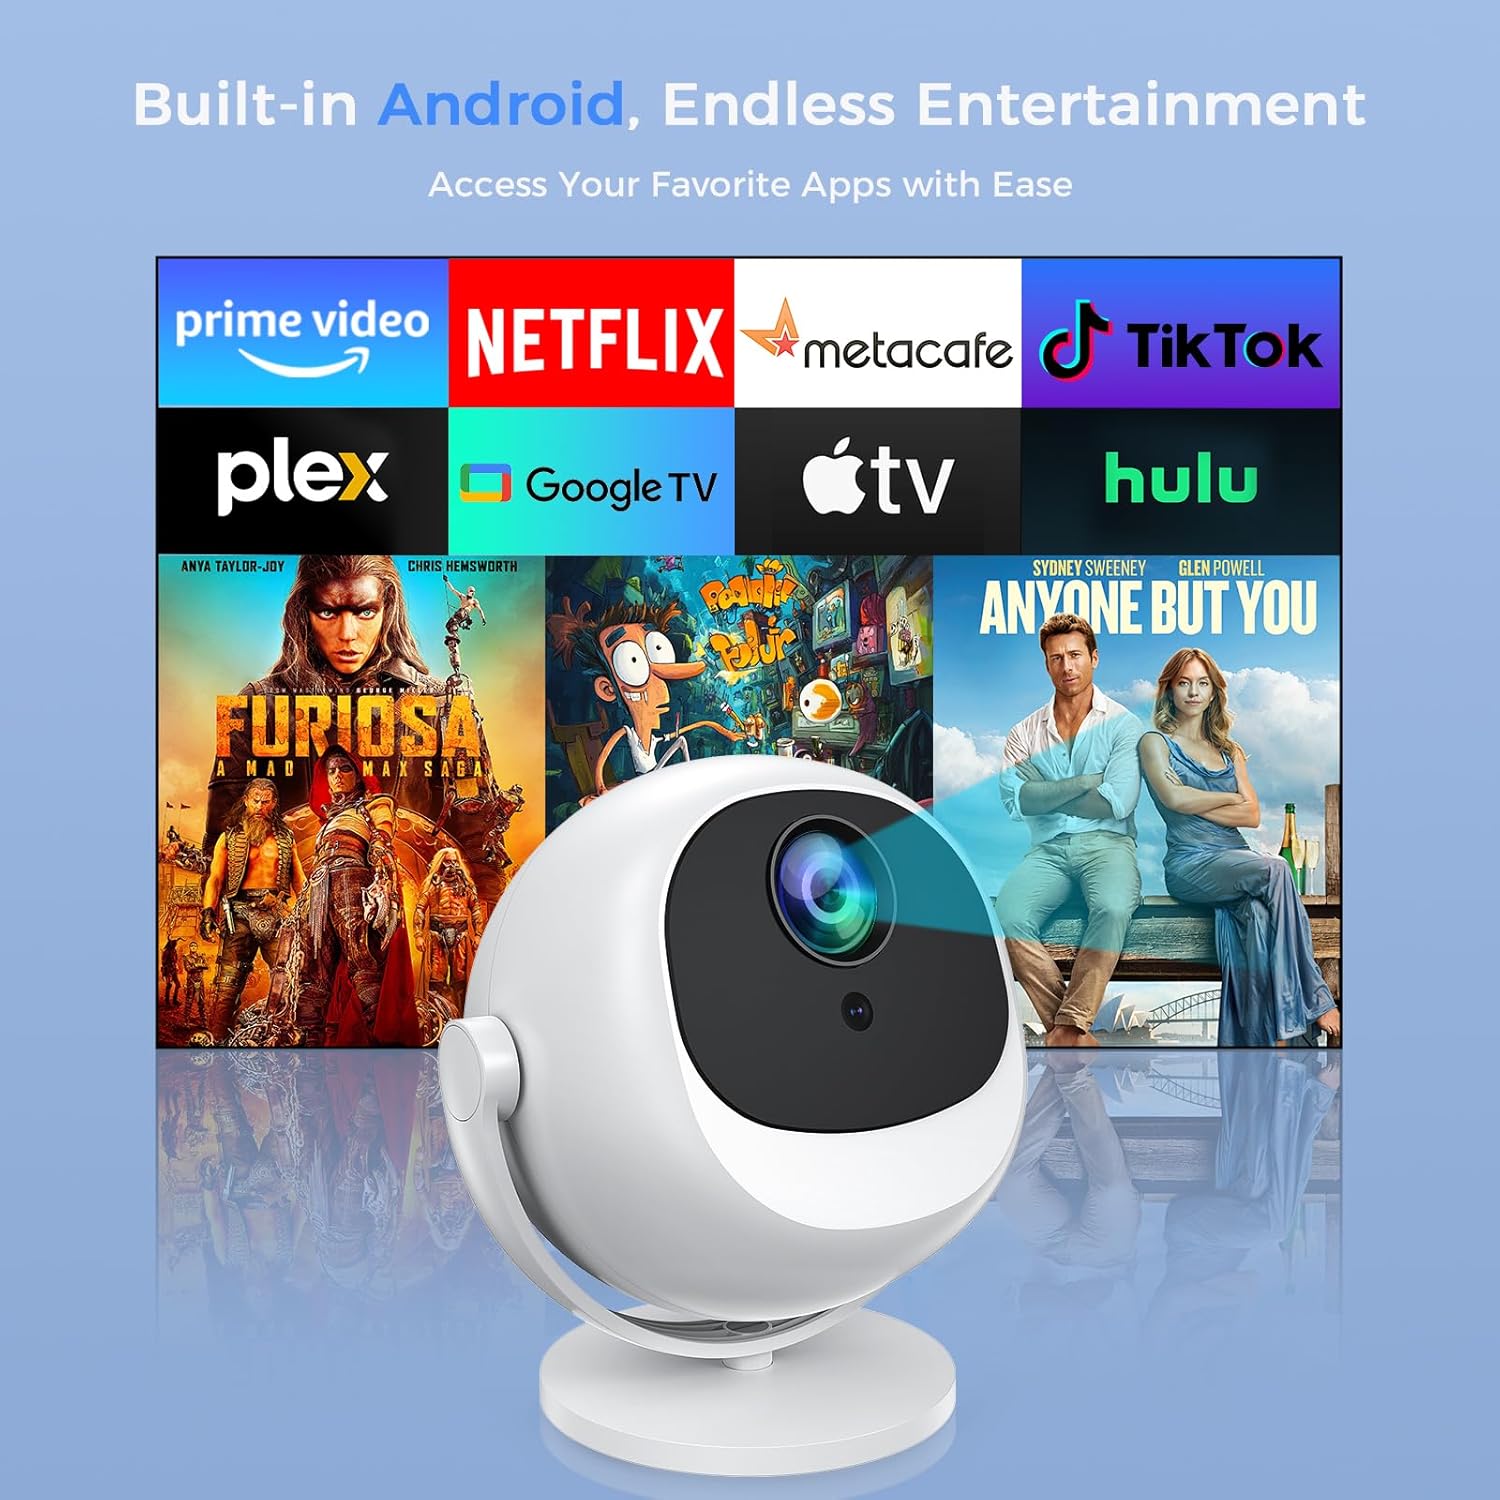
Image: Demonstrates various projector placement options including ceiling mount, tabletop use, and tripod mount, showing how the projector can project images of 35, 100, and 130 inches at different distances.
- Tabletop Use: Place the projector on a flat, stable surface.
- Tripod Mount: Attach the projector to a compatible tripod using the threaded hole on its base.
- Ceiling Mount: Securely mount the projector to the ceiling using a compatible mount (sold separately).
Ensure the projector is positioned to project onto a flat, light-colored surface or screen. Adjust the angle using the rotatable stand to achieve the desired projection area.
5. Operating Instructions
5.1 Power On/Off
Press the power button on the remote control or the projector to turn the device on or off.
5.2 Navigation
Use the directional buttons and 'OK' button on the remote control to navigate through the Android 11 interface. The 'Back' button returns to the previous screen, and the 'Home' button returns to the main menu.
5.3 Accessing Applications
The projector comes with built-in applications for entertainment. You can access these from the main interface.

Image: The projector's interface displaying icons for popular streaming services and apps, indicating its built-in Android operating system for entertainment.
To install additional applications, use the pre-installed app store or follow instructions for sideloading Android applications.
6. Connectivity
6.1 Wi-Fi Connection
- From the main menu, navigate to 'Settings'.
- Select 'Network & Internet' and then 'Wi-Fi'.
- Choose your desired Wi-Fi network from the list.
- Enter the password if prompted and select 'Connect'.
The projector supports both 2.4G and 5G Wi-Fi bands for stable connectivity.
6.2 Bluetooth Pairing
- Go to 'Settings' and select 'Connected Devices' or 'Bluetooth'.
- Turn on Bluetooth.
- Select 'Pair new device' and choose your Bluetooth audio device from the list.
- Confirm pairing on both devices if required.
6.3 Screen Mirroring
The projector supports wireless screen mirroring from iOS, Android, and Windows devices.

Image: Illustrates the projector's seamless wireless mirroring capabilities, supporting iOS, Android, and Windows devices via 2.4G and 5G dual-band Wi-Fi for smoother performance and ultra-low latency.
Ensure your mobile device and the projector are connected to the same Wi-Fi network. For some Android models, additional software support may be required.
7. Image Adjustment
Achieve a clear and properly aligned image using the following features:
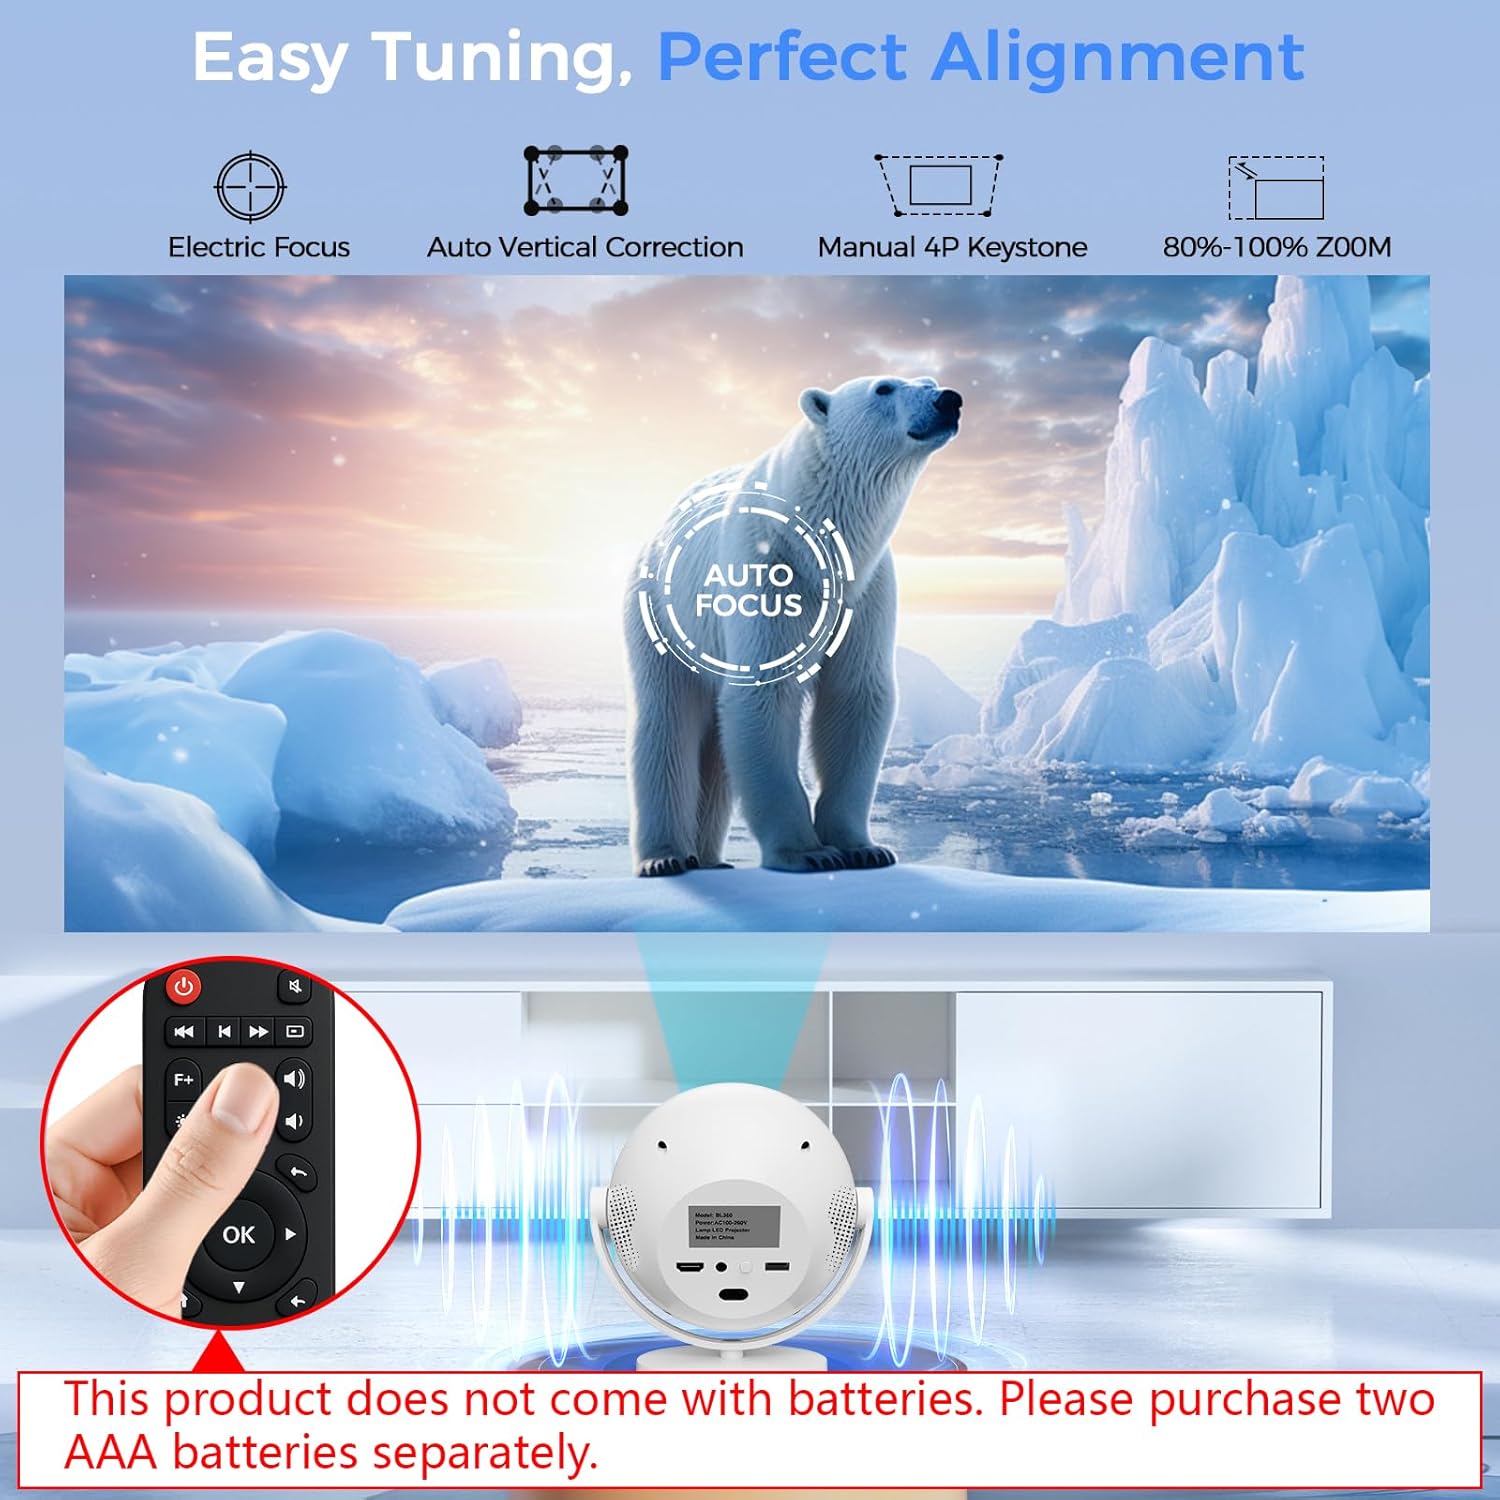
Image: A polar bear on an ice floe, with an 'AUTO FOCUS' overlay, demonstrating the projector's easy tuning features including electric focus, auto vertical correction, manual 4P keystone, and 80%-100% zoom.
- Electric Focus: The projector features automatic electric focus. If needed, manual adjustment can be made via the remote control.
- Auto Vertical Correction: The projector automatically corrects vertical keystone distortion.
- Manual 4P Keystone: For more precise image alignment, access the manual 4-point keystone correction in the settings menu.
- Zoom: Adjust the image size from 80% to 100% via the settings menu.
8. Audio
The BL-360 provides a comprehensive audio experience:

Image: The L-mix BL-360 projector emitting blue sound waves, emphasizing its crisp, clear, and powerful 6W speaker, ideal for casual viewing and personal entertainment.
- Built-in Speaker: Enjoy clear audio directly from the projector's 6W speaker.
- Bluetooth Audio: Connect to external Bluetooth speakers or headphones for an enhanced audio experience.
- External Audio Output: Use the R/L ports to connect to a home theater system or other audio equipment.
9. Maintenance
Proper maintenance ensures the longevity and performance of your projector.
- Cleaning: Use a soft, dry cloth to clean the projector's exterior. For the lens, use a specialized lens cleaning cloth and solution. Avoid abrasive cleaners.
- Dust-Proof Design: The projector features a dust-proof design to minimize internal dust accumulation.
- Lamp Life: The projector lamp has an estimated lifetime of 10,000 hours.
- Storage: When not in use for extended periods, store the projector in a cool, dry place, away from direct sunlight and extreme temperatures.
10. Troubleshooting
If you encounter issues, refer to the following common solutions:
- No Power: Ensure the power cord is securely connected to both the projector and the power outlet. Check if the outlet is functional.
- No Image: Verify that the lens cap is removed. Check input source settings if using an external device via HDMI. Adjust focus and keystone.
- Blurry Image: Use the electric focus function to sharpen the image. Ensure the projection surface is flat.
- Wi-Fi Disconnections: Ensure the projector is within range of your Wi-Fi router. Restart both the projector and the router. Check for firmware updates.
- Apps Glitching/Freezing: Restart the projector. Clear the cache of the problematic app in Android settings. Ensure sufficient storage space. Consider performing a software update.
- Remote Control Not Responding: Check and replace the AAA batteries. Ensure no obstructions between the remote and the projector's IR receiver.
10.1 Software Update (OTA)
Regularly updating the projector's software can resolve bugs and improve performance.
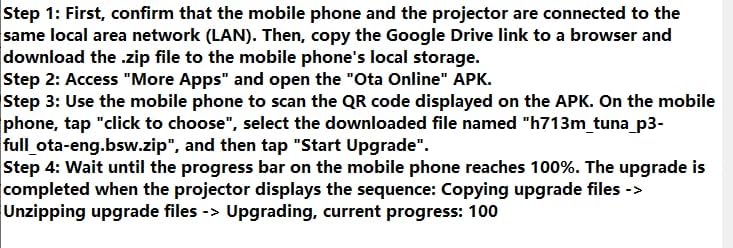
Image: Detailed steps for performing an Over-The-Air (OTA) software update, involving connecting the mobile phone and projector to the same network, downloading a .zip file, scanning a QR code, and initiating the upgrade process.
Step 1: Confirm that your mobile phone and the projector are connected to the same local area network (LAN). Then, copy the Google Drive link (if provided by support) to a browser and download the .zip file to your mobile phone's local storage.
Step 2: Access 'More Apps' on the projector and open the 'Ota Online' APK.
Step 3: Use your mobile phone to scan the QR code displayed on the APK. On the mobile phone, tap 'click to choose', select the downloaded file named 'h713m_tuna_p3-full_ota-eng.bsw.zip', and then tap 'Start Upgrade'.
Step 4: Wait until the progress bar on the mobile phone reaches 100%. The upgrade is completed when the projector displays the sequence: Copying upgrade files -> Unzipping upgrade files -> Upgrading, current progress: 100.
11. Specifications
| Brand | L-mix-Project |
| Model Number | BL-360 |
| Item Weight | 2.38 pounds |
| Product Dimensions | 4.6 x 8.5 x 5.5 inches |
| Color | White |
| Display Resolution | 1920 x 1080 (Supports 4K input) |
| Connectivity Technology | HDMI, USB, Wi-Fi (2.4G/5G), Bluetooth 5.2 |
| Special Features | Built-In Wi-Fi, Dust-Proof, Electric Focus, Lightweight, 360° Rotatable, Android 11 OS |
| Lamp Lifetime | 10,000 hours |
12. Warranty and Support
For warranty information and technical support, please refer to the official L-mix-Project website or contact their customer service directly. Keep your purchase receipt as proof of purchase.


