
Introduction
This manual provides detailed instructions for the assembly, operation, and maintenance of your Hovadova Computer Tower Stand. Designed to enhance your workspace, this stand features adjustable width, integrated cooling fans with RGB lighting, a built-in charging station, and mobile caster wheels for convenience and optimal PC performance.
Product Features
- Adjustable Width: The stand's width is adjustable from 9.05 inches to 12.59 inches, with a length of 16.92 inches, accommodating most computer towers.
- Enhanced Fan Cooling: Equipped with a powerful dual-fan design at the bottom to accelerate airflow, reduce system temperature, and extend the lifespan of your PC.
- RGB Lighting: Features RGB gradient lighting effects for an immersive visual experience, enhancing gaming atmosphere and desktop aesthetics.
- Built-In Power Panel: Includes a charging station with 4 outlets, a switch, and surge protector to minimize cable clutter and simplify power access for your PC and peripherals.
- Strong Construction: Made from high-grade steel and durable ABS material, providing a weight capacity of up to 110 lbs for secure computer placement.
- Practical Design: Designed with protective rails on both sides to prevent the computer case from falling. Whether you're using it at home or in the office, it's easy to reach and place, making it ideal for use as a computer tower, carpeted PC stand, under-desk PC stand, and desktop PC stand.
- Mobile with Caster Wheels: Four caster wheels allow for agile movement in all directions, even on carpets, with locking mechanisms for stability.
Package Contents
- Hovadova Computer Tower Stand (main components)
- 4 Caster Wheels (with locking mechanism)
- Assembly Instructions
- All necessary accessories for assembly
Setup Instructions
- Attach Caster Wheels: Carefully screw the four caster wheels into the designated holes on the bottom of the stand's base pieces. Ensure they are securely tightened.
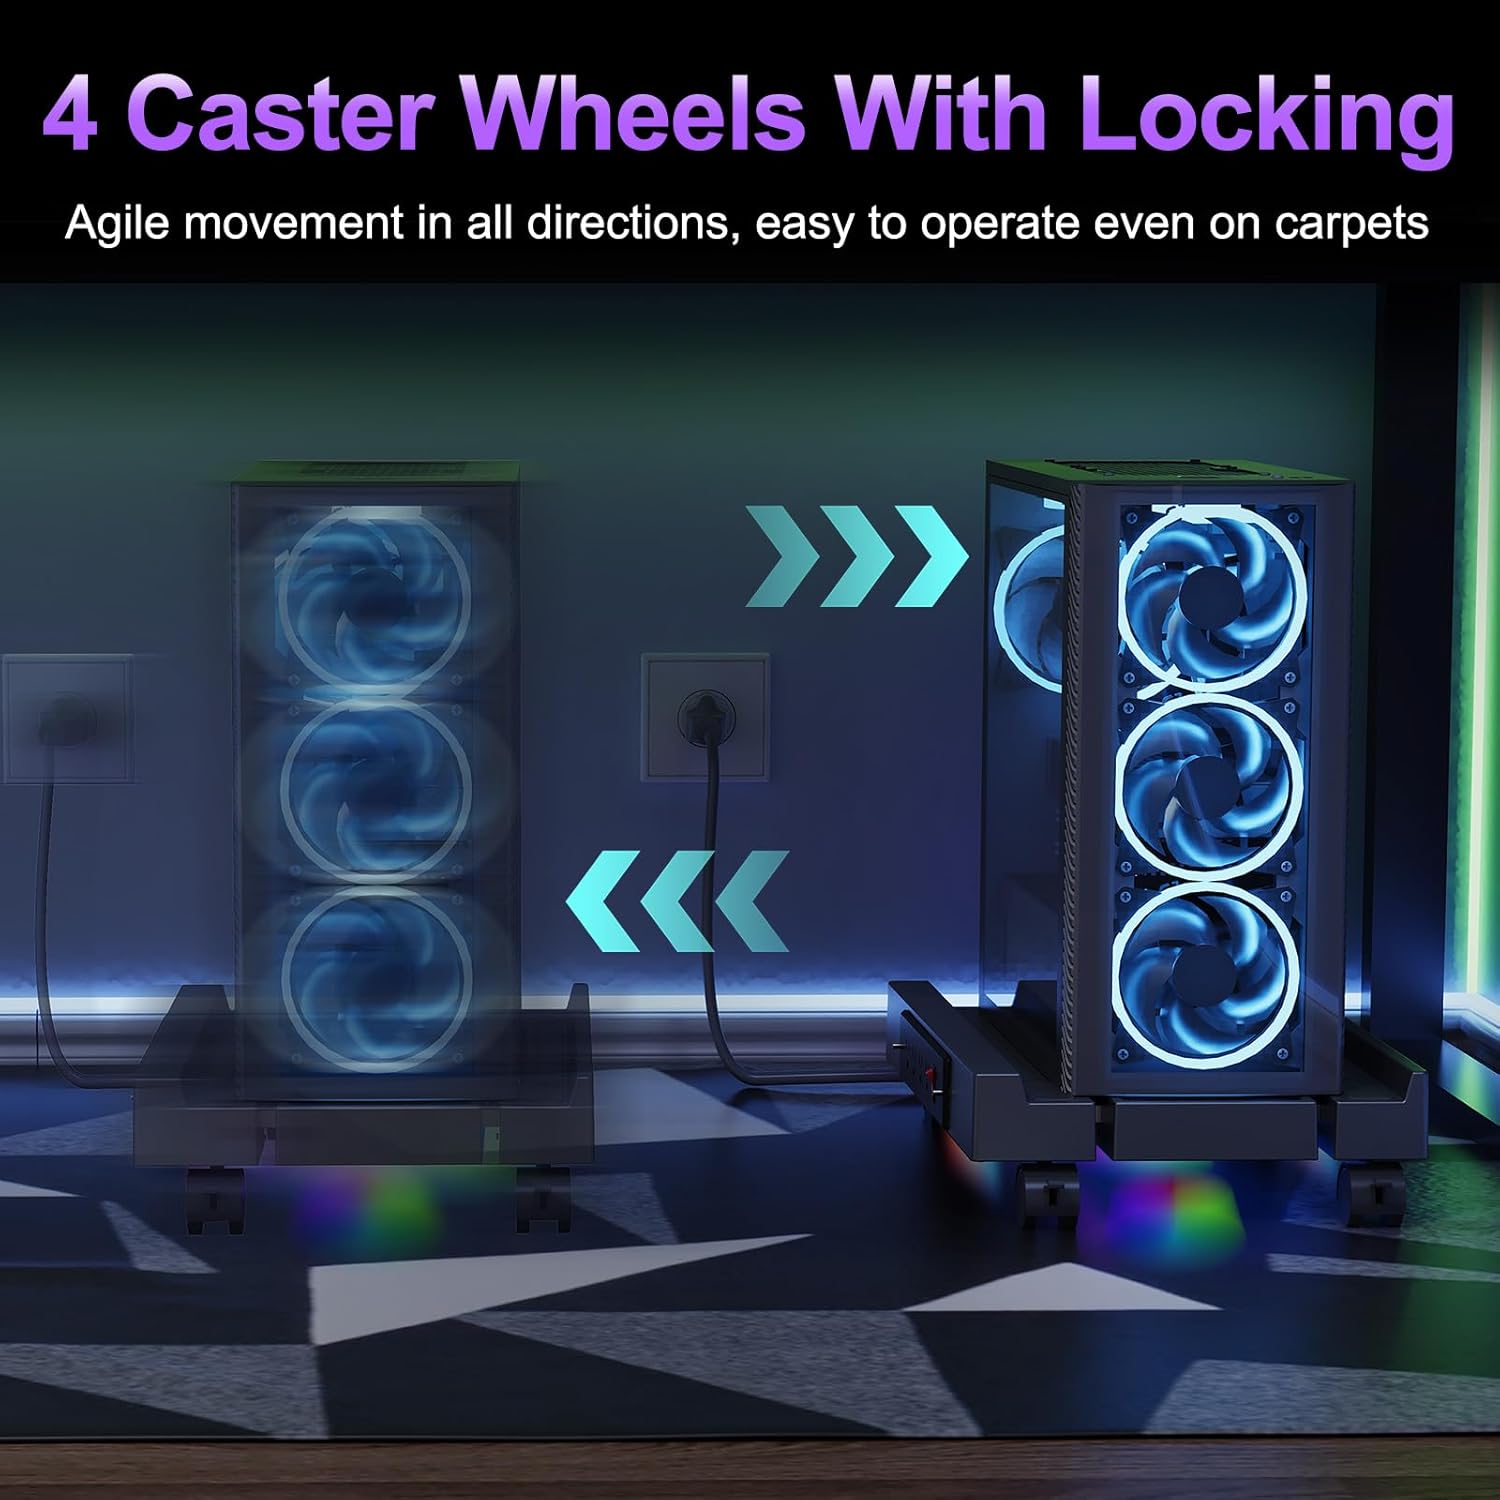
Figure 1: The stand features four caster wheels for easy mobility.
- Connect Stand Sections: Connect the two main sections of the stand using the provided silver brackets. Ensure the brackets are properly aligned and secured. The stand is designed to expand, so do not fully tighten until the desired width is set.
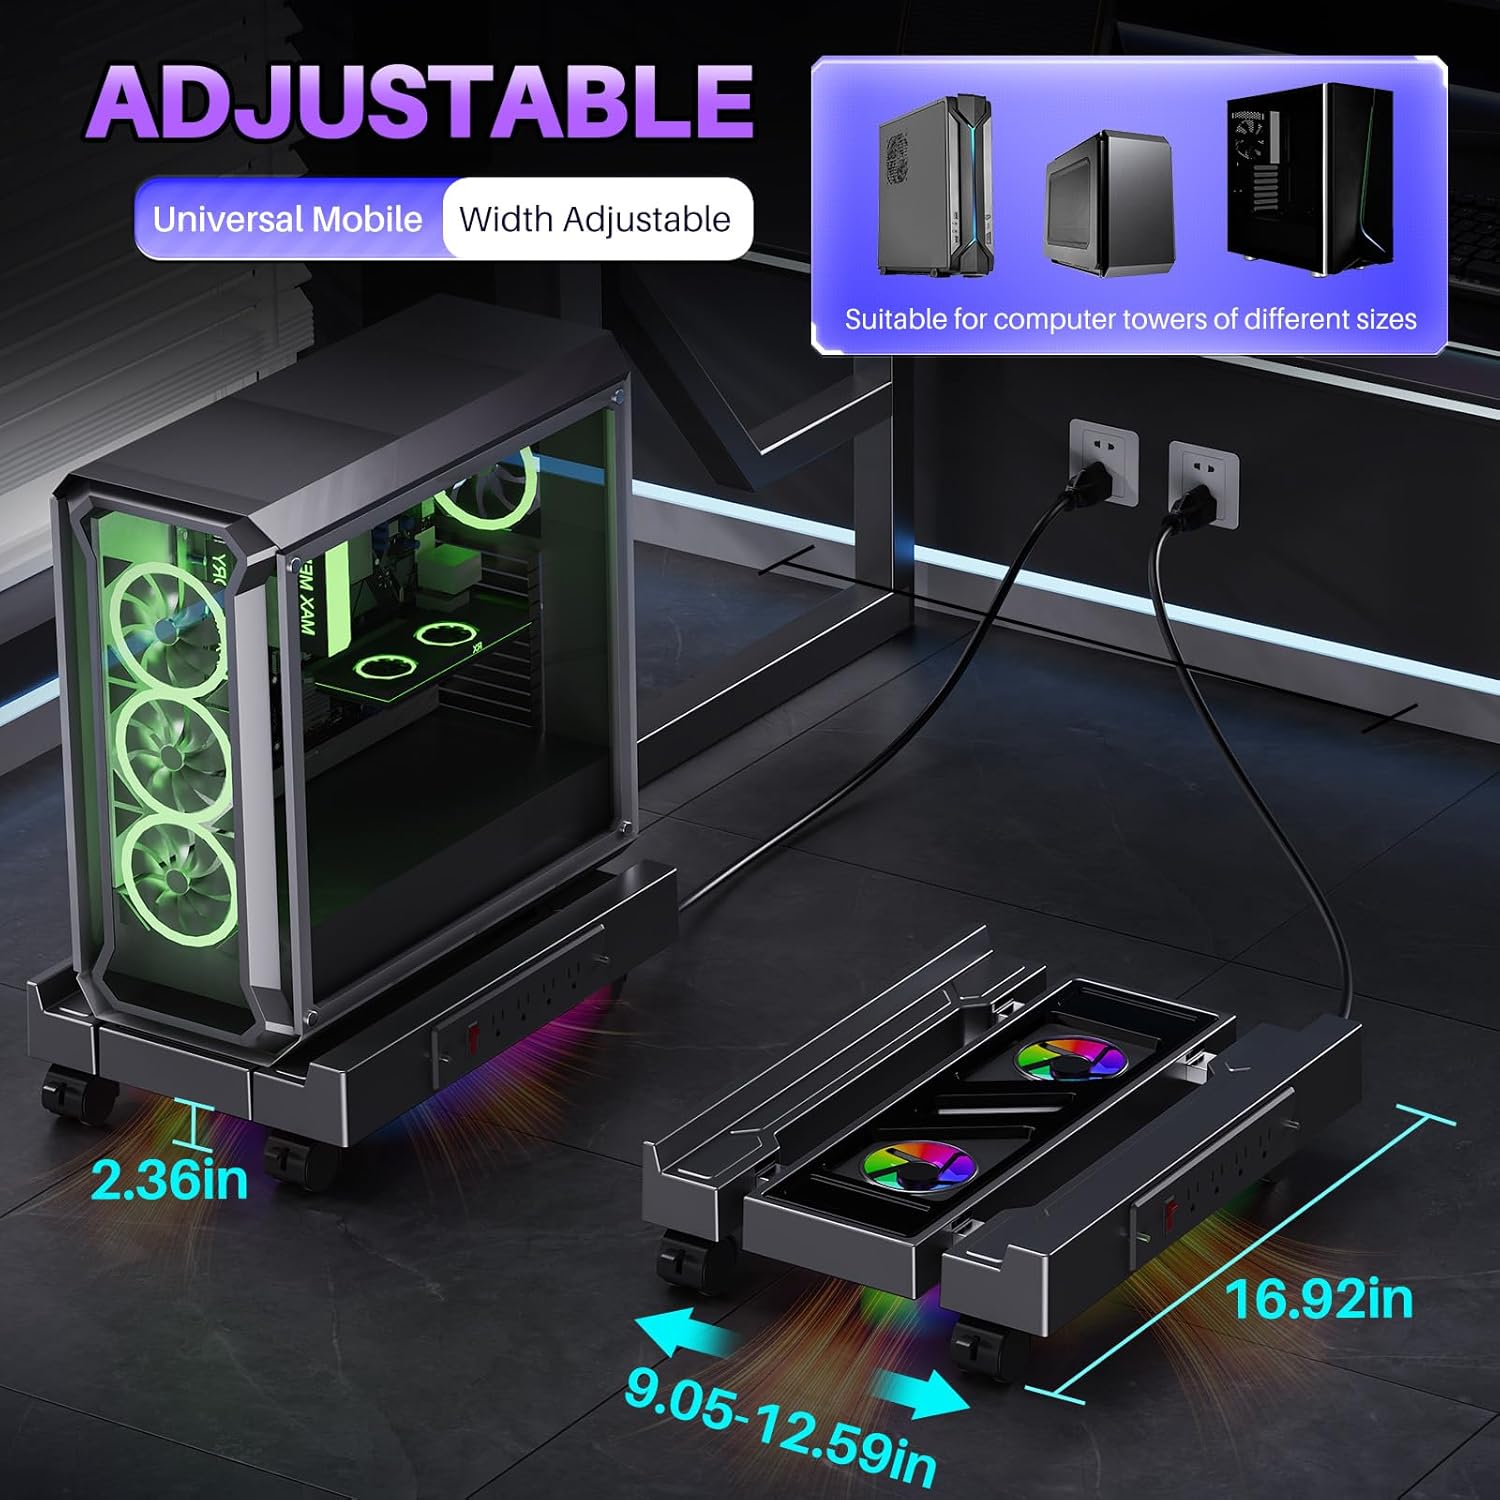
Figure 2: The stand's width is adjustable to fit various PC tower sizes.
- Adjust Width: Adjust the stand to the appropriate width for your computer tower. Once the desired width is achieved, secure the locking mechanisms on the brackets to hold the position firmly.
Video 1: Demonstrates the adjustable nature and load-bearing capacity of the stand.
- Place Computer Tower: Carefully place your computer tower onto the assembled stand. Ensure it is centered and stable within the protective rails.

Figure 3: Protective guardrails ensure the computer tower remains secure.
- Connect Power: Plug the USB cable from the stand into an available USB port on your computer or a USB power adapter. This will power the cooling fans and RGB lighting.

Figure 4: The stand integrates seamlessly into a computer setup, providing cooling and lighting.
Operating Instructions
- Cooling Fans: The dual cooling fans activate automatically when the USB power is connected. They provide efficient airflow to dissipate heat from your computer tower.

Figure 5: The dual fans actively cool your PC.
- RGB Lighting: The RGB gradient lighting effects will illuminate when the stand is powered. The lighting cycles through various colors, enhancing the visual appeal of your setup.

Figure 6: Enjoy dynamic RGB lighting effects.
- Power Strip: Utilize the built-in 4-outlet power strip with a switch and surge protector to connect your PC and other peripherals. Flip the red switch to turn the power strip on or off.

Figure 7: The integrated power strip provides convenient power access.
- Locking Wheels: To keep the stand stationary, push down the locking levers on the caster wheels. To move the stand, lift the levers to unlock the wheels.
Maintenance
Regular maintenance of the cooling fans is crucial for optimal performance and longevity of your computer tower stand. Follow these steps for fan maintenance:
- Disconnect Power: Disconnect the USB power source from the stand and allow the fans to cool completely before beginning any maintenance.
- Remove Fan Screws: Using an appropriate screwdriver, systematically remove the screws and any fasteners securing the fan. Place screws on a magnetic pad or small container to prevent loss.
- Remove Fan: To remove the fan, grasp opposite corners of the fan frame with your thumb and fingers. Apply steady pressure to the opposite side and gently lift the fan vertically. Repeat for the other fan.
- Remove Fan Blades: Carefully pull out the fan blades. This may require considerable force. If needed, use tools like pliers to assist.
- Lubricate Bearings: Drip lubricating oil (or vegetable oil) into the circular bearing holes of the fan.
- Reinstall Fan Blades: Align the fan blades with the bearing holes and press firmly until a distinct click indicates successful installation.
- Reinstall Fan: Reinstall the serviced fan into its original position on the product. Secure the fan by tightening all screws and ensuring all components are properly fastened.
Video 2: Detailed steps for fan maintenance, including removal, lubrication, and reinstallation.
Troubleshooting
- Fans/Lights Not Working:
- Ensure the USB cable is securely plugged into a working USB port or power adapter.
- Check if the power strip switch is in the "ON" position.
- Verify that the USB port on your computer is active and providing power.
- Stand Not Moving Smoothly:
- Ensure all caster wheels are unlocked.
- Check for any obstructions around the wheels.
- Clean any debris or hair from the wheel axles.
- Computer Tower Unstable:
- Confirm the stand's width is correctly adjusted and the locking mechanisms are engaged.
- Ensure the protective rails are properly positioned and not damaged.
- Verify the stand is placed on a flat, stable surface.
Specifications
| Feature | Detail |
|---|---|
| Package Dimensions | 17.52 x 8.15 x 4.21 inches |
| Item Weight | 3.52 pounds |
| Adjustable Width Range | 9.05 - 12.59 inches |
| Length | 16.92 inches |
| Weight Capacity | Up to 110 lbs |
| Material | High-grade Steel, ABS |
| Power Strip Rating | 120V/12A/1500W |
| Mounting Type | Floor Stand |
Warranty and Support
For warranty information or technical support, please refer to the contact details provided with your purchase or visit the official Hovadova website. Keep your purchase receipt for warranty claims.