1. Introduction
The Nuynix PS31H 20000mAh Solar Power Bank is a versatile and robust portable charging solution designed for both everyday use and outdoor adventures. It features a high-capacity battery, wireless charging capabilities, multiple output ports, and an integrated solar panel for supplementary charging. This manual provides detailed instructions for the safe and efficient operation and maintenance of your device.
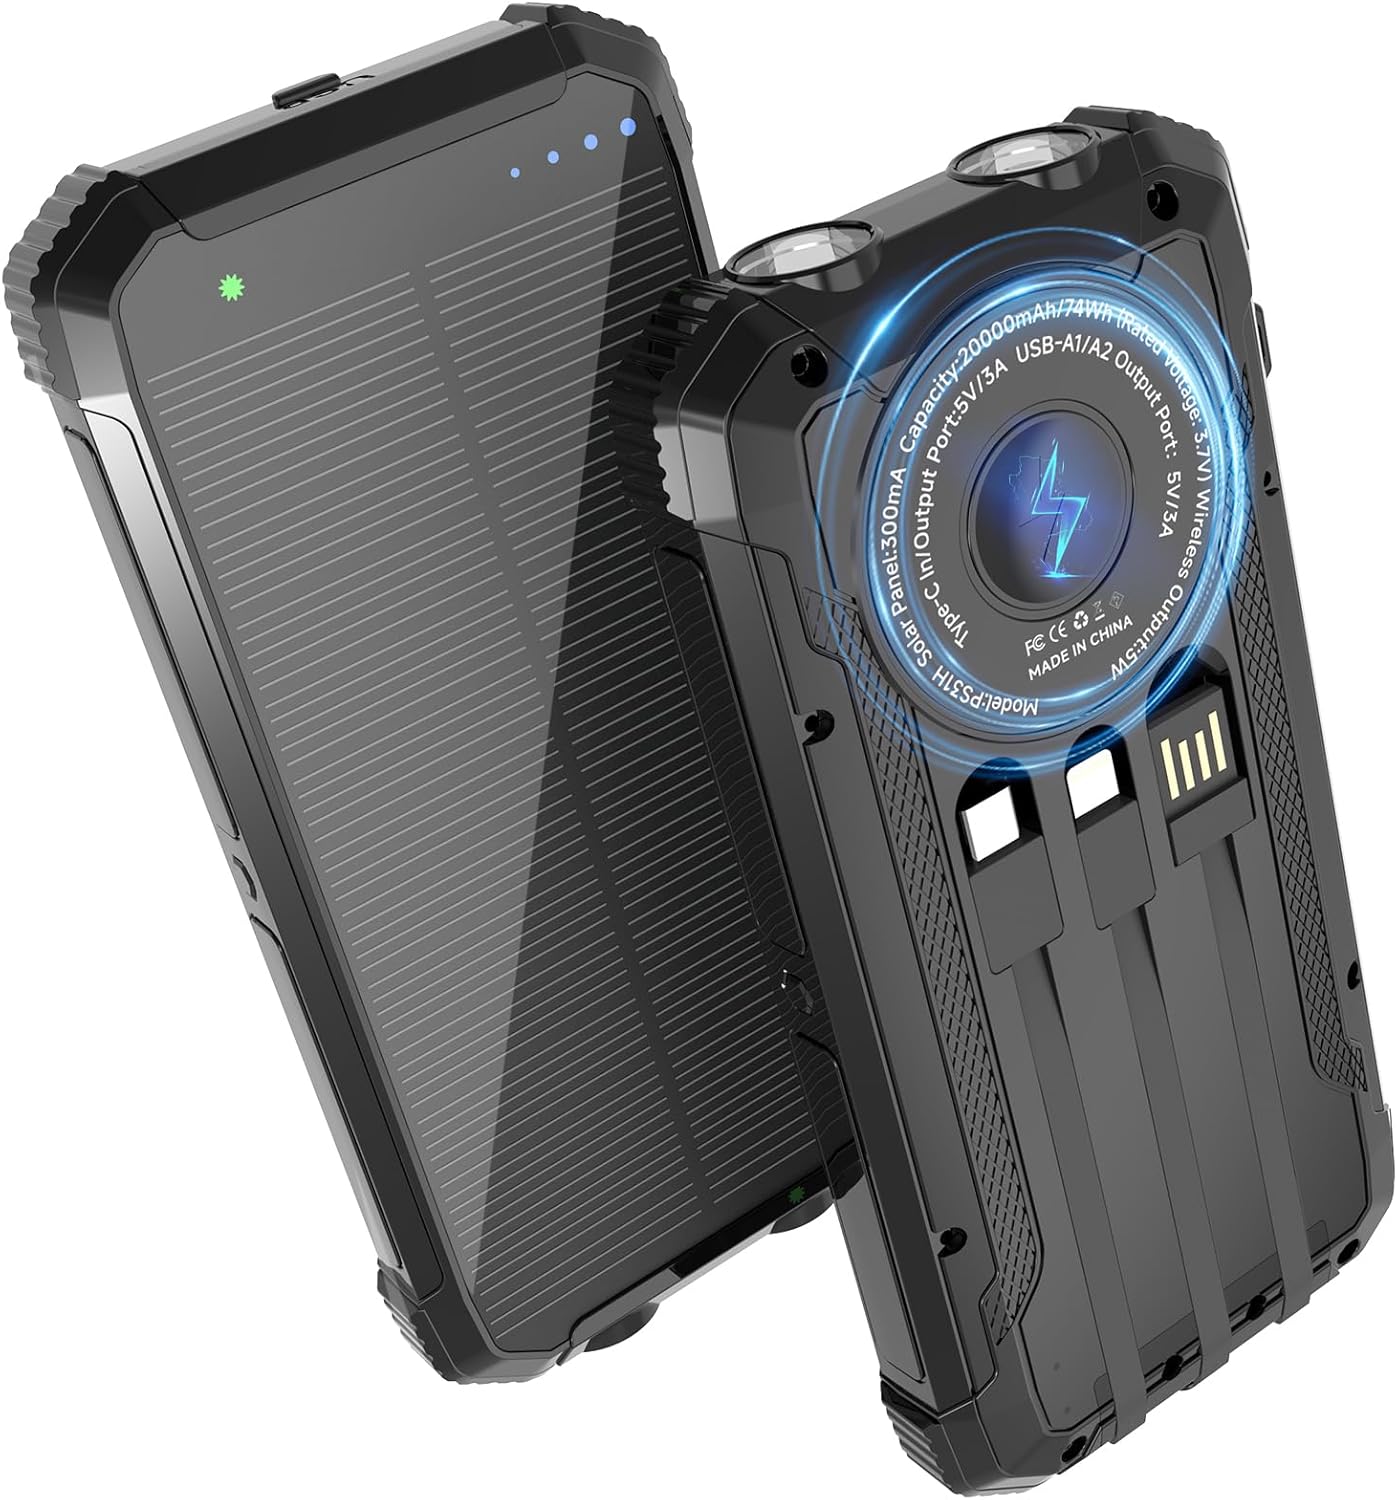
Image 1.1: Front and back view of the Nuynix PS31H Solar Power Bank, showcasing its rugged design and solar panel.
2. Product Features
- 20000mAh High Capacity: Provides extended power for multiple device charges.
- Qi Wireless Charging: Compatible with wireless-enabled smartphones for convenient, cable-free charging.
- Multi-Device Charging: Supports simultaneous charging of up to 5 devices via USB-A, USB-C, and wireless outputs.
- Integrated Cables: Includes built-in data cables for various device connections.
- Solar Charging Capability: Features a solar panel for emergency or supplementary power replenishment.
- Dual LED Flashlights: High-brightness flashlights with Steady, Strobe, and SOS modes for outdoor and emergency use.
- Durable Design: IPX5 waterproof, shockproof, and dustproof construction for harsh environments.
- Safety Protections: Equipped with intelligent protection IC chip for overcharge, overheat, overvoltage, overload, short circuit, overcurrent, and antistatic protection.
3. Package Contents
Please check the package for the following items:
- Nuynix PS31H 20000mAh Solar Power Bank
- USB-C Charging Cable
- User Manual (this document)
- Carabiner
4. Product Diagram
Familiarize yourself with the various ports and features of your Nuynix PS31H Solar Power Bank:
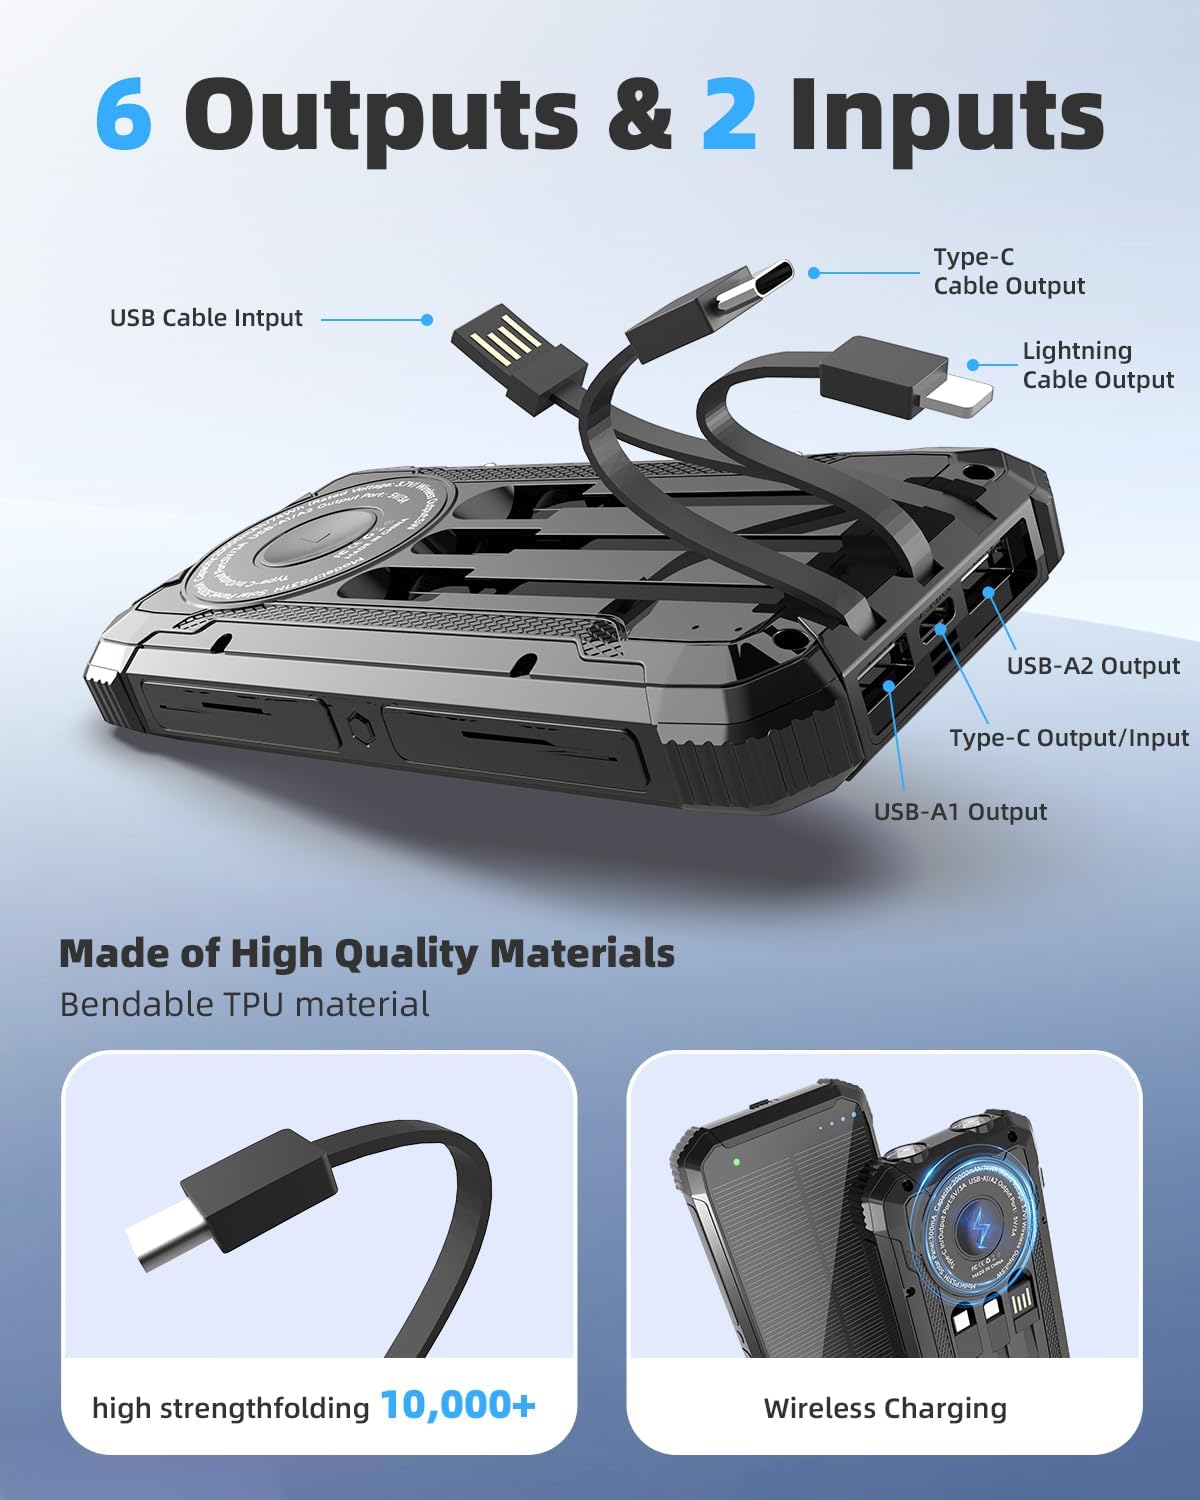
Image 4.1: Detailed diagram illustrating the various input and output ports, including built-in USB, Type-C, and Lightning cables, along with USB-A and Type-C output ports.
- USB Cable Input: For charging the power bank.
- Type-C Cable Output: Built-in cable for Type-C devices.
- Lightning Cable Output: Built-in cable for Lightning devices.
- USB-A1 Output: Standard USB output port.
- USB-A2 Output: Standard USB output port.
- Type-C Output/Input: Versatile port for both charging the power bank and charging devices.
- Wireless Charging Area: Designated area for Qi-compatible wireless charging.
- LED Indicators: Display battery level and charging status.
- Flashlights: Dual LED lights.
- Power Button: Activates/deactivates the device and flashlight.
5. Specifications
| Feature | Specification |
|---|---|
| Model Number | PS31H |
| Battery Capacity | 20000mAh |
| Wireless Charging Output | 15W (Max) |
| USB-A Output | 5V/3A |
| USB-C Output/Input | 5V/3A |
| Solar Panel Input | 5V/300mA |
| Product Dimensions | 6.29 x 3.14 x 0.78 inches |
| Item Weight | 12.3 ounces |
| Waterproof Rating | IPX5 |
6. Setup
6.1 Initial Charging
Before first use, fully charge the power bank using a wall adapter. This ensures optimal battery performance.
- Connect the provided USB-C cable to the power bank's Type-C Input/Output port or use the built-in USB cable to connect to a USB wall adapter (not included).
- Plug the wall adapter into a power outlet.
- The LED indicators will illuminate to show the charging progress. All four LEDs will be solid when fully charged.

Image 6.1: The power bank being charged via its USB-C port and a built-in USB cable, connected to a wall adapter and a power strip.
6.2 Power On/Off
Press the power button once to turn on the power bank and check the battery level. The LED indicators will light up. The power bank will automatically turn off after a period of inactivity to conserve power.
7. Operating Instructions
7.1 Wired Device Charging
The power bank offers multiple options for charging devices via cables:
- Using Built-in Cables: Pull out the integrated Type-C or Lightning cable and connect it directly to your compatible device.
- Using USB Ports: Connect your device's charging cable to one of the USB-A1, USB-A2, or Type-C Output ports on the power bank.
- Ensure the power bank is turned on. Your device should begin charging automatically.

Image 7.1: The power bank simultaneously charging an iPhone, iPad, and Samsung Galaxy phone using its various output options.
7.2 Wireless Device Charging
For Qi-compatible devices:
- Ensure the power bank is turned on.
- Place your Qi-enabled device (e.g., smartphone) directly onto the wireless charging area on the power bank.
- The device should indicate that it is charging wirelessly. Adjust the position if charging does not start immediately.

Image 7.2: A smartphone placed on the power bank's wireless charging pad, indicating active wireless charging.
7.3 Solar Charging (Input)
The solar panel is designed for emergency power and supplementary charging, not as a primary charging method due to its slower speed.
- Place the power bank in direct sunlight.
- The green LED indicator will light up, indicating that solar charging is active.
- For faster and more efficient charging, always use a wall adapter when available.
7.4 Flashlight Operation
The power bank features dual LED flashlights with multiple modes:
- Turn On/Off: Double-click the power button to turn the flashlight on or off.
- Change Modes: Once the flashlight is on, single-click the power button to cycle through the modes: Steady > Strobe > SOS > Off.

Image 7.3: The power bank's dual flashlights demonstrating its three modes: steady illumination, strobe for signaling, and SOS for emergency situations.
8. Maintenance
To ensure the longevity and optimal performance of your Nuynix PS31H Solar Power Bank, follow these maintenance guidelines:
- Cleaning: Wipe the device with a soft, dry cloth. Avoid using harsh chemicals or abrasive materials.
- Storage: Store the power bank in a cool, dry place away from direct sunlight and extreme temperatures. If storing for extended periods, charge it to approximately 50-75% every three months.
- Protection: While the device is waterproof (IPX5), shockproof, and dustproof, avoid intentional submersion in water, dropping from significant heights, or exposing it to excessive dust to prevent damage.

Image 8.1: Visual representation of the power bank's durability, showing it near water, in a dusty environment, and attached to a bicycle, highlighting its IPX5 waterproof, dustproof, and shockproof capabilities.
9. Safety Precautions
Please read and adhere to the following safety guidelines to prevent injury or damage to the device:
- Do not disassemble, modify, or repair the device yourself.
- Keep the power bank away from fire, high temperatures, and direct heat sources.
- Avoid exposing the device to excessive moisture or liquids.
- Do not drop, puncture, or apply excessive force to the power bank.
- Keep out of reach of children.
- Dispose of the power bank according to local regulations for electronic waste.

Image 9.1: A graphic depicting the multiple security features of the power bank, including overvoltage, overload, short circuit, overcurrent, overheating, and antistatic protection.
10. Troubleshooting
If you encounter issues with your power bank, refer to the following common problems and solutions:
| Problem | Possible Solution |
|---|---|
| Device not charging from power bank |
|
| Solar charging is slow or not working |
|
| Flashlight not working |
|
11. Warranty and Support
Nuynix offers a 365-day quality undertaking for this product. For any questions, concerns, or technical assistance, please contact our customer support team. We provide 24/7 online support to ensure any issues are resolved quickly and to your satisfaction.
Please refer to your purchase platform or the Nuynix official website for specific contact details.