
1. Introduction
This manual provides detailed instructions for the safe installation, operation, and maintenance of your LaLuLa Large White Crystal Chandelier Flush Mount. This 18-inch flush mount chandelier features a handmade cotton shade and premium crystal droplets, designed to provide ambient lighting. It requires four E12 base bulbs (max 40W each, not included) and is compatible with LED, incandescent, or halogen bulbs. The fixture is dimmable when used with a compatible dimmer switch and dimmable bulbs. Please read all instructions carefully before beginning installation.
2. Safety Information
- Electrical Safety: Always turn off the main power supply at the circuit breaker before installing, cleaning, or servicing the fixture.
- Qualified Electrician: If you are unsure about electrical wiring, consult a qualified electrician.
- Grounding: Ensure the fixture is properly grounded to avoid potential electrical shock.
- Bulb Requirements: Use only E12 base bulbs, maximum 40 watts per bulb. Do not exceed the recommended wattage.
- Handling Crystals: Handle crystal droplets with care to prevent breakage or injury.
- Secure Mounting: Ensure the mounting surface can support the weight of the fixture.
3. Package Contents
Verify that all components are present before beginning installation:
- Chandelier Fixture (with cotton shade and chrome canopy)
- Crystal Droplets (pre-attached or requiring assembly)
- Mounting Hardware (screws, wire nuts, mounting bracket)
- Instruction Manual
4. Setup and Installation
Tools Required: Screwdriver, wire strippers, electrical tape, ladder, safety glasses.
- Turn Off Power: Before starting, ensure the power to the installation area is completely OFF at the circuit breaker.
- Prepare Mounting Surface: Remove any existing light fixture. Install the mounting bracket to the junction box in the ceiling using the provided screws. Ensure it is securely fastened.
- Wiring Connections: Connect the fixture's wires to the household electrical wires. Match the black wire (live) from the fixture to the black wire from the ceiling, the white wire (neutral) from the fixture to the white wire from the ceiling, and the ground wire (bare copper or green) from the fixture to the ground wire from the ceiling. Secure connections with wire nuts and electrical tape.
- Mount the Canopy: Carefully push the wired canopy up to the ceiling, aligning the screw holes on the canopy with the mounting bracket. Secure the canopy with the provided screws.
- Attach Shade and Crystals: The cotton shade is typically pre-attached. If crystal droplets are not pre-attached, carefully hook each crystal strand onto the designated loops on the fixture. Ensure all crystals are securely fastened.
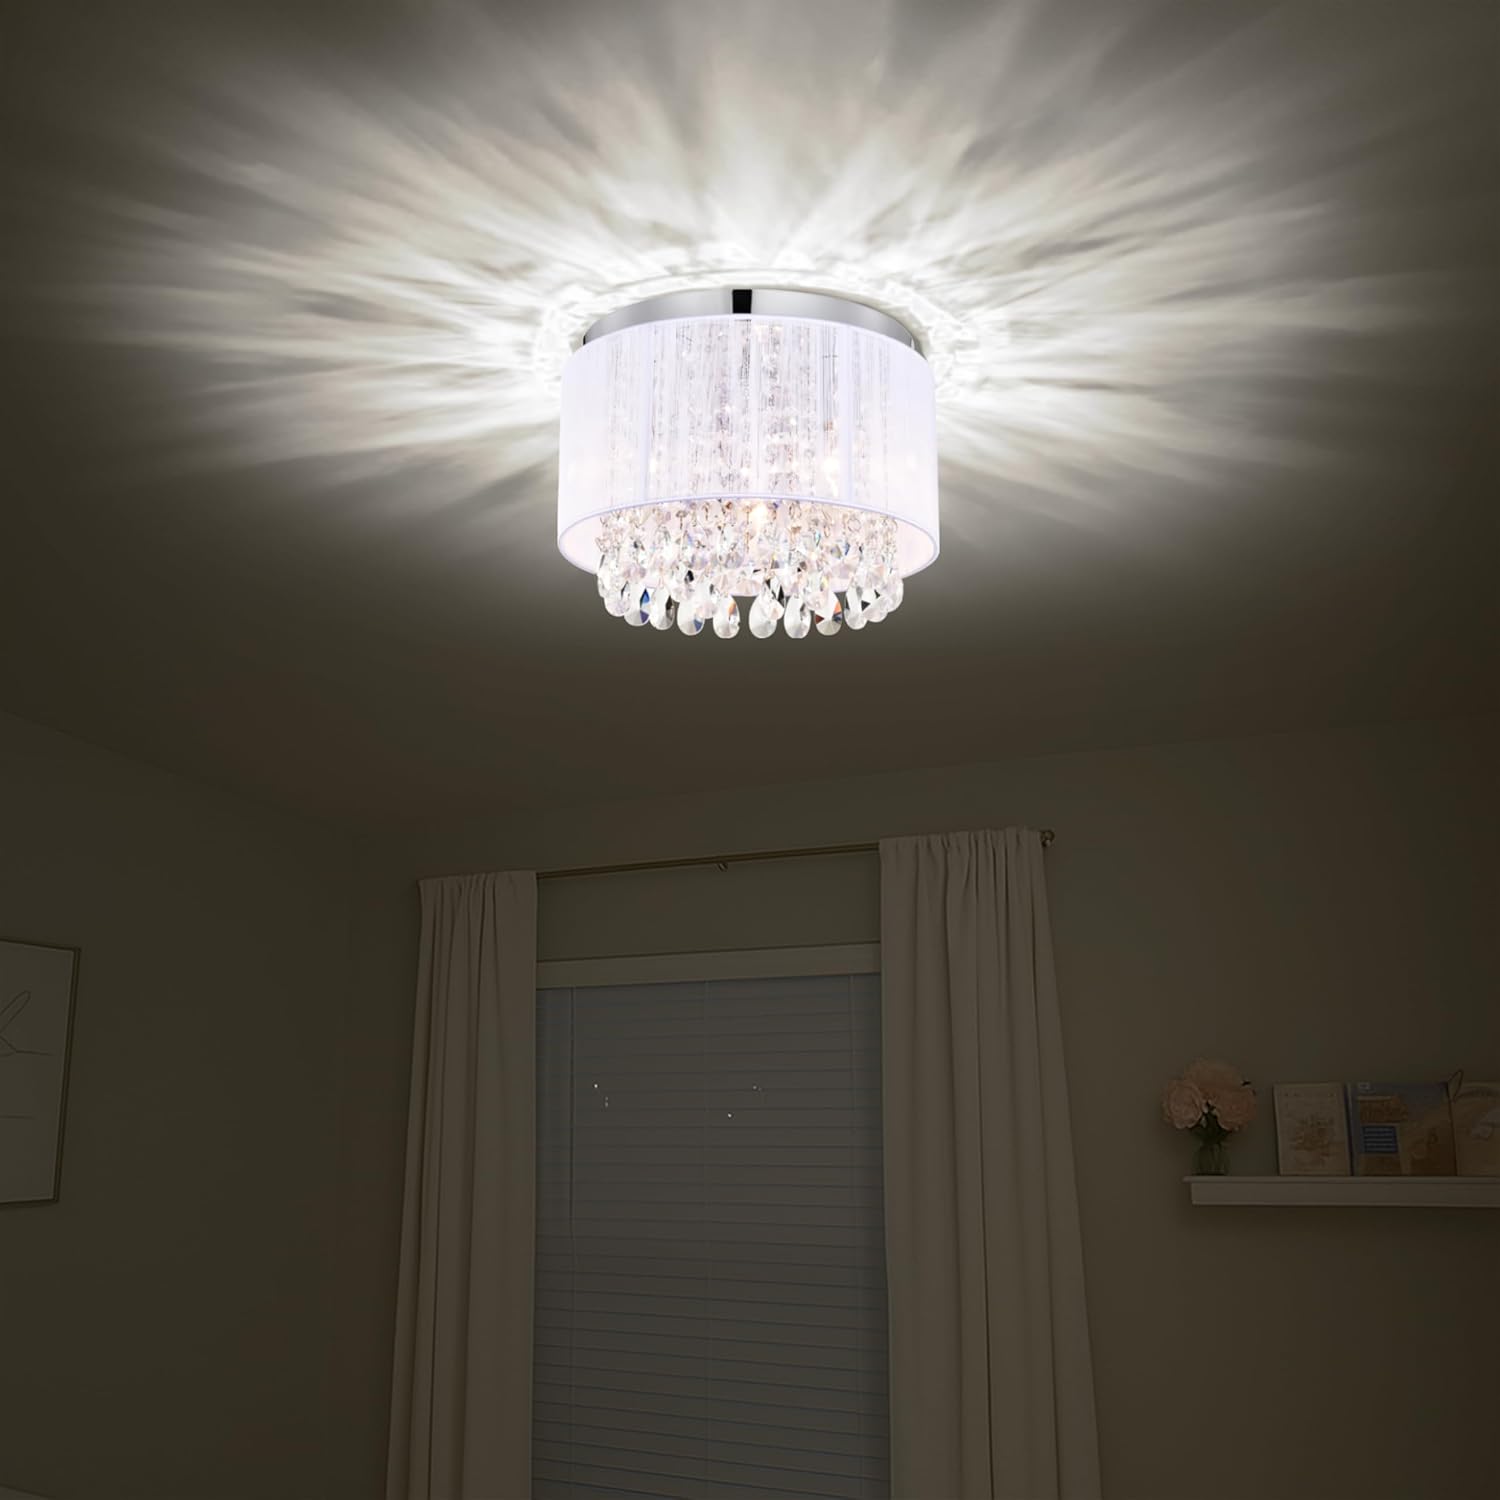
Figure 3: Product dimensions and key components, showing the canopy, shade, and crystal arrangement.
- Install Bulbs: Screw four E12 base bulbs (not included) into the sockets. Do not overtighten.
- Restore Power: Once installation is complete and all components are secure, turn the power back ON at the circuit breaker.
The chandelier is now ready for use. Below are examples of the chandelier installed in various settings:
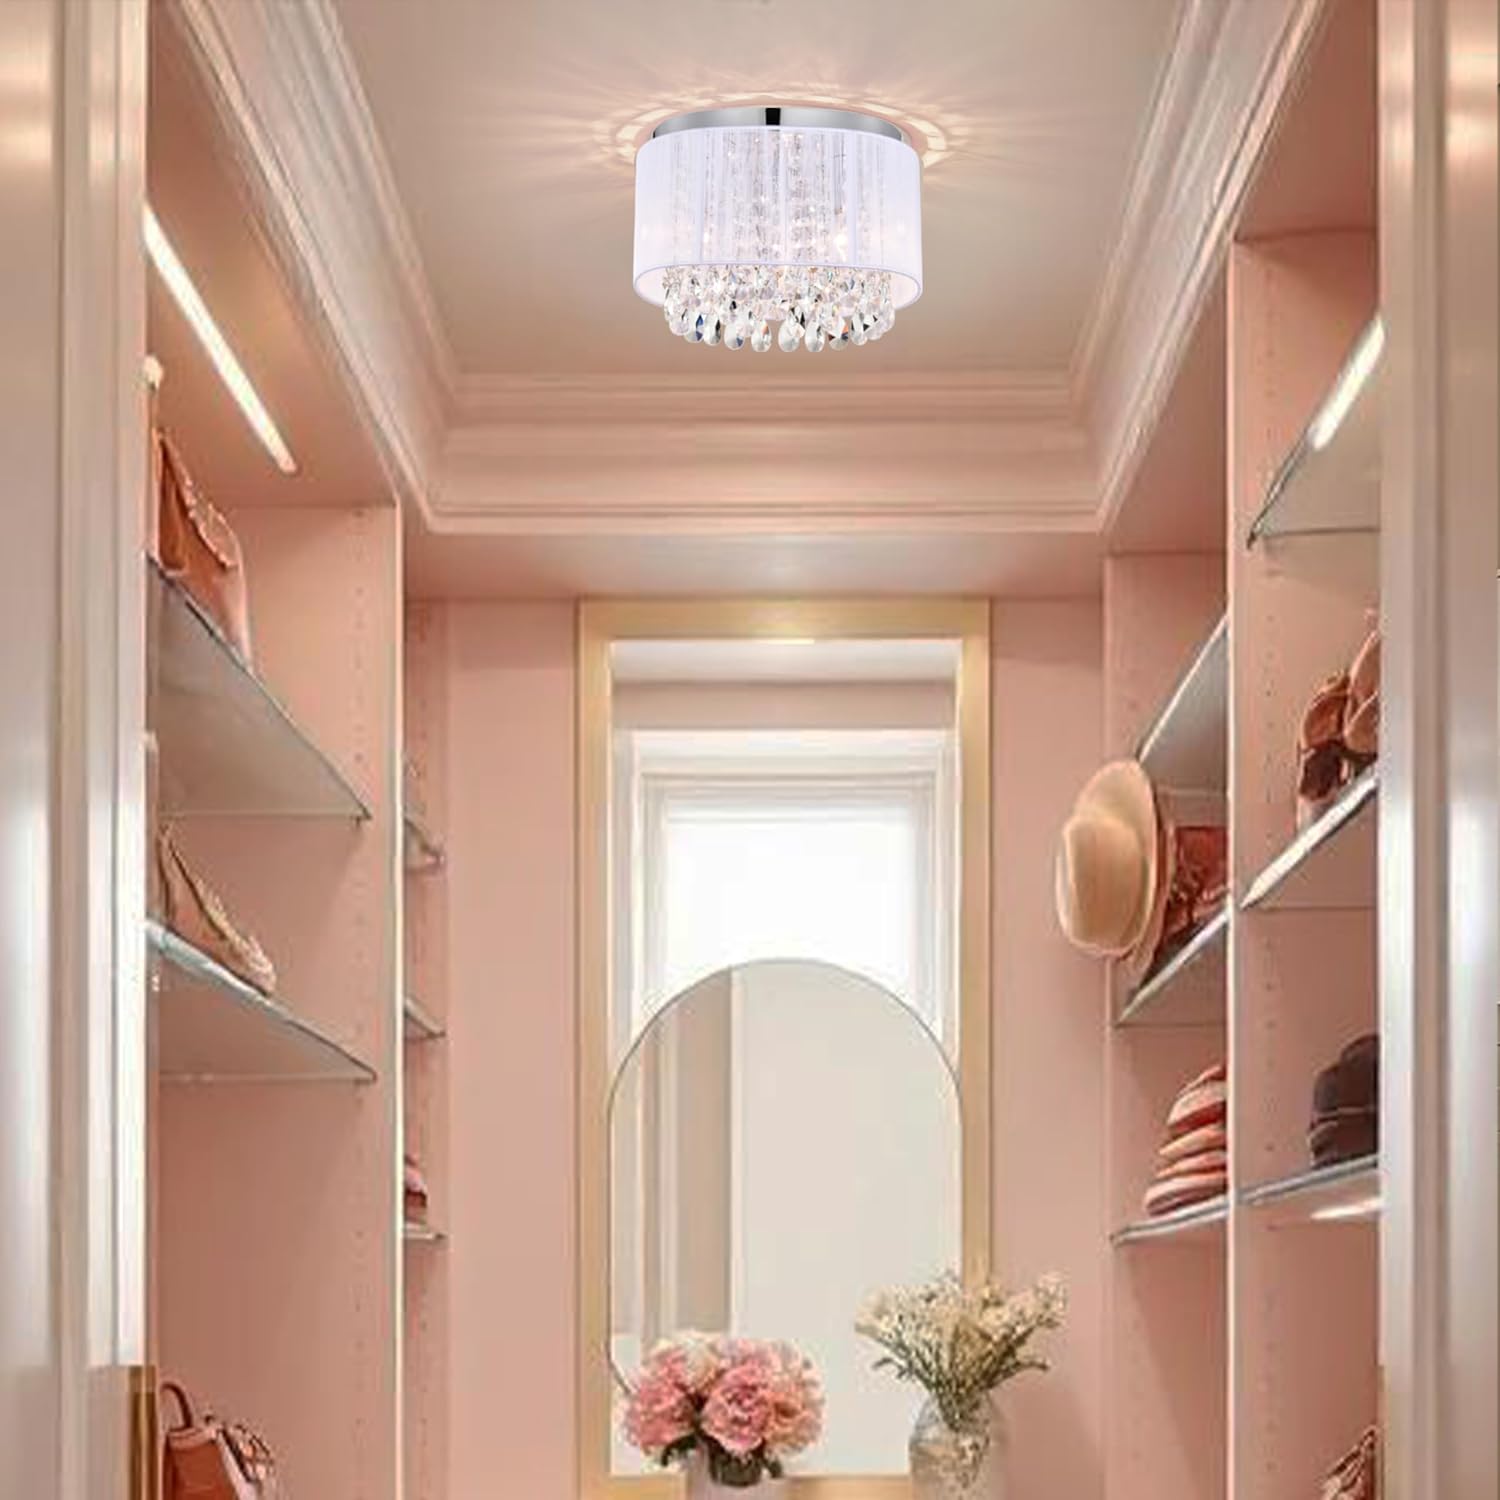
Figure 1: Chandelier installed in a closet setting.
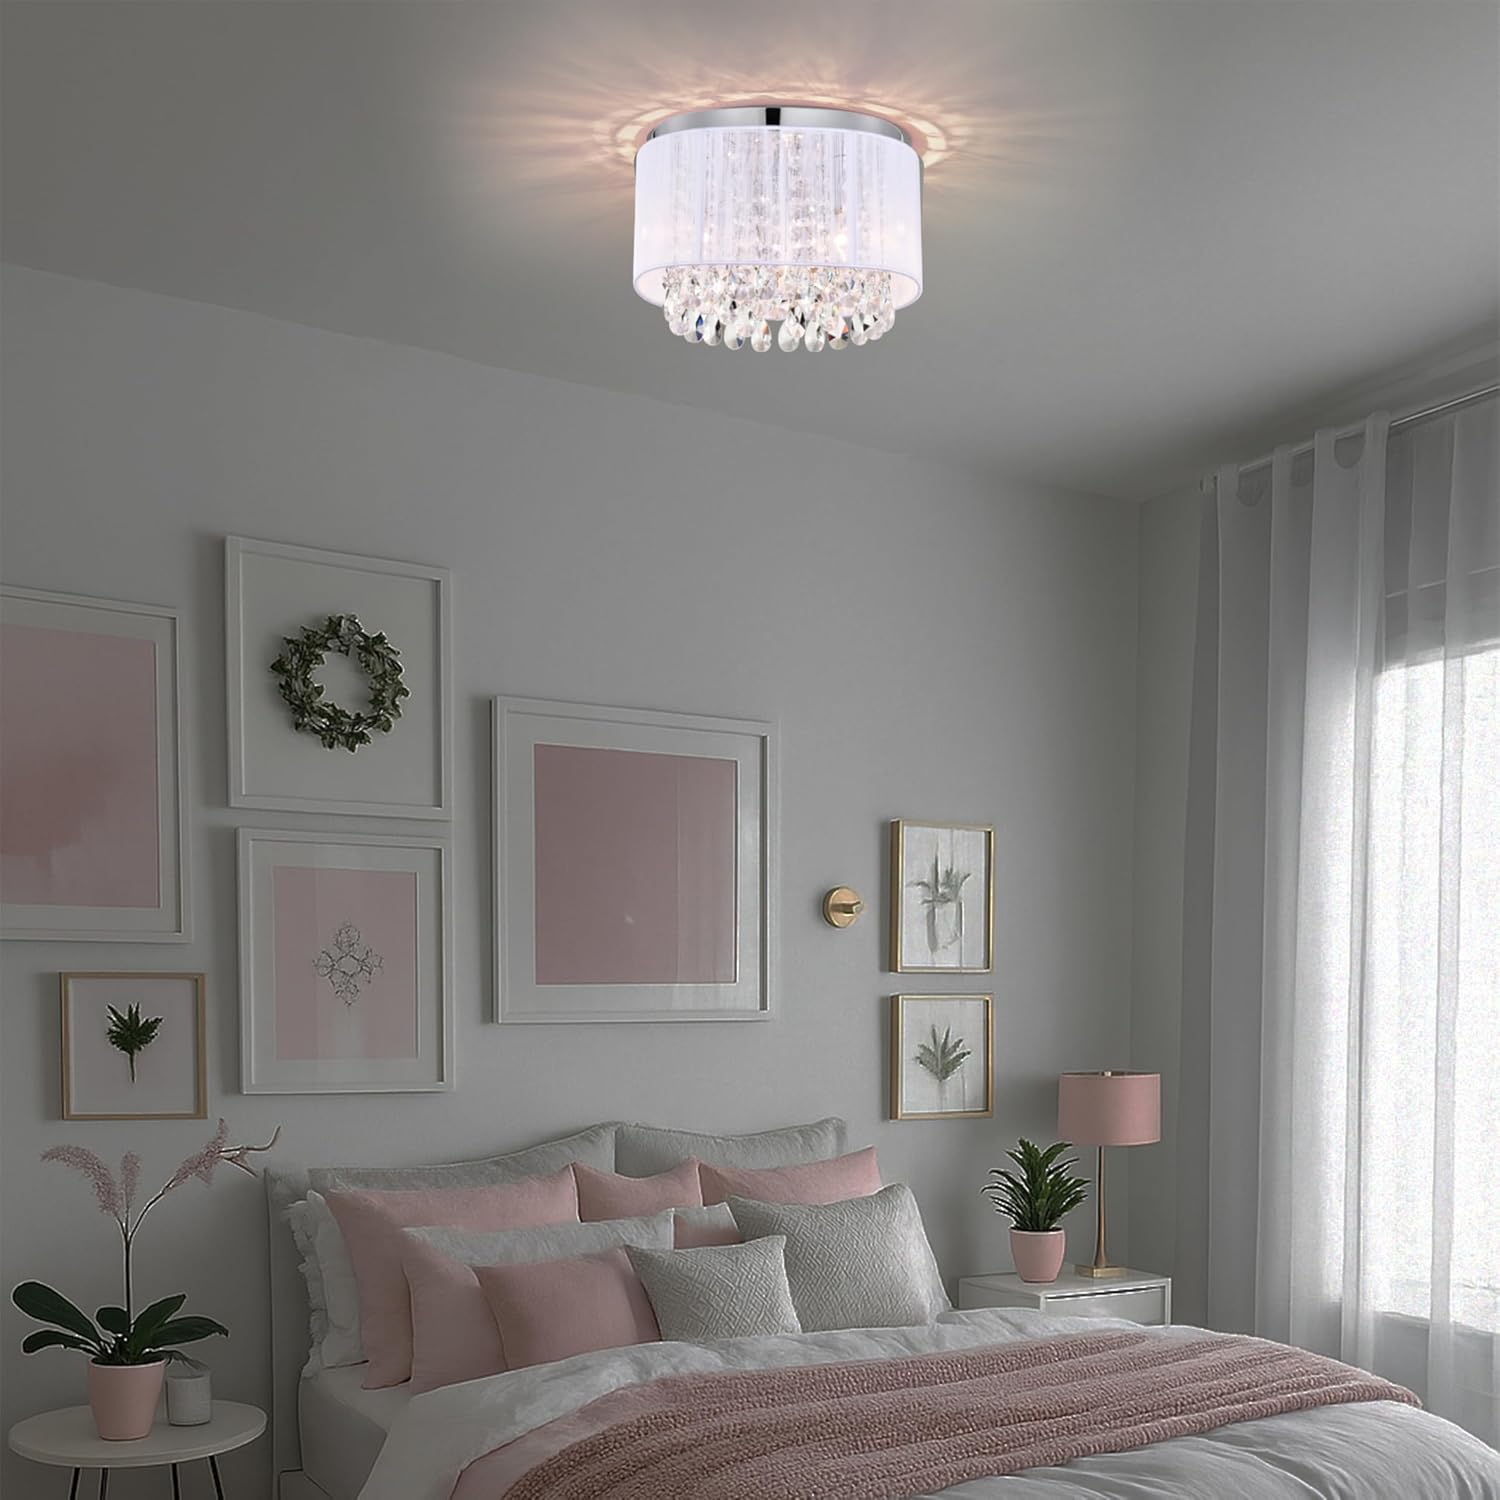
Figure 2: Chandelier installed in a bedroom setting.

Figure 5: Chandelier installed in a nursery setting.

Figure 6: Chandelier installed in a hallway setting.
5. Operating Instructions
To operate the chandelier, use the standard wall switch connected to the fixture's electrical circuit. If a compatible dimmer switch and dimmable E12 bulbs are installed, you can adjust the light intensity.
- Turning On/Off: Flip the wall switch to turn the chandelier on or off.
- Dimming Function: If equipped with a dimmer switch and dimmable bulbs, rotate or slide the dimmer control to adjust the brightness level.
- Bulb Replacement: Ensure power is off at the circuit breaker before replacing bulbs. Allow bulbs to cool completely before touching. Unscrew old bulbs and screw in new E12 base bulbs (max 40W).

Figure 4: Chandelier illumination comparison (ON vs. OFF), demonstrating the light output.
6. Maintenance
- Cleaning: Turn off power before cleaning. Use a soft, dry cloth to wipe the chrome canopy and cotton shade. For crystal droplets, a slightly damp cloth with mild glass cleaner can be used, ensuring no liquid drips into electrical components.
- Regular Checks: Periodically check all connections and mounting hardware to ensure they remain secure.
- Bulb Longevity: Replace bulbs as needed. Using LED bulbs can extend the time between replacements and reduce energy consumption.
7. Troubleshooting
| Problem | Possible Cause | Solution |
|---|---|---|
| Light does not turn on | No power supply; Loose wiring; Faulty bulb; Faulty switch | Check circuit breaker; Verify wire connections; Replace bulb; Test/replace switch. |
| Light flickers | Loose bulb; Incompatible dimmer/bulb; Loose wiring | Tighten bulb; Ensure dimmer and bulbs are compatible; Check wiring connections. |
| Crystals fall off | Improper attachment; Damaged hooks | Re-attach crystals securely; Replace damaged hooks if necessary. |
8. Specifications
| Feature | Detail |
|---|---|
| Brand | LaLuLa |
| Model Name | Crystal Chandeliers |
| Color | White |
| Material | Cotton Thread, Crystal, Metal |
| Product Dimensions | 18"L x 18"W x 9.7"H |
| Installation Type | Flush Mount |
| Number of Light Sources | 4 |
| Bulb Base | E12 |
| Max Wattage per Bulb | 40 Watts |
| Voltage | 120 Volts |
| Special Feature | Dimmable (with compatible switch/bulbs) |
| Item Weight | 8.48 pounds |
9. Warranty Information
Please refer to your purchase documentation or contact the retailer/manufacturer directly for specific warranty details regarding your LaLuLa Large White Crystal Chandelier Flush Mount.
10. Support
For further assistance, technical support, or to inquire about replacement parts, please contact LaLuLa customer service or visit the official LaLuLa store online.
LaLuLa Store: https://www.amazon.com/stores/LaLuLaLighting/page/578CB255-E74C-4F71-B64E-73D620B40E1E