
yesiwtc WR321
yesiwtc WR321 NOAA Weather Alert Radio User Manual
Model: WR321 | Brand: yesiwtc
1. Introduction
The yesiwtc WR321 NOAA Weather Alert Radio is designed to provide timely and localized emergency alerts, ensuring your safety and preparedness during various weather and hazard events. Equipped with S.A.M.E. (Specific Area Message Encoding) technology, it delivers warnings relevant to your specific location, minimizing unnecessary alerts. This manual provides detailed instructions for setup, operation, and maintenance of your new weather radio.
2. Safety Information
- This device is designed for dry indoor use only. Avoid exposure to water or high humidity.
- Do not disassemble or attempt to repair the unit yourself. Refer to qualified service personnel.
- Use only the specified power adapter (110V AC) or 3xAA batteries.
- Connect the Type-C power during AA battery changes to prevent loss of previous settings.
- Store the radio in a cool, dry place and clean the screen with a dry cloth to extend its lifespan.
3. Package Contents
- yesiwtc WR321 NOAA Weather Alert Radio
- AC/DC Adapter (USB-C)
- External Alert Flashlight
- User Manual

Figure 3.1: Package Contents of the WR321 Radio
4. Features & Components
The WR321 radio is equipped with a large, easy-to-read English display and clearly labeled buttons for intuitive operation. It features a seven-section length antenna for optimal reception and a non-slip base for stable placement.

Figure 4.1: Front and Back Panel Overview
Key Features:
- S.A.M.E. Localized Alerts: Program up to 23 location codes for targeted warnings (75+ hazards).
- Dual Power Options: USB-C (110V AC) and 3xAA battery backup for continuous operation.
- Customizable Alerts: Enable/disable 3 alert tiers (Advisory/Watch/Warning) and assign unique tones.
- High-Visibility Display: Large English display shows real-time weather data, alert severity, and battery status.
- FM Radio: Stores 30 FM/Short Wave radio stations (87-108MHz FM, 162.400-162.550 MHz WB).
- Alarm Clock & Snooze: Integrated alarm function with snooze.
- External Alert Flashlight: Connectable red warning light for visual alerts.
5. Setup
5.1 Power Supply
The WR321 can be powered by the included USB-C AC adapter or 3xAA batteries (not included). For continuous operation and to retain settings during power outages, it is recommended to use both.

Figure 5.1: Power Supply Options
- AC Power: Connect the provided USB-C cable to the radio's Type-C input and plug the adapter into a standard 110V AC outlet.
- Battery Backup: Open the battery compartment on the back of the radio and insert 3xAA batteries, ensuring correct polarity.
- Important Note: Always connect the Type-C power supply when changing AA batteries to prevent the radio from resetting all previous settings due to power interruption.
5.2 Antenna Setup
Extend the seven-section length antenna fully for optimal reception of weather band and FM radio signals.
5.3 External Alert Flashlight
Plug the external alert flashlight into the dedicated port on the radio. This light will flash red during alerts, providing a visual warning.
6. Operating Instructions
6.1 Setting Time and Date
To set the current time and date:
- Press the MENU button.
- Use the CHANNEL+ or CHANNEL- buttons to navigate to 'SETUP DATE' or 'SETUP TIME'.
- Press SELECT to enter the setting mode.
- Use VOL+ or VOL- to adjust the values (year, month, day, hour, minute).
- Press SELECT to confirm each value and move to the next.
- Press MENU to exit the setting mode.
Video 6.1: Procedures for setting up date and time.
6.2 Setting Weather Band Channel
To receive NOAA weather alerts, you need to select the correct weather band channel for your area. You can find your local weather channel frequency on the National Weather Service website (weather.gov/nwr/counties) or by calling their number.
- Press the MENU button.
- Use the CHANNEL+ or CHANNEL- buttons to navigate to 'WB CH-X' (Weather Band Channel).
- Press SELECT to enter the setting mode.
- Use VOL+ or VOL- to select the appropriate channel (e.g., CH-1 to CH-7).
- Press MENU to confirm and exit.
Video 6.2: Procedures for setting up alert codes and weather channels.
6.3 S.A.M.E. Localized Programming (County Codes)
To receive alerts specific to your county, you need to program your S.A.M.E. county code. You can find your county's FIPS code on the National Weather Service website (weather.gov/nwr/counties).
- Press the MENU button.
- Navigate to 'LOCATION' using CHANNEL+ or CHANNEL-.
- Press SELECT. You can choose 'SINGLE' (for one county), 'MULTIPLE' (for up to 23 counties), or 'ALL' (for all counties in the broadcast area).
- If 'SINGLE' or 'MULTIPLE' is selected, press SELECT again.
- Use VOL+ or VOL- to input each digit of your 6-digit FIPS code. Press SELECT after each digit.
- Press MENU to save and exit.
Video 6.3: Procedures for setting up county codes.
6.4 Alert Types and Tiers
The radio supports 3 alert tiers (Advisory, Watch, Warning) and can be customized for over 75 hazards. You can enable or disable specific event types.
- Press the MENU button.
- Navigate to 'ALERT TYPE' or 'SET EVENT' using CHANNEL+ or CHANNEL-.
- Press SELECT.
- Use VOL+ or VOL- to scroll through the list of events.
- Press SELECT to toggle the event ON/OFF or change its alert level (Advisory, Watch, Warning).
- Press MENU to save and exit.
6.5 FM Radio Operation
The radio can also function as an FM radio, storing up to 30 stations.
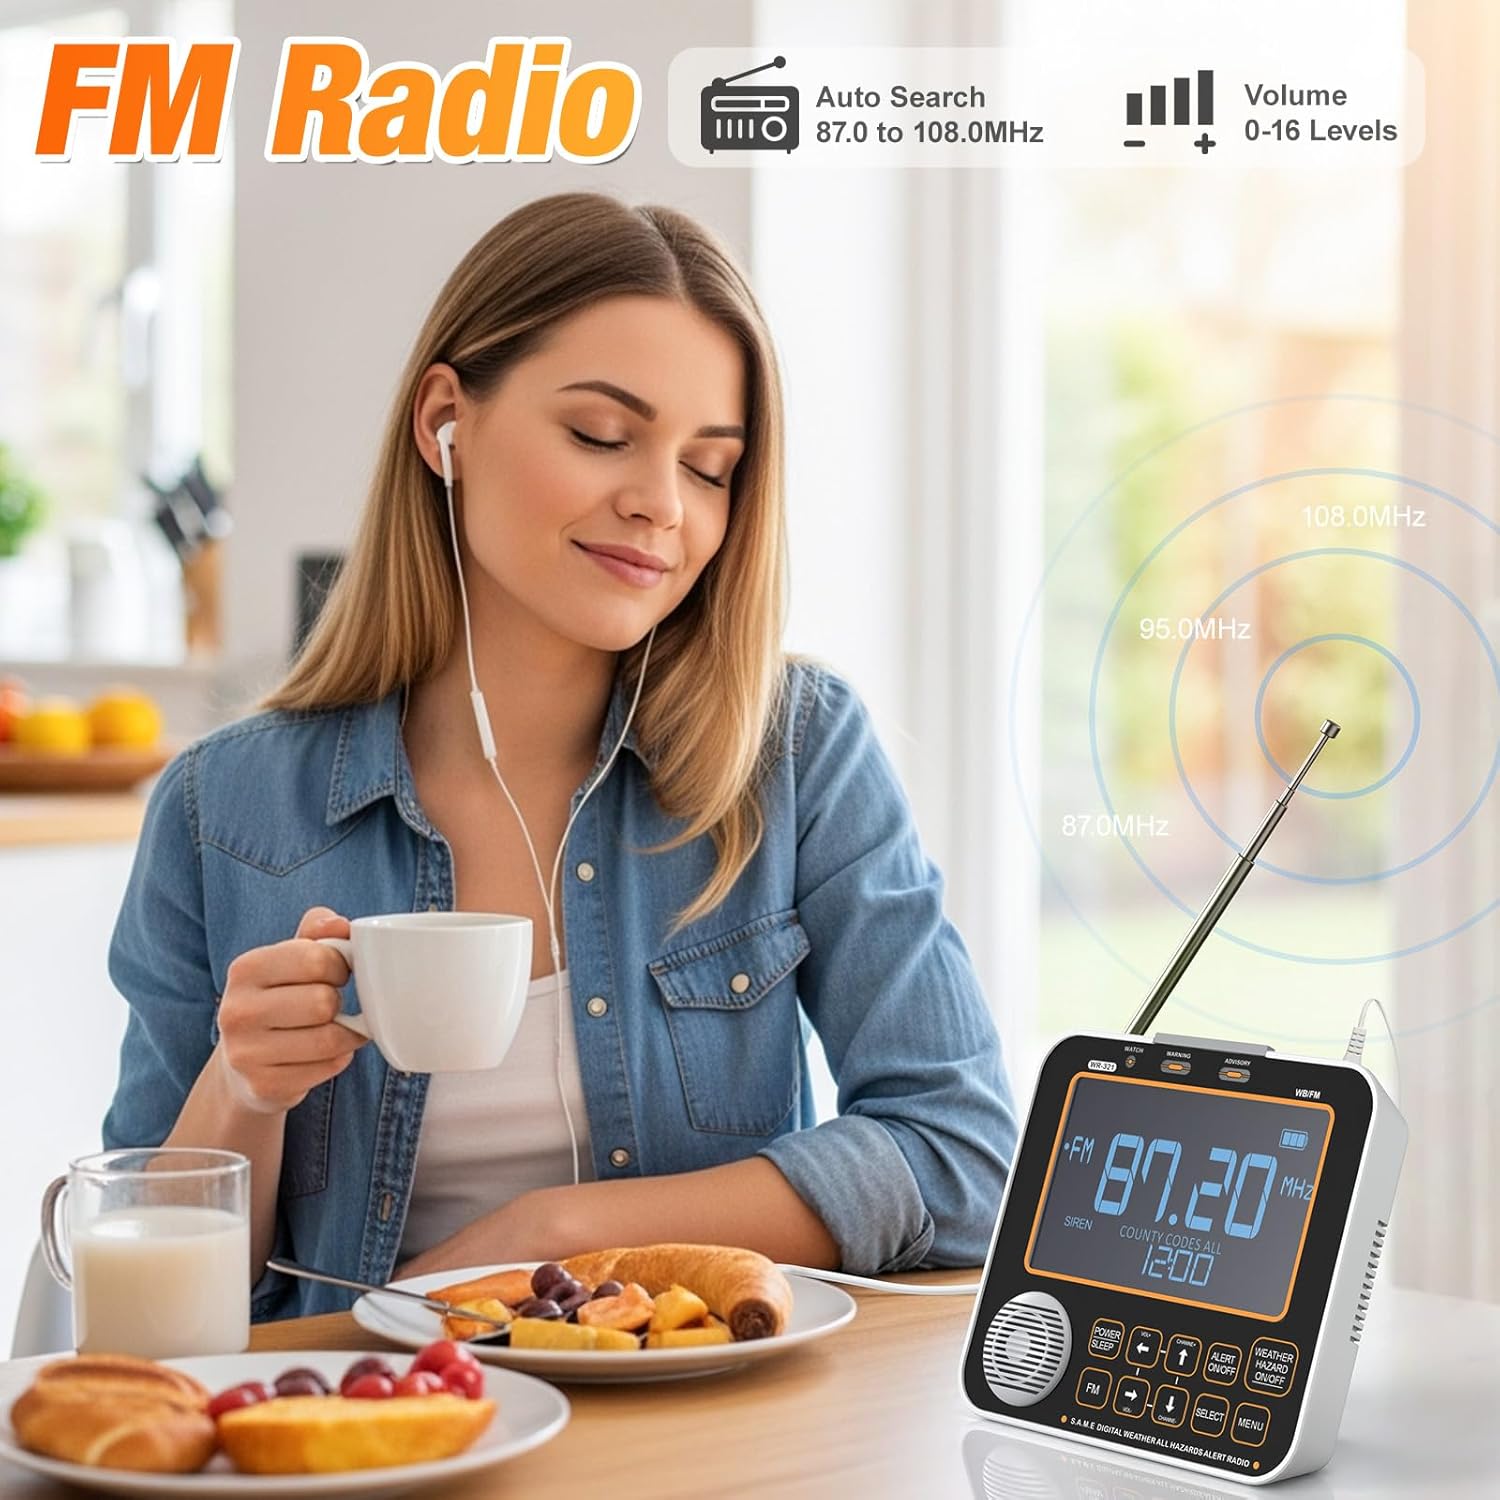
Figure 6.4: FM Radio Functionality
- Press the FM button to switch to FM radio mode.
- Use CHANNEL+ or CHANNEL- to manually tune to a station.
- Press and hold CHANNEL+ or CHANNEL- for auto-scan to find the next available station.
- Use VOL+ or VOL- to adjust the volume (16 levels).
- Press POWER/SLEEP to turn off the radio or activate sleep mode.
6.6 Alarm Clock Function
The radio includes an alarm clock with snooze functionality.
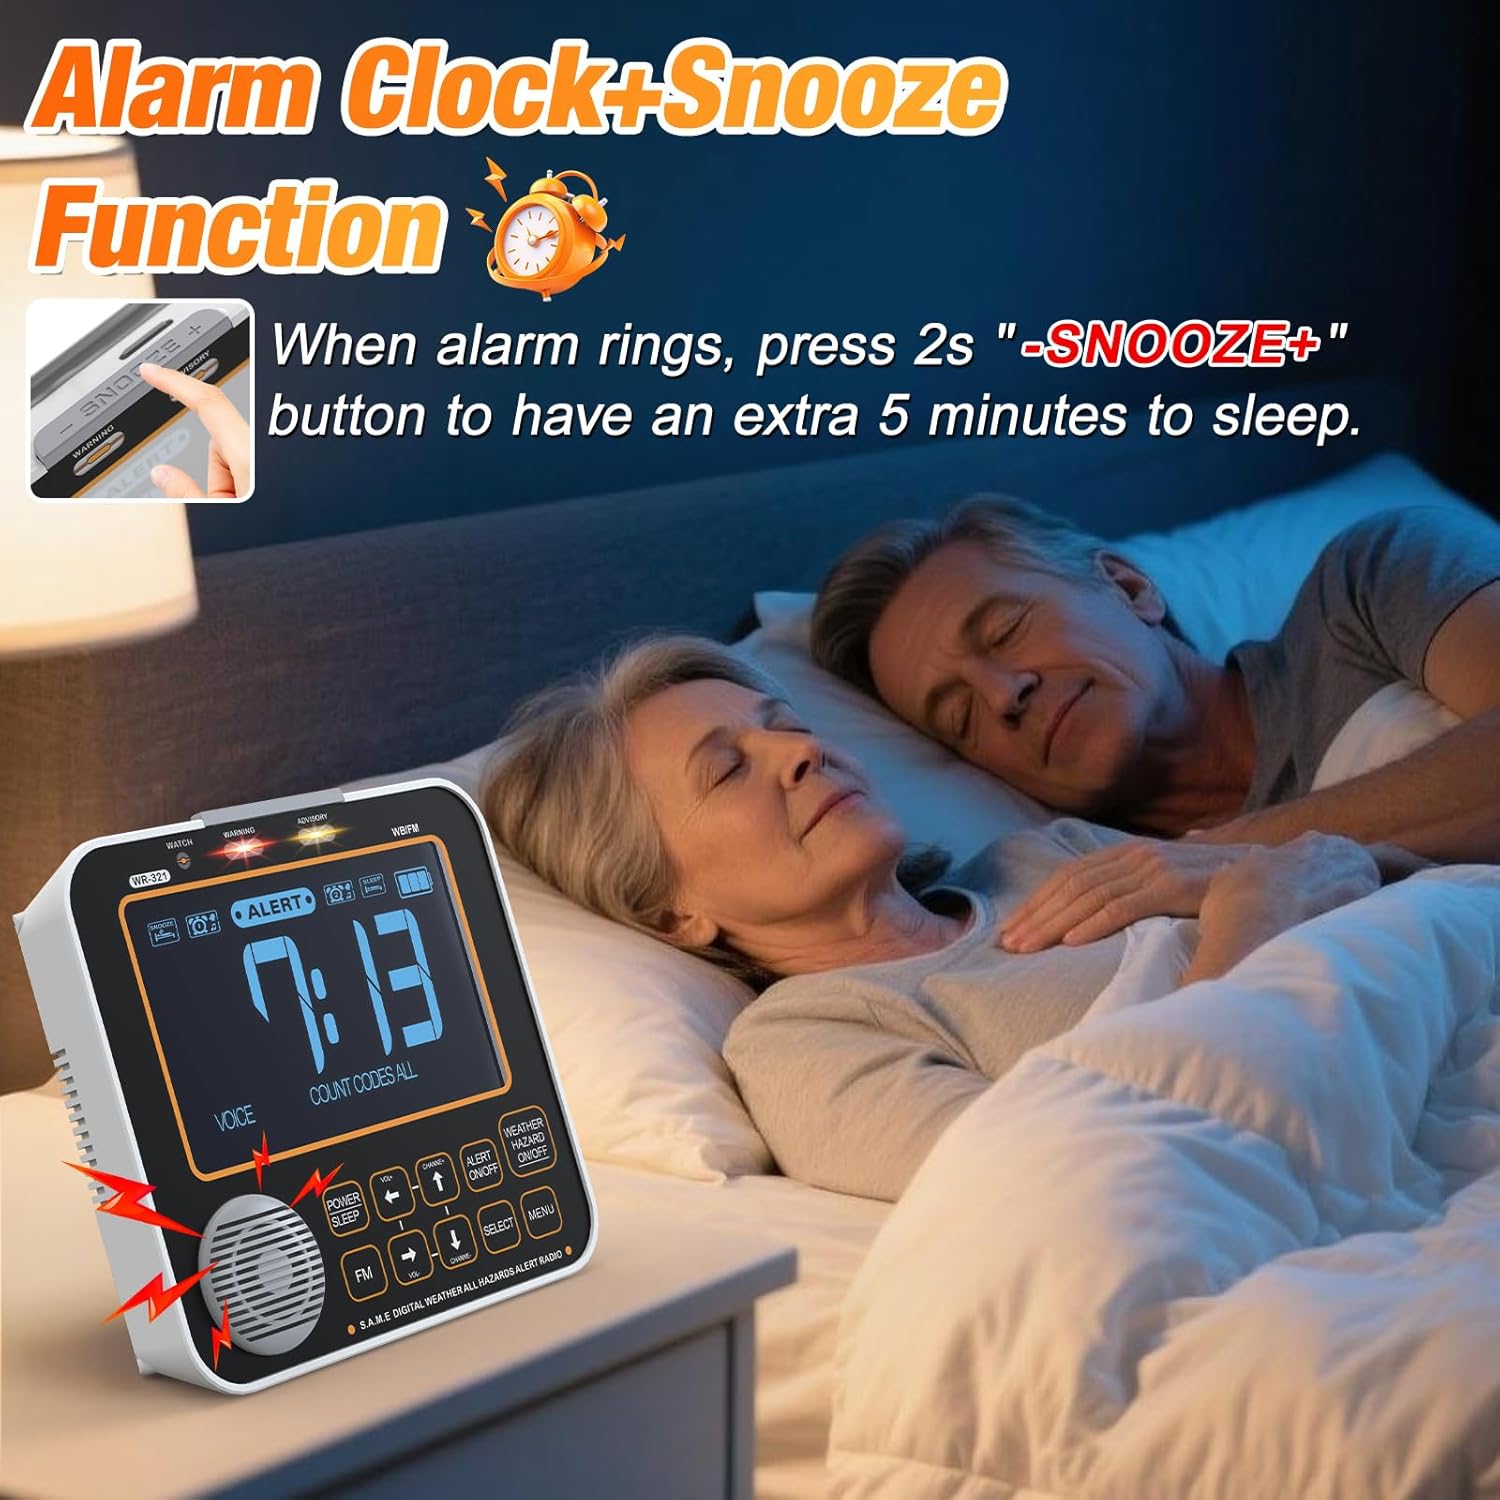
Figure 6.5: Alarm Clock and Snooze Function
- To set the alarm time, refer to the 'SETUP TIME' section in your manual.
- When the alarm rings, press the SNOOZE+ or SNOOZE- button for an extra 5 minutes of sleep.
6.7 Alert Modes
The radio offers three modes of alert: Display, Siren, and Voice.

Figure 6.6: Three Modes of Alarm
- Display: The alert light will turn on, and information will be shown on the screen (silent).
- Siren: A loud siren will sound for 5 minutes.
- Voice: A voice message will broadcast the alert for 8 seconds.
7. Maintenance
- To extend the life of your NOAA weather radio, store it in a cool, dry place.
- Clean the screen and exterior with a dry, soft cloth. Do not use abrasive cleaners or solvents.
- The device is not waterproof; avoid contact with liquids.
8. Troubleshooting
- Device unresponsive or display blank: Unplug the adapter and plug it back in to reset the device.
- No alerts received: Ensure the antenna is fully extended. Verify your weather band channel and S.A.M.E. county codes are correctly programmed. Check the National Weather Service website for active alerts in your area.
- Poor reception: Adjust the antenna position. Try moving the radio to a different location in your home, preferably near a window.
- Settings reset after battery change: Ensure the USB-C power supply is connected during battery replacement.

Figure 8.1: Setup and Test Overview
9. Specifications
| Feature | Description |
|---|---|
| Product Dimensions | 5.28"L x 1.5"W x 4.8"H |
| Item Weight | 8.6 ounces |
| Model Number | WR321 |
| Power Source | Corded Electric (USB-C) / 3xAA Batteries |
| Tuner Technology | FM/Shortwave/NOAA Weather radio/Digital |
| Radio Bands Supported | FM Band (87-108MHz); WB Radio (162.400-162.550 MHz) |
| Special Feature | LCD Digital Screen, 3.5mm Headphone Jack |
10. Warranty & Support
The yesiwtc WR321 NOAA Weather Alert Radio includes North American customer service and a 1-year warranty. For any difficulties or problems encountered during use, please contact customer support for assistance.
Ask a question about this manual
Ask about setup, troubleshooting, compatibility, parts, safety, or missing instructions. Manuals+ will review the question and use this page’s manual context to help answer it.