1. Introduction
Thank you for choosing the AILINKE ALK-MH-IN01-W-US Tankless Ultrasonic Cool Mist Humidifier. This manual provides essential information for the safe operation, maintenance, and troubleshooting of your device. Please read it thoroughly before use and retain it for future reference.
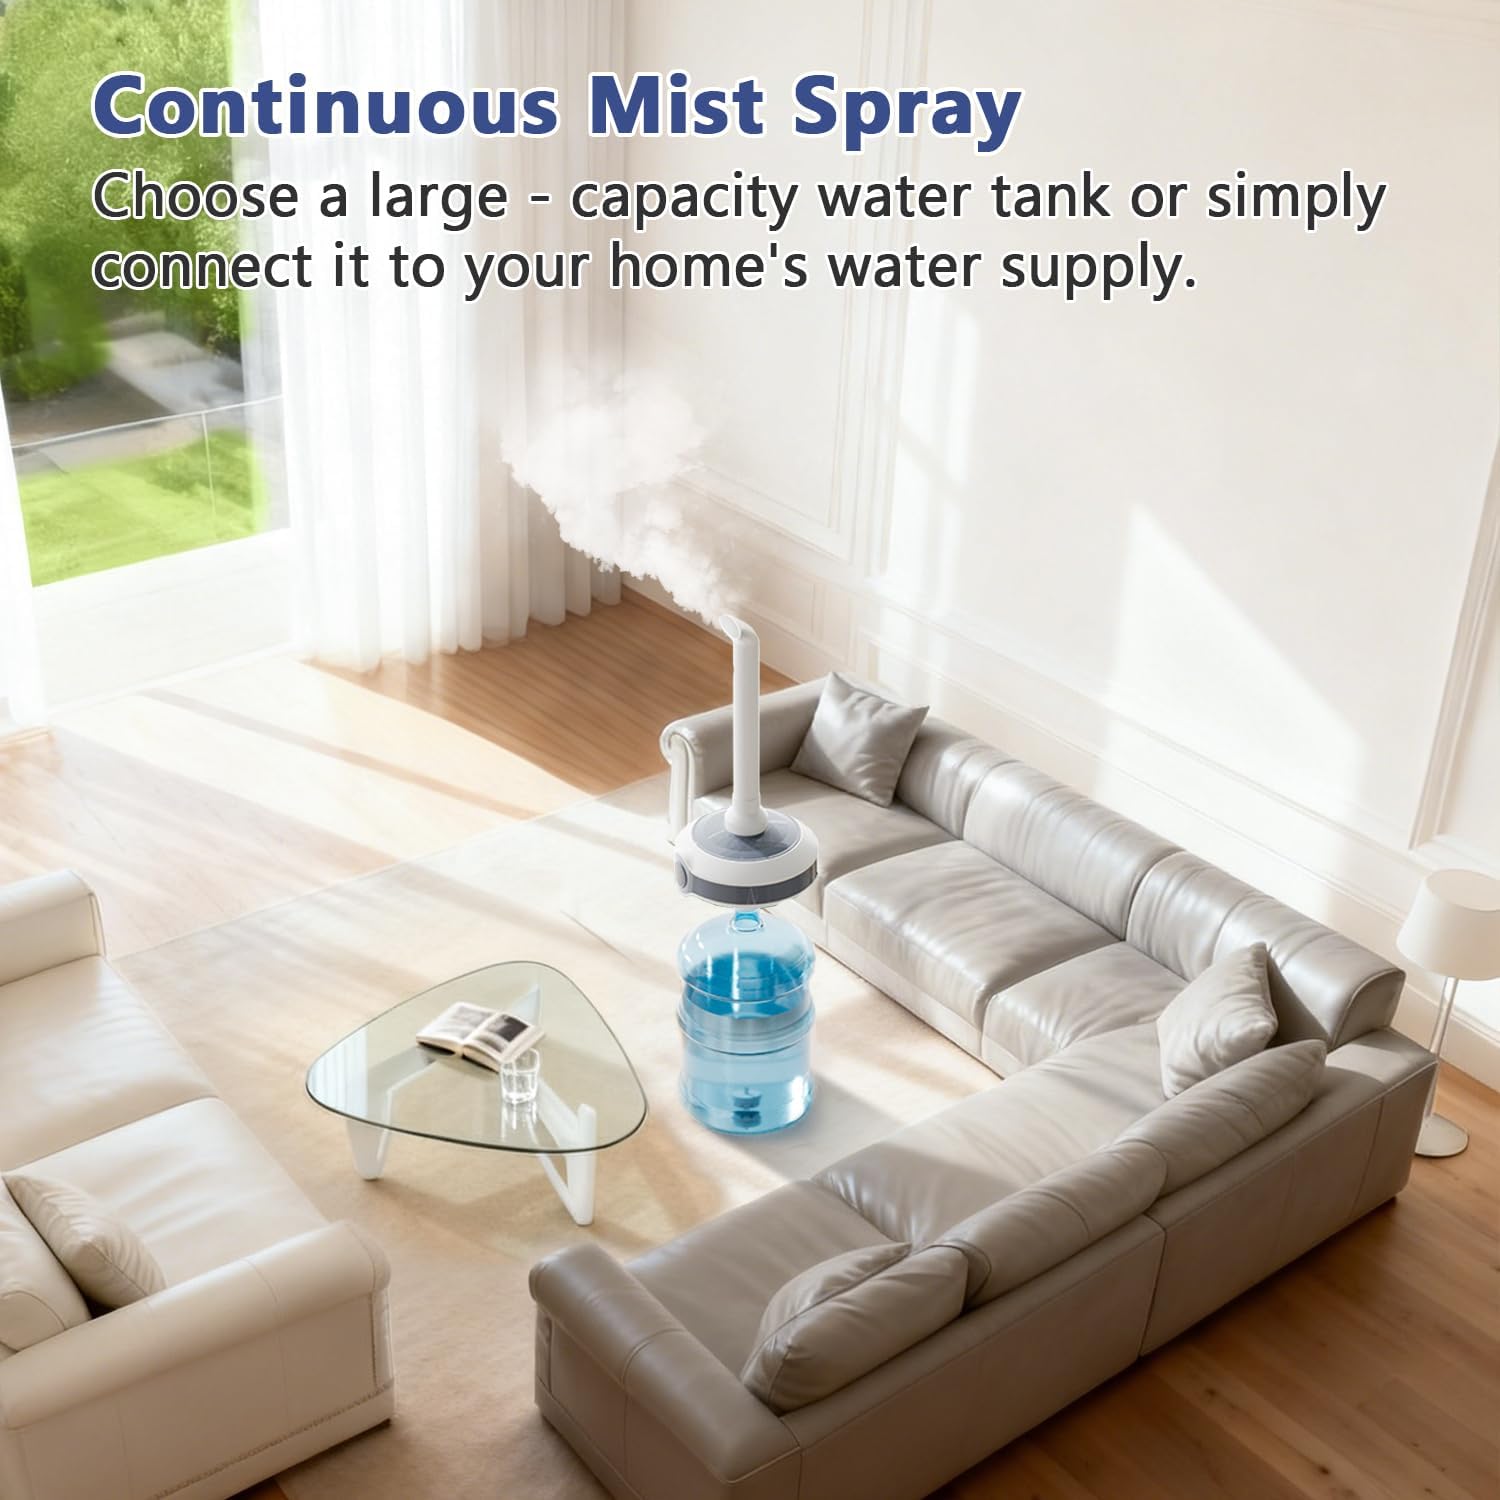
This humidifier is designed for large rooms up to 1000 sq.ft., offering an 800ml/h mist output, adjustable humidity control, and convenient remote operation. Its innovative tankless design allows compatibility with various water bottle containers (not included).
2. Important Safety Instructions
- Always place the humidifier on a firm, flat, water-resistant surface.
- Do not operate the humidifier without water.
- Keep the power cord away from heated surfaces.
- Do not block air vents.
- Unplug the unit before filling, cleaning, or moving.
- Do not immerse the main body in water or other liquids.
- Keep out of reach of children and pets.
- Use only clean, cool tap water. Distilled water is recommended to prevent mineral buildup.
- Do not add essential oils directly into the water reservoir; use a dedicated essential oil tray if available.
3. Package Contents
Upon unpacking, please ensure all items are present and in good condition:
- AILINKE Humidifier Main Unit
- Mist Tube
- Remote Control
- User Manual (this document)
- Element Filter
- Hose
- Cleaning Sponge
Note: The water bottle container is not included and must be purchased separately. It should have an opening diameter of 2.16 inches (5.5 cm).
4. Product Overview
Familiarize yourself with the components of your AILINKE humidifier.

- Mist Nozzle: Directs the mist output.
- Mist Tube: Extends the mist output upwards.
- Main Body (B): Contains the control panel and internal components.
- Sink (A): Area where water is atomized.
- Hose (C): Connects the main body to the element filter.
- Element Filter (D): Filters water before atomization.
- Water Bottle Container (E): User-provided water source (not included).
5. Setup and Assembly
Follow these steps to set up your humidifier:
- Prepare the Water Container: Select a water bottle container with an opening diameter of 2.16 inches (5.5 cm). Ensure it is clean.

Figure 5.1: Tankless Design Compatibility. This image demonstrates how the humidifier is compatible with various water bottle sizes, emphasizing the required 2.16-inch neck opening. - Connect Hose and Filter: Connect the hose (C) to the main body (B). Insert the element filter (D) into the bottom of the hose.

Figure 5.2: Connecting Hose and Filter. This image shows the process of attaching the hose to the element filter, which is a crucial step in the humidifier's assembly. - Insert into Water Container: Place the element filter (D) and hose (C) into the water bottle container (E). Ensure the filter is fully submerged and the hose is securely fixed.

Figure 5.3: Humidifier Assembly. This image displays the humidifier main unit correctly positioned on a water bottle, with the internal components submerged. - Position the Mist Tube: Attach the mist tube to the top of the main body. The mist tube is 360° rotatable, allowing you to adjust the mist direction as desired.
- Power Connection: Plug the power cord into a standard 120V AC electrical outlet.
6. Operating Instructions
Your AILINKE humidifier can be controlled via the touch panel on the main unit or the included remote control.
6.1 Control Panel and Remote Functions
The control panel features a digital display and touch buttons. The remote control mirrors these functions for convenience.
- Power Button: Turns the humidifier ON/OFF.
- Mist Level Button: Cycles through Low, Medium, and High mist output settings.
- Humidity Setting Button: Adjusts the desired humidity level (40-90%). The humidifier will automatically maintain this level.
- Timer Button: Sets the operating timer for 1, 2, 4, or 8 hours. Long press to activate/deactivate the self-cleaning light function.
- Sleep Mode: Activates a quiet operation mode (noise level ≤35dB) for undisturbed rest.
6.2 Mist Output Adjustment
The humidifier offers three mist output levels to suit different needs and room sizes.

6.3 Humidity Control
Utilize the external humidity sensor to set your desired humidity level between 40% and 90%. The humidifier will automatically adjust its operation to maintain this target humidity.
6.4 Automatic Shut-off
For safety and to prevent damage, the humidifier features an automatic shut-off function. It will turn off when the water level is too low or if the unit is accidentally tipped over. A warning light will indicate these conditions.
7. Maintenance and Cleaning
Regular cleaning is essential for optimal performance and longevity of your humidifier.
- Daily Maintenance:
- Unplug the humidifier before any maintenance.
- Empty any remaining water from the water container and the humidifier's sink (A).
- Wipe the sink (A) and mist nozzle with a clean, damp cloth.
- Weekly Cleaning (or more often with hard water):
- Unplug the unit.
- Remove the main body from the water container.
- Clean the sink (A) and atomizers using the provided cleaning sponge. You can use a mixture of white vinegar and water (1:1 ratio) to remove mineral buildup. Let it soak for 10-15 minutes, then gently scrub and rinse thoroughly.
- Rinse the element filter (D) under running water. The element filter does not require replacement and cleans itself when dry.
- Wipe all surfaces dry before reassembling.
- Self-Cleaning Function: Long press the timer button to activate/deactivate the self-cleaning light function. Refer to the control panel section for details.
Caution: Do not use harsh chemicals or abrasive cleaners, as they may damage the humidifier.
8. Troubleshooting
If you encounter issues with your humidifier, please refer to the following common problems and solutions:
| Problem | Possible Cause | Solution |
|---|---|---|
| No mist or low mist output. |
|
|
| Humidifier not turning on. |
|
|
| Unusual noise. |
|
|
| White dust around the humidifier. | Hard water mineral content. | Use distilled or demineralized water. Clean the unit regularly to remove mineral deposits. |
If the problem persists after trying these solutions, please contact customer support.
9. Specifications
| Brand | AILINKE |
| Model Name | ALK-MH-IN01-W-US |
| Color | White |
| Operation Mode | Ultrasonic Cool Mist |
| Mist Output | 800 mL/h |
| Coverage Area | Up to 1000 sq.ft. |
| Humidity Control | Adjustable (40-90%) |
| Special Features | Adjustable Humidity Control, Auto Shut Off, Low Water Indicator, Remote Control, Timer |
| Product Dimensions | 10.83"D x 11"W x 24"H |
| Item Weight | 3.5 Pounds |
| Voltage | 120 Volts |
| Wattage | 28 watts |
| Noise Level | ≤35dB (in Sleep Mode) |
| Timer | 1, 2, 4, 8 hours |
| Included Components | Humidifier, Remote Control, User Manual |
10. Warranty and Customer Support
AILINKE provides the following coverage for your humidifier:
- 90-Day Replacement: For any manufacturing defects or significant issues within 90 days of purchase.
- 1-Year Assurance: Comprehensive support for product functionality and performance for one year from the date of purchase.
For technical assistance, refunds, returns, or any other inquiries, please contact AILINKE customer service. Our online service is available 24 hours a day to assist you.
Please have your model number (ALK-MH-IN01-W-US) and purchase date ready when contacting support.
11. Video Resources
No official product videos from the seller are available at this time.