Introduction
This manual provides essential information for the proper use and maintenance of your Wanneton New-F3-6PCS waterproof portable rechargeable two-way radios. Please read these instructions carefully before operating the device to ensure safe and efficient communication. These radios are designed for reliable communication in various environments, featuring wireless frequency copy, customizable alarm functions, and a robust design.
Package Contents
Verify that all items listed below are included in your package:
- 6 x Wanneton New-F3-6PCS Walkie Talkies
- 6 x Antennas
- 6 x 1500mAh Lithium-Ion Batteries
- 6 x Charging Docks with Power Adapters
- 6 x Lanyards
- 6 x Belt Clips
- 6 x Earphones
- 3 x User Manuals

Figure 1: Contents of the Wanneton New-F3-6PCS walkie talkie package, including six radios, antennas, batteries, chargers, lanyards, belt clips, earphones, and user manuals.
Product Overview
The Wanneton New-F3-6PCS walkie talkie features a compact and ergonomic design, constructed from durable PC+ABS materials. It includes essential controls for communication and specialized functions.

Figure 2: Six Wanneton New-F3-6PCS walkie talkies with antennas and charging docks.
Key Features:
- Durable Construction: Made from environmentally friendly PC+ABS materials.
- Integrated Belt Clip: For convenient portability.
- Fixed Antenna: Designed for optimal signal reception and transmission.
- Water Resistance: Suitable for use in various weather conditions.
Setup
1. Battery Installation
- Ensure the walkie talkie is powered off.
- Locate the battery compartment cover on the back of the unit.
- Slide the cover down or unclip it to open the compartment.
- Insert the 1500mAh Lithium-Ion battery, ensuring the contacts align correctly.
- Replace the battery compartment cover and secure it.
2. Charging the Battery
- Place the walkie talkie into its charging dock.
- Connect the power adapter to the charging dock and plug it into a standard electrical outlet.
- The charging indicator light on the dock will illuminate, typically red for charging and green for fully charged.
- A full charge typically takes 2-3 hours.
- Once fully charged, remove the walkie talkie from the dock.
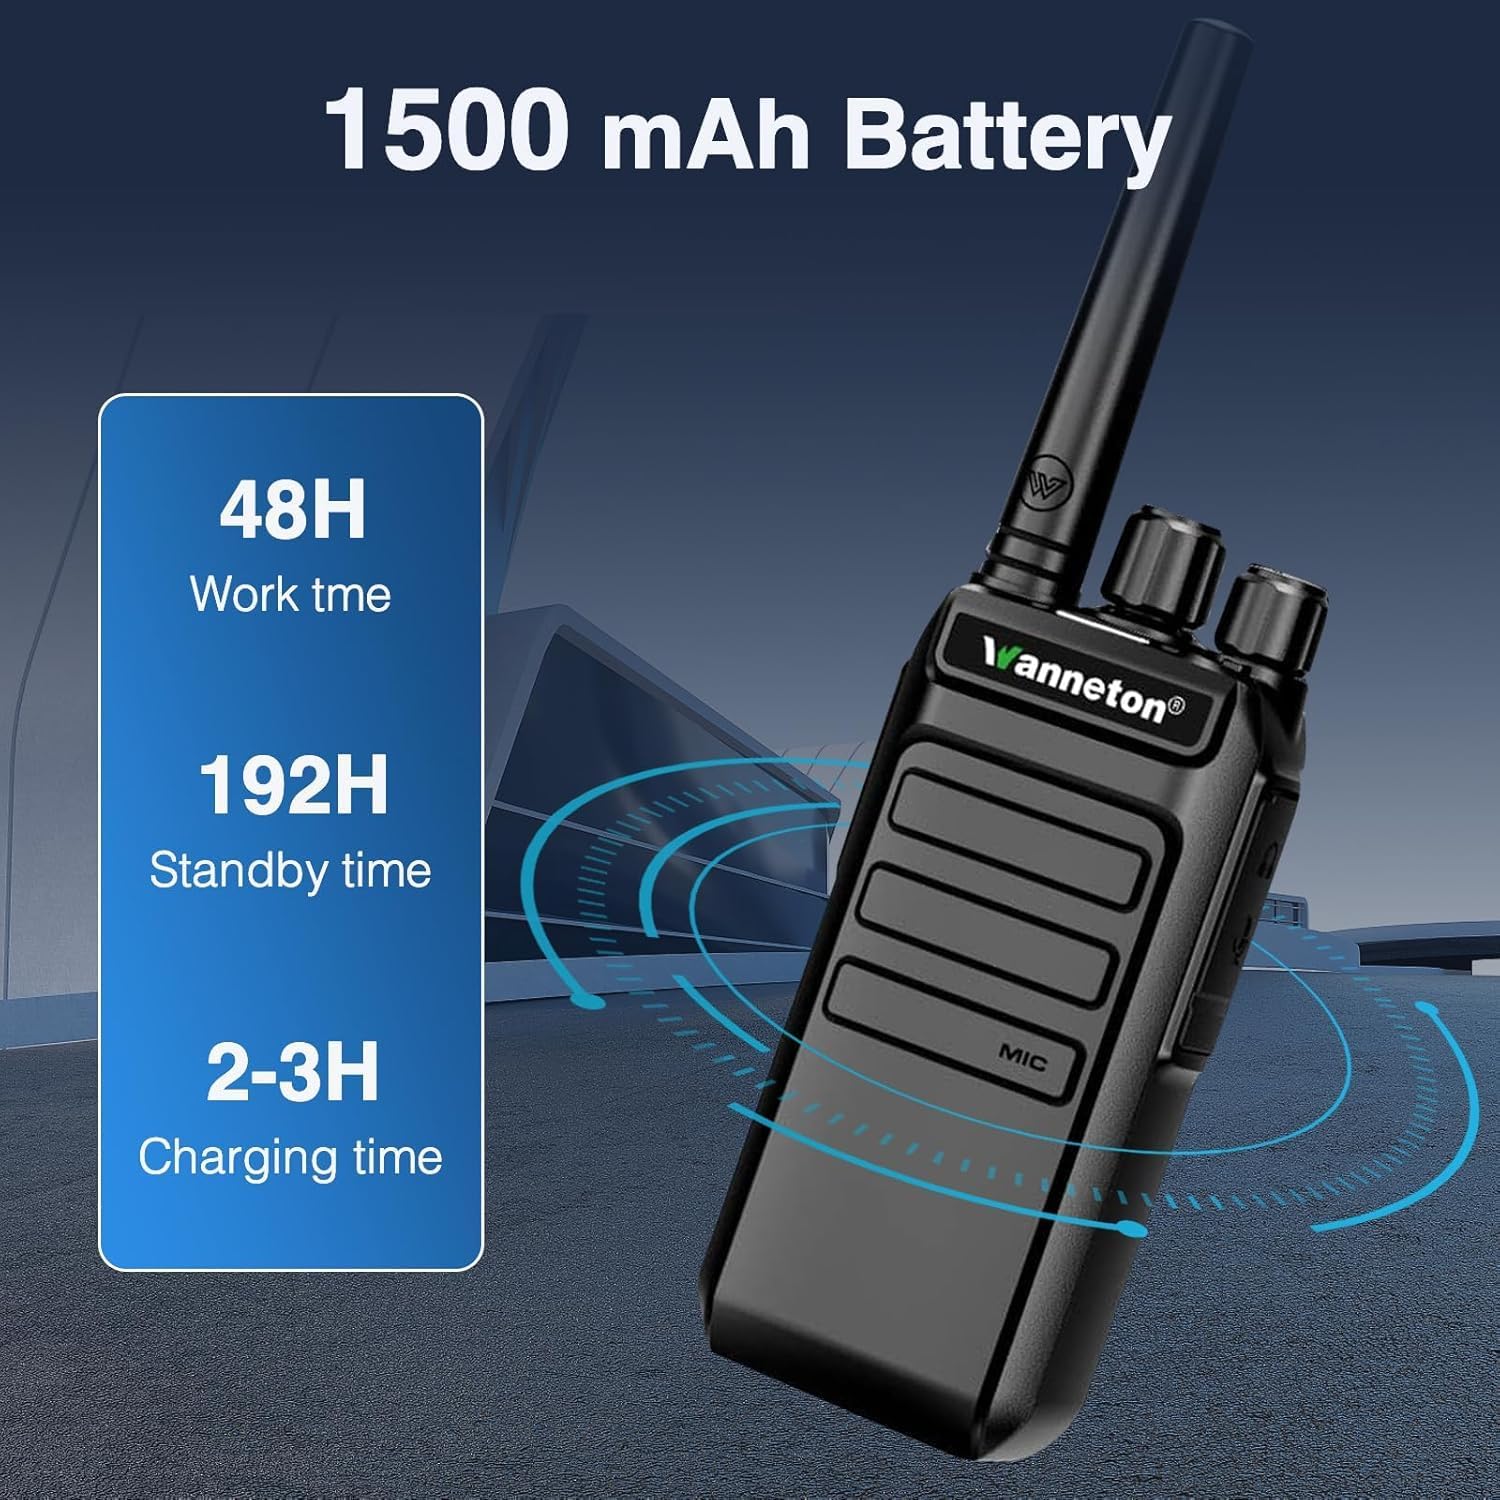
Figure 3: Battery specifications: 1500mAh capacity, approximately 48 hours work time, 192 hours standby time, and 2-3 hours charging time.
Operating Instructions
1. Power On/Off
Rotate the power/volume knob clockwise to turn the radio on. Rotate it counter-clockwise until a click is heard to turn the radio off.
2. Volume Adjustment
After powering on, continue rotating the power/volume knob clockwise to increase the volume, and counter-clockwise to decrease it.

Figure 4: The walkie talkie provides clear sound quality with easy volume adjustment.
3. Channel Selection
Use the channel selector knob (typically the top-most knob) to choose one of the available 99 channels. Ensure all radios intended for communication are set to the same channel.
4. VOX Hands-free Operation
The Voice Operated Exchange (VOX) function allows for hands-free communication. When activated, the radio will transmit automatically when it detects your voice, without needing to press the Push-to-Talk (PTT) button. This feature can be enabled or disabled via programming software.

Figure 5: VOX hands-free operation allows communication without pressing the PTT button.
5. Wireless Frequency Copy (One-Click Frequency Decoding)
This feature allows you to quickly match the frequency and privacy code of another UHF walkie talkie. Simply press the designated button (configurable via programming tools) to initiate the decoding process. Your device will automatically align its settings, enabling cross-brand communication without complex manual programming.
6. Customizable Alarm Function
The side keys can be programmed to function as an emergency alarm switch. When activated, all intercoms set to the same frequency will emit an alarm sound. This is useful for quickly notifying your team in emergency situations. This feature can be activated or deactivated by pressing the configured side key.

Figure 6: The emergency alarm function can be activated via a customizable side key.
7. Encryption Function
Side keys can also be programmed to activate or deactivate an encryption function. When encryption is active on one device, other devices without active encryption on the same frequency will receive distorted audio, ensuring privacy for sensitive communications.
8. Relay Connection Function
These GMRS handheld walkie talkies can connect to nearby relays to extend their signal range. This allows for communication over longer distances compared to standard direct communication, especially in challenging environments.
Maintenance
- Cleaning: Use a soft, damp cloth to clean the radio's exterior. Do not use harsh chemicals or abrasive cleaners.
- Water Resistance: While waterproof, avoid submerging the radio for extended periods or exposing it to high-pressure water jets. Ensure all ports and covers are securely closed.
- Battery Care: Store batteries in a cool, dry place. Avoid overcharging or completely draining the battery frequently to prolong its lifespan.
- Storage: When not in use for extended periods, remove the battery and store the radio in a dry, dust-free environment.
Troubleshooting
| Problem | Possible Cause | Solution |
|---|---|---|
| Radio does not power on. | Battery is low or not installed correctly. | Charge the battery or re-install it, ensuring proper contact. |
| Cannot communicate with other radios. | Different channels or privacy codes. Out of range. | Ensure all radios are on the same channel and privacy code. Move closer to the other radio. Use frequency copy function. |
| Distorted audio. | Encryption function active on one radio but not another. Weak signal. | Check encryption settings on all radios. Move to an area with better signal reception. |
| Short battery life. | Battery not fully charged. Old battery. | Ensure battery is fully charged (2-3 hours). Consider replacing the battery if it's old and capacity has degraded. |
Specifications
| Feature | Detail |
|---|---|
| Model Number | New-F3-6PCS |
| Brand | Wanneton |
| Item Weight | 4.88 pounds (for the 6-pack) |
| Product Dimensions | 1 x 1 x 1 inches (per unit, approximate) |
| Battery Type | 1500mAh Lithium Ion (6 required) |
| Number of Channels | 99 |
| Special Features | Automatic Squelch, Battery Saver Mode, Call Alert, Noise Reduction, VOX, Wireless Frequency Copy, Customizable Alarm, Encryption, Relay Connection |
| Frequency Range | GMRS (UHF) |
| Talking Range Maximum | Up to 30 Miles (environment dependent) |
| Voltage | 7.4 Volts (DC) |
| Water Resistance Level | Water Resistant |
Warranty and Support
Warranty Information
This product comes with a 30-day warranty from the date of purchase. Please retain your proof of purchase for any warranty claims.
Customer Support
Should you have any questions, require assistance with setup, operation, or troubleshooting, our professional customer support team is available to help. Please refer to the contact information provided with your purchase or visit the official Wanneton website for support resources.