Introduction
This manual provides detailed instructions for the installation, operation, and maintenance of your ZKCAMSPY X12 3-Channel Dash Cam. Please read this manual thoroughly before using the device to ensure proper functionality and safety.
Product Features
- 3-Channel Recording: Simultaneously records front (150° 1080P), interior (120° 720P), and rear (120° 720P waterproof) views.
- Built-in Infrared Night Vision: Equipped with 4 IR lights for clear interior recording in low-light conditions without glare.
- G-Sensor: Automatically detects collisions and locks critical footage to prevent overwriting.
- Loop Recording: Ensures continuous recording by automatically overwriting the oldest files when the memory card is full.
- 24/7 Parking Surveillance Mode: Activates collision detection when parked, recording emergency footage. Requires an ACC hardwire kit (sold separately) for time-lapse recording.
- 3.0" IPS Screen: Provides a clear display for viewing recordings and navigating settings.
- Easy Installation & Operation: Designed for plug-and-play setup with a user-friendly interface.
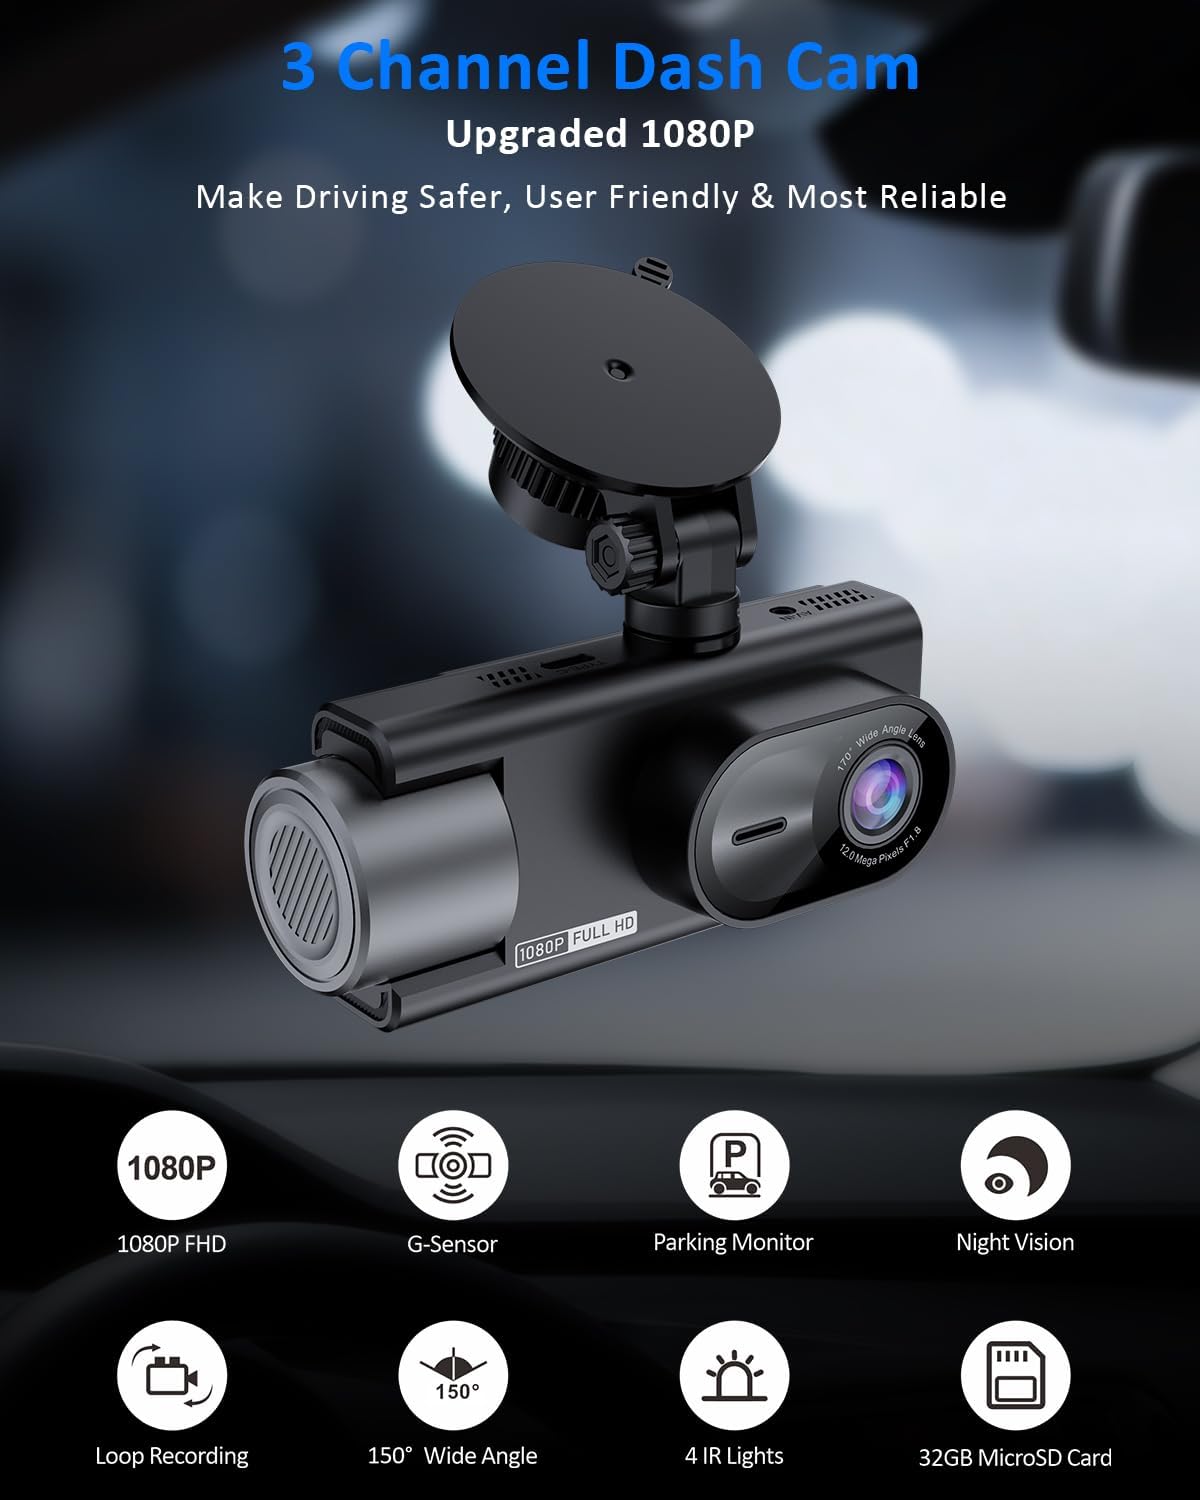
Image: Overview of ZKCAMSPY X12 Dash Cam features including 1080P FHD, G-Sensor, Parking Monitor, Night Vision, Loop Recording, 150° Wide Angle, 4 IR Lights, and 32GB MicroSD Card.
Package Contents
Verify that all items are present in your package:
- X12 Dash Cam (Main Unit)
- 720P Rear Camera
- 32GB SD Card (pre-installed in cam)
- Car Charger
- 360° Suction Bracket (Car Mount)
- User Manual
- Quick Guide

Image: Visual representation of the items included in the ZKCAMSPY X12 Dash Cam package.
Setup & Installation
Follow these steps for proper installation of your dash cam system.
1. Install the Main Dash Cam Unit
- Clean the windshield area where you intend to mount the dash cam.
- Attach the suction cup mount to the main dash cam unit.
- Press the suction cup firmly against the windshield and twist the locking mechanism to secure it. Ensure the camera has a clear view of the road and does not obstruct your driving vision.
- Insert the provided 32GB SD card into the designated slot on the dash cam.

Image: The main dash cam unit with its suction cup mount, illustrating how it attaches to the windshield.
2. Install the Rear Camera
- Identify a suitable location on your rear windshield for the rear camera. Clean the area thoroughly.
- Attach the rear camera using its adhesive backing.
- Connect the rear camera cable to the main dash cam unit (AV-IN port).
- For reversing assistance, connect the red wire from the rear camera cable to your car's reversing lamp positive anode (+). This step is optional but recommended for full functionality.
3. Connect Power and Route Cables
- Connect the car charger to the dash cam's Type-C port.
- Plug the car charger into your vehicle's cigarette lighter socket.
- Carefully route all cables (power and rear camera cable) along the edges of your windshield and interior trim to keep them tidy and out of the way, ensuring they do not interfere with airbags or driver visibility. Use the included cable management tools if available.
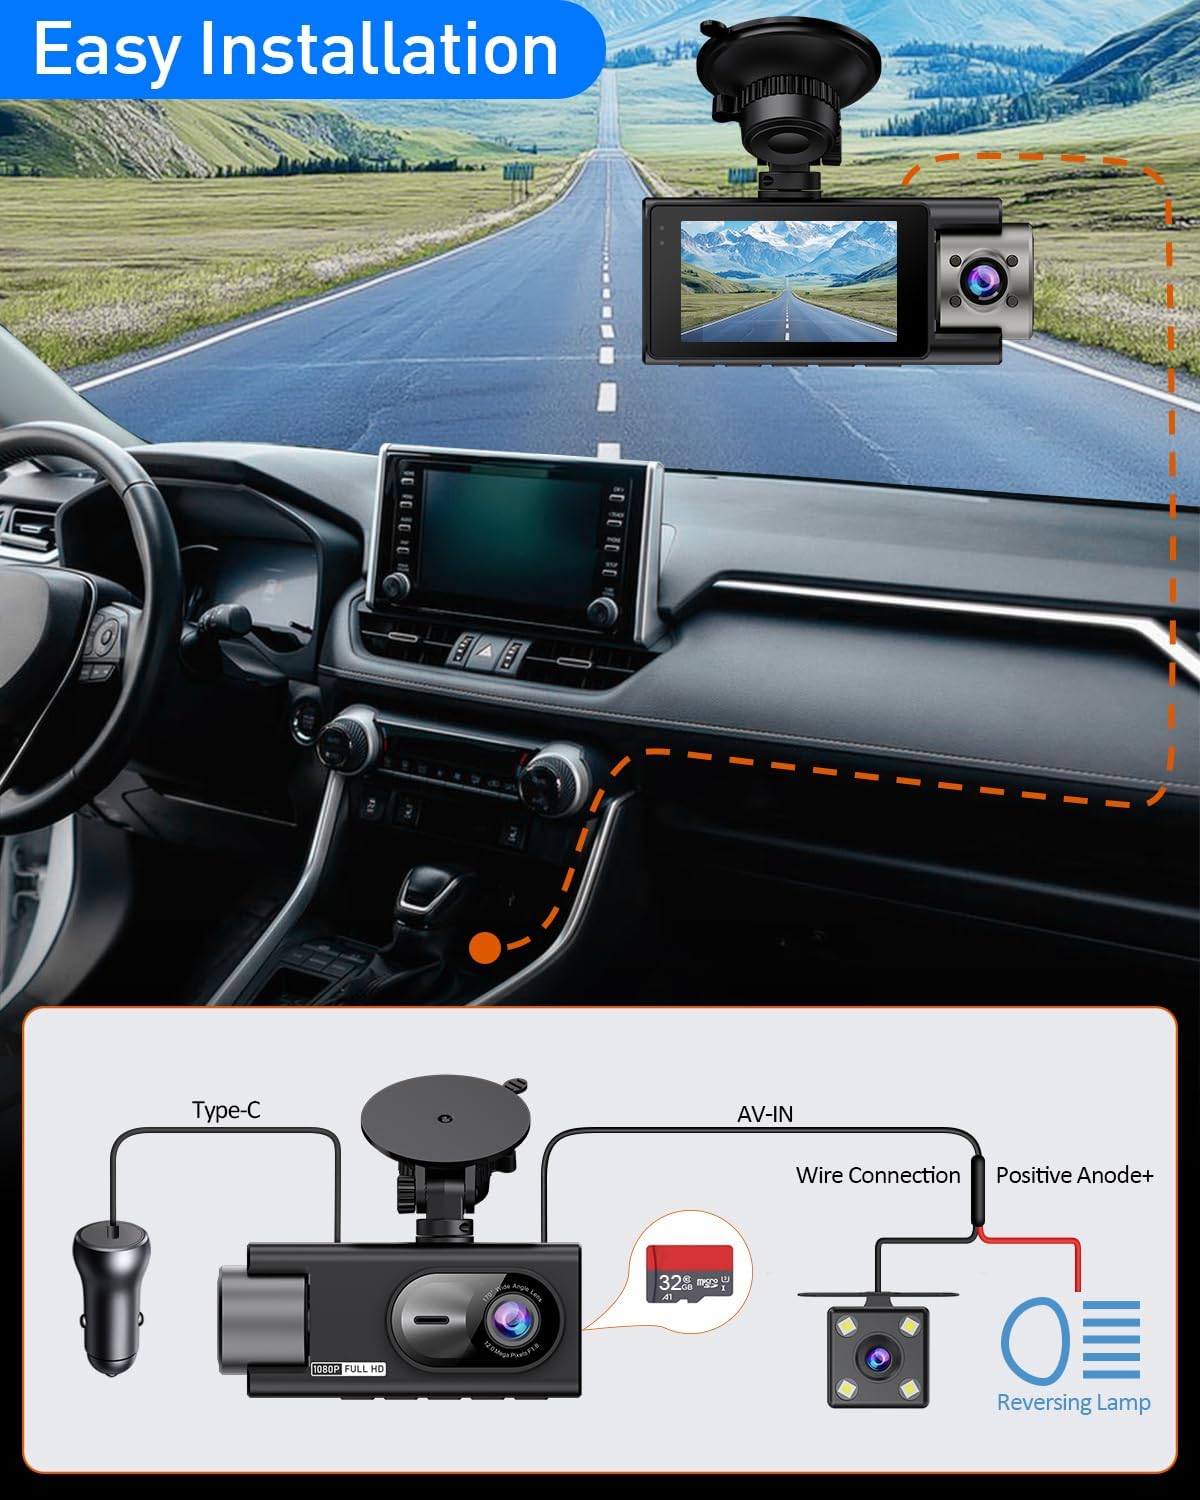
Image: Step-by-step diagram illustrating the connections for power, main unit, and rear camera, including cable routing.
Operating Instructions
Basic Recording
- The dash cam will automatically start recording when powered on (when your vehicle starts).
- Recordings are saved in segments (e.g., 1, 3, or 5 minutes) and continuously loop, overwriting the oldest unprotected files.
- To manually start/stop recording, press the designated record button.

Image: Illustration of the loop recording function, where older videos are automatically overwritten to save new footage.
G-Sensor Functionality
- The built-in G-sensor detects sudden impacts or rapid acceleration/deceleration.
- When an event is detected, the current recording segment is automatically locked and protected from being overwritten by loop recording.
- Adjust G-sensor sensitivity in the settings menu if you experience too many or too few locked files.
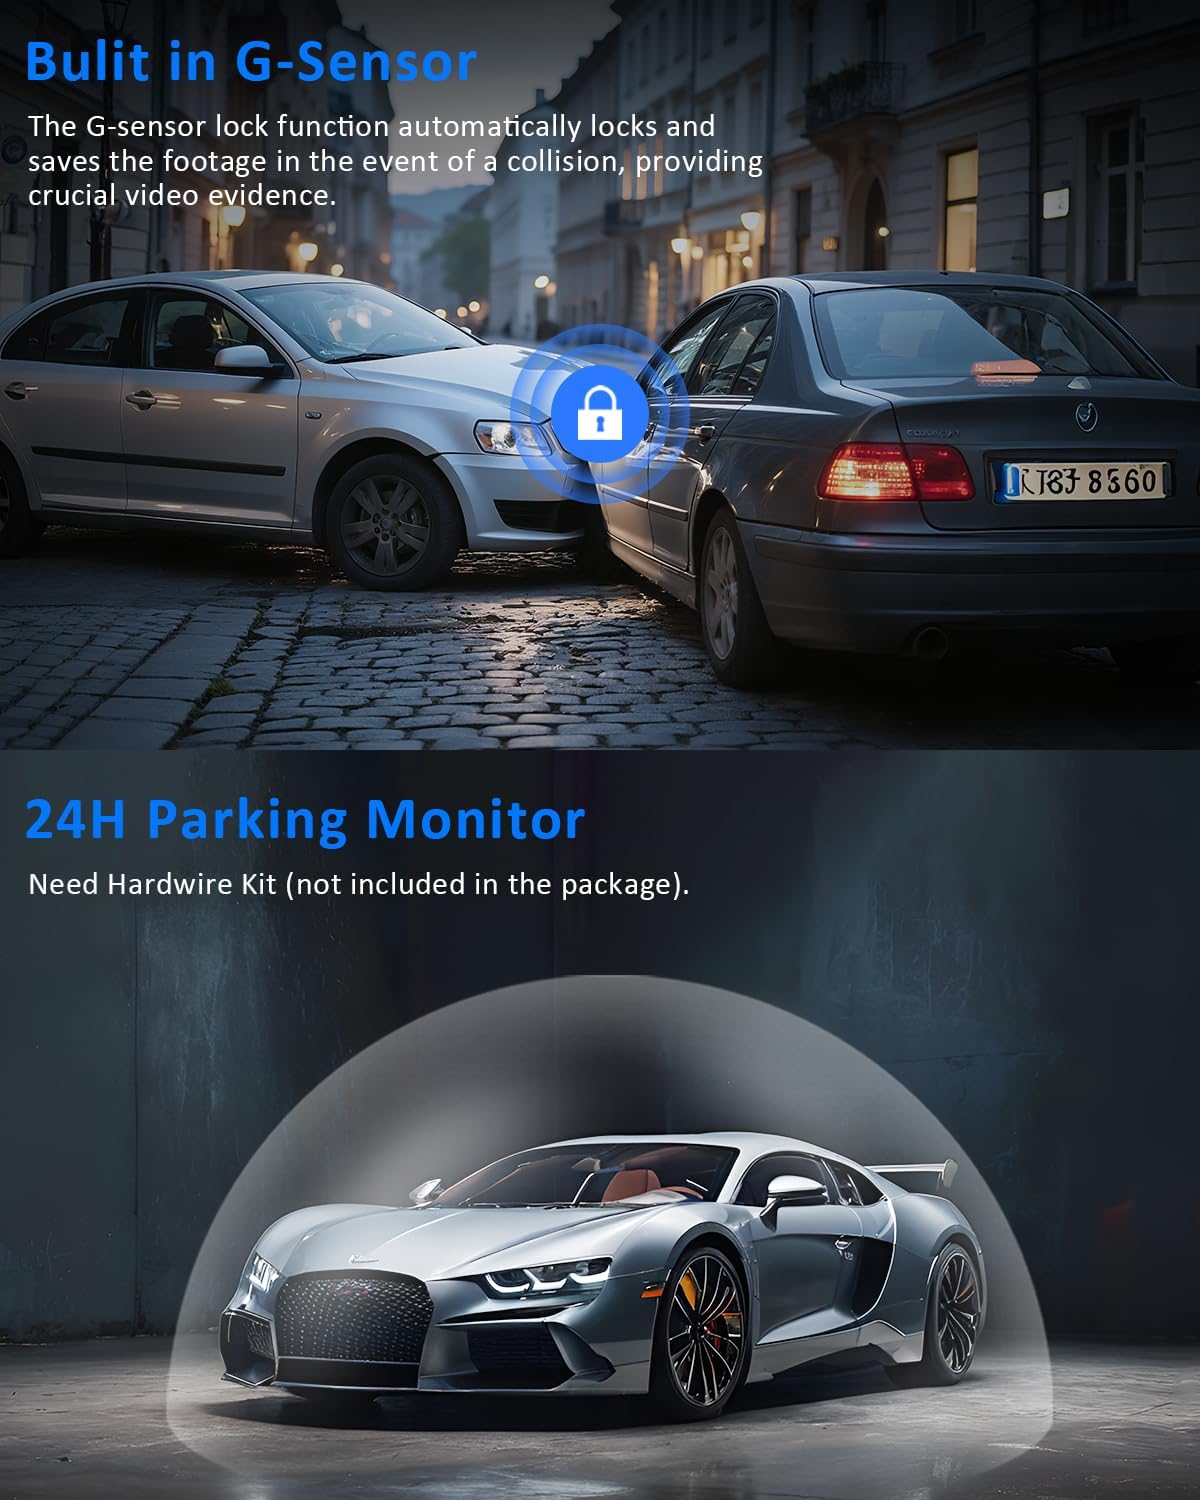
Image: The G-Sensor function, which automatically locks and saves footage during a collision.
Night Vision
- The dash cam features advanced night vision technology with 4 infrared (IR) lights.
- This enhances visibility for interior recordings in low-light or nighttime conditions, capturing details without visible glare.

Image: Demonstration of enhanced night vision, showing clear video capture in low-light conditions.
24H Parking Mode
- When the vehicle is parked, the dash cam can automatically activate collision detection mode.
- Upon impact, it will instantly record emergency footage.
- For continuous time-lapse recording with ultra-low power consumption, an ACC hardwire kit (sold separately) is required. This protects against hit-and-runs, vandalism, or theft without draining your car battery.

Image: The 24H Parking Mode feature, providing continuous surveillance for your vehicle.
Menu Navigation
Use the buttons on the dash cam to navigate through the settings menu. The 3.0" IPS screen will display options such as resolution, photo resolution, fill light, cyclic record, white balance, EV, motion detection, audio, parking wake, record date tag, photo date tag, G-sensor sensitivity, beep sound, time setting, auto power-off, language setting, flicker, screen savers, format, reset system, and version information.
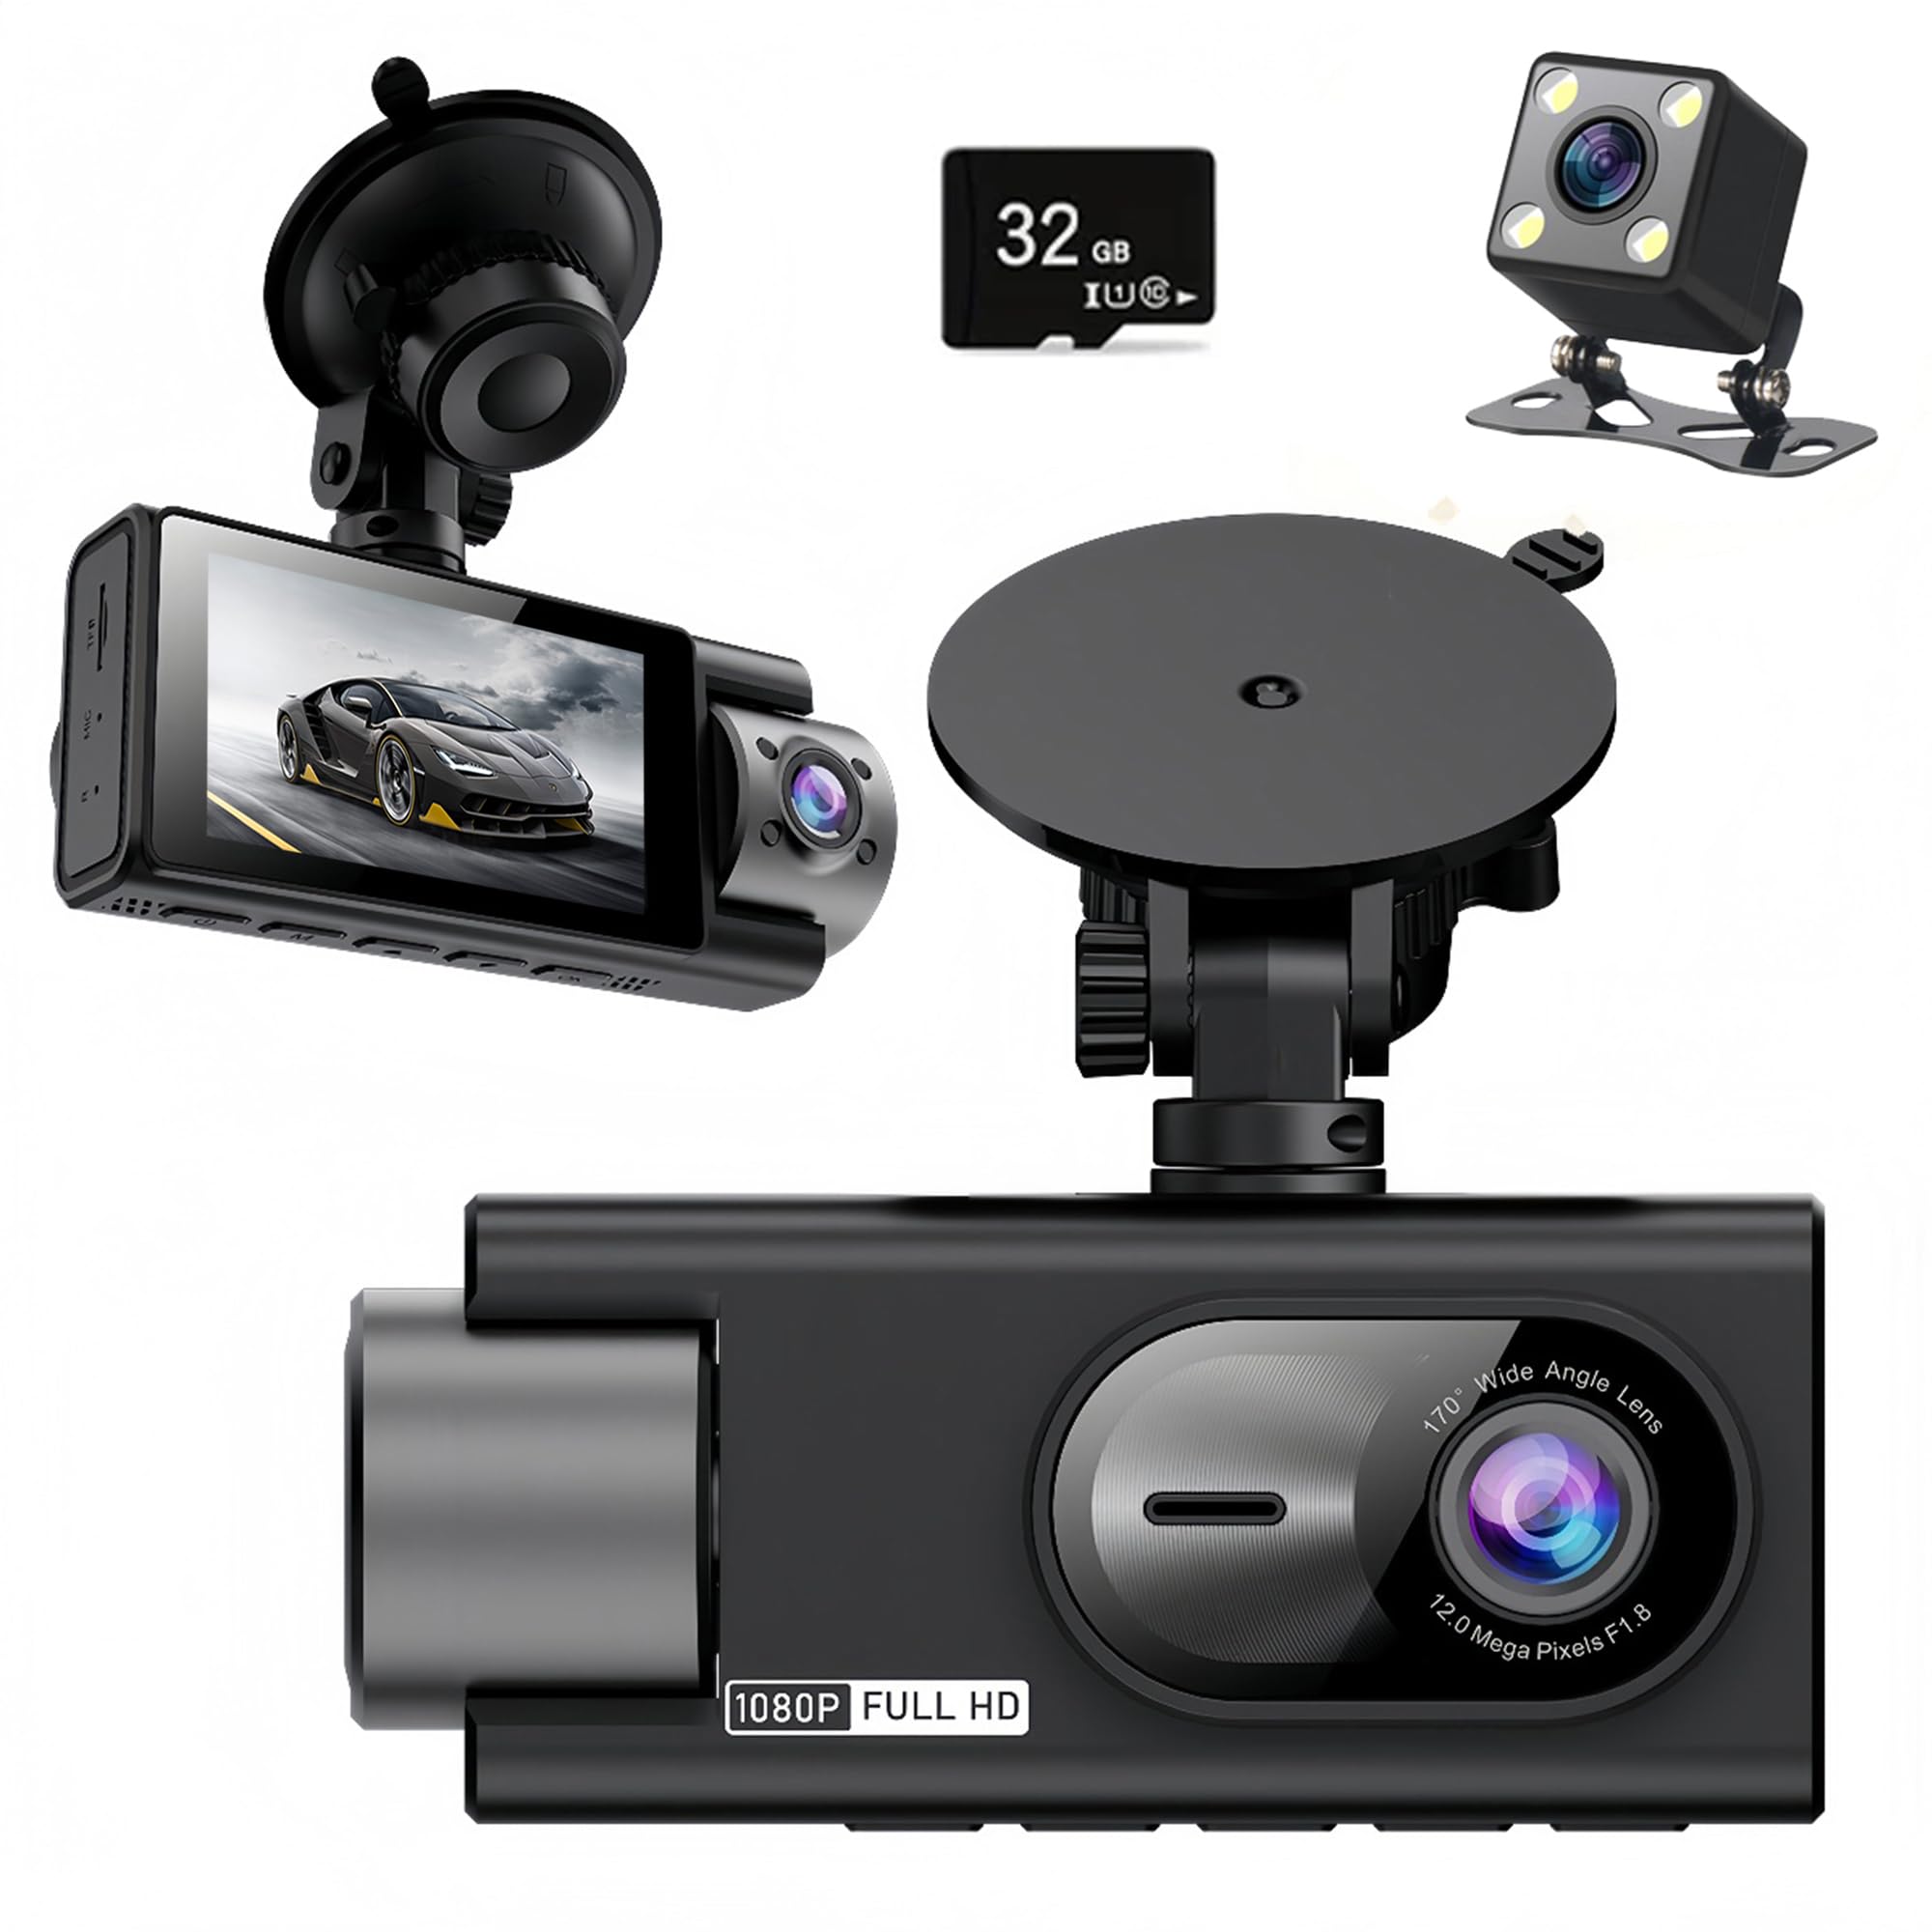
Image: The dash cam's screen showing various menu options for configuration.
Maintenance
- SD Card Formatting: It is recommended to format the SD card regularly (e.g., once a month) to ensure optimal performance and prevent data corruption. This can be done through the dash cam's settings menu.
- Cleaning: Use a soft, dry cloth to clean the camera lenses and the screen. Avoid using abrasive cleaners or solvents.
- Firmware Updates: Check the manufacturer's website periodically for any available firmware updates to improve performance and add new features.
Troubleshooting
- Dash Cam does not power on:
- Ensure the car charger is securely plugged into both the dash cam and the vehicle's cigarette lighter socket. Check if the vehicle's power outlet is functioning. The dash cam requires continuous power from the car's electrical system to operate.
- "Card Full" error or recording stops:
- Format the SD card through the dash cam's settings menu. Ensure loop recording is enabled. If the issue persists, the SD card may be faulty and require replacement with a high-speed (Class 10 or U3) card.
- Poor video quality or blurry images:
- Clean the camera lenses. Ensure the protective film has been removed from the lenses. Check the resolution settings in the menu. Ensure the dash cam is securely mounted and not vibrating.
- Parking Mode not working:
- Verify that Parking Mode is enabled in the settings. For continuous time-lapse parking surveillance, an ACC hardwire kit (sold separately) is required. Without it, parking mode typically relies on the built-in battery and G-sensor for impact detection only.
- Rear camera not displaying:
- Check the connection between the rear camera and the main unit. Ensure the cable is not damaged. If the issue is related to the reversing display, verify the red wire is correctly connected to the reversing lamp's positive anode.
Specifications
| Brand | ZKCAMSPY |
| Model | X12 |
| Video Capture Resolution | 1080p (Front), 720p (Interior & Rear) |
| Screen Size | 3 Inches IPS |
| Lens Angle | 150° (Front), 120° (Interior), 120° (Rear) |
| Special Features | 3-Channel Recording, G-Sensor, Loop Recording, Night Vision (4 IR lights), 24H Parking Mode |
| Connectivity Technology | USB |
| Mounting Type | Dashboard Mount (Suction Cup) |
| Max Flash Memory Supported | 64 GB (32GB card included) |
| Battery Cell Type | Lithium Ion |
| Product Dimensions | 8.26"D x 11"W x 2.75"H |
Warranty & Support
The ZKCAMSPY X12 Dash Cam comes with a 1 Year Manufacturer Warranty. For technical support, warranty claims, or any inquiries, please refer to the contact information provided in the Quick Guide or on the official ZKCAMSPY website.
Always ensure you are using official accessories and following the instructions to maintain warranty validity.