1. Introduction
This manual provides detailed instructions for the installation, operation, and maintenance of your HIHUOS Porch Light with GFCI Outlet. Please read this manual thoroughly before installation and use to ensure proper function and safety.
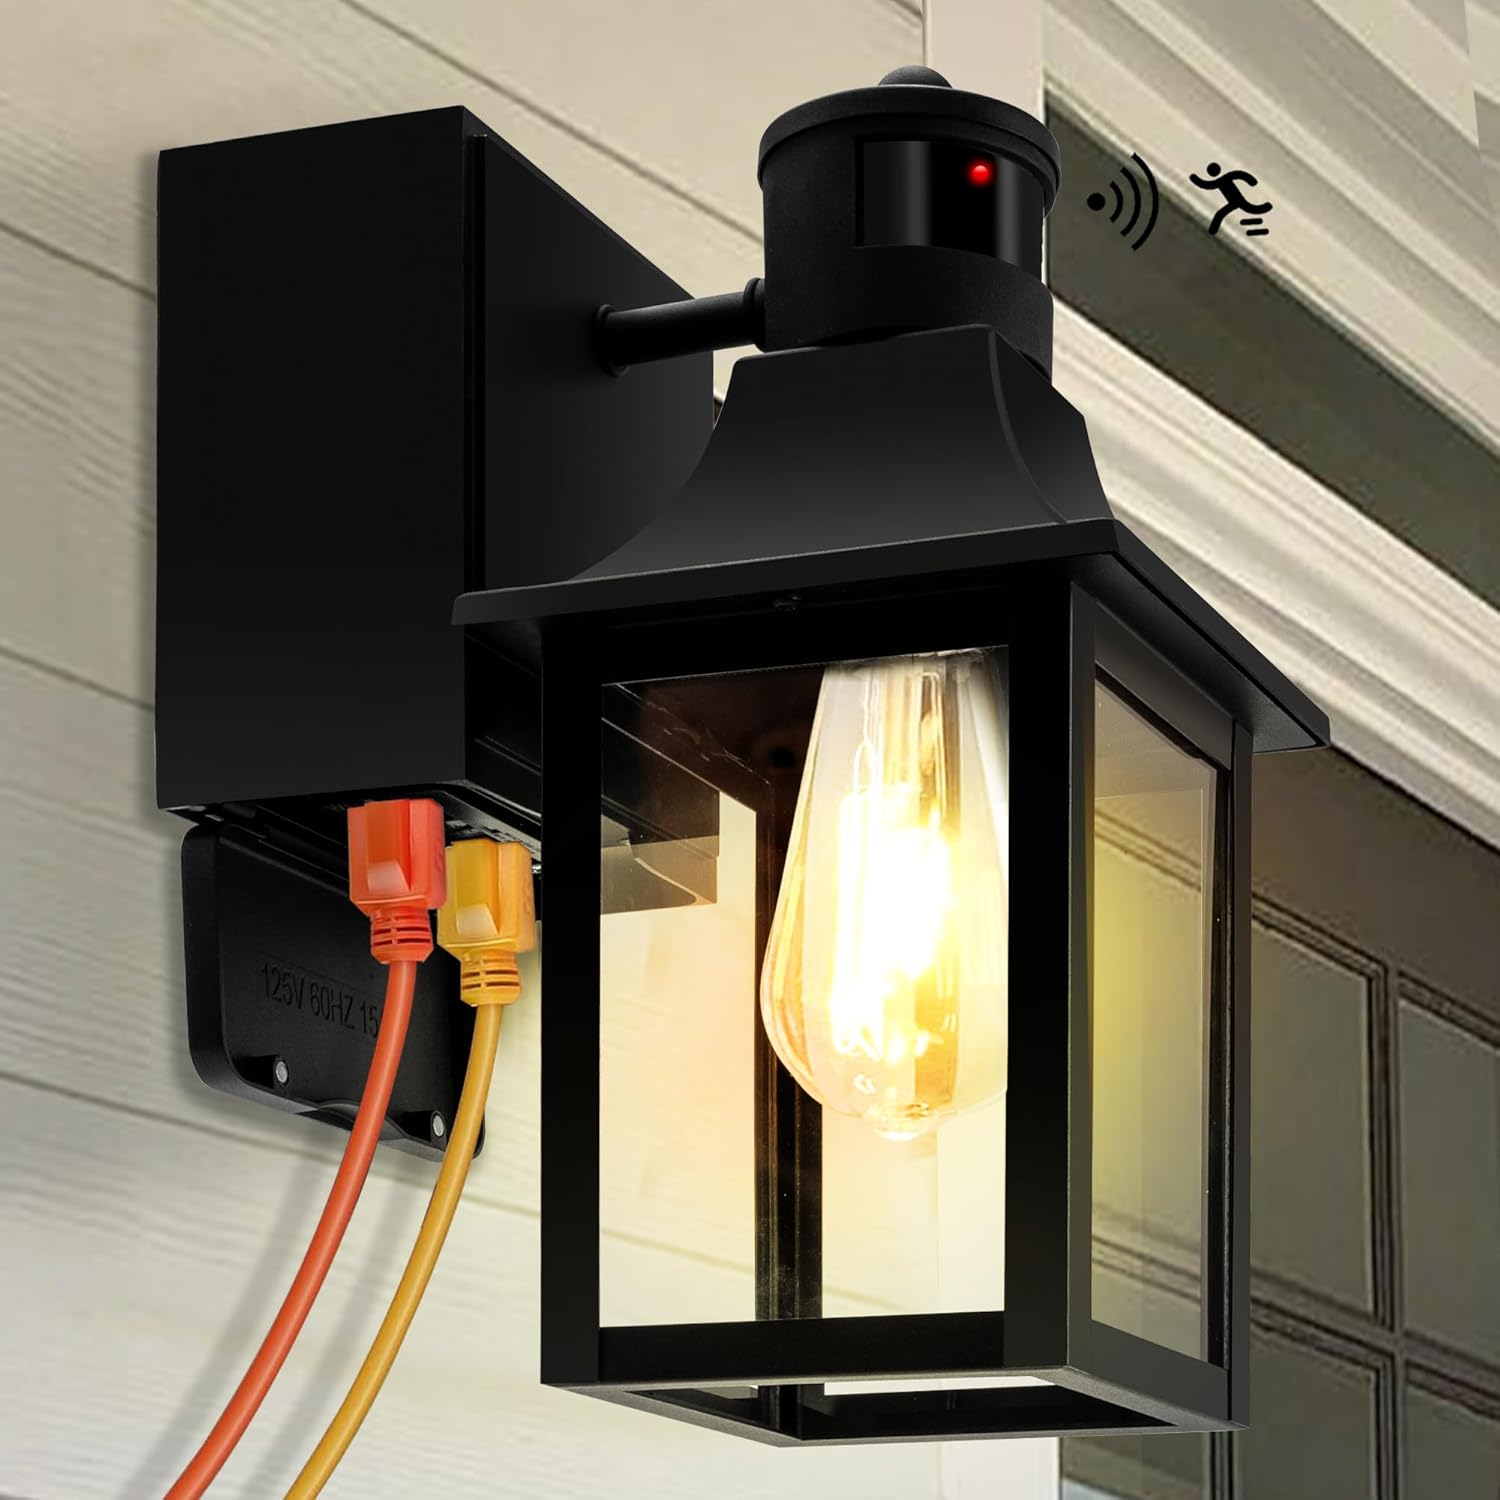
Image 1.1: HIHUOS Porch Light with GFCI Outlet. This image shows the black outdoor wall sconce with a clear glass shade, an exposed bulb, and two power cords plugged into the integrated GFCI outlets on the side of the fixture, indicating its dual functionality as a light and power source.
2. Safety Information
- Always turn off the power at the circuit breaker before beginning installation or performing any maintenance.
- Consult a qualified electrician if you are not familiar with electrical wiring.
- Ensure all wiring connections are secure and comply with local electrical codes.
- This fixture is designed for outdoor use only.
- Do not exceed the maximum wattage of 60W for the bulb.
- The GFCI outlets provide protection against electrical shock. Regularly test the GFCI outlets as instructed in the manual.
3. Package Contents
Verify that all components are present before installation:
- HIHUOS Porch Light Fixture with GFCI Outlet
- Mounting Hardware (screws, wire nuts)
- User Manual
Note: Bulb is not included and must be purchased separately.

Image 3.1: Included Accessories. This image displays the user manual, wire nuts, and mounting screws, which are provided for installation.
4. Product Features
- Built-in 2 GFCI Outlets: Provides convenient outdoor power with protection against electrical faults.
- 3 Lighting Modes: High Auto, Low Auto, and Manual (Dusk to Dawn) modes for versatile operation.
- Motion Sensor: Detects movement to activate full brightness in auto modes.
- Dusk to Dawn Sensor: Automatically turns the light on at dusk and off at dawn in Manual mode.
- Weather Resistant (IP65): Constructed from high-quality aluminum and tempered glass to withstand various weather conditions.
- E26 Base: Compatible with standard E26 dimmable LED/incandescent bulbs (up to 60W).
- Open Bottom Design: Facilitates easy bulb installation and cleaning.

Image 4.1: Key Product Features. This diagram points out the advanced motion sensor, E26 standard socket, high-quality clear glass, and unique open bottom design of the light fixture.

Image 4.2: Upgraded Motion Sensor and GFCI Details. This image provides a close-up of the GFCI outlet, labeling its components like the RESET button, TEST button, and tamper-resistant features, alongside a description of the upgraded motion sensor capabilities.
5. Installation
Follow these steps to install your porch light:
- Turn off Power: Locate the circuit breaker controlling the outdoor light fixture and turn off the power.
- Prepare Wiring: Connect the fixture's wires to your household wiring according to standard electrical practices (e.g., black to black, white to white, ground to ground). Secure connections with wire nuts.
- Mount Fixture: Secure the mounting bracket to the wall. Attach the light fixture to the mounting bracket using the provided screws.
- Install Bulb: Insert a compatible E26 base bulb (not included) into the socket.
- Restore Power: Turn the power back on at the circuit breaker.
- Test GFCI Outlets: After installation, press the "RESET" button between the outlets to activate them. Then, press the "TEST" button. The GFCI should trip, cutting power to the outlets. Press "RESET" again to restore power. This confirms the GFCI is functioning correctly.

Image 5.1: GFCI Outlet Detail. This image provides a close-up view of the two GFCI outlets integrated into the light fixture, showing the 'TEST' and 'RESET' buttons and indicating a maximum current of 14.5AWG and maximum power of 1080W.
6. Operating Instructions
The porch light features three operating modes, adjustable via a switch located on the top of the fixture (under the cap). The factory setting is HIGH AUTO Mode.

Image 6.1: 3 Lighting Modes. This diagram shows how to access the mode switch by removing the top cap and illustrates the behavior of Manual Mode (Dusk to Dawn), High Auto Mode, and Low Auto Mode.
6.1. Mode Selection
To change modes, gently unscrew the top cap of the fixture to reveal the mode selection switch. Slide the switch to your desired setting.
6.2. Lighting Modes
- HIGH AUTO Mode (Factory Setting):
The light stays at 30% brightness all night. When motion is detected, it illuminates to 100% brightness. After 60 seconds without motion, it returns to 30% brightness.
Image 6.2: High Auto Mode. This image depicts the light maintaining 30% brightness at night and increasing to 100% brightness when motion is detected within a 220-degree range.
- LOW AUTO Mode:
The light remains off (0% brightness) at night when no movement is detected. When motion is detected, it illuminates to 100% brightness. It automatically turns off after 60 seconds without motion.
Image 6.3: Low Auto Mode. This image illustrates the light remaining off without movement at night and activating to 100% brightness upon motion detection within a 220-degree range.
- MANUAL Mode (Dusk to Dawn):
To enter Manual mode from any Auto mode, quickly switch the power button (wall switch) "on-off-on" within 0.5-2 seconds. The light will turn on and stay on at 100% brightness for approximately 8-9 hours, or until the dusk to dawn sensor detects light in the morning.
Image 6.4: Manual Mode. This image shows the light staying on at 100% brightness for 8 hours after being activated by the dusk to dawn sensor, illustrating its continuous illumination throughout the night.
7. Maintenance
7.1. Cleaning
To clean the fixture, ensure power is off at the circuit breaker. Wipe with a soft, damp cloth. Do not use abrasive cleaners or solvents.
7.2. Bulb Replacement
Turn off power at the circuit breaker. The open bottom design allows for easy access to the bulb. Unscrew the old bulb and screw in a new E26 base bulb, ensuring it does not exceed 60W.
7.3. GFCI Testing
Regularly test the GFCI outlets (monthly recommended) by plugging in a device, pressing the "TEST" button (power should cut off), and then pressing the "RESET" button (power should restore). If the GFCI does not trip or reset, it may need replacement.
8. Troubleshooting
- Light does not turn on:
- Check if the power is on at the circuit breaker.
- Ensure the bulb is correctly installed and not burnt out.
- Verify wiring connections.
- If in an auto mode, ensure there is sufficient darkness or motion. - Motion sensor not working:
- Ensure the sensor is not obstructed.
- Check the selected lighting mode. - GFCI outlets not working:
- Press the "RESET" button on the GFCI outlets.
- Ensure the circuit breaker is on.
- Perform the GFCI test procedure. If it fails, the GFCI may be faulty. - Light stays on constantly in auto mode:
- Check for constant motion within the sensor's range (e.g., tree branches, pets).
- Ensure the sensor is not exposed to direct light sources that might interfere with its dusk-to-dawn function.
9. Specifications
| Specification | Detail |
|---|---|
| Brand | HIHUOS |
| Color | Black (WITH OUTLET) |
| Material | Aluminum |
| Style | Modern |
| Product Dimensions | 9.25"L x 6.54"W x 13.19"H |
| Indoor/Outdoor Usage | Outdoor |
| Power Source | Corded Electric |
| Voltage | 120 Volts |
| Wattage (Max Bulb) | 60 Watts |
| Bulb Base | E26 |
| Mounting Type | Wall Mount |
| Item Weight | 4.41 Pounds |
| GFCI Outlet Max Current | 14.5AWG |
| GFCI Outlet Max Power | 1080W |

Image 9.1: Product Dimensions and Components. This image provides a detailed dimensional drawing of the light fixture, including its height, width, and depth, along with an illustration of the E26 bulb base and the ETL Intertek certification mark.
10. Warranty and Support
HIHUOS provides a 1-year warranty for this product. For any questions, troubleshooting assistance, or warranty claims regarding your outdoor wall sconce, please contact HIHUOS customer service. They will assist with troubleshooting or provide a replacement within 24 hours.