
1. Introduction
The Honeywell Home X8S Smart Thermostat with Room Sensor is designed to provide advanced climate control and enhanced home comfort. This manual provides instructions for installation, operation, and maintenance of your X8S thermostat and its accompanying room sensor.

Image: The Honeywell Home X8S Smart Thermostat, featuring a digital display showing temperature and settings, alongside its wireless room sensor.
2. Safety Information
Please read and understand all safety instructions before installing or operating this device. Failure to follow these instructions may result in property damage, injury, or death.
- Always turn off power at the circuit breaker before installing or servicing the thermostat.
- Installation should be performed by a qualified technician if you are unsure about any steps.
- Do not use this thermostat with electric baseboard heat (120-240V) systems.
- Ensure all wiring connections are secure and comply with local electrical codes.
3. Package Contents
Verify that all components are present in your package:
- Honeywell Home X8S Smart Thermostat
- Wireless Room Sensor
- UWP Mounting Plate
- Screws and Anchors
- Wire Labels
- Quick Start Guide
- User Guide (this document)
- Thermostat ID Card
- Voucher for Honeywell Home C-Wire Adapter (if C-wire is not present in your system)
4. Setup and Installation
The X8S thermostat is designed for straightforward installation. Follow these general steps:
- Power Off: Turn off power to your HVAC system at the circuit breaker.
- Remove Old Thermostat: Carefully remove your old thermostat from the wall. Take a picture of the wiring for reference.
- Install UWP Mounting Plate: Mount the Universal Wiring Plate (UWP) to the wall using the provided screws and anchors.
- Wire the Thermostat: Connect the wires from your HVAC system to the appropriate terminals on the UWP. A C-wire is required for operation. If your system lacks a C-wire, use the included voucher to obtain a Honeywell Home C-Wire Adapter.
- Mount the X8S Thermostat: Snap the X8S thermostat onto the UWP.
- Power On: Restore power to your HVAC system.
- Initial Setup: Follow the on-screen prompts to configure your thermostat, including Wi-Fi connection and system type.
System Compatibility: The X8S works with up to 3 heat/2 cool heat pump systems with electric backup or 2 heat/2 cool conventional systems, hot water heat, and forced air (gas, oil, or electric). It is not compatible with electric baseboard heat (120-240V).

Image: A woman demonstrates the easy installation process of the Honeywell Home X8S Smart Thermostat onto its wall-mounted base plate.
5. Operating Instructions
5.1 Customizable Touchscreen Display
The X8S features a sleek 5-inch touchscreen display. You can customize the color and style of the idle screen to match your home's aesthetic. Navigate through menus by tapping the screen.
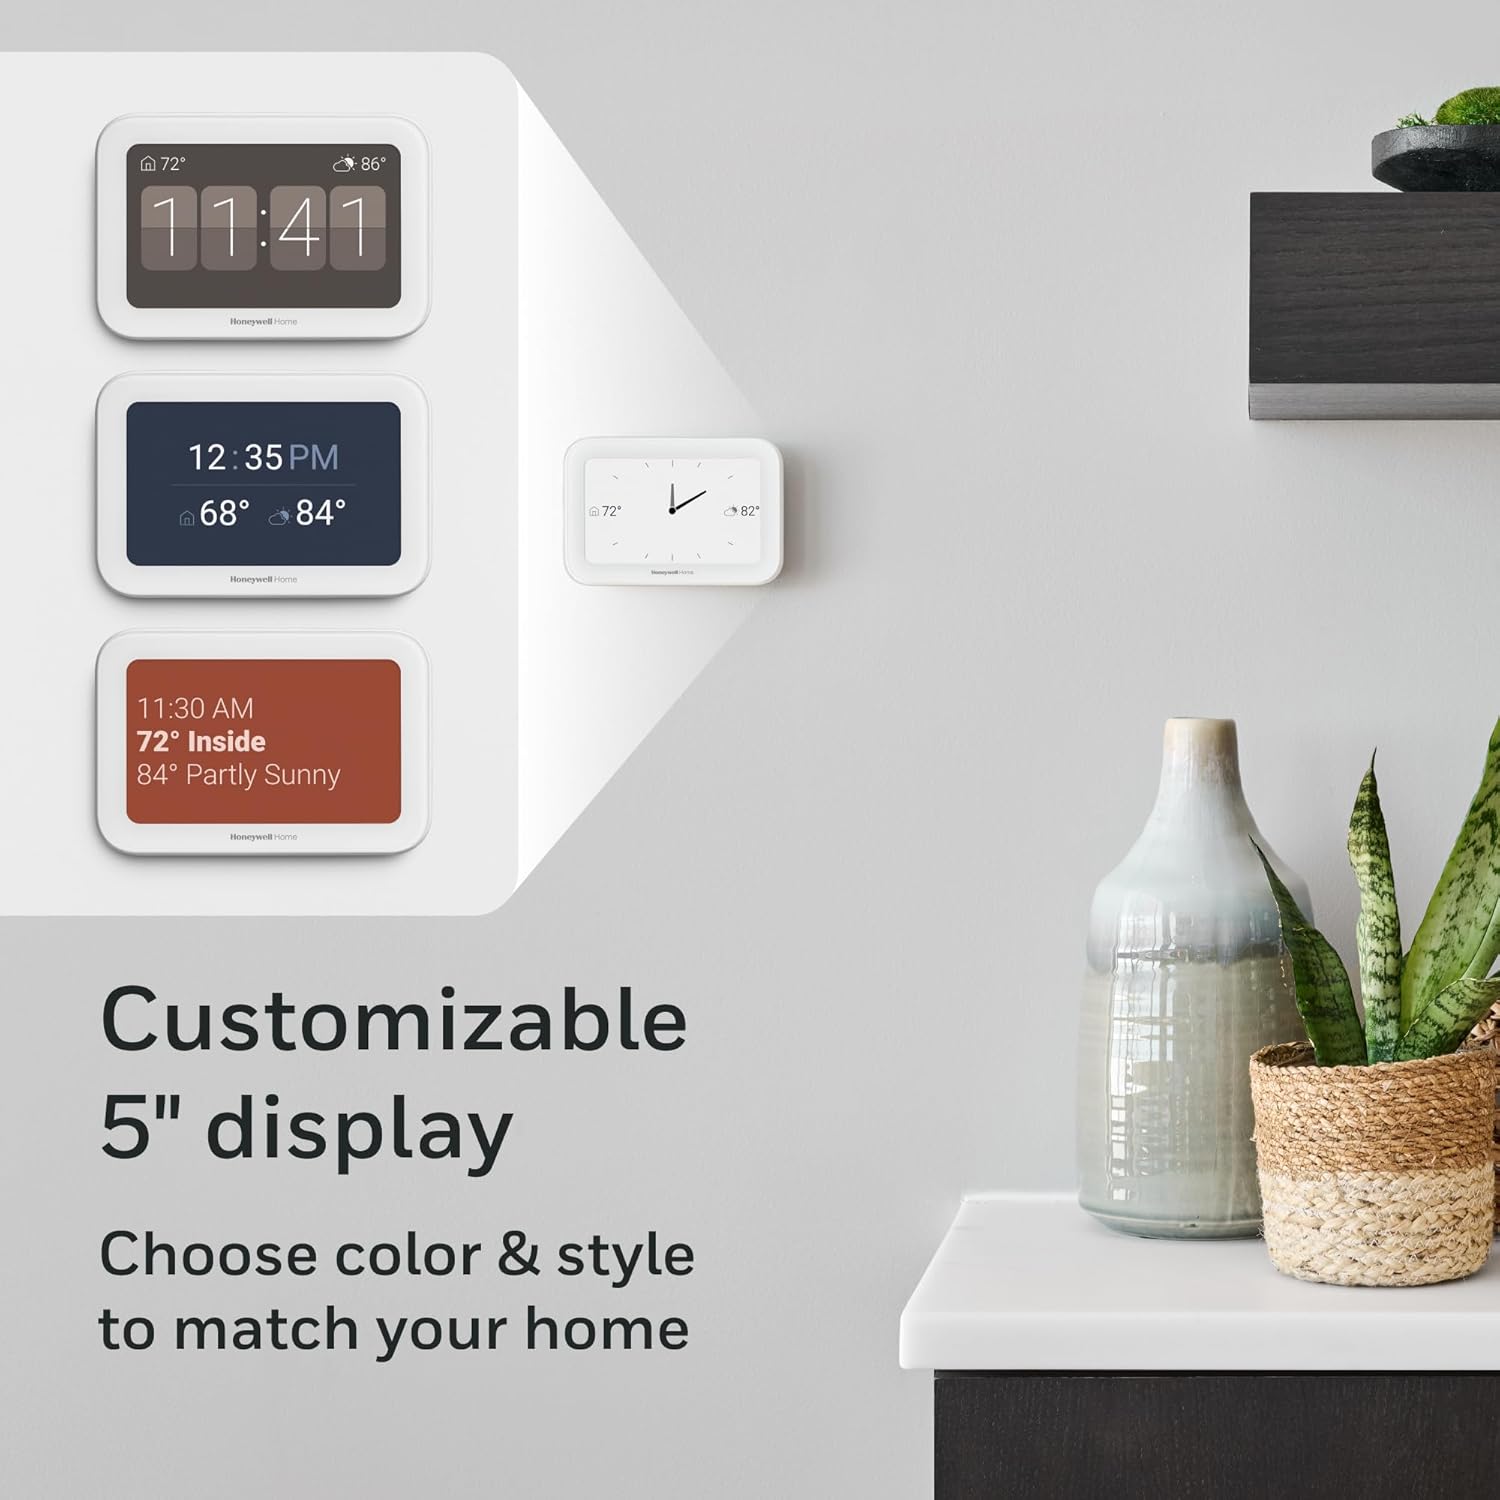
Image: Examples of the customizable 5-inch display, showing various color schemes and information layouts.
5.2 Doorbell Camera View & Intercom
The thermostat is compatible with First Alert VX1 and Ring streaming doorbells (sold separately). This feature allows you to see and speak to visitors directly from your thermostat's display.

Image: A woman viewing a live video feed from a doorbell camera on the thermostat screen, demonstrating the doorbell compatibility feature.
5.3 Precision Comfort & Indoor Air Quality (IAQ) Control
The X8S monitors and helps maintain optimal indoor air quality by controlling humidity and ventilation. Additional HVAC equipment or accessories may be required for full IAQ control functionality.

Image: A man interacting with the thermostat's display, which shows an 'Indoor Air Quality' screen with indicators for Carbon Dioxide, VOCs, and Humidity levels.
5.4 Advanced Occupancy & Presence Detection with Room Sensor
The thermostat senses occupancy and presence to adjust settings for maximum comfort when you are home and to save energy when you are away. The included wireless Room Sensor provides more targeted comfort control, allowing you to prioritize specific living areas by day and bedrooms by night. Sensors have an extended range of up to 200ft and can be self-standing or adhered to a wall.
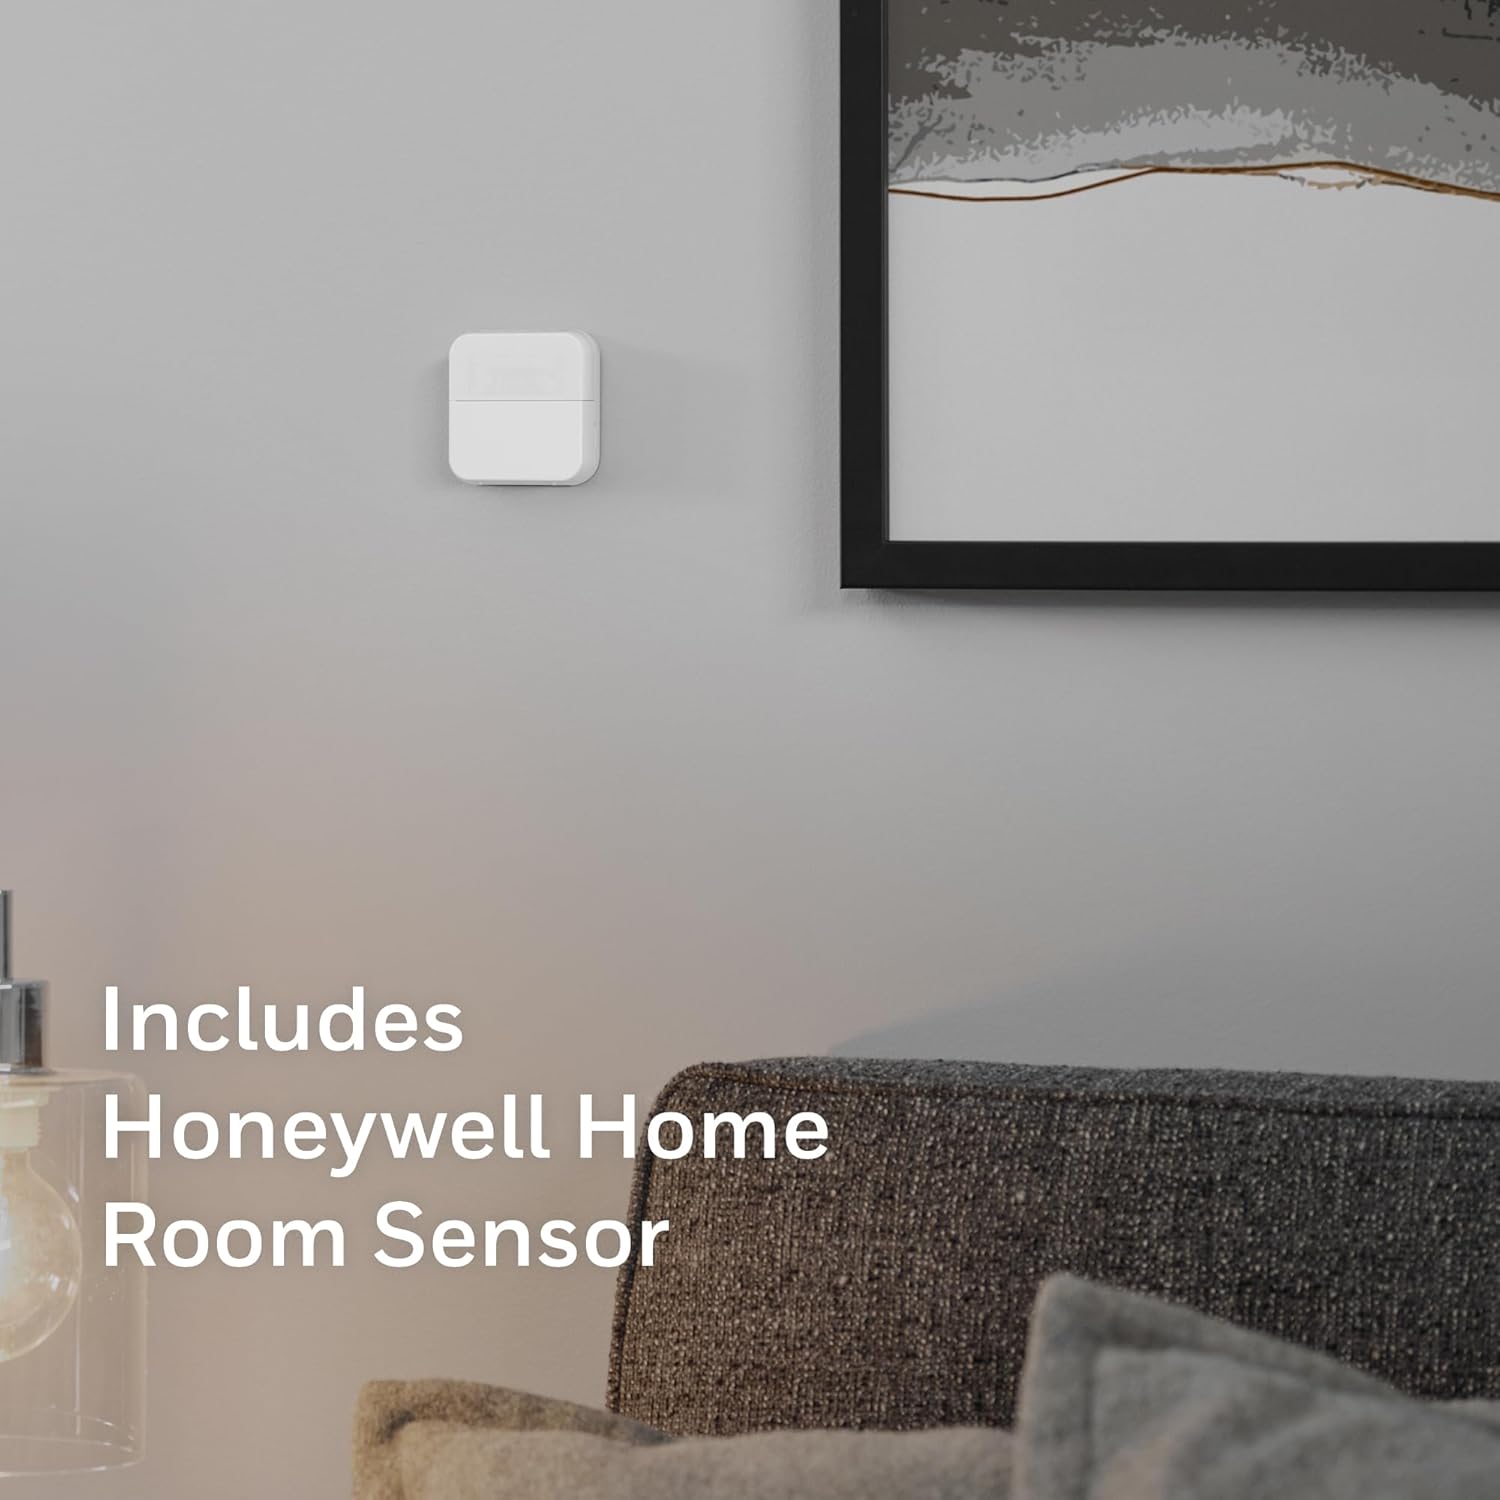
Image: A small, white, square Honeywell Home Room Sensor discreetly mounted on a wall in a modern living space.

Image: A woman entering a room, illustrating the thermostat's advanced occupancy and presence detection capabilities.
6. Connectivity and Smart Home Integration
6.1 Wi-Fi Connectivity
The X8S requires a 2.4 or 5.0 GHz Wi-Fi network (802.11ax/ac/a/b/g/n wireless router) for remote control and smart home integration.
6.2 Remote Control via First Alert App
Control your thermostat from anywhere using the First Alert app. This app also allows integration with other compatible Resideo video, safety, and water leak detection products.

Image: A person using a smartphone to control various smart home functions, including the thermostat, through the First Alert app.
6.3 Smart Home Ecosystem Compatibility
The X8S is Matter certified, ensuring ease of interoperability with various smart home platforms. It is also compatible with Amazon Alexa, Google Assistant, and Apple Home, allowing for voice control and seamless integration into your existing smart home setup.

Image: A couple relaxing on a couch, with icons indicating compatibility with Apple Home, Matter, Amazon Alexa, and Google Home, highlighting voice control capabilities.
7. Maintenance
- Cleaning: Gently wipe the thermostat screen and body with a soft, damp cloth. Avoid abrasive cleaners or solvents.
- Software Updates: Ensure your thermostat's firmware is up to date through the First Alert app to access the latest features and improvements.
- Room Sensor Placement: Periodically check the room sensor's placement to ensure it is not obstructed and is providing accurate readings.
8. Troubleshooting
If you encounter issues with your Honeywell Home X8S Smart Thermostat, refer to the following common solutions:
- No Power to Thermostat: Check the circuit breaker for your HVAC system. Ensure the C-wire is properly connected.
- Wi-Fi Connectivity Issues: Verify your home Wi-Fi network is active and within range. Restart your router and the thermostat. Ensure you are connecting to a 2.4 GHz or 5.0 GHz network.
- Incorrect Temperature Readings: Ensure the room sensor is placed in an optimal location, away from direct sunlight, drafts, or heat sources.
- HVAC System Not Responding: Check wiring connections at the thermostat and HVAC unit. Ensure the system type is correctly configured in the thermostat settings.
- App Control Problems: Ensure the First Alert app is updated to the latest version. Log out and log back into your account.
For further assistance, contact Honeywell Home customer support.
9. Specifications
| Brand | Honeywell Home |
| Model Name | X8S |
| Model Number | X8VMC9W/W |
| Product Dimensions | 0.96"D x 5.24"W x 3.54"H |
| Color | White |
| Specific Uses For Product | Air Conditioner, Furnace, Heat Pump |
| Temperature Control Type | Cooling |
| Connectivity Technology | Wi-Fi |
| Voltage | 30 Volts |
| Display Type | LED |
| Control Type | App Control |
| Connectivity Protocol | Wi-Fi |
| UPC | 194159018501 |
| Item Weight | 2.61 pounds |
| Batteries Required | No |
10. Warranty and Support
For warranty information and customer support, please refer to the documentation included with your product or visit the official Honeywell Home website. Keep your proof of purchase for warranty claims.


