1. Introduction
Thank you for choosing the Generic Robot Vacuum Model 8028. This device is designed to provide efficient and convenient cleaning for your home, featuring a 3-in-1 system for sweeping, vacuuming, and mopping. Please read this manual thoroughly before operating the robot vacuum to ensure safe and optimal performance.

Image 1.1: The Generic Robot Vacuum Model 8028 on a wooden floor, illustrating its compact design.
2. Safety Instructions
To reduce the risk of injury or damage, always observe basic safety precautions when operating your robot vacuum.
- This appliance can be used by children aged 8 years and above and persons with reduced physical, sensory or mental capabilities or lack of experience and knowledge if they have been given supervision or instruction concerning use of the appliance in a safe way and understand the hazards involved.
- Children should be supervised to ensure that they do not play with the appliance.
- Cleaning and user maintenance shall not be made by children without supervision.
- Do not operate the robot vacuum near open flames or flammable materials.
- Ensure the charging cable is not damaged and is properly connected.
- Do not immerse the robot vacuum or its components in water.
- Avoid using the robot vacuum on wet surfaces or in areas with standing water.
3. Package Contents
Verify that all items are present in the package:
- Sweeping and mopping robot (1)
- Side brushes (2)
- Mop cloth (1)
- Charging cable (1)
- User manual (1)
4. Product Overview
Familiarize yourself with the main components of your robot vacuum.
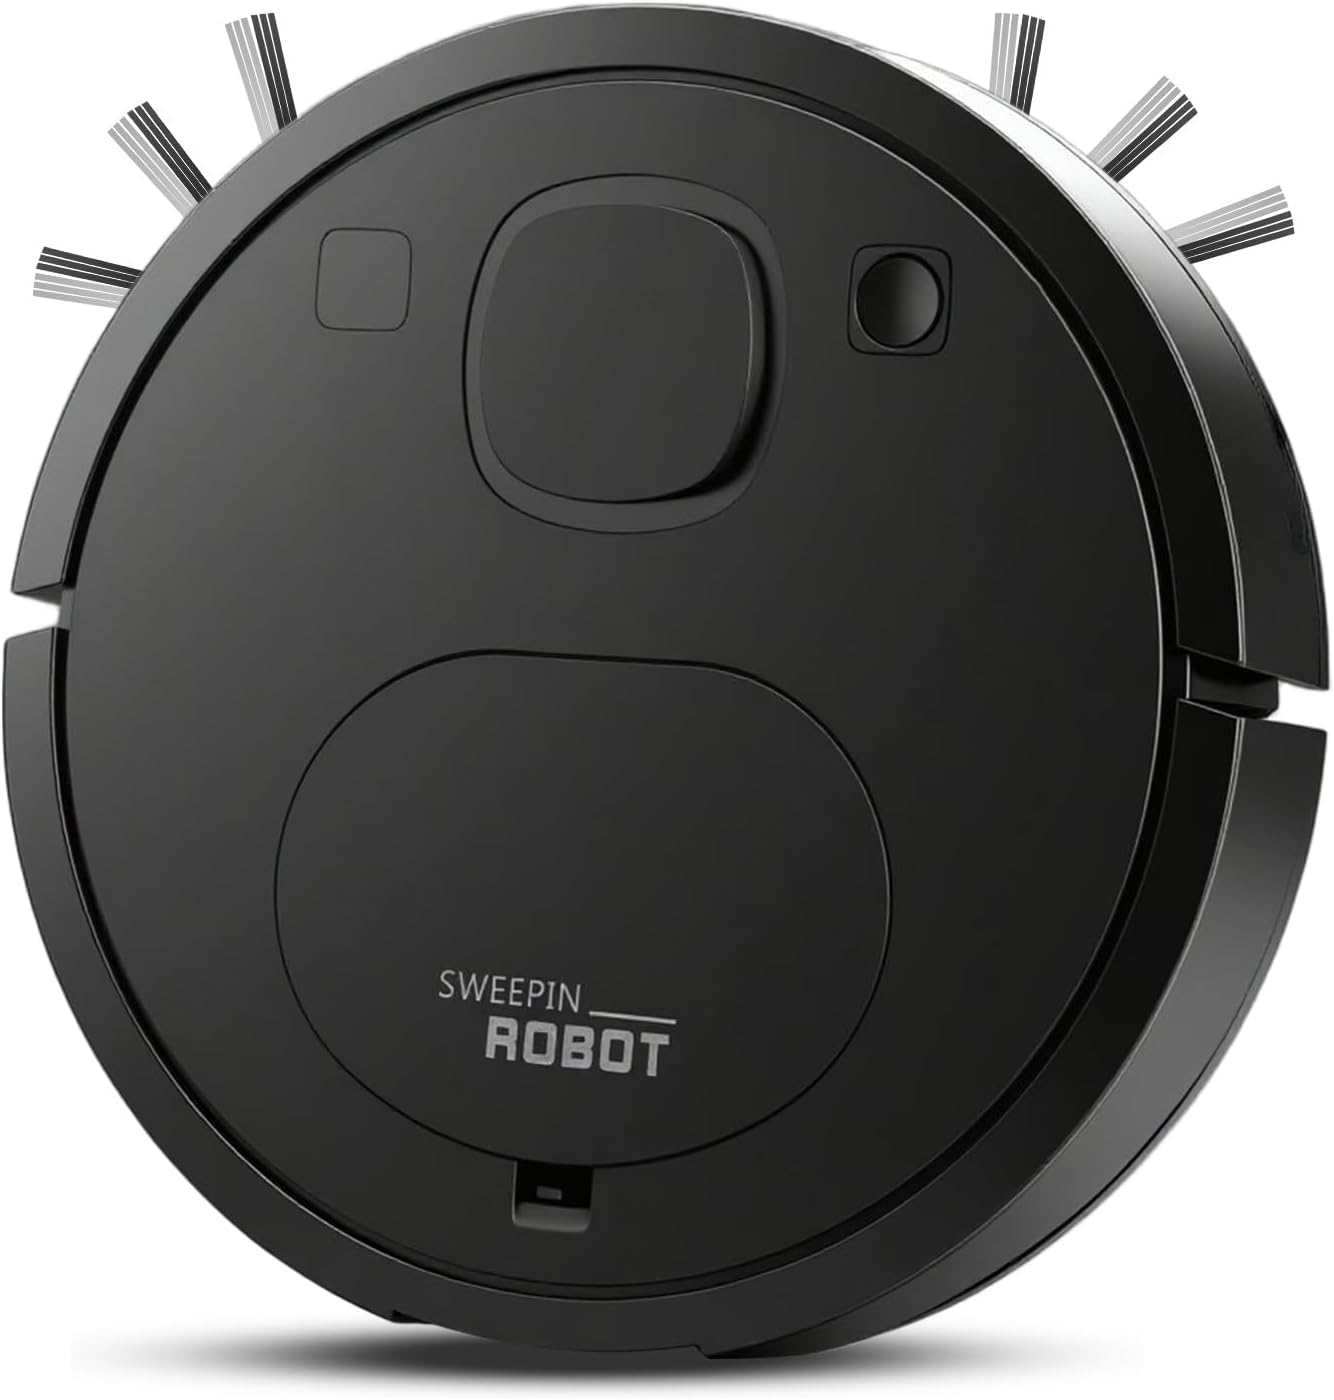
Image 4.1: Top view of the robot vacuum, showing the power button and dustbin cover.
The Model 8028 features a compact design with a diameter of less than 30cm and a height of 2.3 inches (6cm), allowing it to clean under furniture such as beds and cabinets effectively.

Image 4.2: The robot vacuum's thin profile enables cleaning in hard-to-reach areas.
5. Setup
5.1 Charging the Robot Vacuum
- Connect the charging cable to the robot vacuum's charging port.
- Plug the other end of the charging cable into a power outlet.
- Allow the robot vacuum to charge fully before its first use. A full charge provides approximately 60 minutes of cleaning time.
5.2 Preparing for First Use
- Install the side brushes by pressing them onto the designated posts until they click into place.
- Attach the mop cloth to the bottom of the robot if mopping is desired.
- Clear the cleaning area of any large obstacles, loose cables, or small items that could entangle the brushes or block the vacuum.
6. Operating Instructions
6.1 Starting and Stopping Cleaning
- To start cleaning, press the power button located on the top of the robot vacuum. The robot will begin cleaning automatically.
- To pause cleaning, press the power button again.
- To stop cleaning and return the robot to standby mode, press and hold the power button for a few seconds.
6.2 Cleaning Modes
The robot vacuum features multiple cleaning modes to adapt to different environments. It utilizes an AI algorithm for automatic mapping to efficiently cover the entire house and reduce repetitive cleaning.

Image 6.1: The robot vacuum navigating, illustrating its multiple cleaning modes.
The robot is equipped with anti-collision and anti-fall sensors to protect furniture and ensure machine safety during operation.

Image 6.2: The robot vacuum demonstrating its navigation capabilities on a carpeted surface.
6.3 Low Noise Operation
The robot vacuum operates with a low noise level, typically between 52dB and 69dB, minimizing disturbance during cleaning.
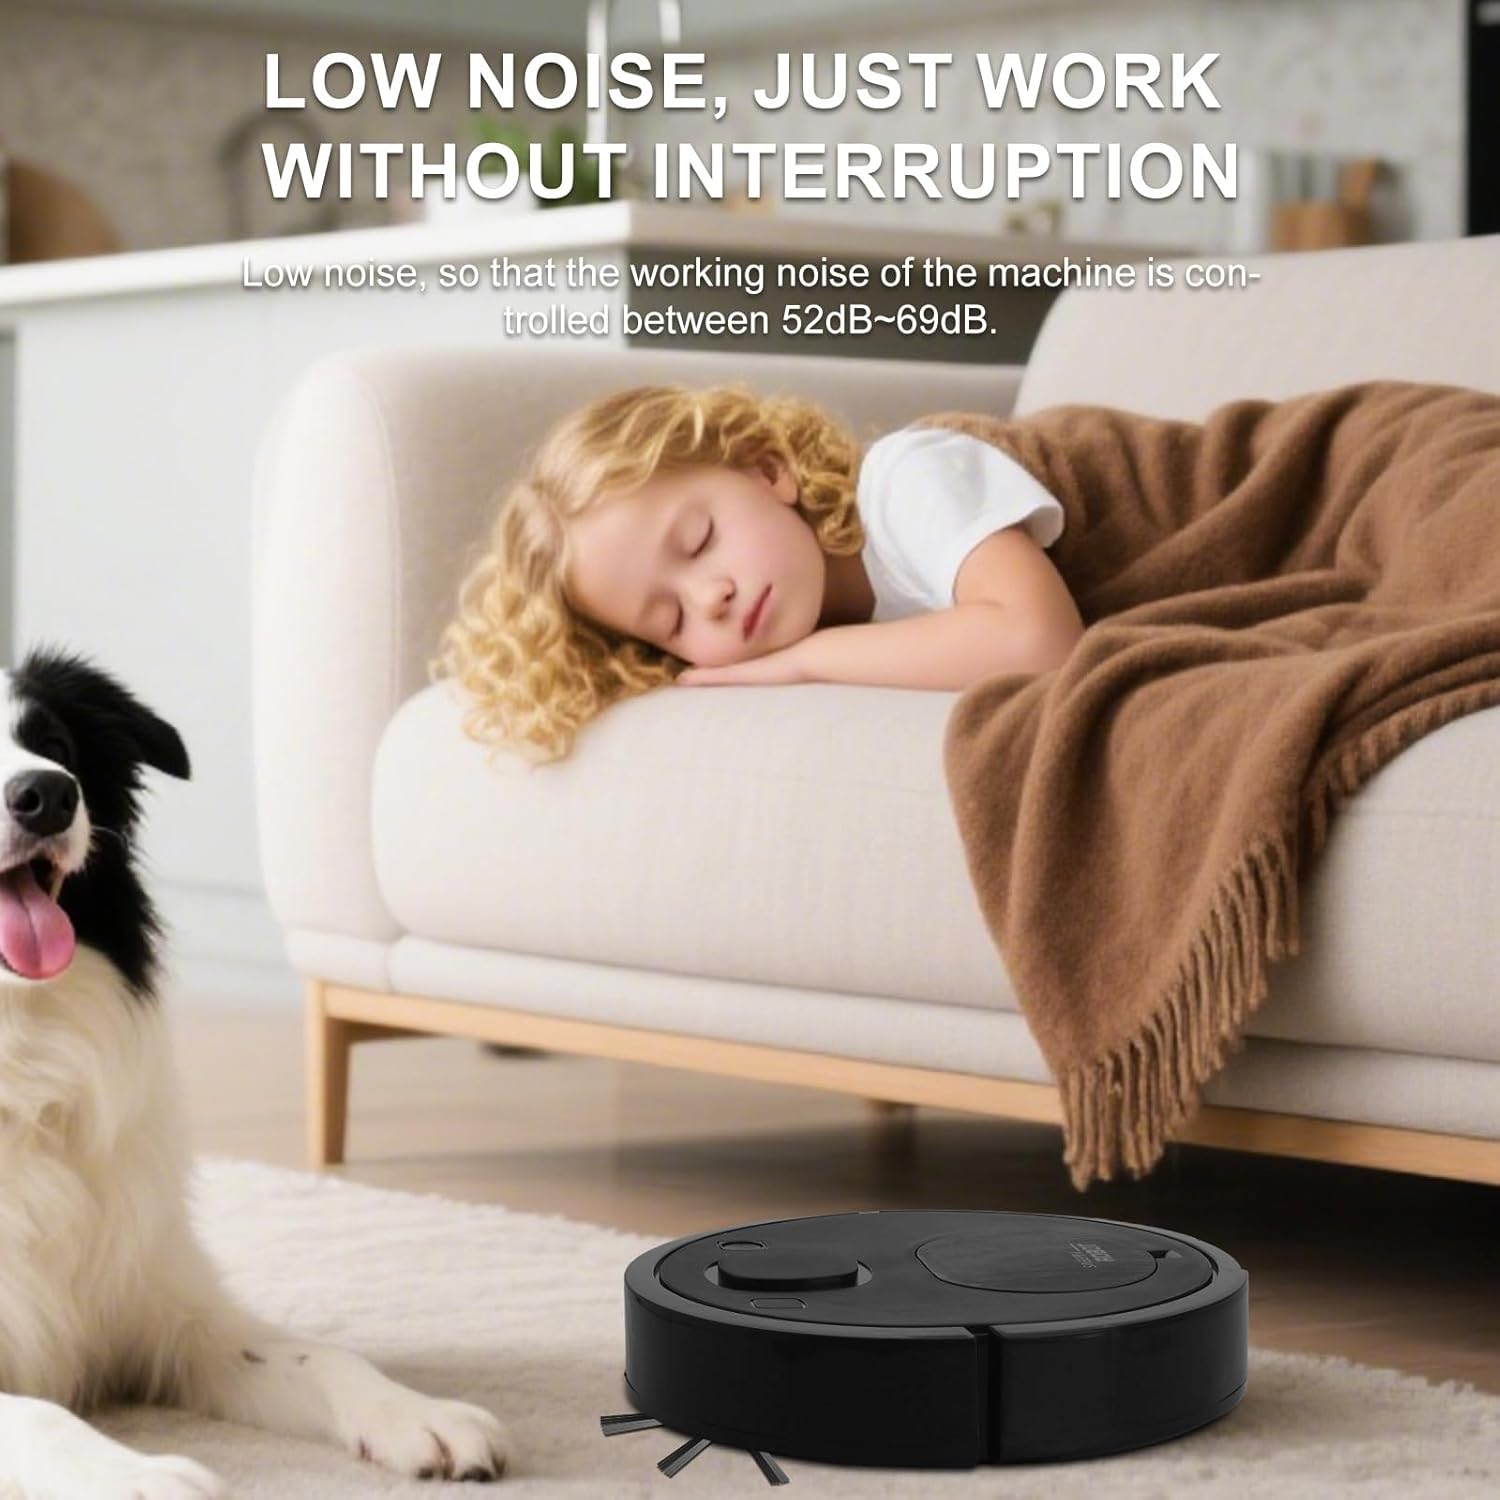
Image 6.3: The robot vacuum operating quietly in a living room setting.
7. Maintenance
Regular maintenance ensures the longevity and optimal performance of your robot vacuum.
7.1 Cleaning the Dust Bin and Filters
- Open the dust bin cover and remove the dust bin.
- Empty the dust bin contents into a trash receptacle.
- Remove the HEPA filter and nylon filament filter from the dust bin. Tap them gently to remove loose debris.
- The filters are washable. Rinse them under running water and allow them to air dry completely before reinserting.
- Reassemble the filters and dust bin, then place the dust bin back into the robot vacuum.

Image 7.1: The robot vacuum's multi-layer filtration system, including the nylon filament filter.
7.2 Cleaning the Side Brushes
- Periodically check the side brushes for tangled hair or debris.
- Gently pull the brushes off their posts.
- Remove any tangled hair or debris using a small brush or your fingers.
- Reattach the brushes, ensuring they are securely in place.
7.3 Cleaning the Sensors
- Wipe the anti-drop sensors (located on the bottom of the robot) and anti-collision sensors (located on the bumper) with a clean, dry cloth.
- Ensure the charging contacts on the robot and charging base are clean.
8. Troubleshooting
| Problem | Possible Cause | Solution |
|---|---|---|
| Robot does not turn on | Low battery; Power button not pressed correctly | Charge the robot; Press and hold the power button until it turns on |
| Robot gets stuck frequently | Obstacles; Dirty sensors | Clear the cleaning area; Clean the anti-collision and anti-drop sensors |
| Poor cleaning performance | Full dust bin; Clogged filters; Worn brushes | Empty dust bin; Clean/replace filters; Clean/replace side brushes |
| Robot does not charge | Loose cable; Dirty charging contacts | Ensure charging cable is secure; Clean charging contacts on robot and cable |
9. Specifications
- Model Name: 8028
- Product Dimensions: 9.4"L x 9.4"W x 2.3"H
- Item Weight: 1.5 pounds
- Color: Black
- Power Source: Battery Powered
- Battery Life: Approximately 60 minutes
- Filter Type: Cartridge (HEPA + Nylon Filament)
- Special Feature: 360-Degree Swivel, 3-in-1 Cleaning (Sweep, Vacuum, Mop)
10. Warranty and Support
This product comes with a standard manufacturer's warranty. For specific warranty details, please refer to the documentation provided at the time of purchase or contact your retailer. For technical support or service inquiries, please reach out to the customer service contact provided by your seller.