1. Introduction
This manual provides essential information for the safe and correct installation, operation, and maintenance of the Fricpart-108109 replacement dryer motor, compatible with Kenmore 97284100 models. This component is designed to restore the functionality of your dryer by replacing a faulty original equipment manufacturer (OEM) motor. Please read these instructions thoroughly before proceeding with installation.
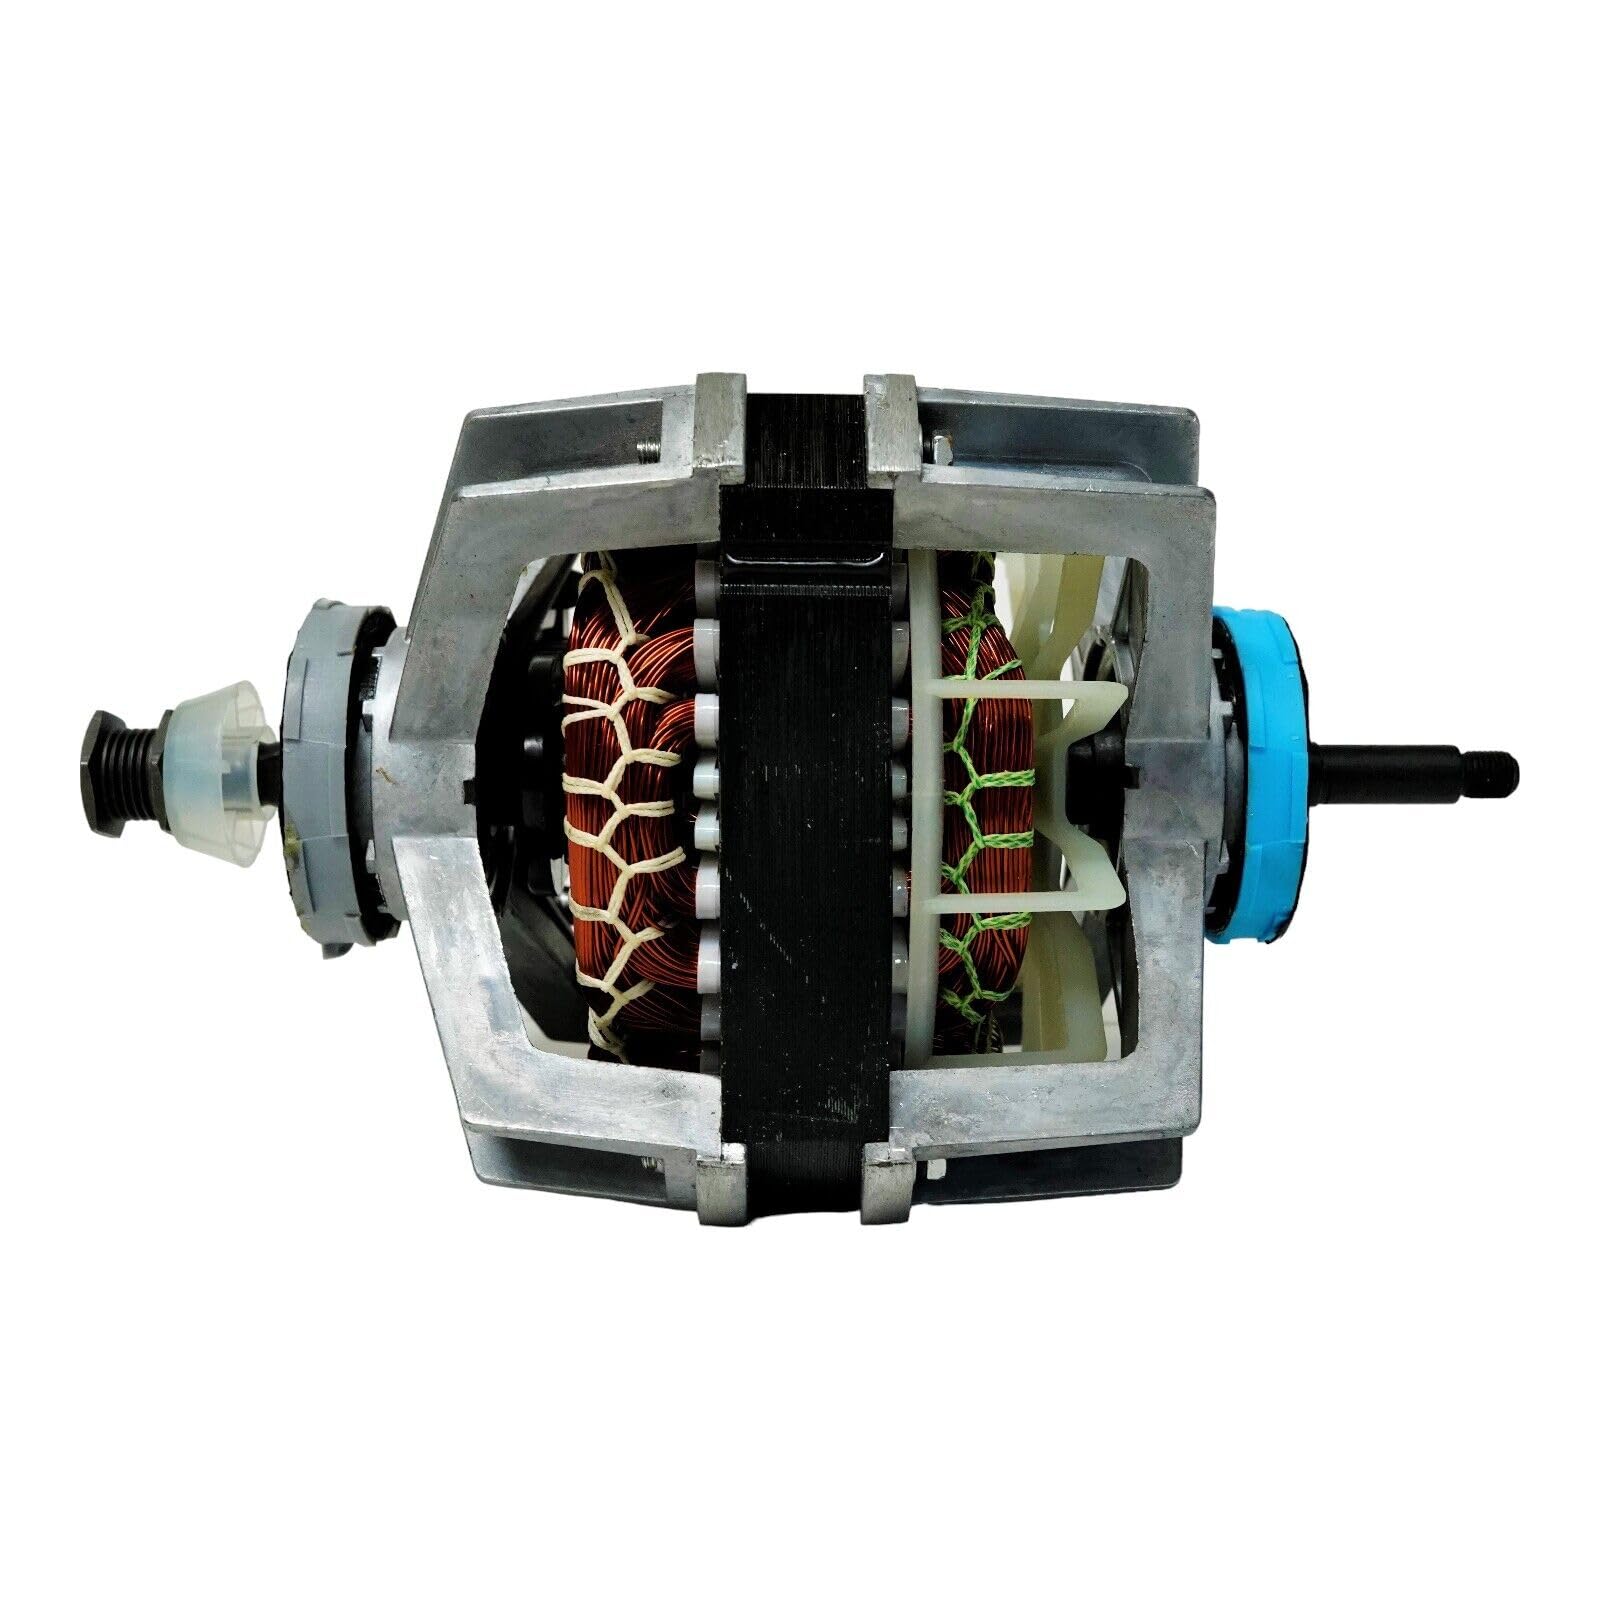
Image 1.1: The Fricpart-108109 replacement dryer motor. This image displays the motor unit with its electrical connections and mounting points, ready for installation into a compatible dryer appliance.
2. Safety Information
WARNING: Disconnect power to the dryer before servicing. Failure to do so can result in electrical shock, serious injury, or death. Appliance repair should only be performed by qualified individuals.
- Always unplug the dryer from the electrical outlet or turn off the circuit breaker before beginning any repair or maintenance.
- Wear appropriate personal protective equipment (PPE), such as gloves and safety glasses.
- Ensure the work area is well-lit and clear of obstructions.
- Keep children and pets away from the work area.
- Handle electrical components with care.
- Verify that the replacement part is compatible with your dryer model before installation.
3. Setup and Installation
This section outlines the general steps for replacing a dryer motor. Specific disassembly and reassembly procedures may vary by dryer model. Refer to your dryer's service manual for detailed instructions.
3.1 Tools Required
- Screwdrivers (Phillips and Flathead)
- Nut drivers or socket set
- Pliers
- Work gloves
- Safety glasses
3.2 Installation Steps
- Disconnect Power: Unplug the dryer from the wall outlet or turn off the circuit breaker supplying power to the dryer.
- Access the Motor: Depending on your dryer model, you may need to remove the top panel, front panel, or rear panel to gain access to the motor compartment. This often involves removing screws and clips.
- Document Connections: Before disconnecting any wires or components, take clear photos or make diagrams of all electrical connections and belt routing. This will aid in reassembly.
- Remove the Drive Belt: Carefully remove the drive belt from the motor pulley and the drum.
- Disconnect Wiring: Disconnect all electrical wires connected to the old motor. Note their positions.
- Remove Old Motor: Unbolt or unclip the old motor from its mounting brackets. Carefully remove it from the dryer.
- Install New Motor: Position the new Fricpart-108109 motor into the dryer and secure it with the mounting bolts or clips.
- Connect Wiring: Reconnect all electrical wires to the new motor, referring to your photos or diagrams. Ensure connections are secure.
- Reinstall Drive Belt: Route the drive belt around the new motor pulley and the dryer drum according to your documentation. Ensure proper tension.
- Reassemble Dryer: Reattach all panels and components that were removed during disassembly. Ensure all screws and clips are securely fastened.
- Restore Power: Plug the dryer back into the electrical outlet or turn on the circuit breaker.
4. Post-Installation Check and Operation
After installing the replacement motor, perform the following checks to ensure proper operation:
- Visual Inspection: Before starting the dryer, visually inspect all connections and ensure no tools or loose parts are left inside the appliance.
- Test Run: Start the dryer on a no-heat or air-fluff cycle. Listen for any unusual noises (grinding, squealing, humming) and observe if the drum rotates smoothly.
- Heat Cycle Test: If the initial test is successful, run a short heat cycle to confirm proper heating and continued drum rotation.
- Ventilation Check: Ensure the dryer's exhaust vent is clear and unobstructed for efficient operation and to prevent overheating.
If any issues arise during these checks, refer to the Troubleshooting section.
5. Maintenance
The Fricpart-108109 dryer motor is a sealed unit and does not require user maintenance. However, regular maintenance of your dryer appliance can prolong the life of all its components, including the motor.
- Clean Lint Filter: Clean the lint filter before or after every load to maintain airflow and prevent motor strain.
- Inspect Venting: Periodically inspect and clean the dryer's exhaust vent system (ductwork) to prevent lint buildup, which can restrict airflow and cause the motor to work harder and overheat.
- Check for Obstructions: Ensure no foreign objects are in the dryer drum or obstructing the blower wheel.
6. Troubleshooting
If your dryer is not functioning correctly after motor replacement, consider the following common issues:
| Problem | Possible Cause | Solution |
|---|---|---|
| Dryer does not start or hums but doesn't spin. |
|
|
| Dryer makes loud grinding or squealing noise. |
|
|
| Dryer runs but does not heat. |
|
|
If troubleshooting steps do not resolve the issue, it is recommended to consult a qualified appliance repair technician.
7. Specifications
| Feature | Detail |
|---|---|
| Part Number | 97284100 |
| Model Number | Fricpart-108109 |
| Compatible With | Kenmore 97284100 OEM Dryer Motor |
| Brand | Generic (Replacement Part by Fricparts) |
| ASIN | B0FJFP3TF4 |
| Manufacturer | Fricparts |
8. Warranty and Support
Warranty coverage for this replacement part is typically provided by the seller or manufacturer at the time of purchase. Please refer to your purchase documentation or contact the seller directly for specific warranty terms and conditions.
For technical support or assistance with installation and troubleshooting beyond the scope of this manual, please contact the manufacturer, Fricparts, or the retailer from whom the part was purchased. Keep your purchase receipt and model information readily available.