
1. Introduction
This manual provides detailed instructions for the safe and efficient operation of your VEVOR Sewing Machine Model 118. Please read this manual thoroughly before using the machine to ensure proper setup, usage, and maintenance. Keep this manual for future reference.
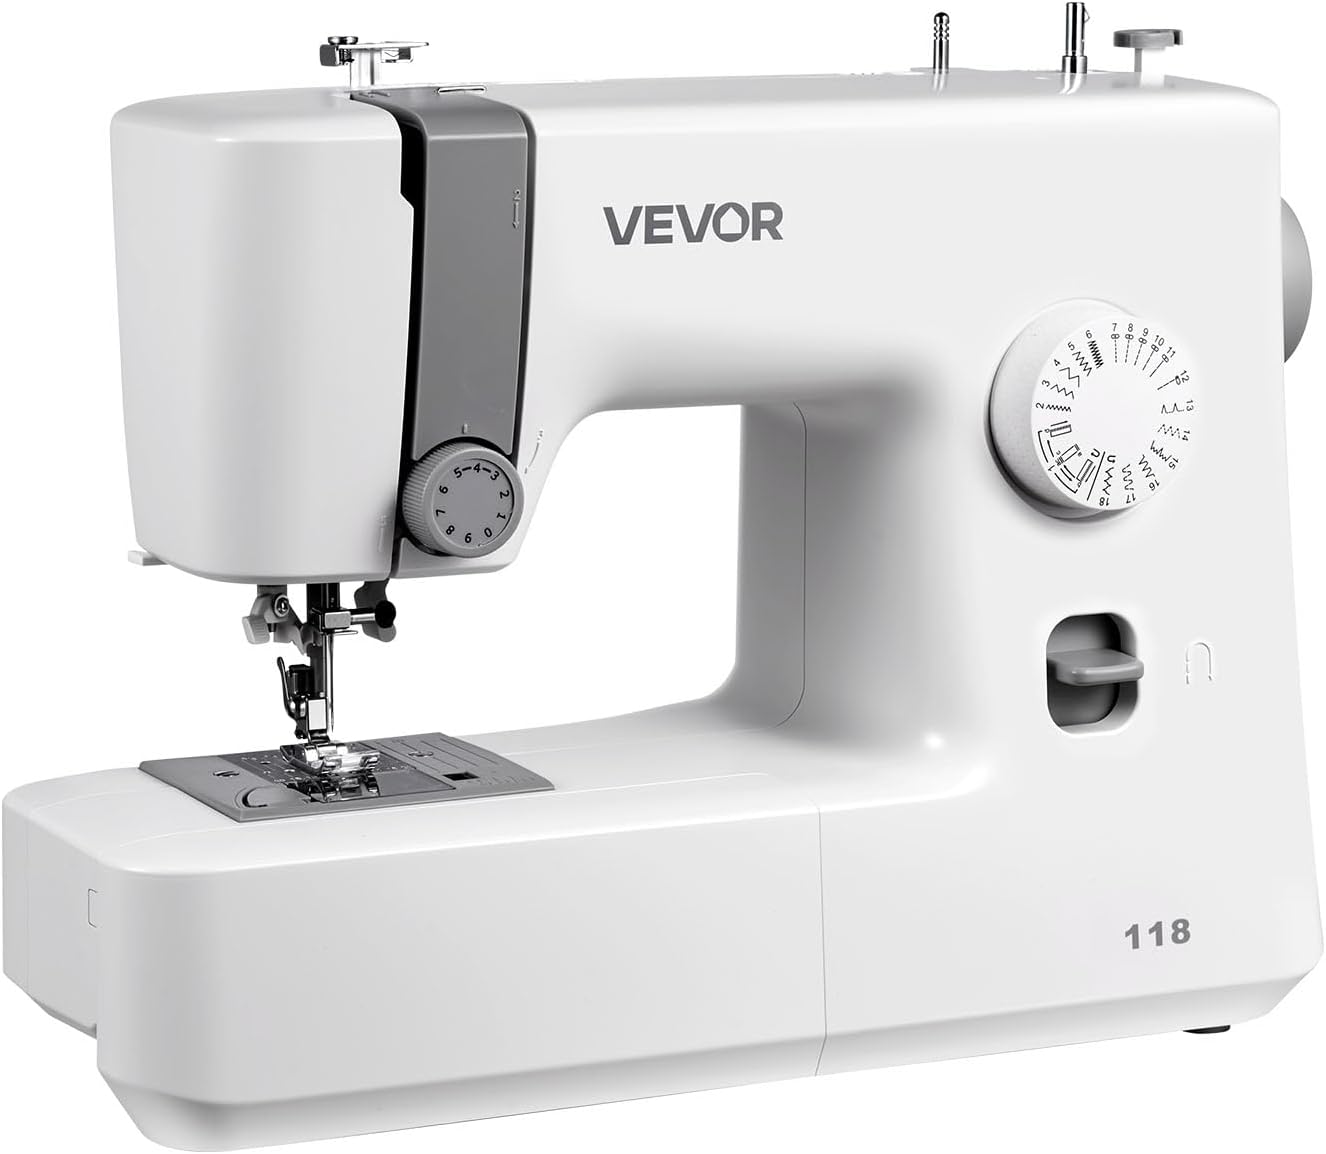
Image 1.1: VEVOR Sewing Machine Model 118. This image displays the overall design of the sewing machine, highlighting its compact and user-friendly appearance.
2. Safety Instructions
To reduce the risk of electric shock, burns, fire, or injury to persons:
- Always unplug the machine from the electrical outlet immediately after using and before cleaning, making any adjustments, or removing parts.
- Do not allow children to use the machine unsupervised.
- Use this appliance only for its intended use as described in this manual.
- Never operate this machine if it has a damaged cord or plug, if it is not working properly, or if it has been dropped or damaged.
- Keep fingers away from all moving parts. Special care is required around the sewing machine needle.
- Always use the proper needle plate. The wrong plate can cause the needle to break.
- Do not pull on the power cord to disconnect. Grasp the plug, not the cord.
- Never drop or insert any object into any opening.
- Do not use outdoors.
3. Product Components and Features
The VEVOR Sewing Machine Model 118 is designed for ease of use, featuring 18 built-in stitch patterns and a robust metal frame.

Image 3.1: VEVOR Sewing Machine in operation. This image illustrates a user operating the machine, emphasizing its beginner-friendly design with features like adjustable thread tension and preset stitch settings.
Key Features:
- 18 Stitch Applications: Includes straight, zigzag, decorative zigzag, and 4-step buttonhole stitches.
- Simple Dial Control: Easily select stitch patterns.
- Interior Metal Frame: Provides durability and stability.
- Powerful Motor: Capable of sewing through thick fabrics, up to 0.16 inches (4 mm) or 6 layers of denim.
- LED Light: Illuminates the sewing area for improved visibility.
- Foot Pedal: For speed control during sewing.
- Automatic Needle Threader: Simplifies threading the needle.
- Horizontal Bobbin: Clear cover allows easy monitoring of thread supply.
- Free Arm Mode: Removable accessory box for sewing cuffs, sleeves, and other cylindrical items.
4. Setup
4.1 Unpacking
- Carefully remove the sewing machine and all accessories from the packaging.
- Place the machine on a stable, flat surface.
- Ensure all packing materials are removed from around the machine.
4.2 Power Connection
- Insert the power cord into the machine's power socket.
- Plug the other end of the power cord into a suitable electrical outlet.
4.3 Foot Pedal Connection
- Connect the foot pedal plug into the designated socket on the sewing machine.
4.4 Winding the Bobbin
- Place a spool of thread on the spool pin.
- Guide the thread through the upper thread guide and around the bobbin winding tension disc.
- Place an empty bobbin onto the bobbin winder spindle.
- Wind the thread a few times manually around the bobbin.
- Push the bobbin winder spindle to the right.
- Press the foot pedal gently to start winding. The machine will stop automatically when the bobbin is full.
- Cut the thread and push the bobbin winder spindle back to the left.
4.5 Inserting the Bobbin

Image 4.1: Horizontal bobbin compartment. This image shows the clear cover of the horizontal bobbin, allowing users to easily monitor the lower thread supply.
- Open the clear bobbin cover plate.
- Insert the wound bobbin into the bobbin case, ensuring the thread unwinds in the correct direction (usually counter-clockwise).
- Guide the bobbin thread through the tension spring and into the thread guide slot.
- Replace the bobbin cover plate.
4.6 Threading the Upper Thread
- Raise the presser foot lever.
- Place a spool of thread on the spool pin.
- Guide the thread through the upper thread guide.
- Follow the numbered threading path down the front of the machine, around the tension discs, and up to the take-up lever.
- Thread the take-up lever from right to left.
- Continue guiding the thread down to the needle bar thread guide.
- Use the automatic needle threader or manually thread the needle from front to back.
5. Operating Instructions
5.1 Stitch Selection

Image 5.1: Stitch application dial and examples. This image displays the stitch selection dial on the machine and provides visual examples of the 18 available stitch patterns.
Turn the stitch selection dial on the front of the machine to choose one of the 18 available stitch patterns. Ensure the needle is in its highest position before changing the stitch pattern.
5.2 Adjusting Thread Tension
The thread tension dial controls the balance between the upper and lower threads. Adjust as needed for different fabrics and threads. A balanced stitch will have both threads meeting evenly between the fabric layers.
5.3 Starting to Sew
- Place the fabric under the presser foot.
- Lower the presser foot lever.
- Turn the handwheel towards you to lower the needle into the fabric at the starting point.
- Gently press the foot pedal to begin sewing. Control your speed by varying the pressure on the pedal.
- To reverse stitch (for securing seams), press and hold the reverse lever/button.
5.4 Free Arm Sewing

Image 5.2: Sewing machine in free arm mode. This image demonstrates the machine being used in free arm configuration, ideal for sewing cylindrical items like pant hems or cuffs.
To convert to free arm mode, slide the accessory box off the front of the machine. This exposes the narrow arm, which is useful for sewing small, circular items such as cuffs, sleeves, and pant hems.
5.5 Sewing Thick Fabrics

Image 5.3: Sewing machine needle piercing multiple layers of denim. This image illustrates the machine's capability to sew through up to 6 layers of denim, demonstrating its power and durability for various fabric types.
The VEVOR Model 118 is equipped with a powerful motor and metal frame, allowing it to sew through fabrics up to 0.16 inches (4 mm) thick, including multiple layers of denim. Ensure you use the correct needle type and size for thick materials.
6. Maintenance
6.1 Cleaning
- Always unplug the machine before cleaning.
- Use a soft brush to remove lint and dust from the bobbin area and feed dogs.
- Wipe the exterior of the machine with a soft, dry cloth. Do not use liquid cleaners.
6.2 Needle Replacement
- Turn off the machine and unplug it.
- Loosen the needle clamp screw.
- Remove the old needle.
- Insert a new needle with the flat side facing the back of the machine, pushing it up as far as it will go.
- Tighten the needle clamp screw securely.
7. Troubleshooting
| Problem | Possible Cause | Solution |
|---|---|---|
| Skipped Stitches | Incorrect needle insertion, bent needle, wrong needle type for fabric. | Re-insert needle correctly, replace bent needle, use appropriate needle. |
| Thread Breaking | Incorrect threading, tension too tight, poor quality thread, bent needle. | Re-thread machine, adjust tension, use quality thread, replace needle. |
| Fabric Not Feeding | Feed dogs lowered, lint in feed dogs, presser foot pressure too low. | Raise feed dogs, clean feed dogs, increase presser foot pressure. |
| Machine Jamming | Thread tangled in bobbin area, incorrect bobbin insertion. | Remove bobbin and clear tangled thread, re-insert bobbin correctly. |
8. Specifications
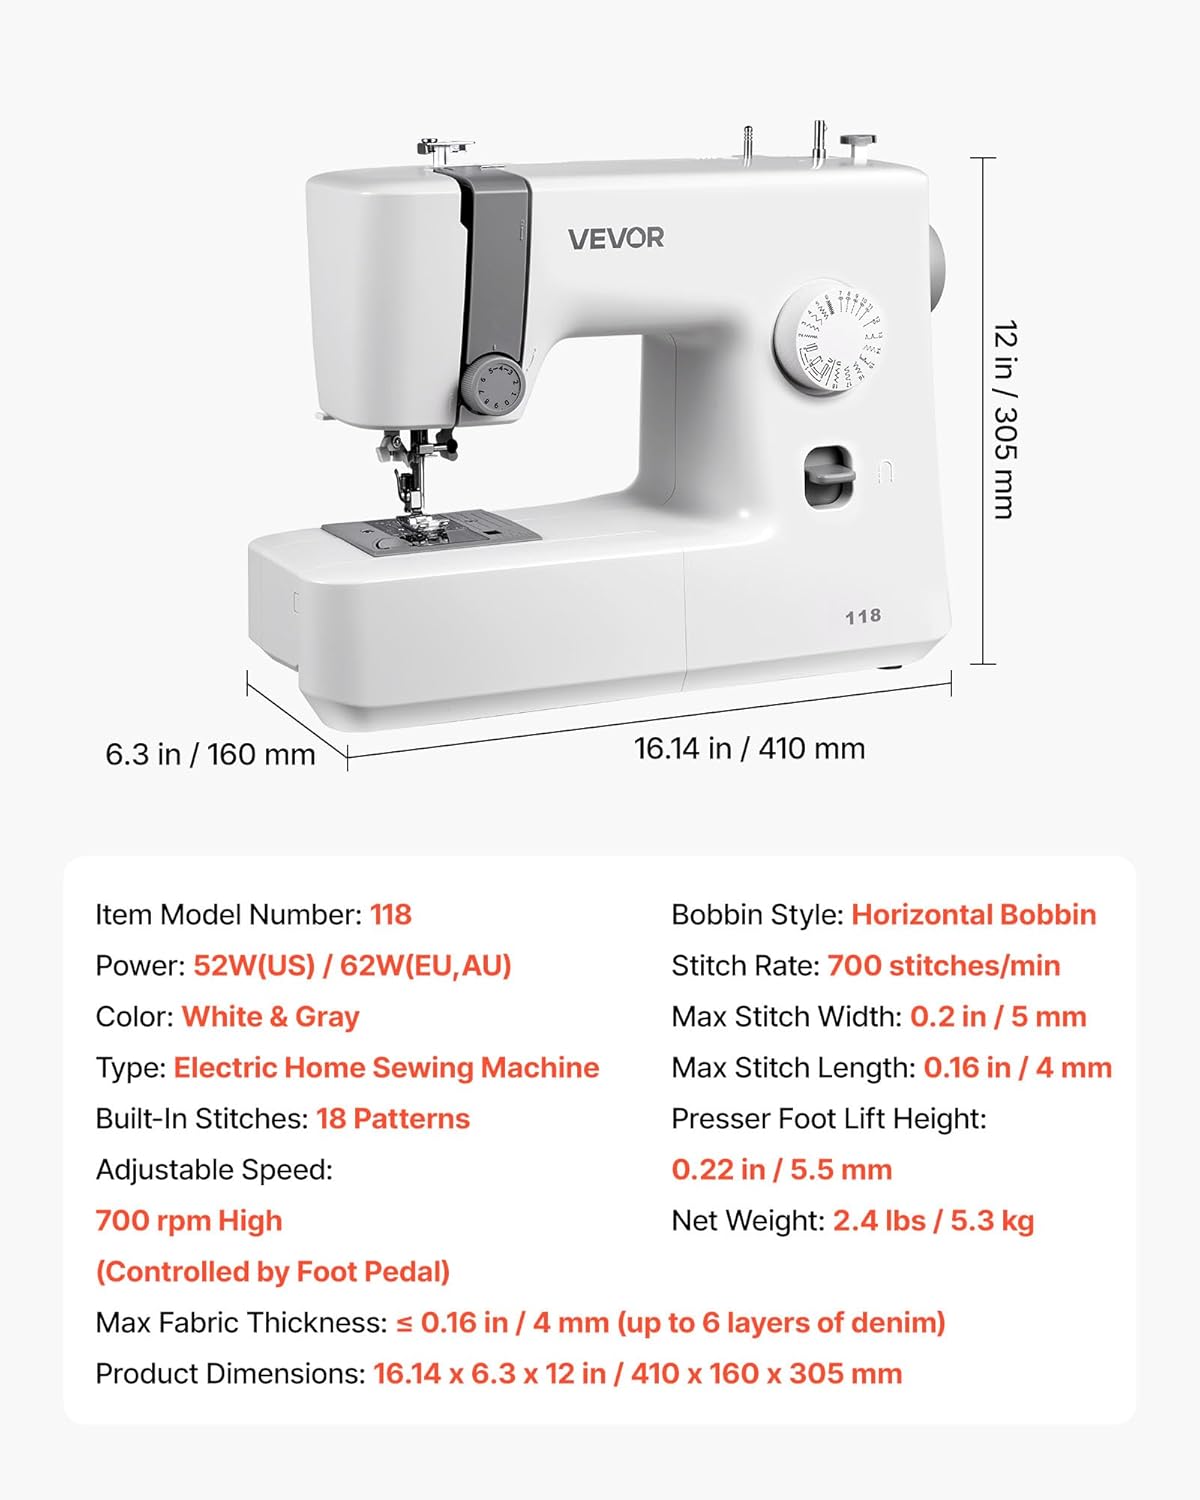
Image 8.1: VEVOR Sewing Machine Model 118 dimensions. This image provides a visual representation of the machine's physical dimensions.
| Feature | Detail |
|---|---|
| Item Model Number | 118 |
| Power | 52W (US) / 62W (EU, AU) |
| Color | White & Gray |
| Type | Electric Home Sewing Machine |
| Built-in Stitches | 18 Patterns |
| Adjustable Speed | 700 rpm High (Controlled by Foot Pedal) |
| Max Fabric Thickness | ≤ 0.16 in / 4 mm (up to 6 layers of denim) |
| Product Dimensions | 16.14"D x 6.3"W x 12"H (410 x 160 x 305 mm) |
| Bobbin Style | Horizontal Bobbin |
| Stitch Rate | 700 stitches/min |
| Max Stitch Width | 0.2 in / 5 mm |
| Max Stitch Length | 0.16 in / 4 mm |
| Presser Foot Lift Height | 0.22 in / 5.5 mm |
| Net Weight | 2.4 lbs / 5.3 kg |
9. Warranty and Support
This VEVOR product is covered by a manufacturer's warranty. Please refer to the warranty card included with your purchase for specific terms and conditions, including warranty duration and coverage details.
For technical support, service, or inquiries regarding your VEVOR Sewing Machine Model 118, please contact VEVOR customer service through their official website or the contact information provided in your product packaging.