Introduction
Thank you for choosing the Aairsk GT300 Electric Bicycle. This manual provides essential information for the safe assembly, operation, and maintenance of your new e-bike. Please read it thoroughly before your first ride and keep it for future reference. Proper understanding and adherence to these instructions will ensure optimal performance and longevity of your bicycle.
Safety Instructions
Your safety is paramount. Always wear a helmet and appropriate safety gear when riding. Familiarize yourself with local traffic laws and regulations regarding electric bicycles.
Before Each Ride:
- Check tire pressure.
- Ensure brakes are functioning correctly.
- Verify all quick releases and fasteners are tight.
- Confirm battery is securely seated and charged.
- Test lights and horn (if equipped).
Riding Safely:
- Do not ride under the influence of alcohol or drugs.
- Avoid riding in adverse weather conditions.
- Maintain a safe distance from other vehicles and pedestrians.
- Be aware of your surroundings and potential hazards.
Setup and Assembly
The Aairsk GT300 electric bicycle comes partially assembled. Follow these steps to complete the assembly and prepare for your first ride.
1. Unboxing and Inspection
Carefully remove all components from the packaging. Inspect for any damage during transit. Keep all packaging materials until assembly is complete and you are satisfied with the product.
2. Handlebar Installation
Insert the handlebar stem into the fork steerer tube. Ensure the handlebars are centered and aligned with the front wheel. Tighten the stem bolts securely. Refer to the image below for correct handlebar alignment.
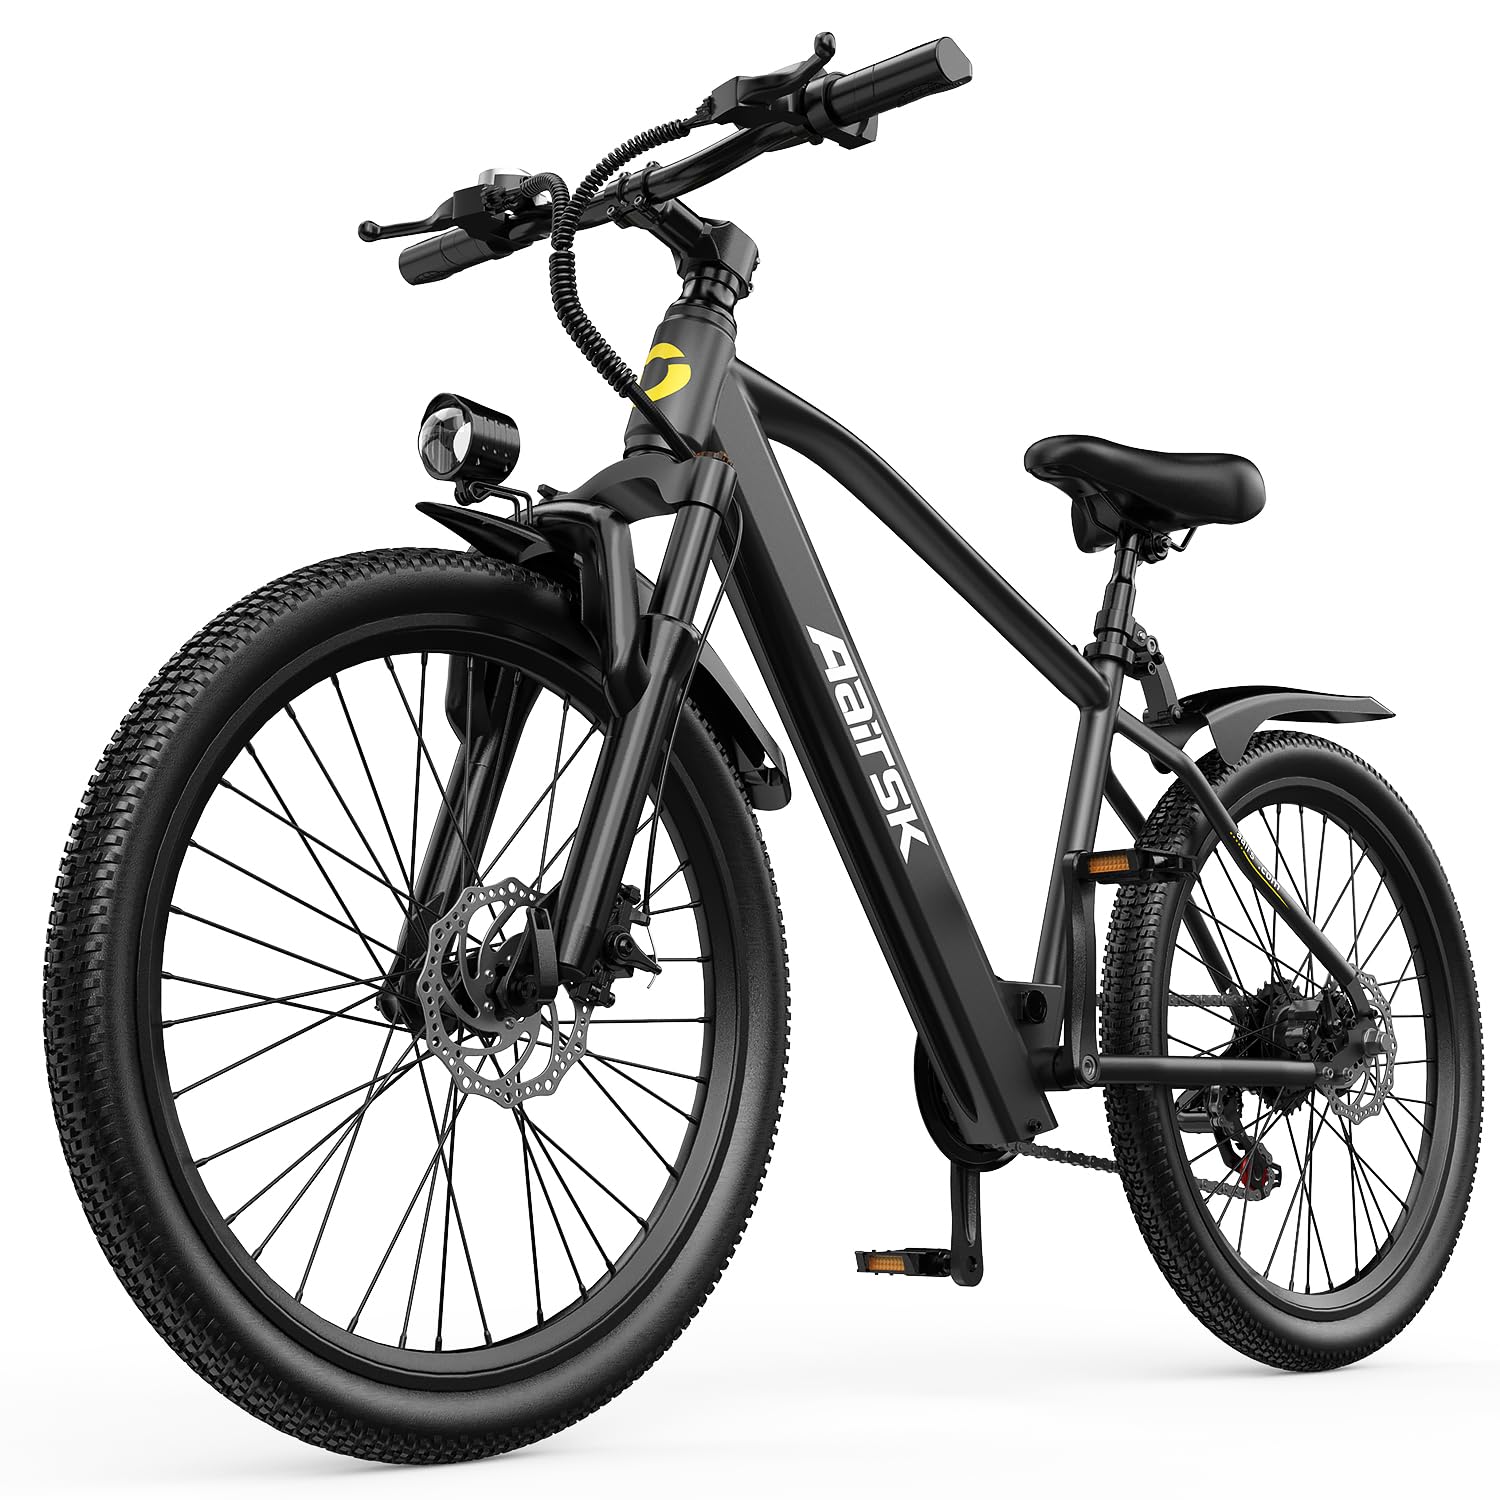
Image: The Aairsk GT300 Electric Bicycle, showing the front wheel and handlebars correctly aligned and installed.
3. Pedal Installation
Identify the left (L) and right (R) pedals. The left pedal has a reverse thread. Apply a small amount of grease to the threads and screw the pedals into the crank arms. Tighten firmly with a wrench. Warning: Installing pedals on the wrong side or cross-threading can cause damage.
4. Front Wheel Installation
If the front wheel is not pre-installed, carefully place it into the fork dropouts. Ensure the brake rotor is correctly seated within the brake caliper. Secure with the quick-release skewer or axle nuts. Ensure the wheel spins freely without rubbing.
5. Seat Post and Saddle Adjustment
Insert the seat post into the frame's seat tube. Adjust the saddle height for comfortable pedaling, ensuring your leg has a slight bend at the knee when the pedal is at its lowest point. Tighten the quick-release lever or bolt securely.
6. Battery Installation and Initial Charge
Insert the battery into its designated compartment on the frame. Ensure it clicks into place securely. Before your first ride, fully charge the battery using the provided charger. Connect the charger to the battery port, then plug it into a power outlet. The indicator light on the charger will show charging status (typically red for charging, green for fully charged).
Video: A demonstration of battery installation and initial charging process would be embedded here if available from the seller.
Operating Your Electric Bicycle
Understand the controls and features of your Aairsk GT300 for a safe and enjoyable riding experience.
1. Powering On/Off
Press and hold the power button on the display unit (usually located on the handlebars) for a few seconds to turn the system on or off.
2. Display Functions
The display shows important information such as current speed, battery level, pedal assist level, and trip distance. Use the mode buttons to cycle through different display options.
3. Pedal Assist System (PAS)
The GT300 features multiple levels of pedal assist. Use the '+' and '-' buttons on the control panel to select your desired assist level. Higher levels provide more motor assistance, while lower levels require more pedaling effort. The motor assists only when you are pedaling.
4. Gear Shifting (7/21 Speeds)
Your bicycle is equipped with a 7-speed or 21-speed gear system. Use the shifters on the handlebars to change gears. Shift to a lower gear for climbing hills and a higher gear for flat terrain or descents. Shift smoothly and avoid shifting under heavy load.
5. Braking System (Double Disc Brake)
The GT300 is equipped with front and rear double disc brakes for reliable stopping power. Apply both brakes simultaneously for effective and controlled stopping. Practice braking in a safe area to get accustomed to their feel.
Image: A close-up of the disc brake caliper and rotor on the Aairsk GT300, illustrating the double disc brake feature.
Maintenance
Regular maintenance ensures the longevity and safe operation of your Aairsk GT300.
1. Battery Care
- Charge the battery regularly, even if not in use, to maintain its health.
- Avoid fully discharging the battery.
- Store the battery in a cool, dry place, away from direct sunlight and extreme temperatures.
- Use only the original charger provided.
2. Tire Pressure
Check tire pressure before each ride. Maintain the pressure recommended on the tire sidewall for optimal performance and to prevent punctures.
3. Brake Adjustment
Periodically check brake pad wear and cable tension. Adjust as necessary to ensure responsive braking. If you are unsure, consult a professional bicycle mechanic.
4. Chain Lubrication
Keep the chain clean and lubricated to ensure smooth gear changes and prevent wear. Apply bicycle-specific chain lubricant regularly, especially after riding in wet conditions.
5. General Cleaning
Clean your e-bike regularly with a damp cloth. Avoid using high-pressure washers directly on electrical components or bearings.
Troubleshooting
This section addresses common issues you might encounter with your Aairsk GT300.
Issue: Motor not assisting.
- Solution 1: Check if the battery is fully charged and properly seated.
- Solution 2: Ensure the system is powered on and a pedal assist level is selected.
- Solution 3: Verify that the brake levers are not partially engaged, as this can cut motor power.
Issue: Display not turning on.
- Solution 1: Check battery charge.
- Solution 2: Ensure all electrical connections are secure.
Issue: Brakes feel spongy or ineffective.
- Solution 1: Check brake pad wear; replace if necessary.
- Solution 2: Adjust brake cable tension.
- Solution 3: For hydraulic disc brakes (if applicable), bleeding may be required by a professional.
For issues not listed here or if solutions do not resolve the problem, please contact customer support.
Specifications
| Feature | Detail |
|---|---|
| Brand | Aairsk |
| Model Name | GT300 |
| Wheel Size | 24 or 26 Inches |
| Motor Power | 250W |
| Battery Capacity | 36V 10/13Ah (360 Wh) |
| Max Speed | 25 km/h (15.5 mph) |
| Range | Up to 55 km (34 miles) |
| Gears | 7 or 21 Speeds |
| Brakes | Double Disc Brake |
| Frame Material | Alloy Steel |
| Item Weight | 20 Kilograms (44 lbs) |
Warranty Information
Aairsk provides a limited warranty for the GT300 Electric Bicycle. Specific warranty terms and conditions, including coverage period and exclusions, are typically provided with your purchase documentation or on the official Aairsk website. Please retain your proof of purchase for warranty claims. The warranty generally covers manufacturing defects in materials and workmanship under normal use.
Customer Support
If you have any questions, require technical assistance, or need to report an issue with your Aairsk GT300 Electric Bicycle, please contact our customer support team.
Contact Information:
- Refer to your purchase documentation for specific contact details.
- Visit the official Aairsk website for support resources and contact forms.
When contacting support, please have your model number (GT300) and proof of purchase readily available.